How to Install and Setup the Visual Studio Code on Fedora Linux
We divided this section into multiple parts to explain the different ways to install the Visual Studio Code and set it up in the system.
From the Repository
You can install the VS code by creating a repository. First, run the following command to create the “vscode.repo” file:
Now, add the following lines in the files that you created:
name=Visual Studio Code
baseurl=https://packages.microsoft.com/yumrepos/vscode
enabled=1
gpgcheck=1
gpgkey=https://packages.microsoft.com/keys/microsoft.asc
Once you save the file, you can manually run the following command to import the GPG key for package signing:
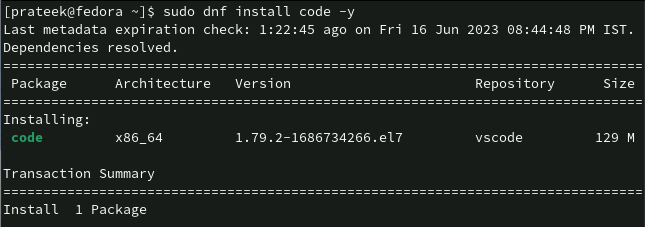
Finally, you can install the Visual Studio Code on Fedora 38:
The Official VS Code Snap Package
First, you need to install the snap utility in your Fedora system. So, run the following command:
Now, enable the snapd services through the following command:
To create a symbolic link between /snap and /var/lib/snapd/snap, run the following command:
Once you are done, run the following command to install the VS code:
How to Setup the Visual Studio Code
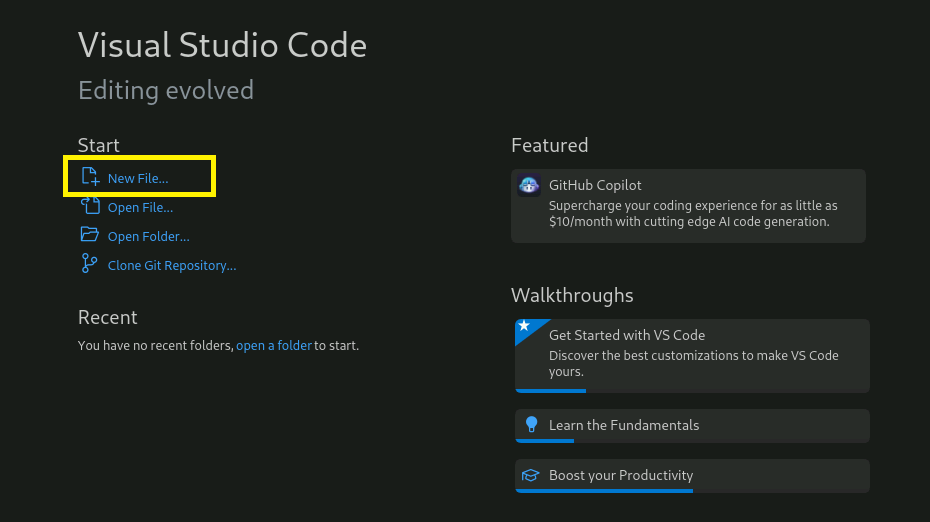
After installing the VS code in the system, you can now open it from the Application Menu.
Select “New File” in the VS Code UI to start your editing.
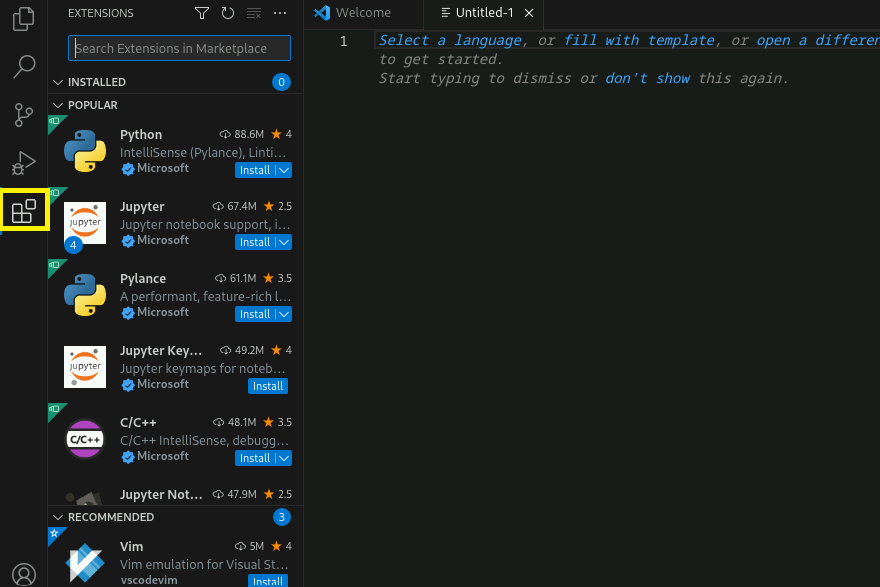
This tool provides multiple extensions. You can install the extensions according to your requirement.
Conclusion
The Visual Studio Code editor provides a customizable and lightweight environment for managing the codes, debugging, and writing across frameworks and programming languages. The purpose of this tutorial is to explain how to install and setup the Visual Studio Code on Fedora Linux.
Here, we installed the VS Code on Fedora 38 through the repository and snap packages. Both methods are very easy, and you can install this tool using any of the methods at your convenience. Once installed, open the tool to set it up to start working quickly.


