HAProxy, or the High Availability Proxy, is an open-source tool for load balancing and proxy servers. It is a popular software that distributes the incoming network traffic on multiple servers to improve scalability, reliability, performance, etc. The HAProxy load balancer allows you to specify various load balancing modes according to the applications. It helps distribute the workload equally to enhance the response times and avoid overloading.
This software suits different scenarios including APIs, web apps, architecture, microservices, etc. Moreover, HAProxy is a popular choice for all types of organizations. In this guide, we will explain the in-depth method to install and setup the HAProxy Load Balancer on Rocky Linux 9 (RHEL-based OS).
How to Install and Setup the HAProxy Load Balancer on Rocky Linux 9
Before moving to the installation process, let’s have a look at the prerequisites of HAProxy:
-
- Root access to install the utilities and modify the setting as per the requirements
- Adequately configured network and connectivity
- Make sure that the backend servers are running correctly.
- If you plan to terminate the SSL encryption at the HAProxy level, it requires an SSL certificate.
Once you fulfill the prerequisites, it is time to understand the method to install HAProxy.
Installation Process of HAProxy
First, execute the following commands to update the system and install HAProxy:
sudo dnf install haproxy
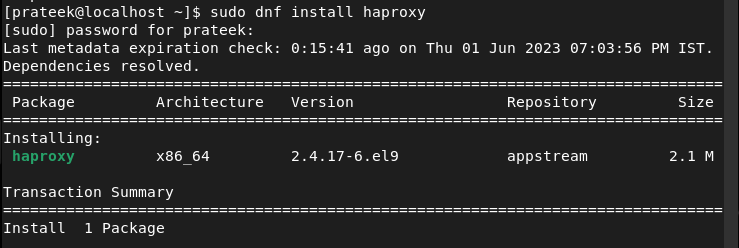
Once you are done with the installation, execute the following command to check the installed version of HAProxy:

To further explain about Load Balancer, let’s take one HAProxy host and two web systems such as:
Web system:
web_system_two.com 192.108.1.122
HAProxy Host:
Configuration Process of HAProxy
The config file of HAProxy is present in the /etc/haproxy/haproxy.cfg. Let’s open it in the text editor for the modification:

In this text editor, scroll through the lines to get two sections with frontend and backend information.
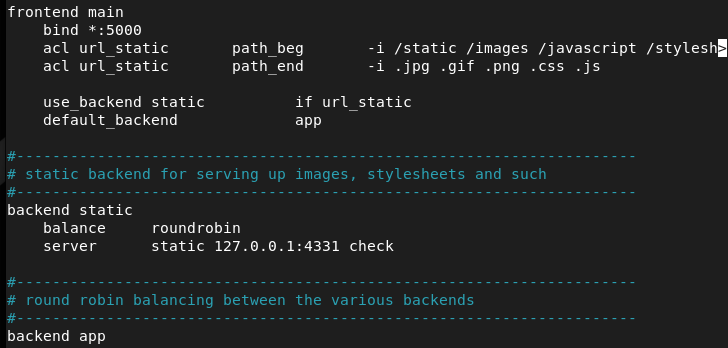
For example, let’s define the frontend, i.e., the proxy host that has the 192.108.1.10 IP address:
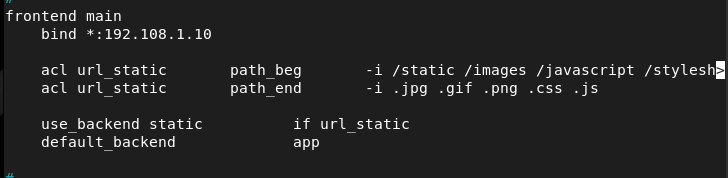
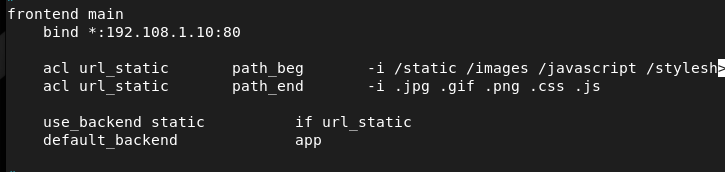
If your HAProxy has a specific port, you can define it in the frontend main:
Similarly, change the backend servers that have the 192.108.1.121 and 192.108.1.122 IP addresses:
server web_system_two.com 192.108.1.122:80 check

Once you are done, save and exit the file to make the changes successful.
Start the HAProxy Service
After configuring the HAProxy server, it is time to start, enable, and check the status of the HAProxy service:
sudo systemctl enable haproxy
sudo systemctl status haproxy
You can also restart the HAProxy server by verifying the configuration file through the following command:

Now, you successfully configured the HAProxy Load Balancer on your Rocky Linux machine to distribute the workload equally.
Conclusion
We hope that the provided information may help you while installing and setting up the HAProxy Load Balancer on Rocky Linux. We used an example to explain the approach to configuring HAProxy Load Balancer without facing any errors. Moreover, we recommend you to perform the steps carefully for security and privacy reasons.