Although getting Rocky Linux 9 as the default OS is a great idea, switching from one operating system to another is always hard. That’s why we always recommend the users try a new OS on VirtualBox and then use it as the current OS of the system.
In this tutorial, we will explain the complete and simplified method to install Rocky Linux 9 on VirtualBox. You can follow this tutorial to install and set up Rocky Linux 9 on VirtualBox for Windows, macOS, and Linux.
How to Install Rocky Linux 9 on VirtualBox
Before installing Rocky Linux 9 on VirtualBox, follow the given prerequisites:
RAM: Although Rocky Linux 9 requires a minimum of 2GB RAM to run properly, it usually varies as per the user’s requirements. For example, the system requires higher RAM allocation if you want to use the resource-intensive applications. Hence, allocating the RAM depends on your needs but allocate only a little resource to VirtualBox because it will surely cause issues with your host system.
Storage: You must allocate at least 20 GB of storage space to run the Rocky Linux 9 on VirtualBox.
VirtualBox Installation: Download and install VirtualBox from its official website.
Internet Connection: To set up the Rocky Linux 9 on VirtualBox, you must have a stable internet connection.
Once you fulfill all the given prerequisites for Rocky Linux 9, let’s install it in the VirtualBox:
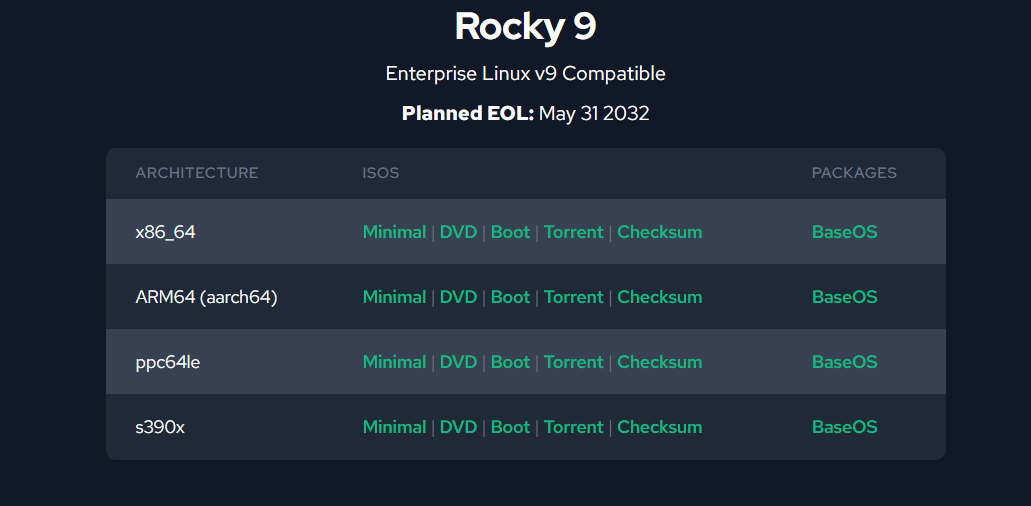
First, download the Rocky Linux 9 ISO from its official website. Here, you have to click on the DVD of the “x86_64” architecture to download the ISO file.
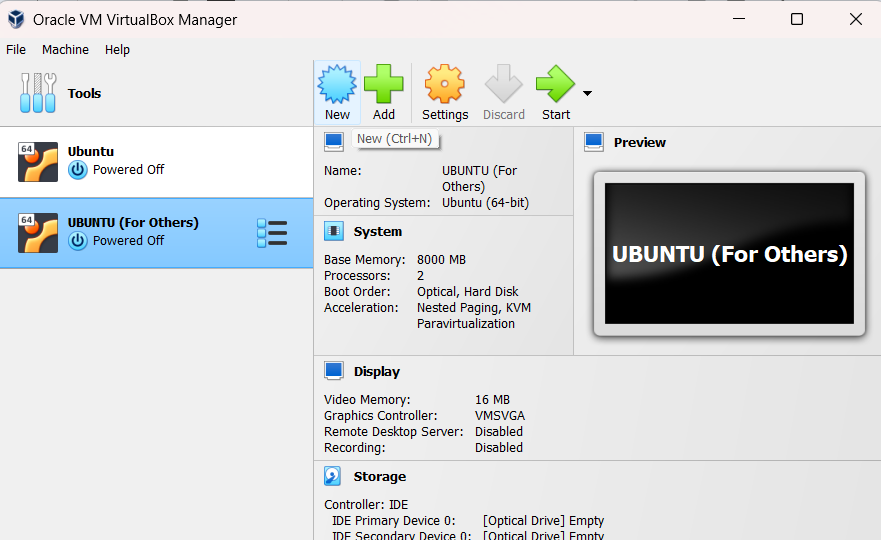
Open the VirtualBox and then click on the “New” button or press CTRL+N to start creating the new virtual system.
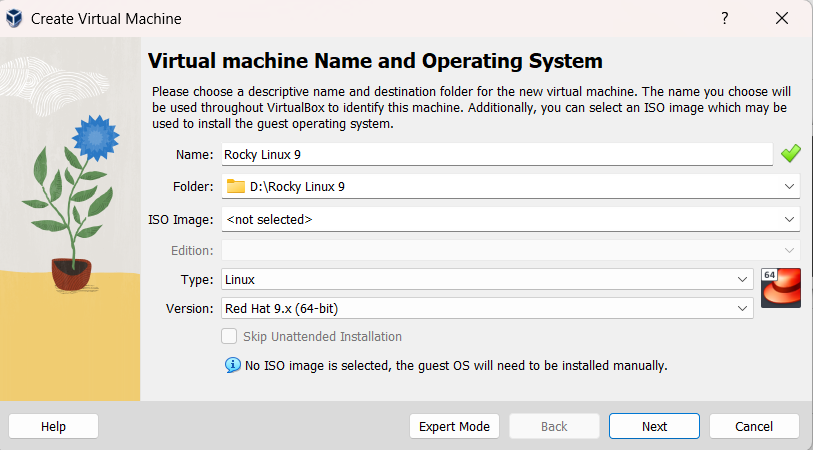
Here, you need to enter the name of the Linux OS, and the VirtualBox will automatically select its Linux type. If it does not specify the OS type automatically, select “Linux and Red Hat 9.x (64-Bit)” as the OS version.
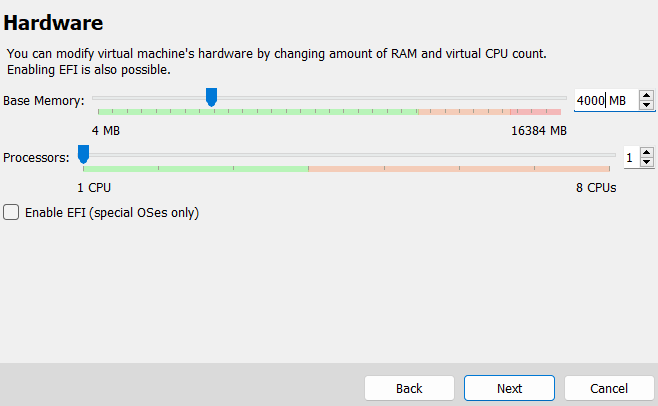
Now, click on the “Next” button and allocate the memory size. Rocky Linux 9 usually requires 2048 MB memory, but you can increase it as per your needs. Moreover, select two CPUs because the OS shows errors sometimes if you use a single CPU.
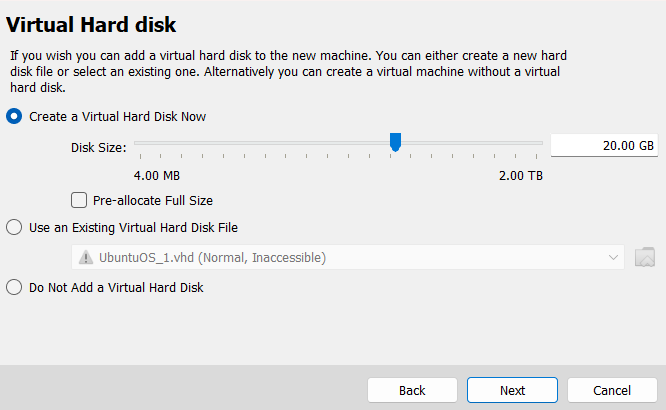
After allocating the memory, click on the “Next” button to proceed to the virtual disk allocation window.
Now, allocate the virtual disk and Rocky Linux 9 with a minimum storage space of 20 GB, but select accordingly.
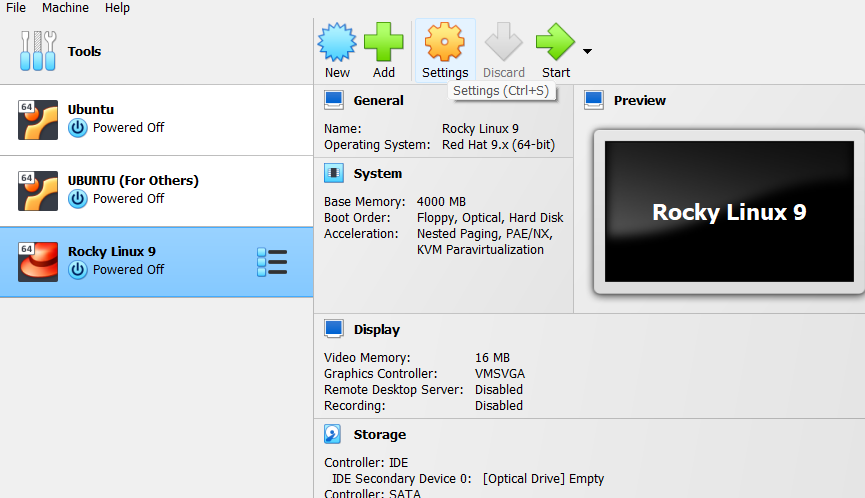
You now successfully set up the Rocky Linux 9, so it is time to add the ISO file for the virtual system. Hence, click on the “Settings” button or press the CTRL+S keys.
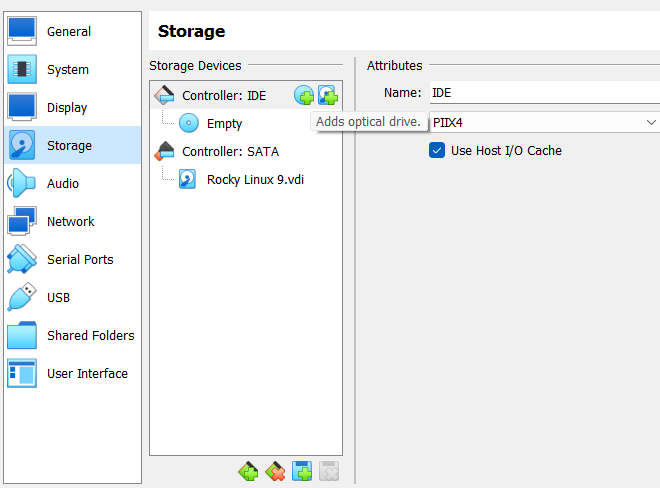
In the “Settings” window, click on the “Storage” option. Here, you can select the optical drive of Rocky Linux 9.
In this section, click on the “Add optical drive” option. Then, locate the folder where you downloaded the ISO file.
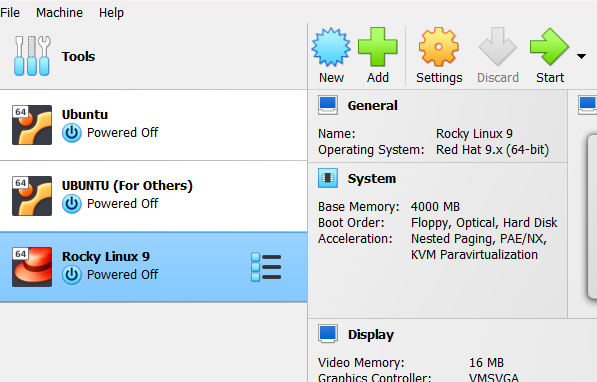
After setting up everything, you can now start the Rocky Linux from the main window of the VirtualBox.
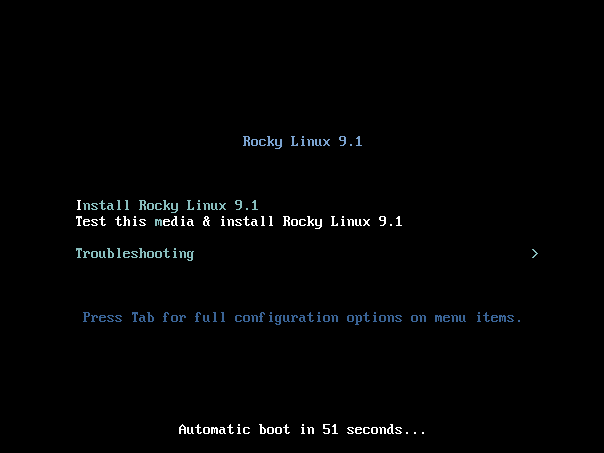
Click on the “Start” button, and the system will open a new window for the OS. Here, select “Install Rocky Linux 9”.
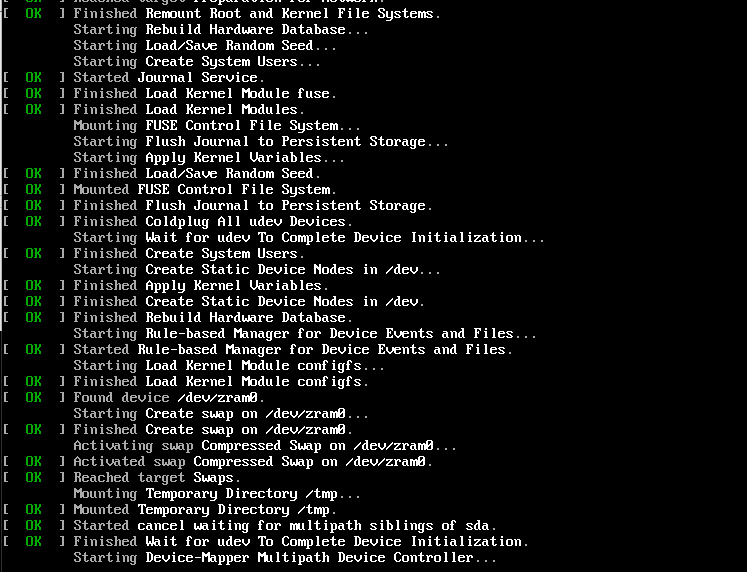
Now the system will start configuring the OS to begin the installation process.
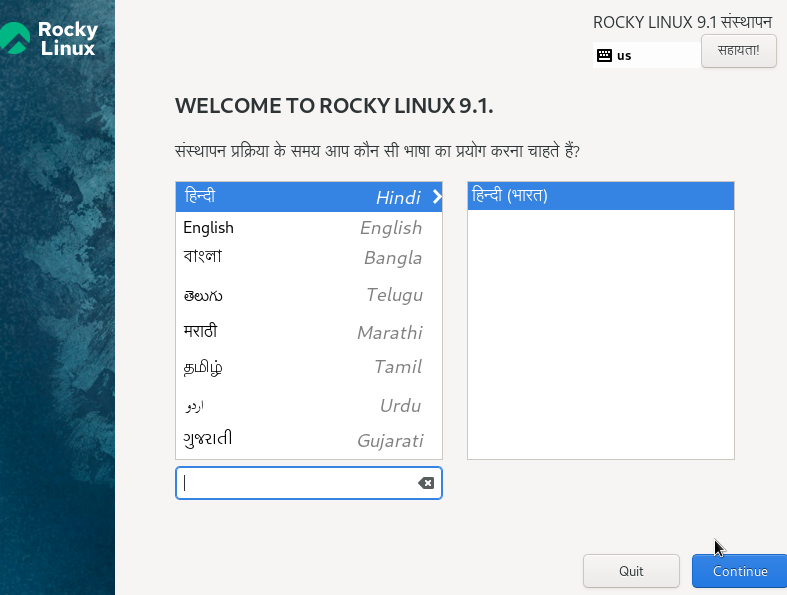
After the successful configuration, you will be prompted to the new window to select the system language.
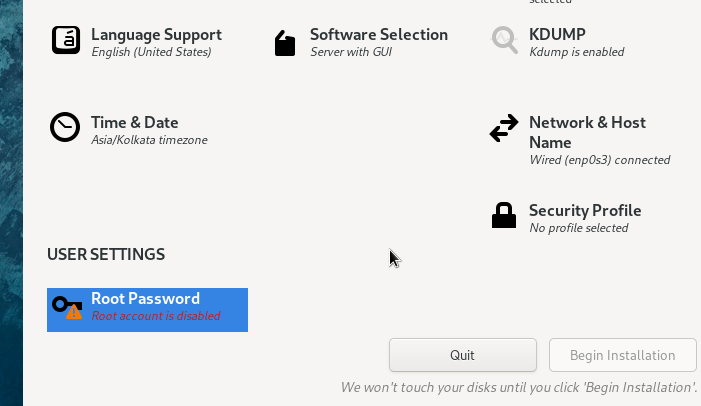
Select the language and click on the “Continue” button to proceed to the next window. In the next window, scroll down and click on the “Root Password” to set up the root access.
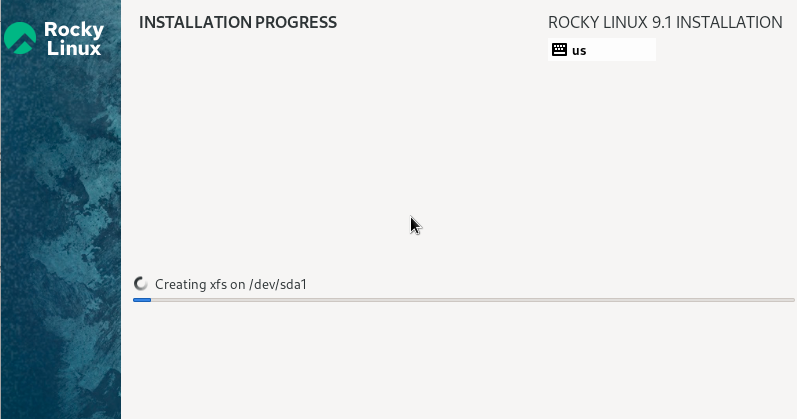
Once you are done, click on the “Begin Installation” button to start the process.
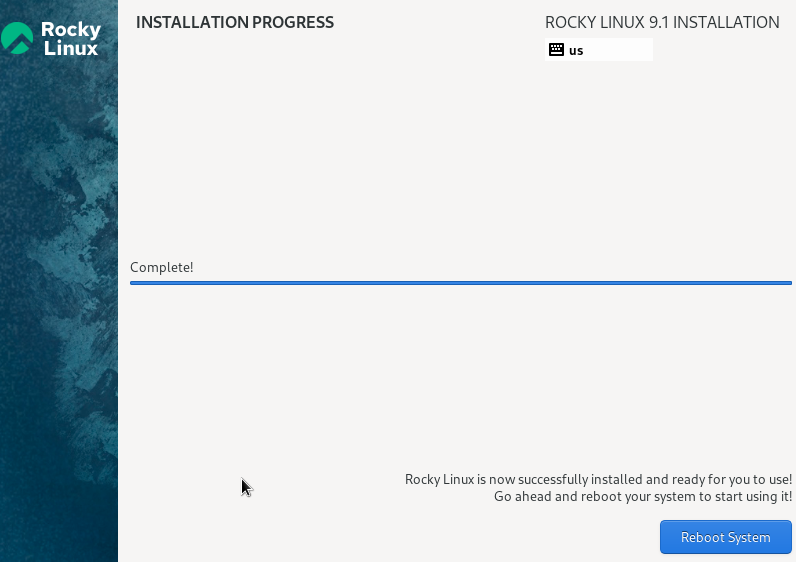
After the successful installation process, the system will ask you to reboot the system. Click on the “Reboot” button.
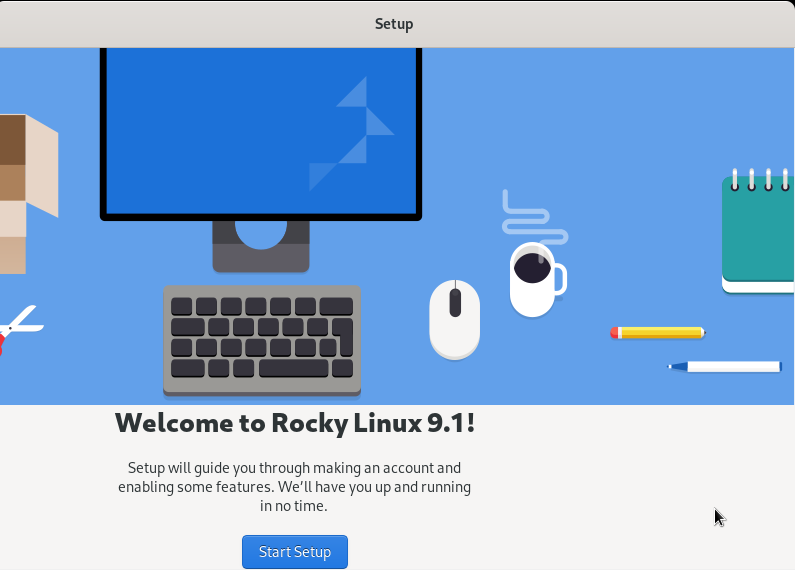
You can now access the Rocky Linux 9 after the successful reboot. Hence, click on the “Start Setup” to move further.
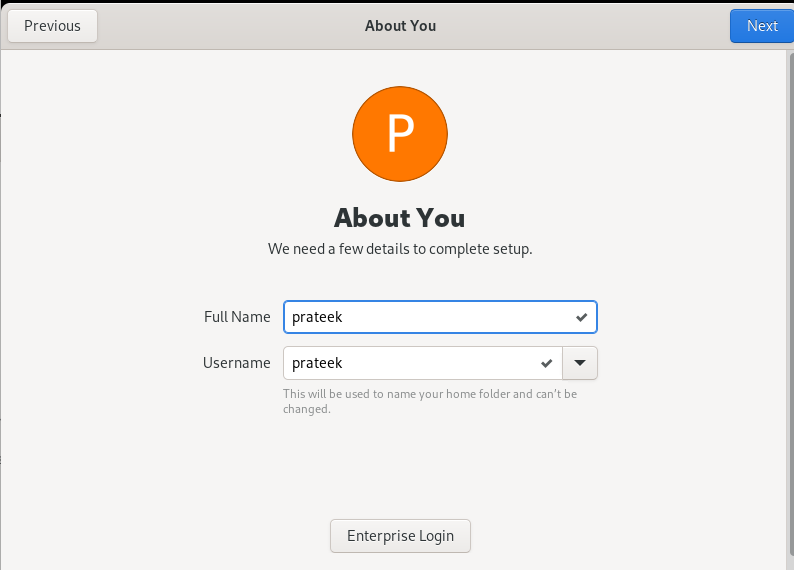
In the “About You” section, the system will ask you to set up the username and full name.
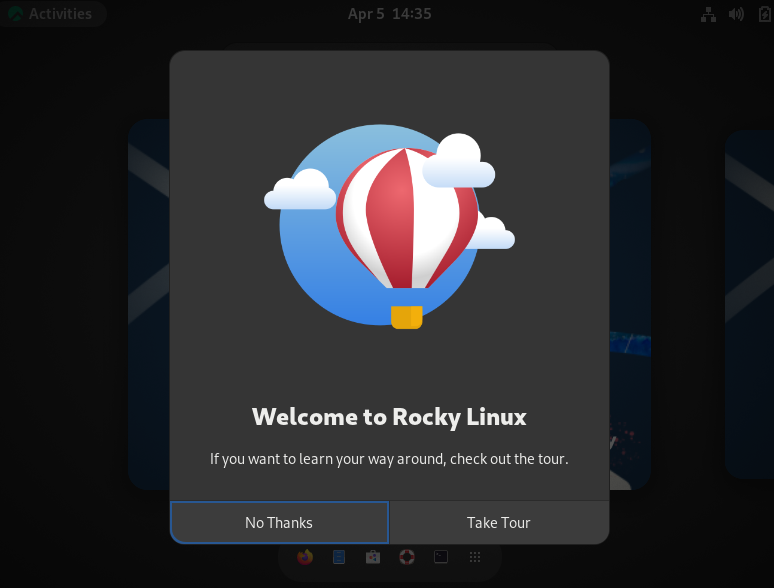
Finally, you can access the Rocky Linux 9. Take a tour to understand everything about the system.
Note: If you cannot move your cursor from the Rocky Linux 9 virtual machine window, press the right CTRL button to release it.
Conclusion
This is all about the simple way to install Rocky Linux 9 on VirtualBox. The latest update of the Rocky Linux is 9.1 which was released on November 22, 2022 that supports the x86_64, ppc64le, s390x, and aarch64 architectures. However, you can use the provided steps to install Rocky Linux 9.1 since we also used the 9.1 ISO.

