That’s why many Linux enthusiasts prefer Rocky Linux 8 rather than 9. If you also think the same and wants to use Rocky Linux 8, we recommend that you try it first in the VirtualBox. This guide explains the complete method to install Rocky Linux 8 on VirtualBox.
How to Install Rocky Linux 8 on VirtualBox
First, you need to know the basic requirements to install Rocky Linux 8 on VirtualBox:
- Rocky Linux 8 ISO file
- VirtualBox in the system
- 4GB of RAM with a multi-core processor
- Minimum 20 GB of storage space
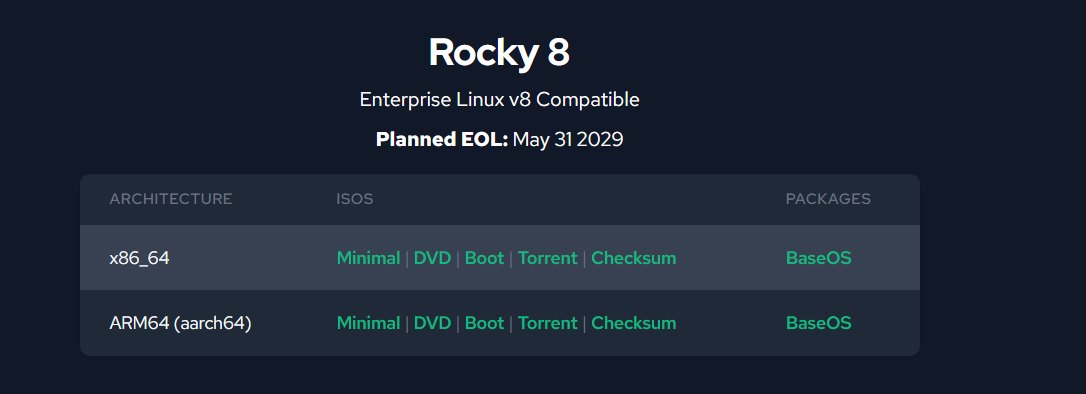
Please download the ISO version of Rocky Linux 8 from its official website. Make sure that you download the ISO (DVD) file of x86_64 architecture because it is the most suitable for computers and laptops:
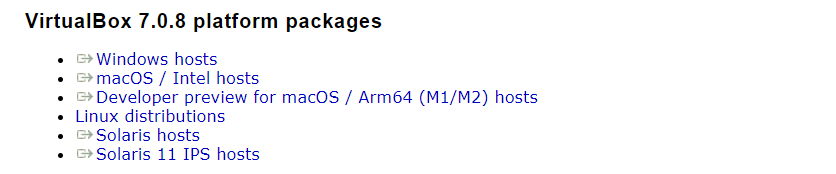
Once you download the Rocky Linux 8 ISO, it is time to download the VirtualBox and install it in the system. We use Windows as the primary OS, but you can also install the VirtualBox in Ubuntu.
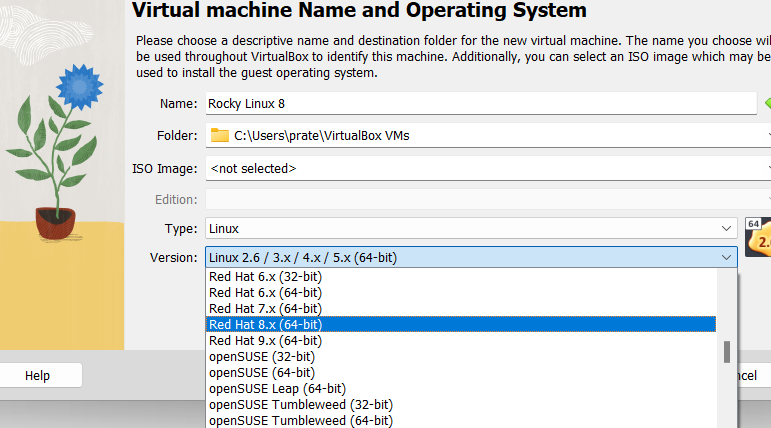
After installing VirtualBox, open the VirtualBox and click on the “New” button.

Here, type the name of the OS and change the version to Red Hat 8.x (64-bit). Once you are done, click on the “Next” button.
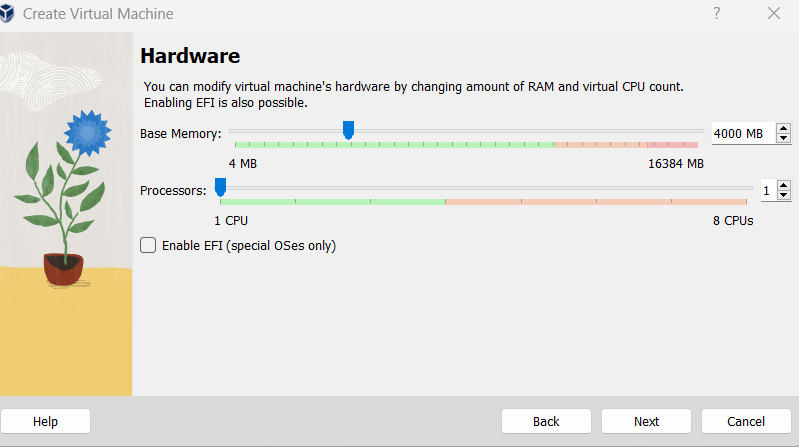
In the next step, change the RAM allocation to 4000 MB because it is sufficient to run almost every application in the system.
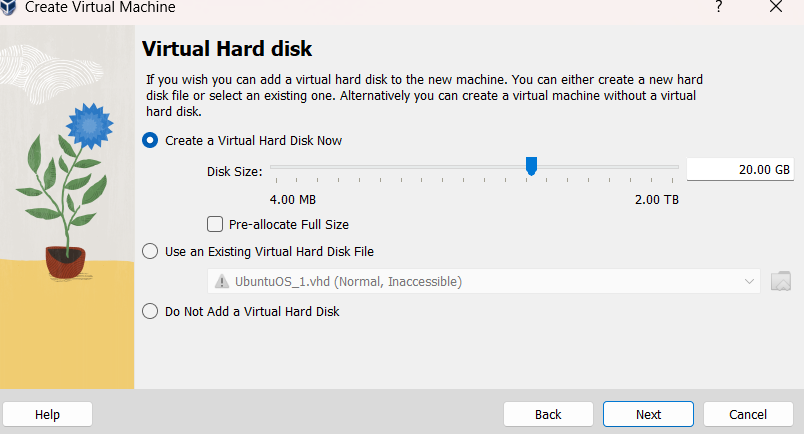
Now, allocate 20 GB of virtual hard disk and click the “Next” button to proceed.
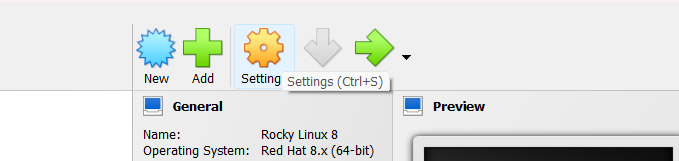
After that, click on the “Finish” button and open the “Settings” option from the main menu.
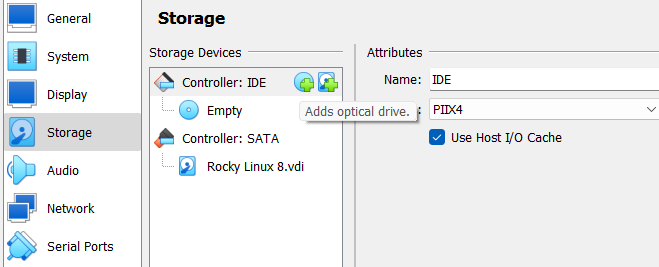
Now, go to the “Storage” tab and click on the “optical drive” button to add the ISO file.
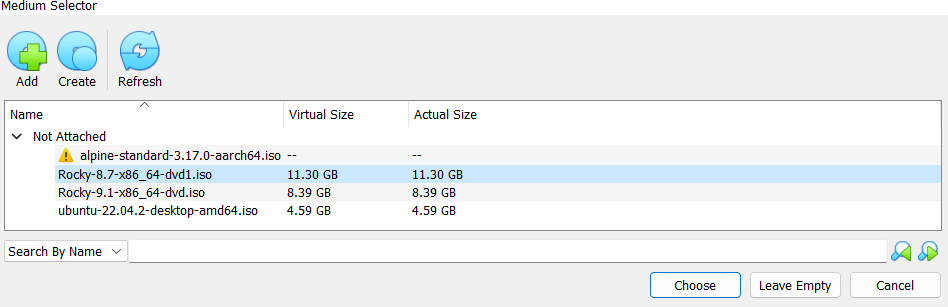
Here, click on the “add” button and locate the ISO file of Rocky Linux 8. Then, click on the “Choose” button to select the ISO file.
Now, you can open the Rocky Linux 8 and set up everything in the operating system.

How to Set Up Rocky Linux 8 in VirtualBox
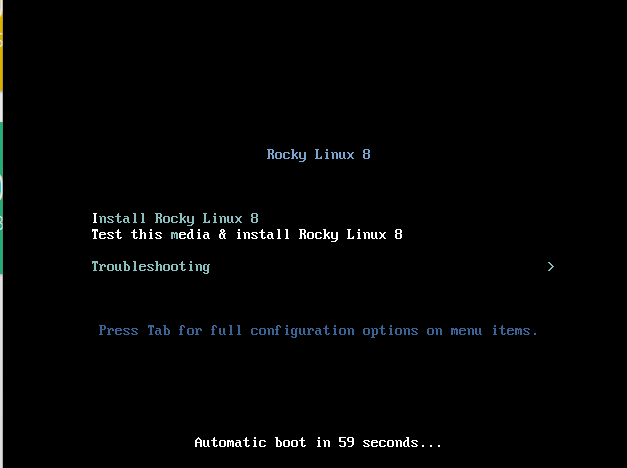
Click on the “Rocky Linux 8” from the list, and VirtualBox will open a new window. Here, you need to select “Install Rocky Linux 8”.
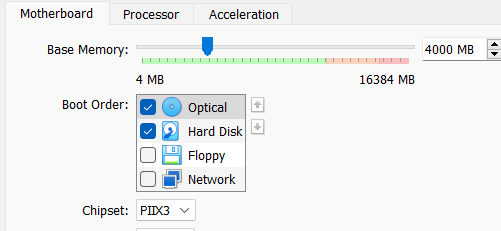
If you face any error while installing, shut the OS window and go to the “Settings” again. Then, go to the “system” section and uncheck the “Floppy” option.
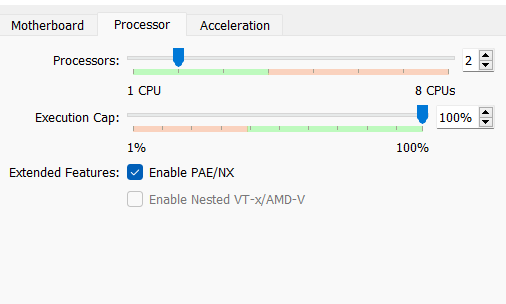
Once you are done, click on the “Processor” tab and select 2 cores instead of one and click on the “Ok” button to save the changes.
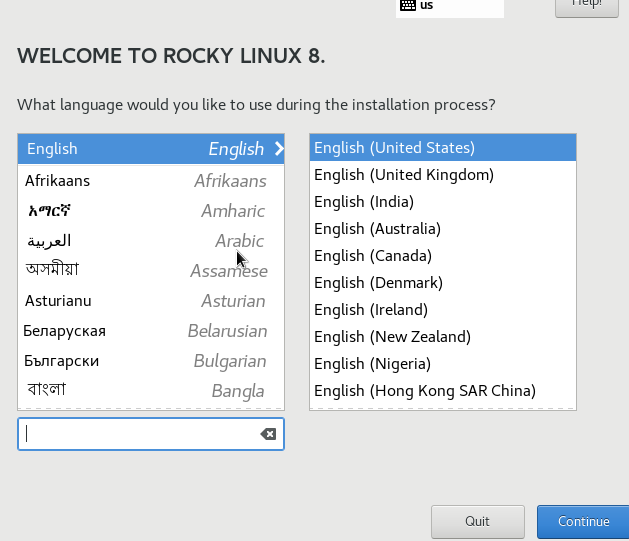
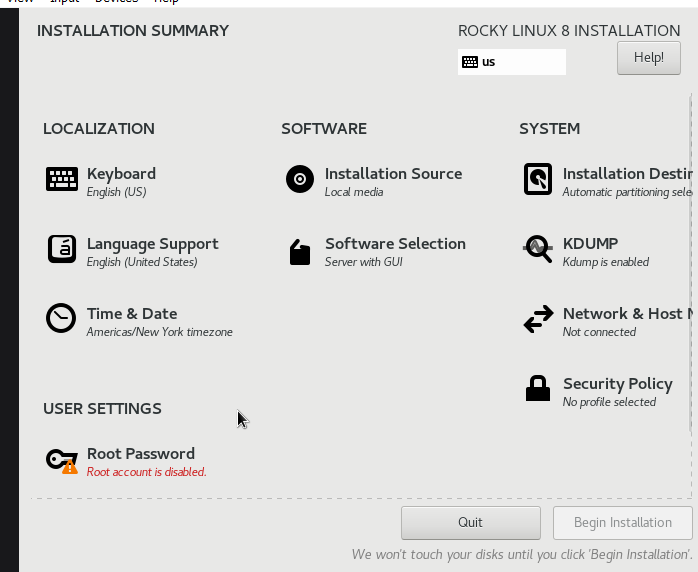
Open the Rocky Linux again. Now, you can access the installation process. Select the OS language and click on the “Continue” button.
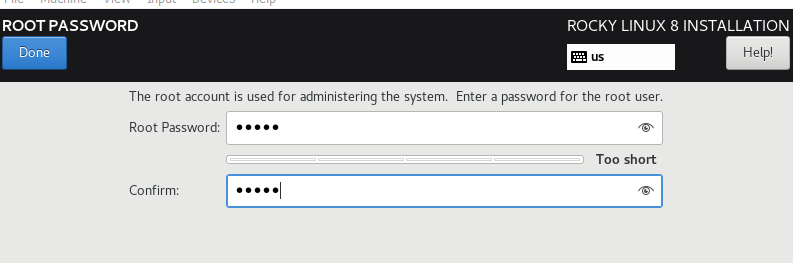
In the next window, the system will ask you to add the root password. Click on the “Root Password” option.
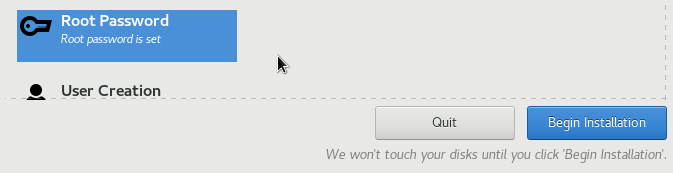
In the “Root Password” section, add the root password and click on the “Done” button to make the changes successful.
Now, click on the “Begin Installation” button to start installing the OS utilities.
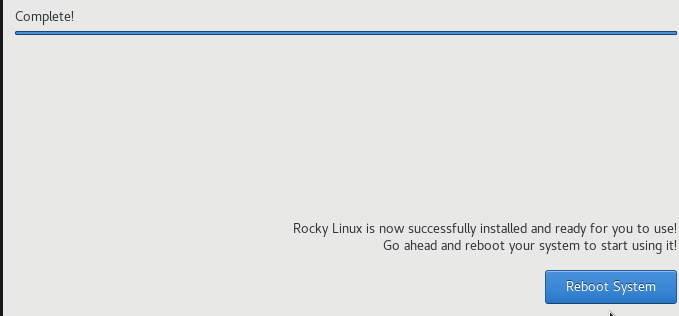
After the successful installation, click on the “Reboot System”.
Once the system reboots, click on “User Creation” and add a user for the system.
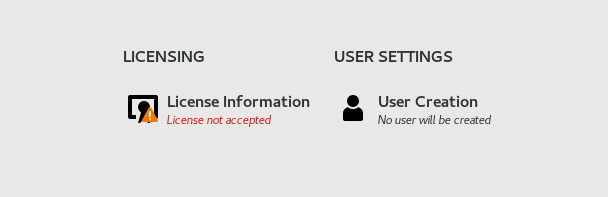
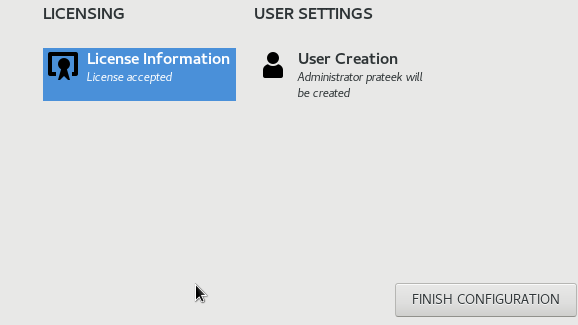
After adding the user, click on the “License Information” and accept the terms. Then, click on “Finish Configuration”.
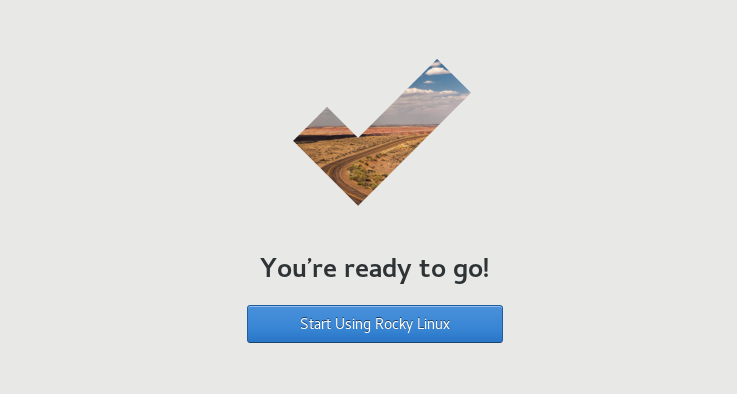
Now, you can access the Rocky Linux 8 on VirtualBox but you can’t move your cursor out if you click the Rocky Linux window. Hence, press the right CTRL key to return the cursor to the main screen.
Conclusion
This is all about the simple approach to installing Rocky Linux 8 on VirtualBox. We explained the complete method to set up, install, and access the Rocky Linux 8. We recommend using Rocky Linux 8 rather than 9 only if you want an operating system with lesser bugs and higher compatibility. Moreover, you can also use the previous process to install and set up Rocky Linux 9 on VirtualBox.