Starting the Installation
First, navigate to the official PostgreSQL website at the following URL: https://www.postgresql.org.
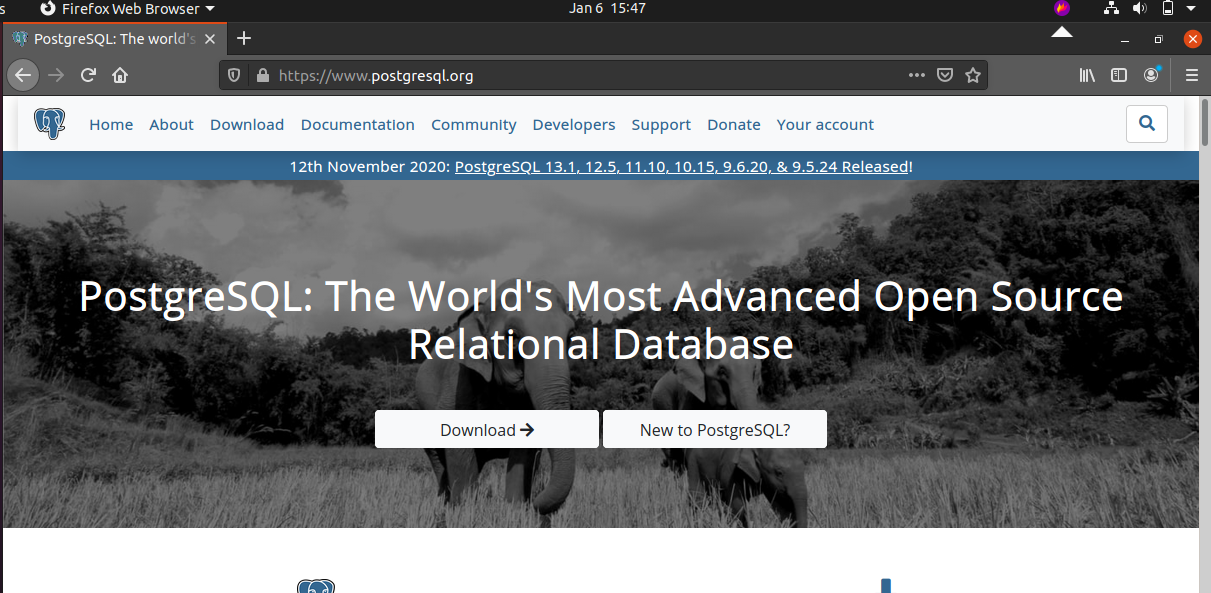
After you open the link, a window will appear onscreen. Click the Download button shown on this screen.
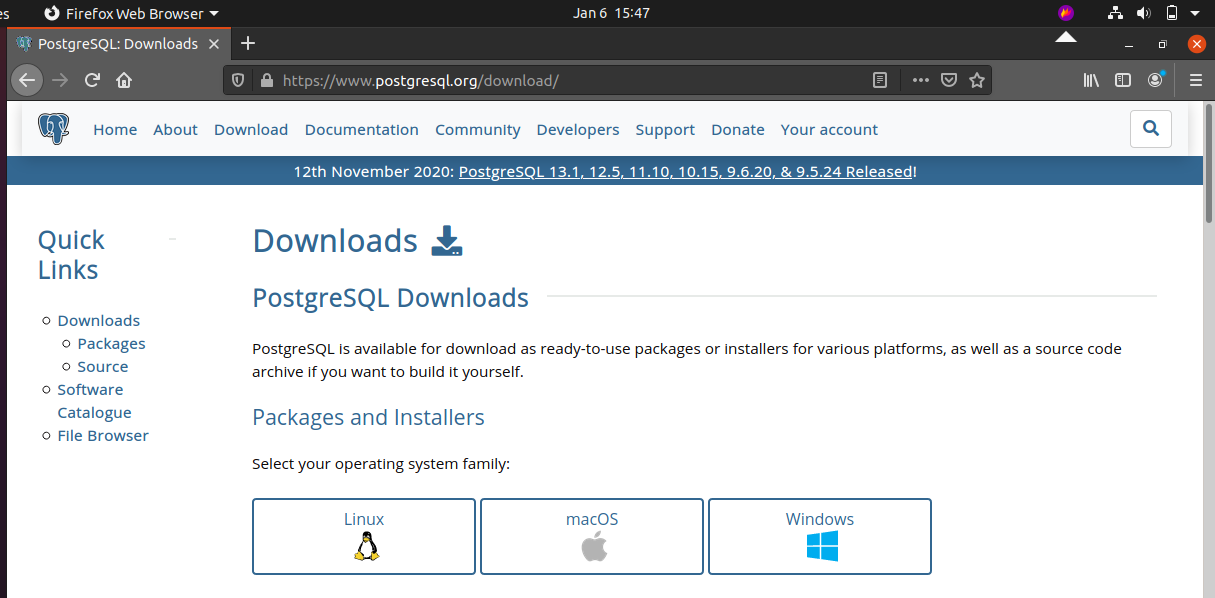
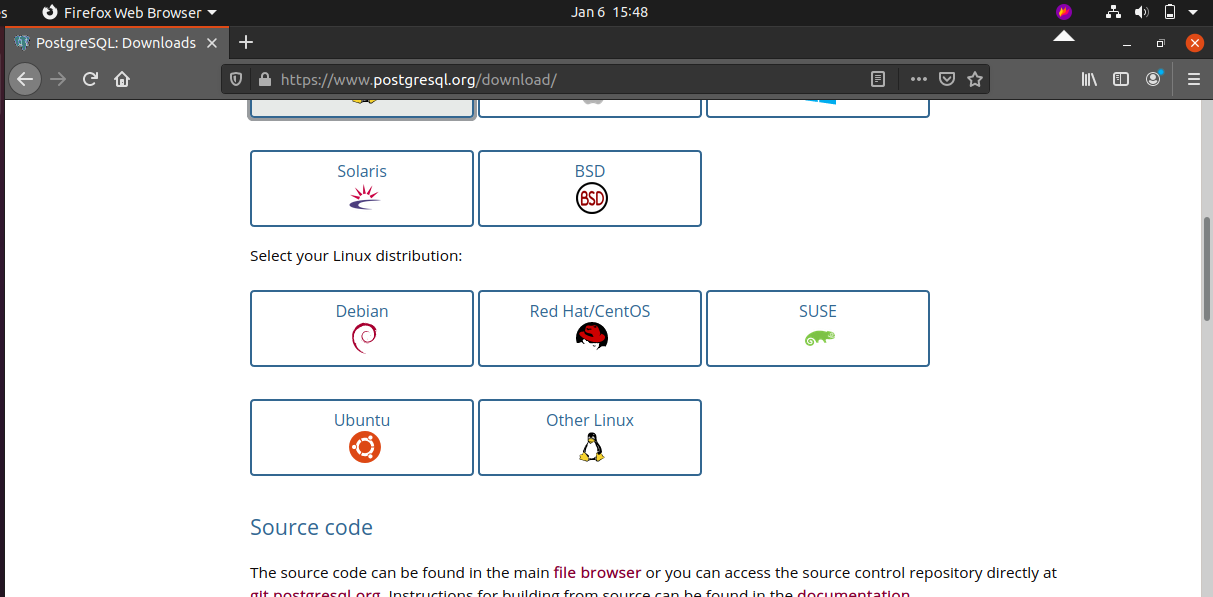
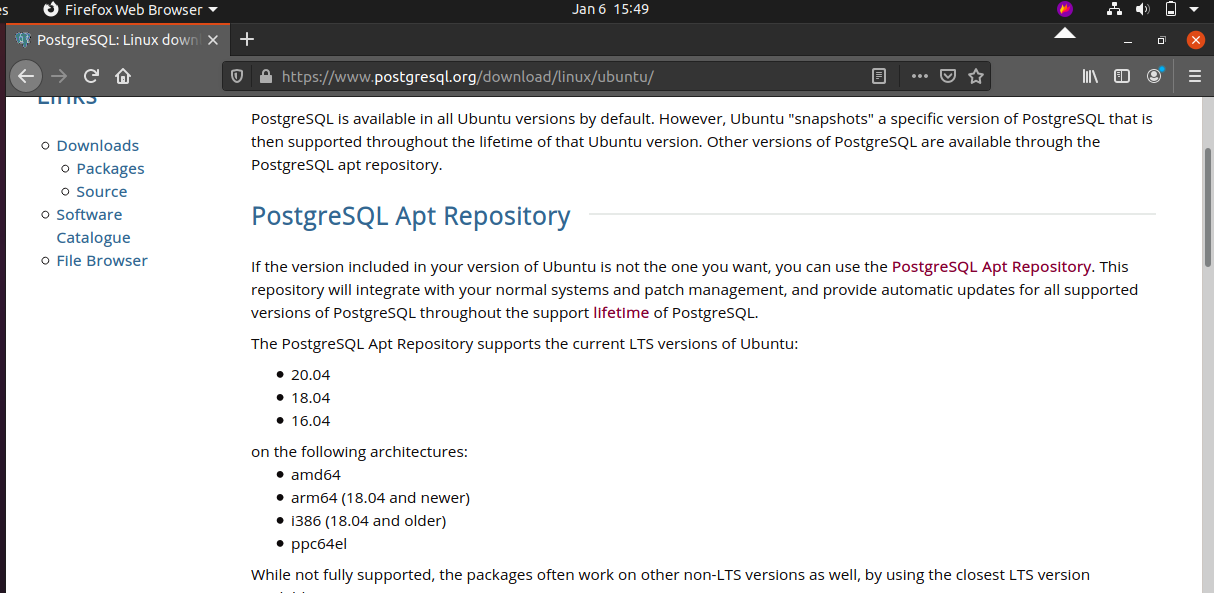
After you click the Download button, another window will open. Scroll down, and click Ubuntu under the Binary Packages heading.

Next, you need to refresh the Ubuntu OS package repository cache. Issue the following command to update the cache:

Finalizing the Installation
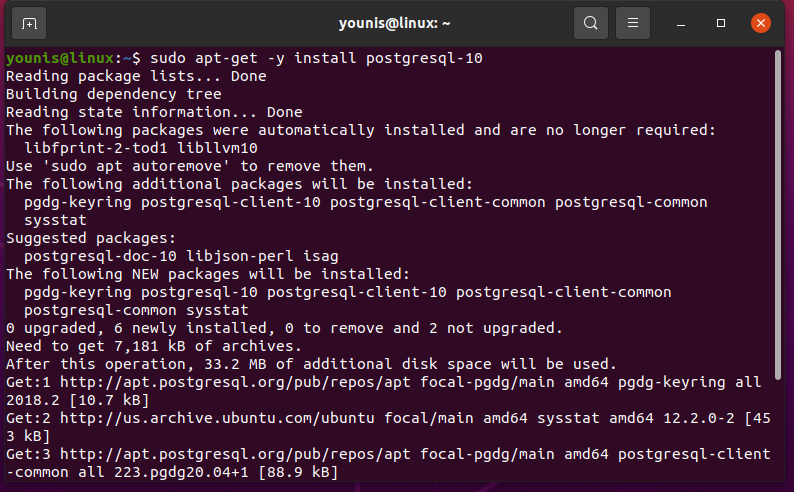
At this time, you have completed all the hard work and are almost ready to install PostgreSQL 10. You just need one more command to install this software. Issue the following command to install PostgreSQL 10 on your system.
After you enter and run this command, a new window will open that will hold some of the key details about the installation and the items to be installed. Press Y then Enter to continue the installation.
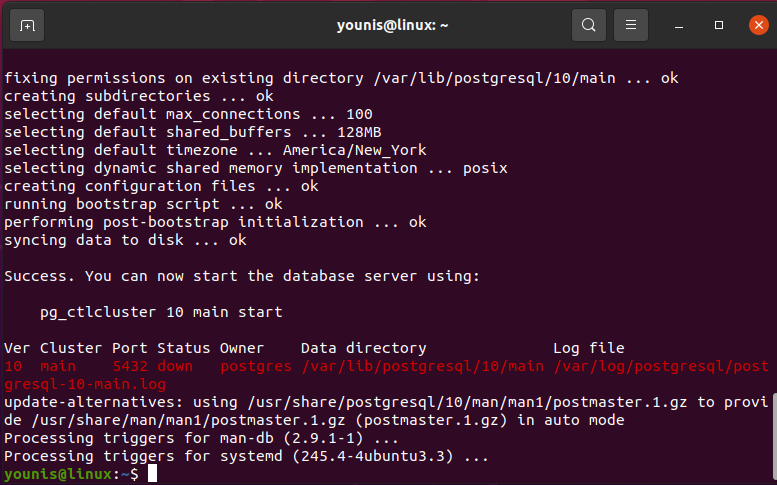
Wait for a few seconds, and the installation will complete. It does not take much time to install the software; the installation should be complete after a little while.
Once the software has been installed successfully, run some tests to verify that it has been installed correctly. Enter the following command to check whether the software is running correctly:
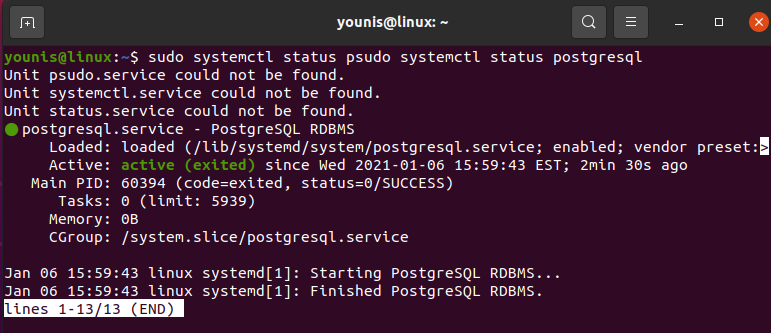
As you can see from the output, PostgreSQL is running.
Creating and Setting a Profile
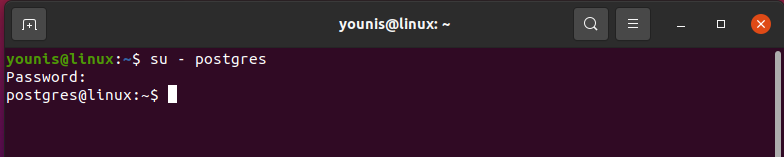
Now that you have completed the installation, you will only be able to log in to PostgreSQL as a ‘Postgres’ user. To access the software without using a Postgres user, you will have to create other users and databases from this login.
So, log in as a Postgres user and set up a password for the Postgres user by entering the following command:

After this, you can log into the system as a Postgres user by issuing the following command:
After logging into the interface, as a user, you should have access to the command-line interface of PostgreSQL. To obtain the command-line interface, run the following command:
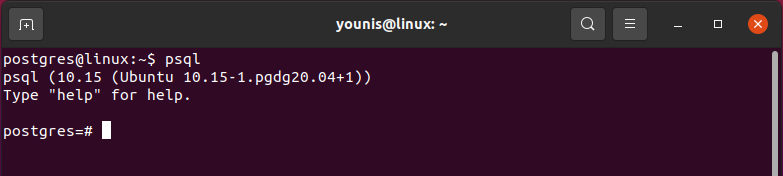
Now, you have access to the command-line interface, and you can write commands and text in PostgreSQL. You can also view the prompt that appears to run other PostgreSQL commands.
Conclusion
In conclusion, this article provided a complete and detailed overview of the procedure required to install PostgreSQL 10 in Ubuntu 20.04 Focal Fossa.