It helps in evaluating the network connectivity. For example, if the connection is good, the ping is fast, and the latency is low. The “ping” command uses the ICMP (Internet Control Message Protocol) packets to setup the communication between the system and a target device. So, in this tutorial, we will explain the complete method to install and use the “ping” command on Fedora Linux.
How to Install the Ping Command on Fedora Linux
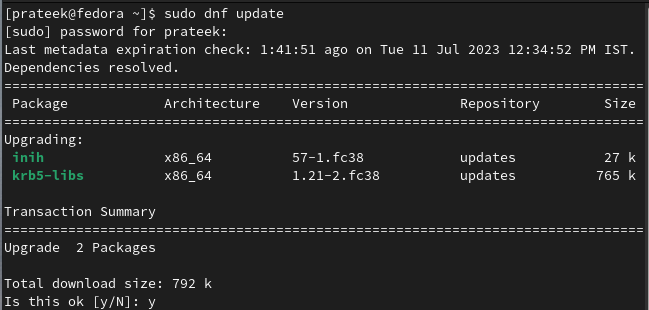
Before installing the “ping” command utility, let’s update the system as per the latest one available:
To install the “ping” command utility, you need to get the “iputils” package. So, install it through the following command:

After the successful installation, check the “iputils” by running the following command:

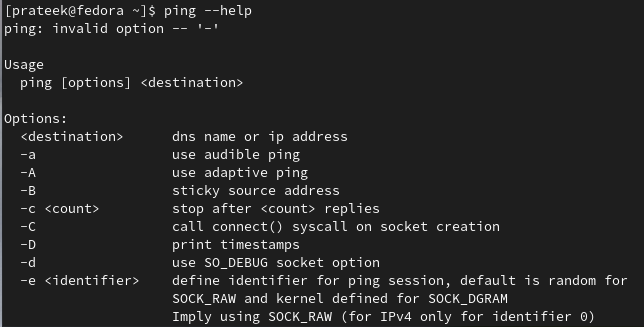
You can also run the following command to check all the available options in the “ping” command:
How to Use the Ping Command
The “ping” command allows you to send the ICMP Echo request messages to the destination IP address or hostname and receive the ICMP Echo reply messages. It helps you to assess the network connectivity and measure the round-trip time between the system and the host. To use the “ping” command, open a terminal and enter the following syntax:
Here, “destination” can be an IP address or a hostname. By default, the command sends the ICMP Echo Request messages indefinitely until they are interrupted by the user. Let’s start with a basic example to check the connectivity of www.bing.com:
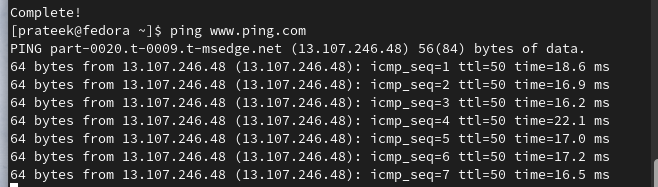
As the previous image shows, the system sends the ICMP packets to “bing.com” and then displays the packet loss and round-trip times.
The -C Option
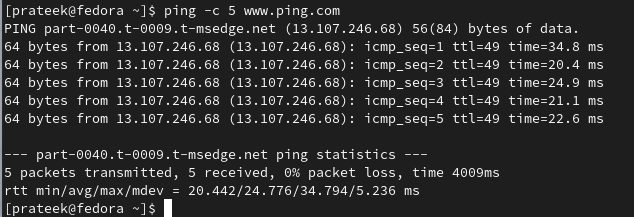
You can use the -c option to specify the number of the ICMP Echo Request messages. For instance, run the following command to send five packets:

The -I Option
You can use the -i option to set the time interval between each packet transfer. For instance, the following command sets the time interval of 5 seconds:
The -S Option
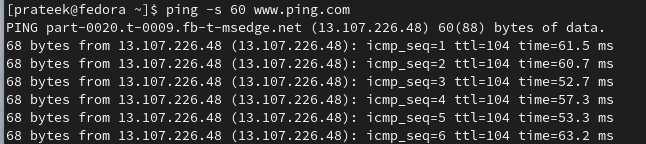
The -s option allows you to define the size of the ICMP packets to send. Fifty-six (56) bytes is the default size of a packet, but you can use the -s option to change its size. For example, to send the packets with the size of 100 bytes, use the following command:
The -W Option
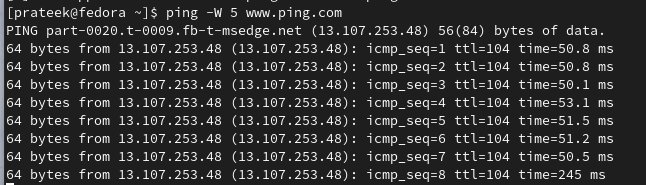
It specifies the waiting time of reply before considering the packet lost. The “ping” command displays a timeout message if no reply is received within the particular time. For example, to set a timeout of 3 seconds, use the following command:
Conclusion
This is all about installing and using the “ping” command on Fedora Linux. By installing the necessary packages and exploring its various options, you can now effectively test the network connectivity and measure the round-trip time on your system. The “ping” command allows you to troubleshoot and resolve the network-related issues efficiently.