If you’ve tried to install PHP 5 on the latest release of Ubuntu (which is at of this writing Ubuntu 17.10), you know that it’s not available in the official repository of Ubuntu. The latest Ubuntu releases use PHP 7 for it’s LAMP stack. In this article, I will show you how to get PHP 5 web server ready on Ubuntu 17.10.
PHP 5 is not available in the official repository. So how do we get it? Well, you can add a PPA that provides PHP 5 or compile it yourself. Compiling software from source is not for new users. It’s a lot of hassle. So in this article, I will add a PPA and go through the steps to install and configure a fully functional PHP5 webserver. I will use Apache as the HTTP server and MariaDB/MySQL as the database. Let’s get started.
Adding PHP5 PPA:
The PHP5 PPA can be found at https://launchpad.net/~ondrej/+archive/ubuntu/php/ this link. If you scroll down a little bit, you should see the following section “Adding this PPA to your system”.
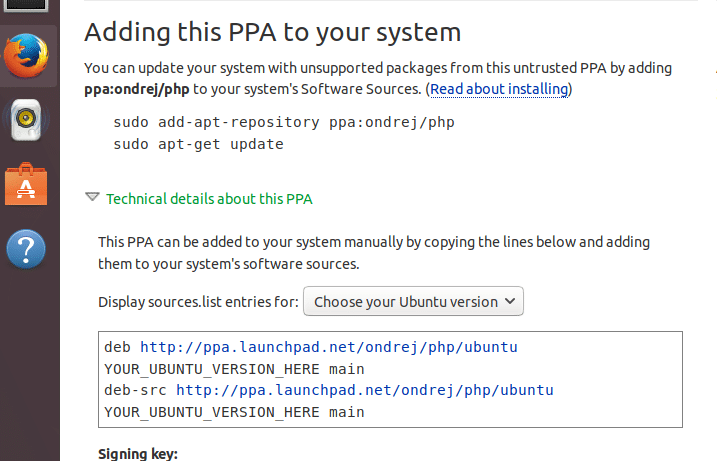
Here, the lines that start with ‘sudo’ are the commands that you have to run in the terminal in order to add the PPA. So open your terminal and run the following command and press <Enter> several times. Pressing enter is required to add new PPAs.
sudo add-apt-repository ppa:ondrej/php
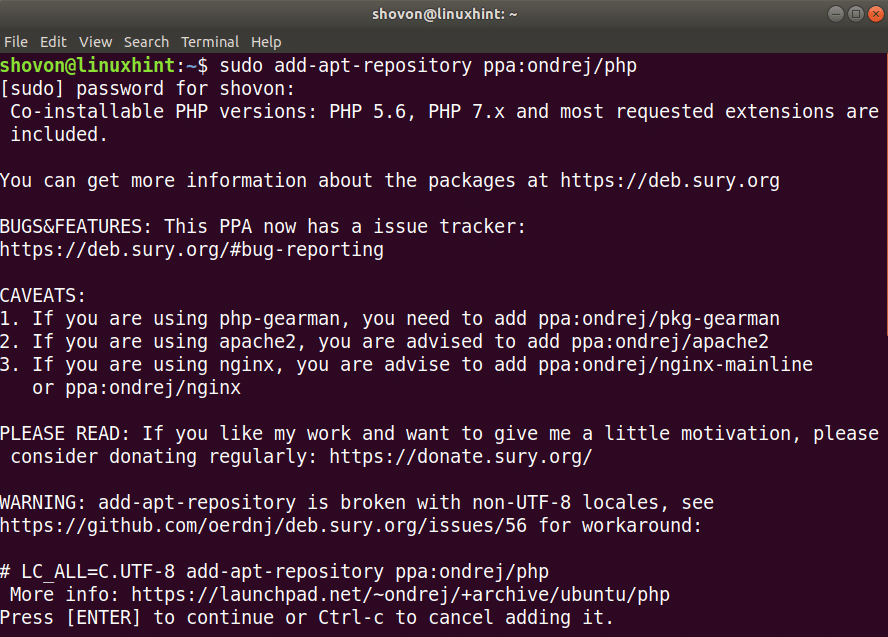
Once you’re done, update the package repository cache with the following command:
sudo apt-get update
Installing Apache and PHP5:
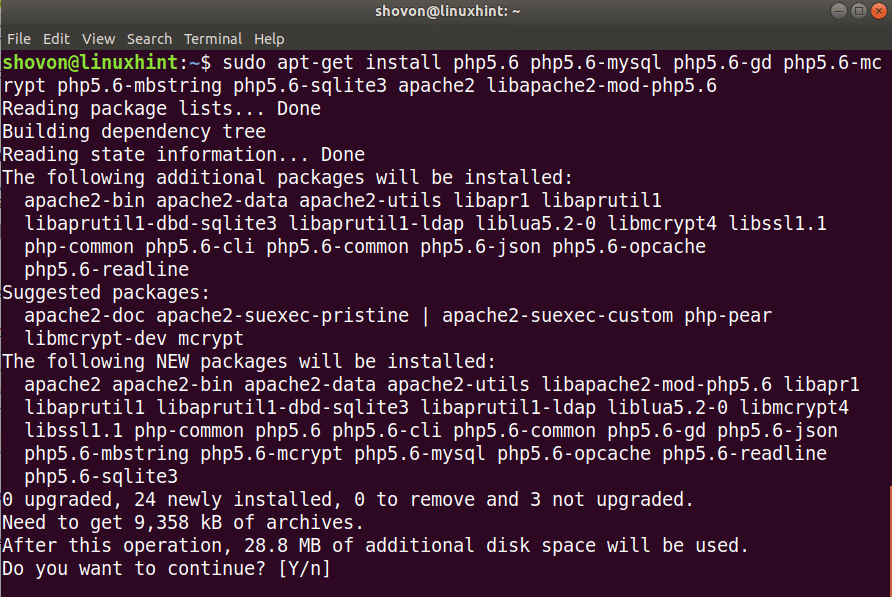
At this point, we have the PPA added and everything is ready. Now we can install Apache and PHP5. To install Apache and PHP5 on Ubuntu 17.10, run the following command:
sudo apt-get install php5.6 php5.6-mysql php5.6-gd php5.6-mcrypt php5.6-mbstring php5.6-sqlite3 apache2 libapache2-mod-php5.6
Once you press enter, you should see the following. Press Y and press Enter to continue.
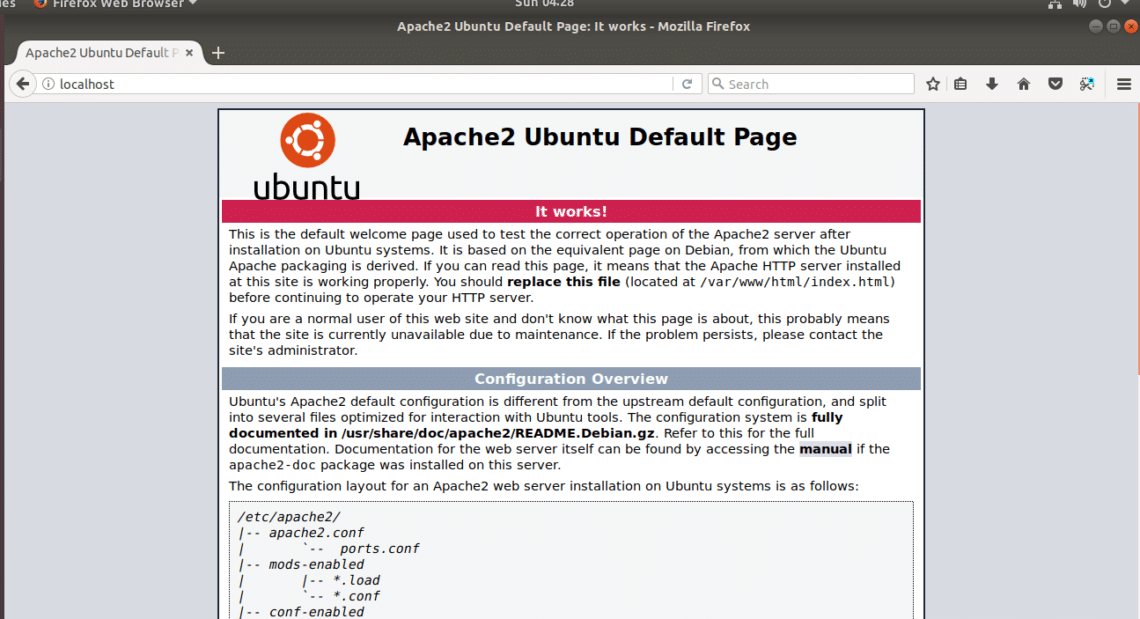
It should take a minute or so to install depending on your Internet speed. Once it’s installed, open your web browser and go to http://localhost or http://127.0.0.1
You should see the following page, which means Apache is working.
Now let’s test, whether PHP is working. I am going to create a simple PHP script on the WebRoot of Apache server and run it. By the way, the DocumentRoot or WebRoot is in the “/var/www/html” directory by default. I will show you how to change it later.
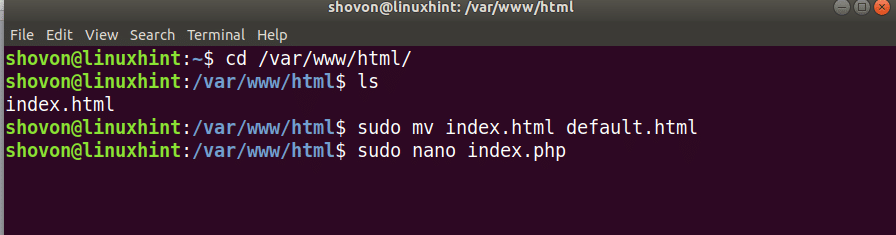
I changed into “/var/www/html” with “cd” command and renamed the default “index.html” to “default.html”. Then I am going to create “index.php” with “nano”. The contents of the “index.php” file is given below:
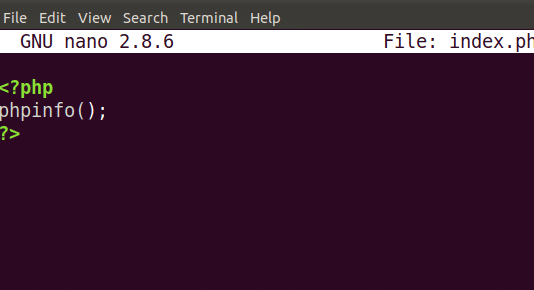
Now open your web browser and go to either http://localhost or http://127.0.0.1 and you should see the following page. Which states that PHP5 is configured correctly and it’s working.

Install MariaDB/MySQL:
Now we got PHP5 and Apache HTTP Server working. It’s time to install a database. I will install MariaDB database, it’s the same as MySQL other than the license. So let’s get to it. To install MariaDB/MySQL, run the following command:
sudo apt-get install mysql-server mysql-client
Press Enter and then press Y and then press Enter to confirm.
It should take a while to install. In the process, installer should ask you for the root password. This is very important. Use a secure password and make sure you don’t forget it. For safety, you can write it somewhere. Once it’s installed, run the following command to verify that it’s installed correctly.
sudo systemctl status mysql
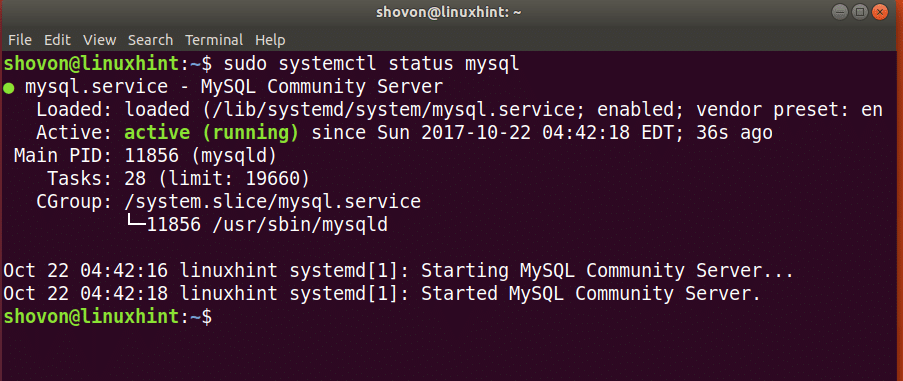
It should say “active (running)”, if it’s stopped, you can start it with the following command:
sudo systemctl start mysql
Changing Apache Run User and Group:
You can change the default user and group that Apache run as. This is important when you set up an FTP server. I am going to create a new user and group ‘website’ and set it as the User and Group of Apache. Run the following command to create the user ‘website’:
sudo adduser website
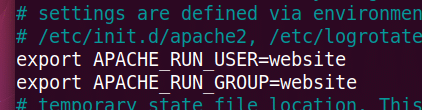
It should ask you for the details of the newly created user. Just answer the questions and press . Now open “/etc/apache2/envvars”. Locate these two lines and replace ‘www-data’ with ‘website’ for both lines.

Change it to this:
Now save the file and restart apache with the following command:
sudo systemctl restart apache2
Now check whether the server is running correctly with the following command:
sudo systemctl status apache2
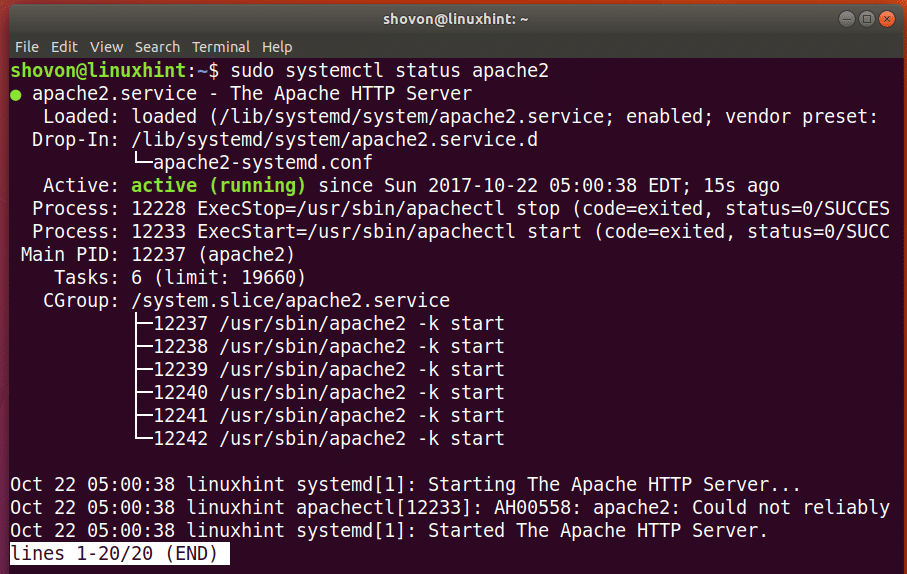
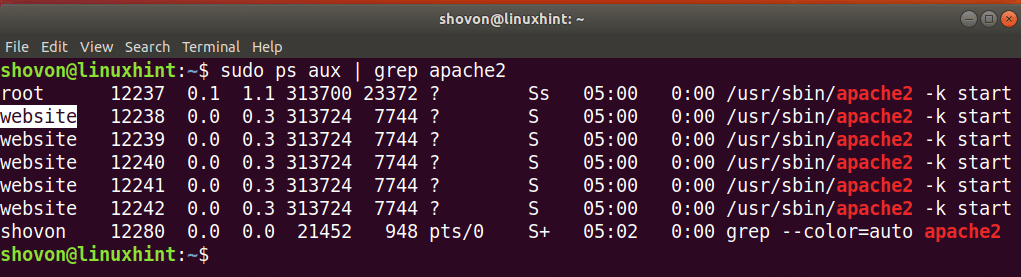
You can see that it’s running correctly. Now you can use the following command to check whether apache is running as the ‘website’ user.
sudo ps aux | grep apache2
Changing the DocumentRoot/WebRoot of Apache2:
So far so good. In this section, I will show you how to change the default DocumentRoot or WebRoot of Apache HTTP Server. For some reason if you have to change the default “/var/www/html” then this section is for you. Open the following configuration file with “nano”:
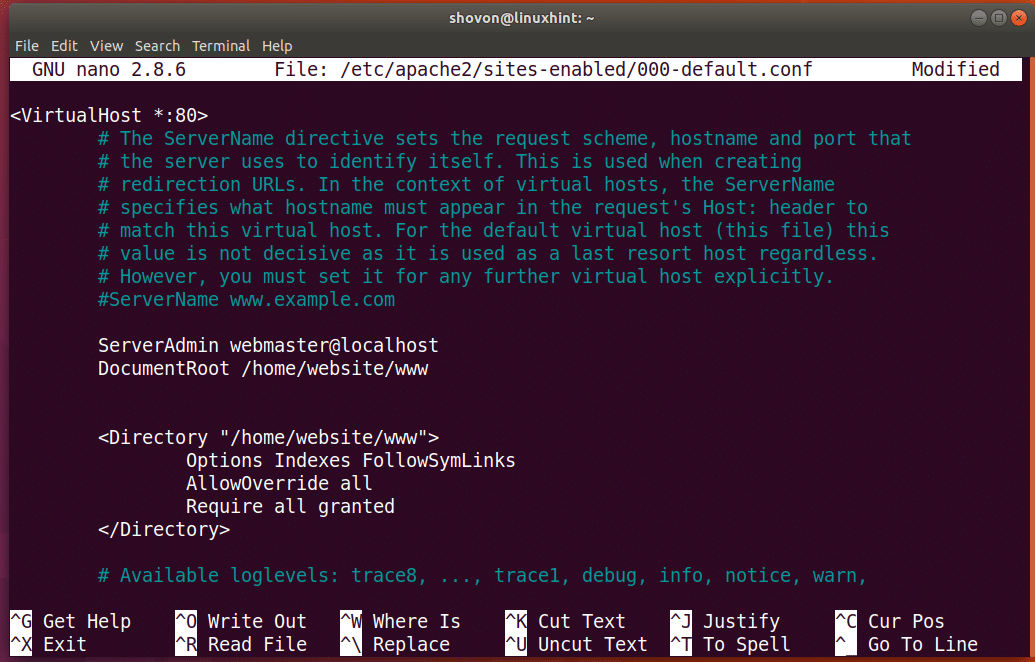
sudo nano /etc/apache2/sites-enabled/000-default.conf
Now change the DocumentRoot as marked below to “/home/website/www” which is in the home directory of ‘website’ user. I haven’t created the ‘www’ directory there yet. But I will soon. This is what DocumentRoot should be:

Now we have to add the permissions to that directory, otherwise you won’t be able to access it. Add the following lines after DocumentRoot:
<Directory “/home/website/www>
Options Indexes FollowSymLinks
AllowOverride all
Require all granted
</Directory>
The final configuration looks like this:
Now save the file. It’s time to create the ‘www’ directory in the ‘website’ users home. Run the following commands:
sudo mkdir /home/website/www
sudo chown website:website /home/website/www
Now restart Apache HTTP server with the following command:
sudo systemctl restart apache2
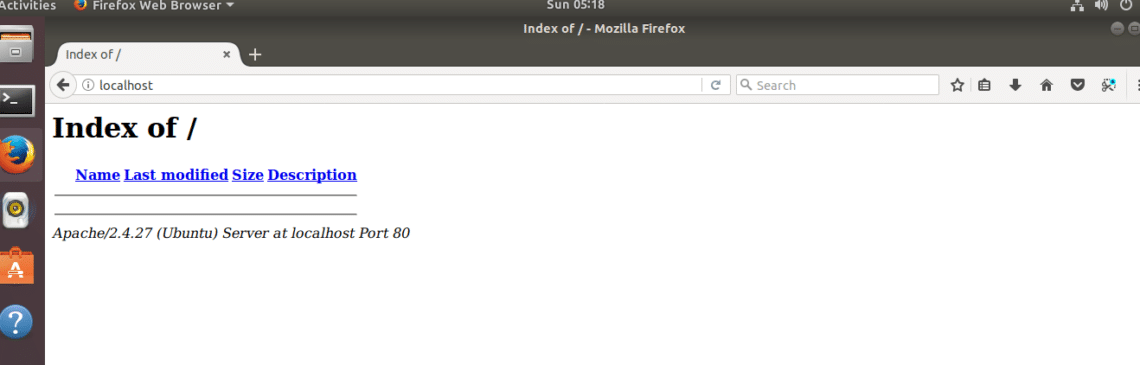
I also checked the status of Apache server as before. It’s running as expected. Now go to http://localhost or http://127.0.0.1 from your web browser. You should see the following page, which means the default DocumentRoot / WebRoot is changed.
Installing and configuring FTP:
Now that everything is set up, you must upload files to your webserver. You can do it with SSH or FTP. There are other options. But these are the most popular ones. In this section, I will install and configure an FTP server, so that we can upload webpages to our server. To install an FTP server for your website, run the following command:
sudo apt-get install vsftpd
Now check the status of vsftpd with the following command:
sudo systemctl status vsftpd
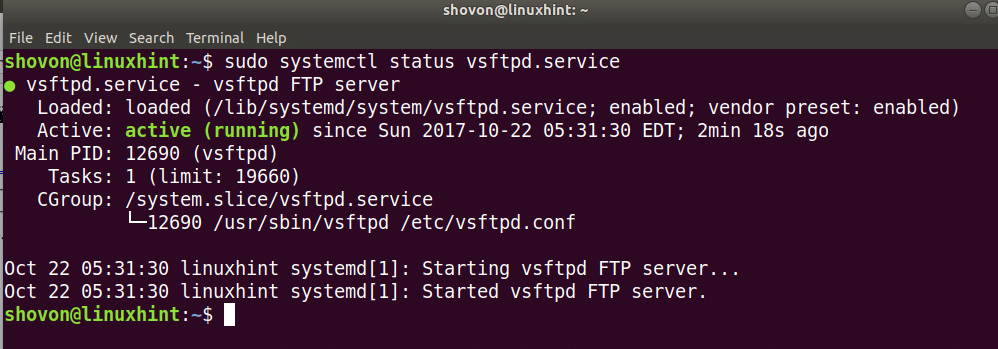
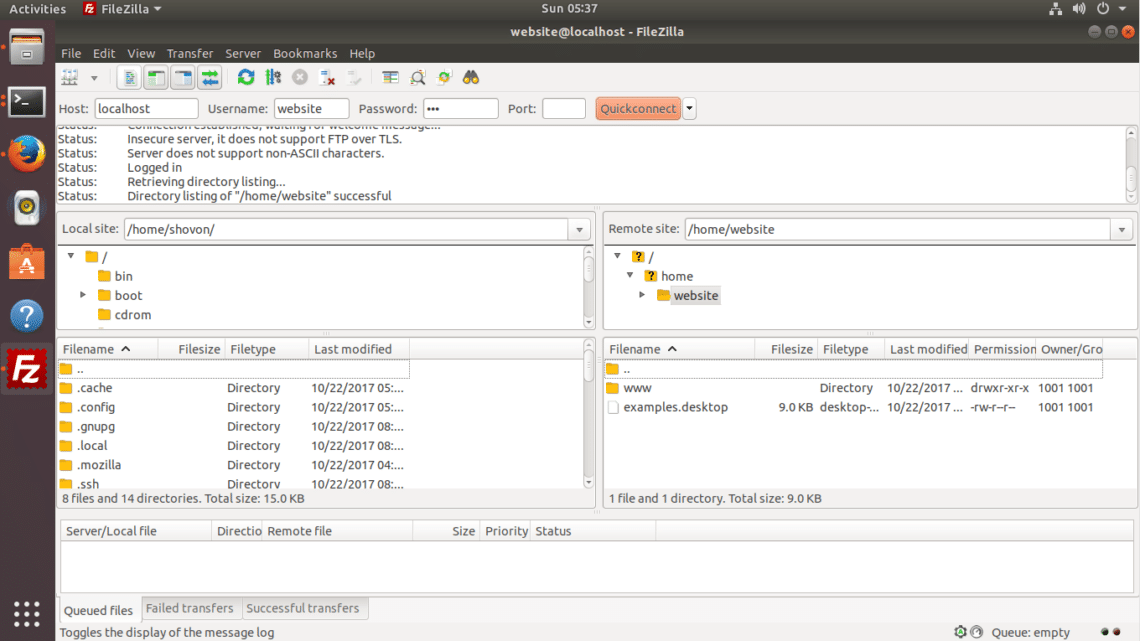
You can see that it’s running. Now you can connect to the FTP server with FileZilla or any other FTP program. Just use the username ‘website’ to login.
Installing phpMyAdmin and Configuring MariaDB/MySQL(Optional):
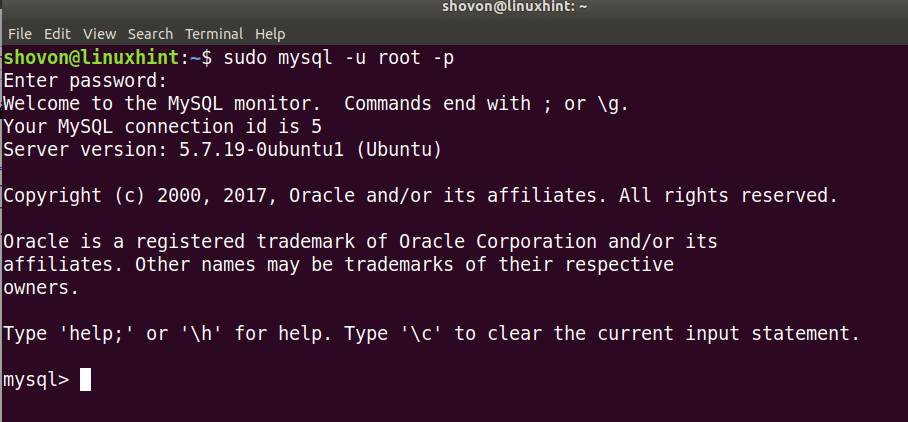
Most of the web developers use MariaDB/MySQL through phpMyAdmin. If you want to do the same, then this section is for you. To install phpMyAdmin, first create a new MariaDB/MySQL account. Open your terminal and run the following command to log into mysql as root:
sudo mysql -u root -p
Enter your root password(the one you specified when you installed MariaDB/MySQL) and you should be logged in.
Now create a new user ‘website’ with the following command:
CREATE USER ‘website’@’localhost’ IDENTIFIED BY ‘your_password’;
Then grant permissions on that user with the following command:
GRANT ALL ON *.* TO ‘website’@’localhost’;
Now type ‘exit’ and press Enter to go back to the Terminal. Now we are ready to install phpMyAdmin. First I am going to go to the official website of phpMyAdmin(https://www.phpmyadmin.net/downloads) and download phpMyAdmin.
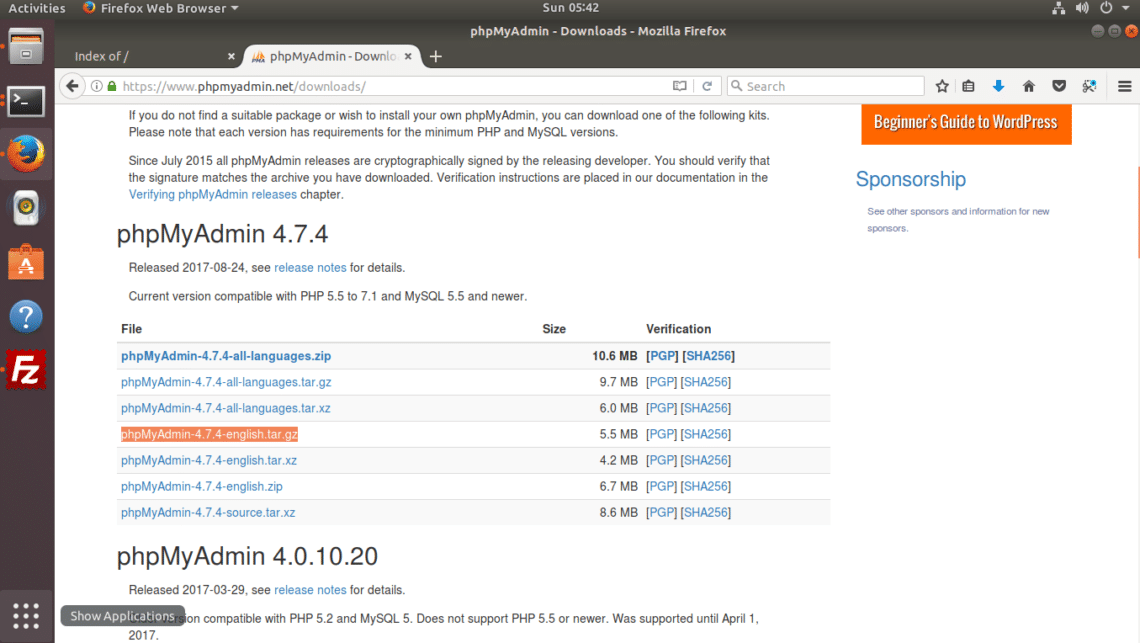
Then I am going to extract the phpMyAdmin archive to the DocumentRoot of my web server. “sudo tar xvzf Downloads/phpMyAdmin-4.7.4-english.tar.gz -C /home/website/www” The extracted phpMyAdmin folder has a long name. I don’t want to type it all. I want to access it with just http://localhost/phpmyadmin , so I must rename it to just ‘phpmyadmin’
To do that, run the following command:
sudo mv /home/website/www/ phpMyAdmin-4.7.4-english /home/website/phpmyadmin
Now I am going to change the permission of the files in ‘phpmyadmin’ directory to ‘website’ user and group with the following command:
sudo chown -Rfv website:website /home/website/www/phpmyadmin
Now you can access phpMyAdmin http://localhost/phpmyadmin or http://127.0.0.1/phpmyadmin from your browser.
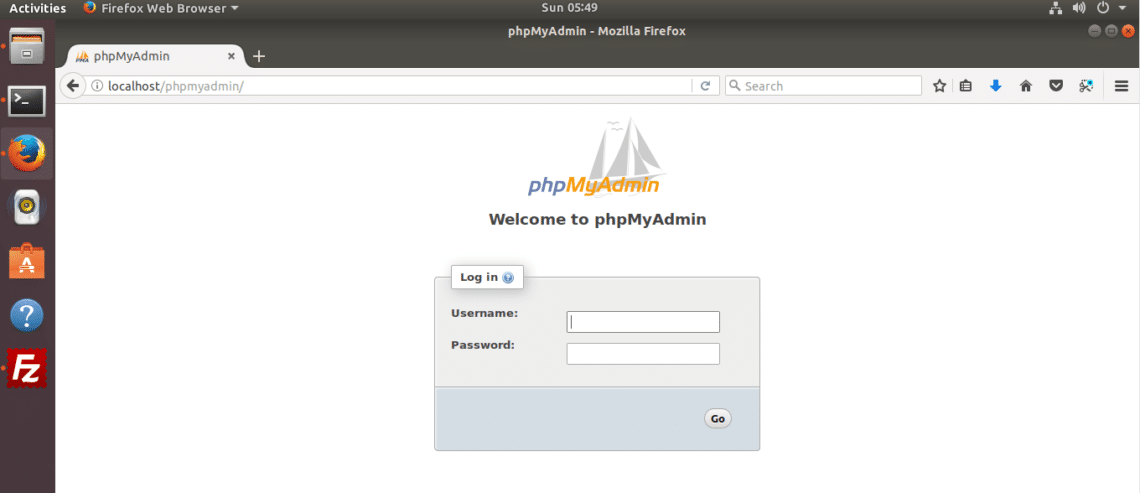
You can use the MariaDB/MySQL user we’ve created earlier here. Remember? ‘website’ was the username and the password I used was ‘secret’. Once you log in, you should see the following page. You can easily work with MariaDB/MySQL from phpMyAdmin from this page.