Odoo 15 is a customizable management software that comes in handy in many businesses, applications like inventory management, billing, e-commerce, and many others. Further read this guide to install Odoo15 on Linux Mint 21.
Installing Odoo 15 on Linux Mint 21
The process of installing Odoo 15 is quite long but is simple as there are some prerequisites that one should have to install to ensure smooth working of Odoo 15, below are some steps that one need to follow for its successful installation:
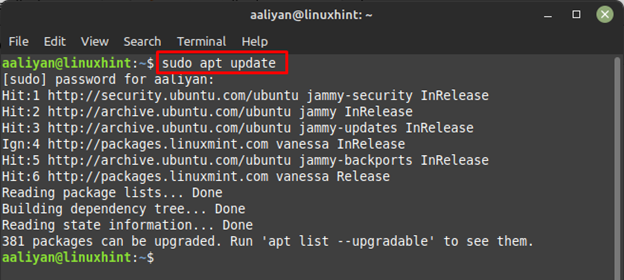
Step 1: Update the packages list of the default package manager of Linux Mint as it is advisable to do it before installing any application or software:
Step 2: Now install all the necessary dependencies that are required to install Odoo 15 and for that use:
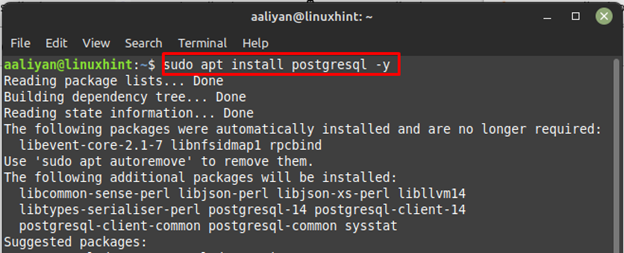
Step 3: Next, install PostgreSQL on Linux Mint as it is mandatory because Odoo 15 uses it for database management:
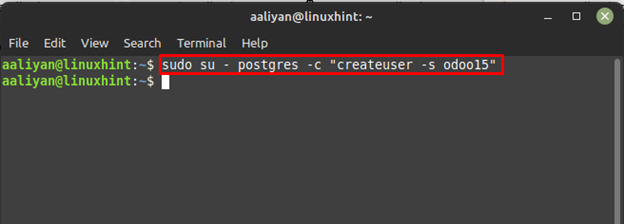
Step 4: Next, add a user named Odoo15 and for that execute:
Now, set the Odoo 15 as a user in and for that execute:
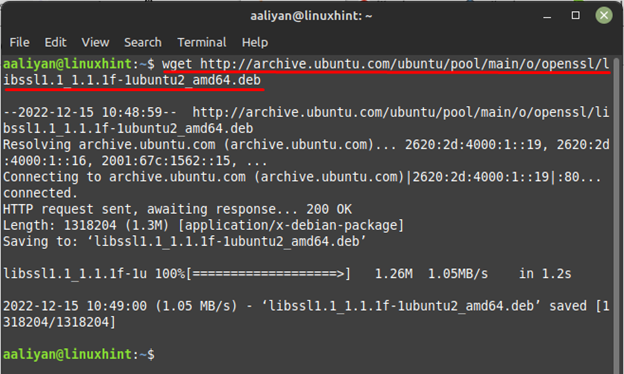
Step 5: Now install the libssI1.1 library on Linux Mint download its deb file by executing:
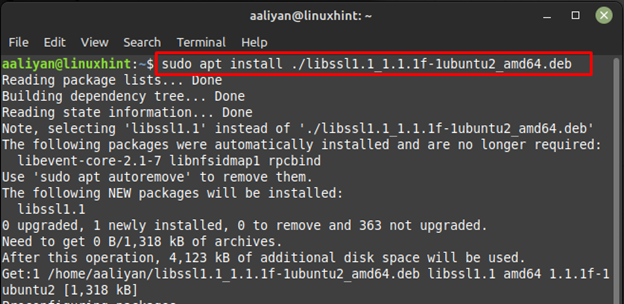
Now install the library using the downloaded deb file with the help of default package manager:
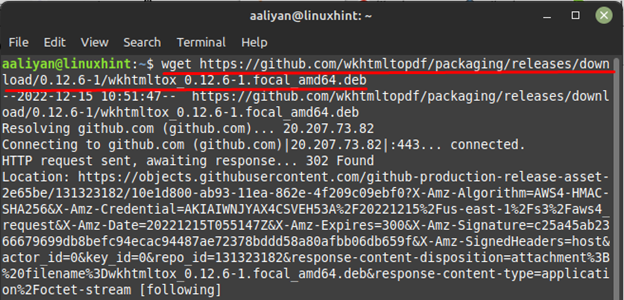
Step 6: Now install another prerequisite that is wkhtmltox which comes with wkhtmltopdf that converts HTML into PDF and for that download it from GitHub by executing:
Step 7: Now make the file executable by using the chmod command like this:
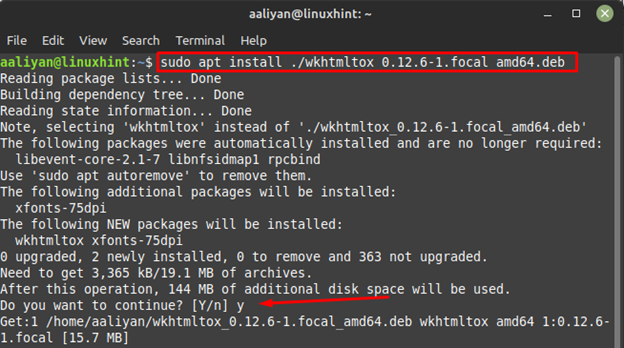
Step 8: After making the file executable install it using the default package manager with the help of the command given below:
Step 9: Now to access the wkhtmltox let’s create a symbolic link and for that use:
Step 10: To see if wkhtmltopdf is installed correctly just check its version using:
Step 11: Now it’s time to switch to the Odoo 15 user we created previously and for that use:
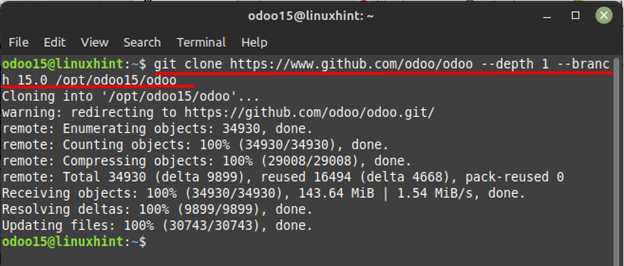
Step 12: Now from GitHub download the Odoo 15 file using git clone:
Next install virtual environment for Odoo 15 by using:
Afterwards activate the virtual environment we created previously by executing:
Step 13: Now install wheel using pip installer by executing:
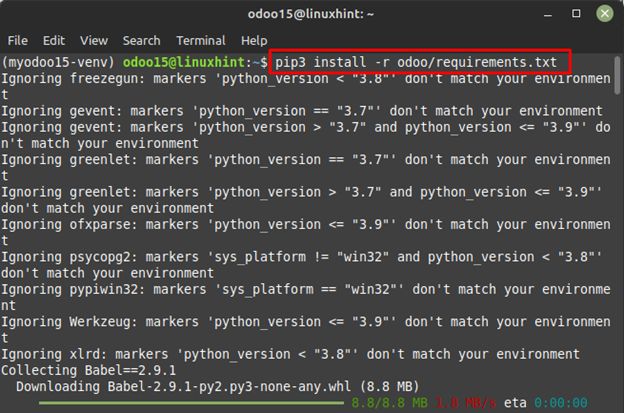
Step 14: Once the installation is done get the Python modules text file using the default package manager:
Now deactivate the virtual environment by using deactivate command:
Step 15: Now create the directory of custom-addons using mkdir and afterwards exit the Odoo15:
$ exit
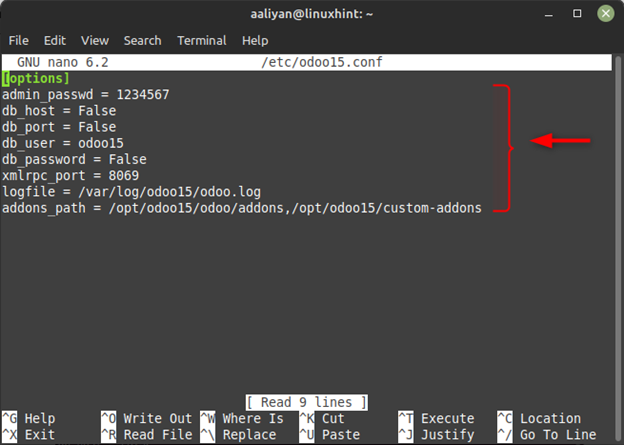
Step 16: Now open the configuration file of Odoo 15 using nano command:
Now add the lines given below in the configuration file, here change the admin password according to your preference once the changes are done save the changes and close the file.
admin_passwd = 1234567
db_host = False
db_port = False
db_user = odoo15
db_password = False
xmlrpc_port = 8069
logfile = /var/log/odoo15/odoo.log
addons_path = /opt/odoo15/odoo/addons,/opt/odoo15/custom-addons
Step 17: Now create a log file for Odoo 15 and for that use mkdir:
Step 18: Next change the ownership of Odoo 15 log file by executing:
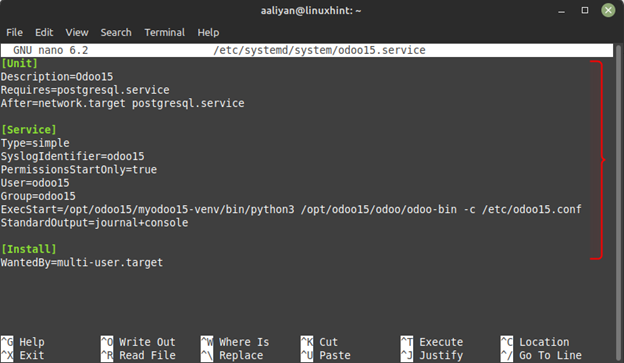
Step 19: Now to make Odoo 15 a service lets create its configuration file using nano command:
Next write the line given below in the file:
Description=Odoo15
Requires=postgresql.service
After=network.target postgresql.service
[Service]
Type=simple
SyslogIdentifier=odoo15
PermissionsStartOnly=true
User=odoo15
Group=odoo15
ExecStart=/opt/odoo15/odoo-venv/bin/python3 /opt/odoo15/odoo/odoo-bin -c /etc/odoo15.conf
StandardOutput=journal+console
[Install]
WantedBy=multi-user.target
Step 20: Now save the configuration file and reload the daemon service using:
Next enable the Odoo 15 service using the systemctl command like this:
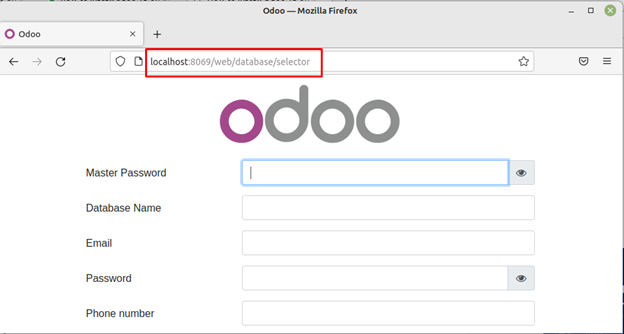
Step 21: Now access the Oddo 15 web page by entering the IP address and the port that is 8069 using the web browser:
Removing Odoo 15 from Linux Mint 21
If you no longer need Odoo 15 and want to remove it completely from Linux Mint 21 then follow the subsequent steps:
Step 1: Remove the Odoo 15 directory in the opt folder of Linux Mint using:
Step 2: Next remove the configuration file of Odoo 15 server using:
Afterwards remove the configuration file of Odoo 15 used for database configuration by executing:
Now remove the Odoo 15 server file that is mainly used for running it as a service because it contains all the data required to run Odoo 15 as a service:
Conclusion
Odoo 15 is a customizable management tool that serves many applications like accounting, ecommerce, project management and many others. The process of getting this application on Linux Mint is quite easy as far as one follows all the necessary steps mentioned in this guide.

