In this beginner’s friendly guide, we will walk you through installing MySQL on your macOS system with Zsh.
Install MySQL on macOS with Zsh
Installing MySQL on macOS with Zsh is straightforward and can be completed using the below-given steps:
Step 1: Open the Zsh terminal on a Mac and run the below-given command to install Homebrew on your system.
Through this tool, you will be able to install MySQL on macOS easily.
Step 2: After successfully setting up Homebrew on your Mac, the next step is to proceed with the installation of MySQL using the command provided below:

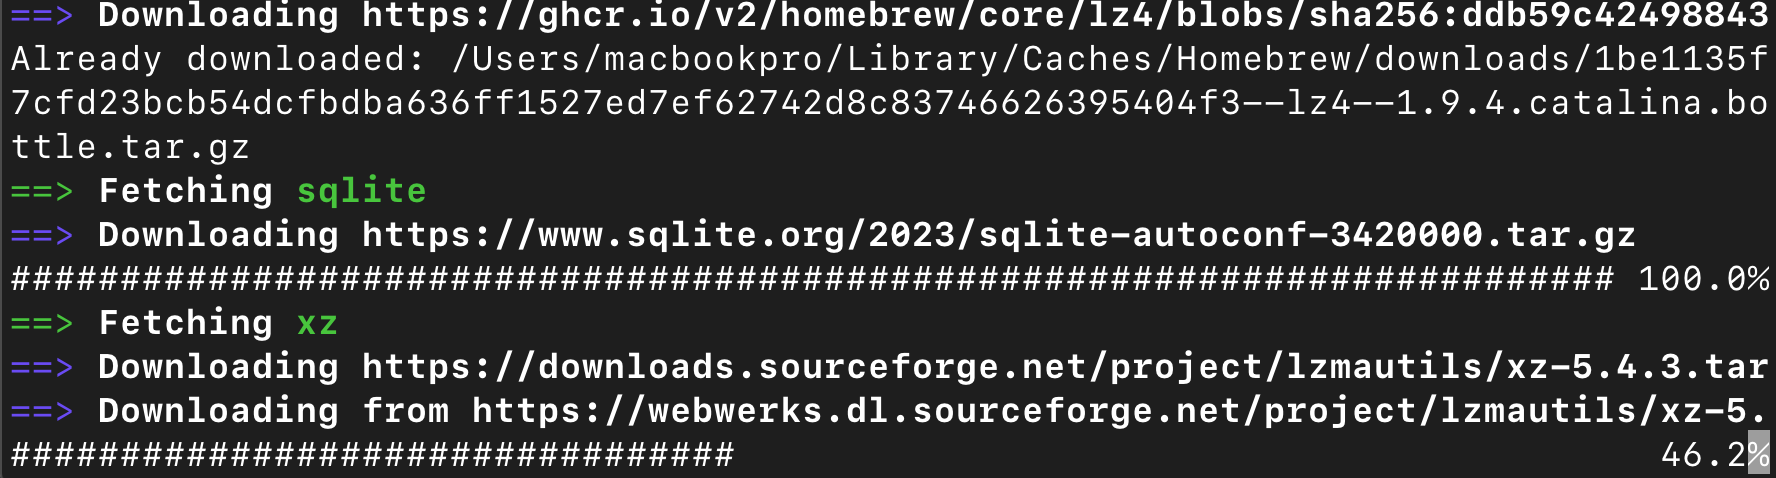
By executing this command in the Zsh, Homebrew will handle the installation process, fetching the necessary files and dependencies, and configuring MySQL on your system.
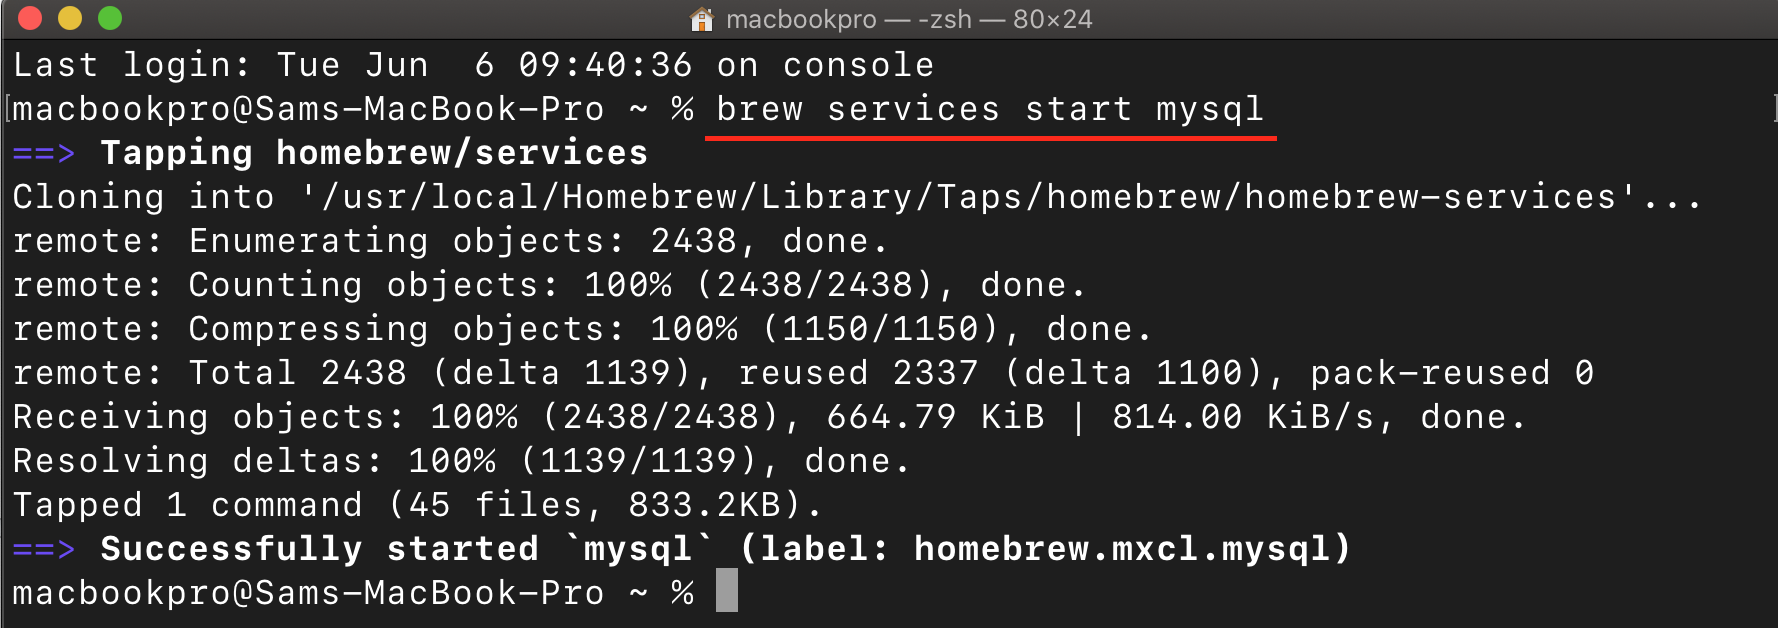
Step 3: Upon the successful installation of MySQL on your Mac, you can initiate the MySQL server by executing the following command in Zsh:
Step 4: To secure the MySQL server and protect it from unauthorized access, it is crucial to set a root password, which can be accomplished by using the following command:
Executing this command initiates a security configuration script that guides you through the process of securing your MySQL installation. The script prompts you to set a root password, remove anonymous user accounts, disallow remote root login, and remove test databases, among other security measures.
Step 5: If you used brew services start mysql to start MySQL on your Mac, it will automatically be restarted upon system reboot. This ensures that MySQL is consistently available and running as a background service. If you want to verify the status of MySQL or manually stop/start the service, you can use the following commands:
To display a list of services managed by Homebrew, including MySQL, along with their current status, use the following command.

To stop the MySQL service:

Executing this command will halt the MySQL service, effectively stopping the MySQL server on your Mac.
Note: If you prefer to avoid running MySQL as a daemon process that automatically starts at system reboot, you can start and stop the MySQL server manually when needed and the commands to achieve this are given below:
To start the MySQL server:

Executing this command will initiate the MySQL server and make it available for connections.
To stop the MySQL server:

Running this command will gracefully shut down the MySQL server and terminate its processes.
Step 6: To connect to MySQL server on Mac in Zsh, use the following command:
Replace username with the appropriate MySQL username you want to use for the connection. After the execution of the above command, you have to enter the password associated with the specified username; if you are connecting as the root user, the command would be:
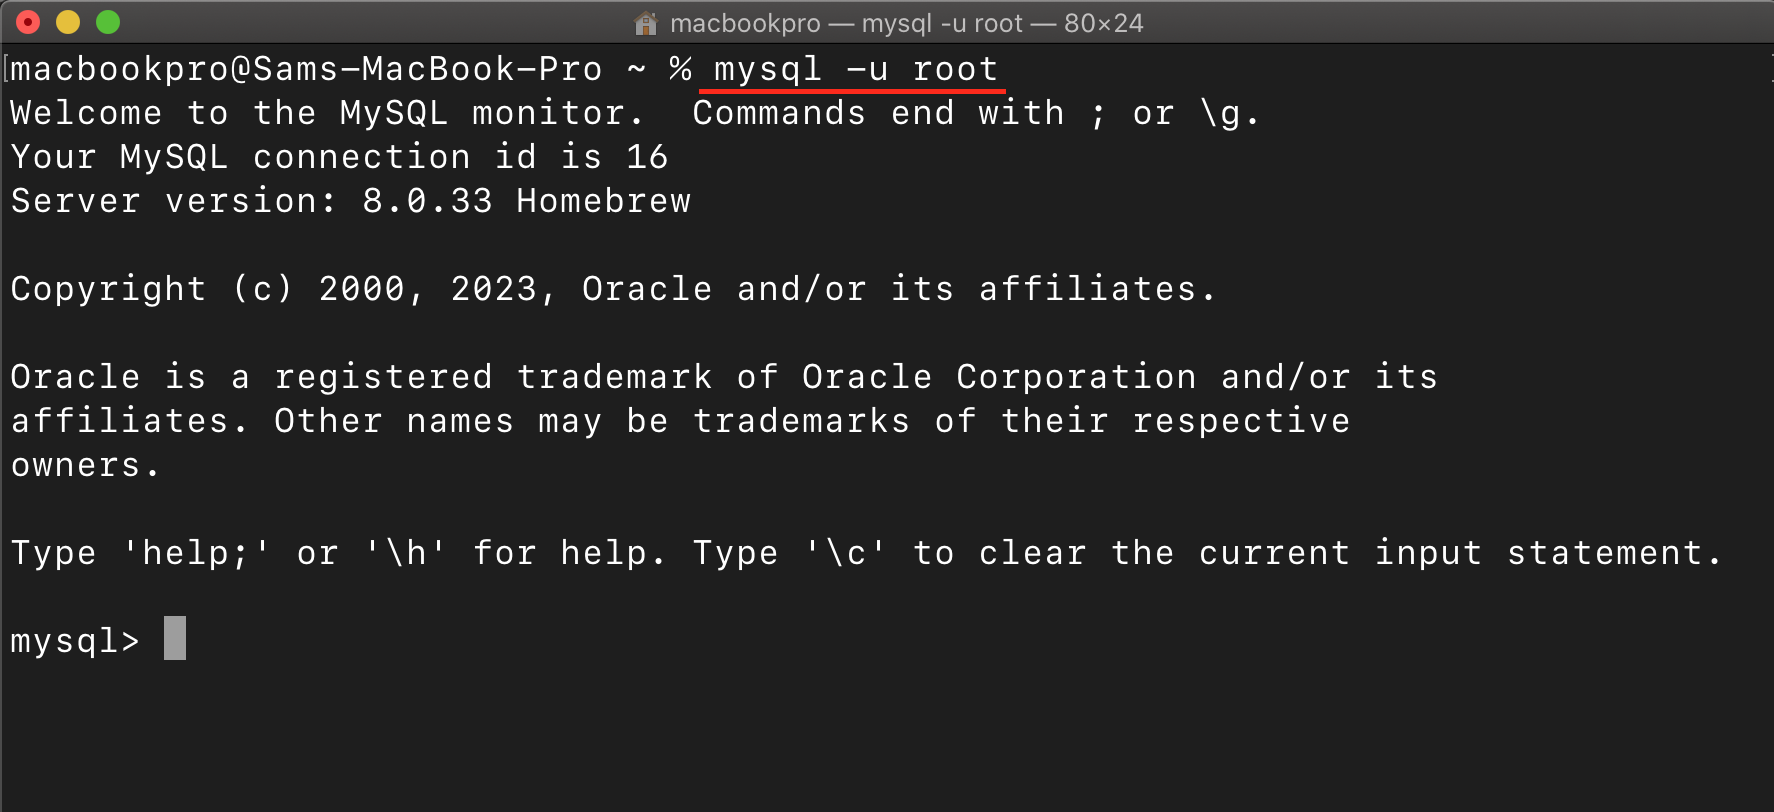
After entering the command and providing the correct password, you will be connected to the MySQL server, and you can start executing SQL queries or managing the databases using the MySQL command-line interface.
Conclusion
MySQL is a database management system used to manage and analyze your data effectively. This tutorial provides a step-by-step approach to install MySQL on macOS via Homebrew. It walks you through the entire process, from installation to secure the server with a root password and connecting to the MySQL server. Using these instructions, you will successfully set up and use MySQL on your macOS system.