
MySQL is an open-source, simple, and relational database that uses SQL (Structured Query Language) to manage and manipulate the data. MySQL is an essential part of the LAMP (https://linuxhint.com/install-lamp-stack-ubuntu/) stack. As of the writing, the newest version of MySQL is 8.0.23.
This post explains the MySQL installation on Linux Mint 20 and Ubuntu 20.04.
Installing MySQL on Linux Mint 20 and Ubuntu 20.04
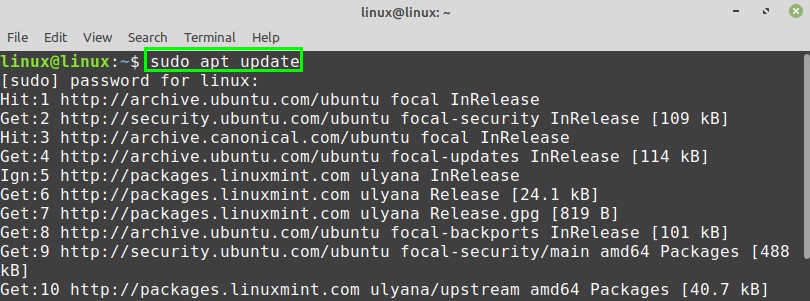
Fire up the terminal and update the apt repository cache before installing MySQL:
Next, install the MySQL server with the command:
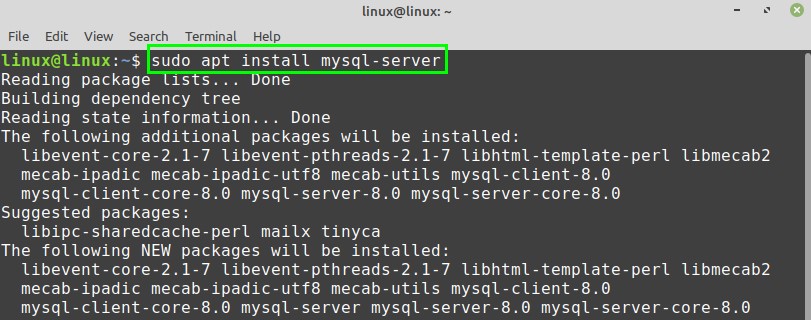
Press ‘y’ to continue installing the MySQL server.

Once the MySQL server is successfully installed, check the installed version and verify the installation using the command:

Upon successful installation, the MySQL service will start automatically. To check the status of the MySQL server, run the command:
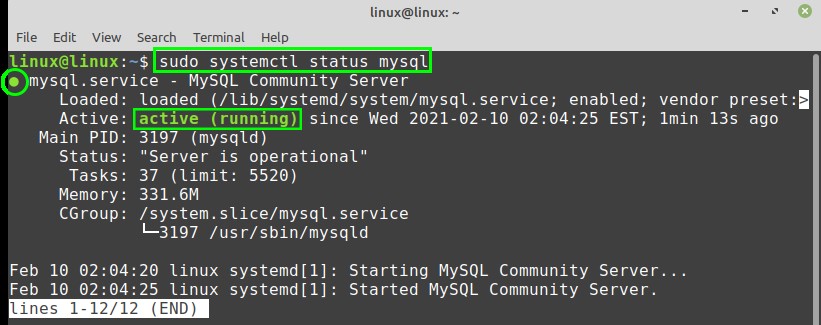
The output shows that the MySQL service is active and running.
Configuring the MySQL on Linux Mint 20 and Ubuntu 20.04
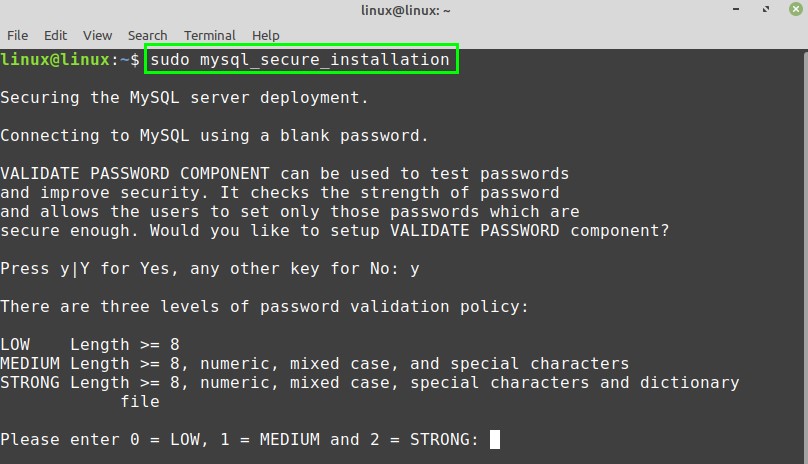
The mysql_secure_installation script, which comes by default with the MySQL installation, allows us to secure the MySQL security.
Run the mysql_secure_installation script with the command:
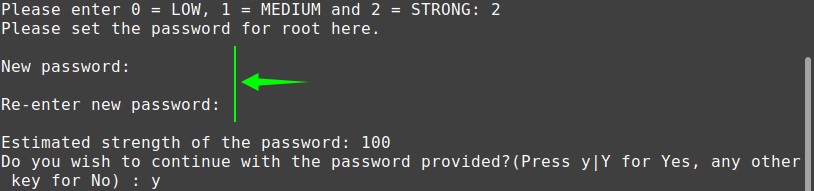
During the execution of the mysql_secure_installation script, you will be displayed various prompts. First, you will see three levels of a password validation policy. You are supposed to press ‘y’ to set up a password. Further, select the password level by entering the respective numeric digit.
Moreover, enter the password and re-enter the password for confirmation. The command line will display the estimated strength of the password.
Additionally, you will be prompted to remove the anonymous users, test databases, and reload the privileges table. Press’ y or n’ according to your choice, and the configuration will be performed successfully.


Creating new user
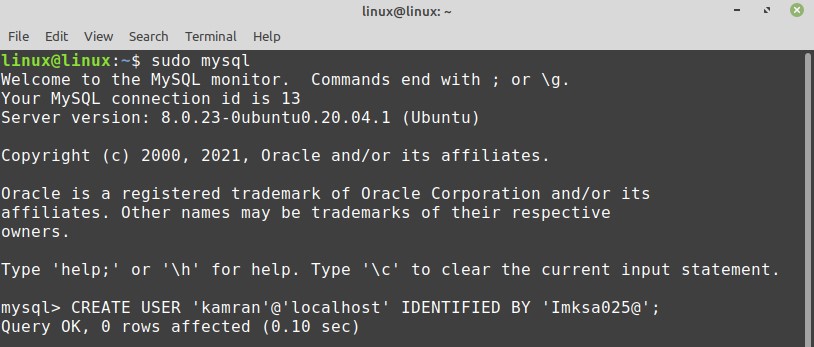
To start with MySQL server from the command line, use the command:

The MySQL interactive shell will start. Once the MySQL server is set up, the MySQL creates a root user that can manage the databases and perform various administrative actions.
Moreover, you can also create a new user in the MySQL server. While creating a new user, enter a username and password. Follow the below-given syntax to create a new user:
After successfully creating the new user, you can grant the privileges to the user as follows:

The *.* will grant all types of privileges to the newly created user.
It is advisable to flush the privileges. It will free up the extra memory that the server cached while creating a new user.

Logging into MySQL server and create a database
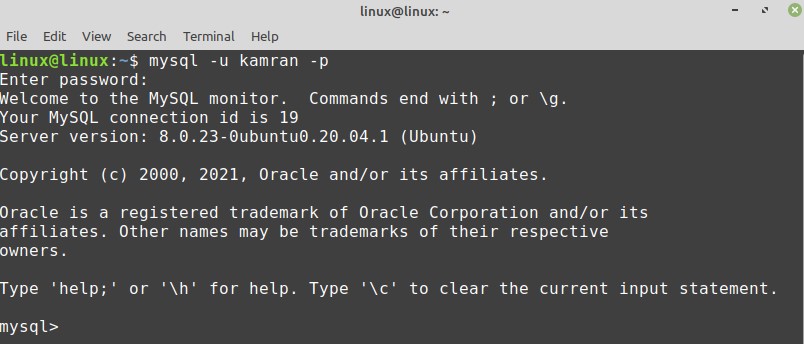
Now let’s login to the MySQL server and create a new database. To perform a login, use the command:
Enter the password that you have set before for this user, and MySQL interactive shell will start.
For creating a new database, execute the command:

To see the list of all available databases, type the command:

Conclusion
MySQL is a very popular and open-source relational database. The MySQL server is included in Linux Mint 20 and Ubuntu 20.04 standard repositories. This article explains the MySQL installation on two popular Linux distros, i.e., Linux Mint 20 and Ubuntu 20.04.