There are two methods to install MongoDB on mac:
- Installing MongoDB using brew (recommended)
- Installing MongoDB by downloading from official website
We will cover both in this tutorial.
Method 1: Installing MongoDB using brew
MongoDB can be install on mac using only terminal and for that you need to perform all the perquisite steps carefully:
Prerequisite 1: Install Xcode command line tools
The command to install Xcode command line tools is:
If the command line tools are already installed on your system then the output will let you know. To check whether command line tools are already installed or not use:
Prerequisite 2: Install Homebrew
To install brew follow the procedure mentioned on the official website.
After successfully performing the above steps, let’s move towards the installation of MongoDB on a mac through brew.
Step 1: Execute the following command to download the official homebrew formula and other tools for MongoDB:
Step 2: Now update all formulae:
Step 3 : To install the community version of MongoDB run the following command in terminal:
Step 4 : Now, to run the mongod service execute the following command:
To stop the service use:
And to restart the service use:
Step 5 : Check whether MongoDB service is running or not using:
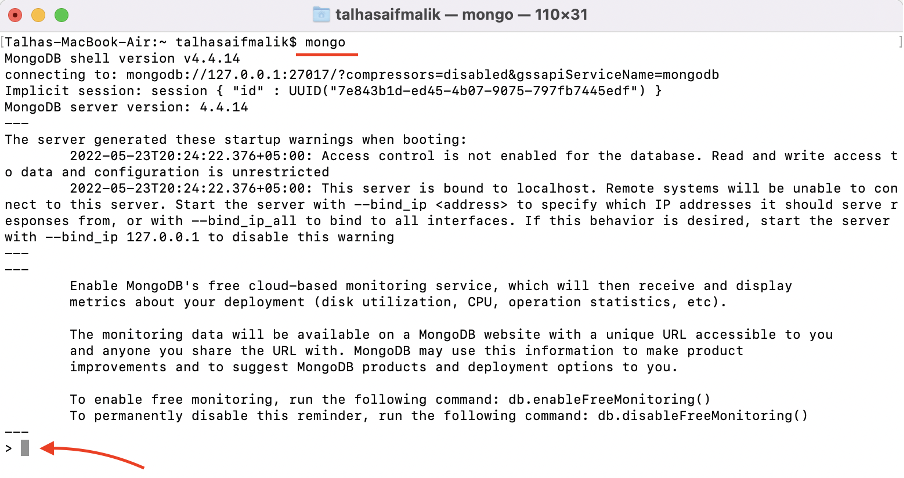
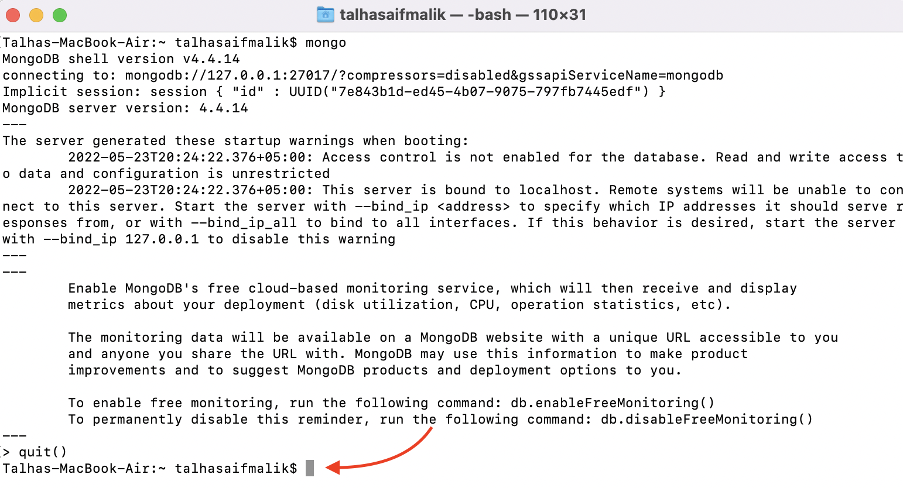
Step 6 : Now, connect and use MongoDB, run the following command:
Now MongoDB is ready to use:
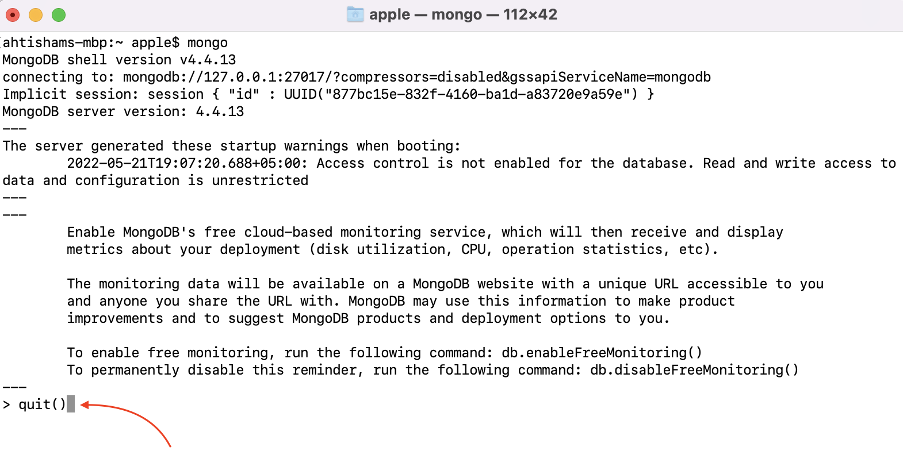
To quit MongoDB type quit() and press Enter:
Can’t use mongo command – Command not found on mac?
If for some reason the mongo command does not work then try adding a path in the bash_profile file. Open the file in the nano editor using:
Now insert the path of mongodb binary:
Save the file and exit. Now execute the following command:
Once done, you will be able to use the mongo command in the terminal.
Method 2: Installing and Running MongoDB by Downloading from Website
MongoDB can also be installed on mac by downloading its tar file from the official website. A complete step by step procedure to install and setup MongoDB is given below:
Step 1 : Go ahead to the community download page on MongoDB website and download MongoDB. You can also select other versions of MongoDB:
Step 2 : Now, open up your mac terminal, press Command + Space bar and type in “terminal”:
Step 3 : Change directory to the path where the MongoDB tar file is downloaded using cd the command. In our case the file is in Downloads directory:
Above command will shift the current directory to Downloads:
Step 4 : Extract downloaded tar file using:
Step 5 : Change directory to the extracted folder:
Step 6 : Now copy the binary files into the /usr/local/bin directory:
Also make a symbolic link:
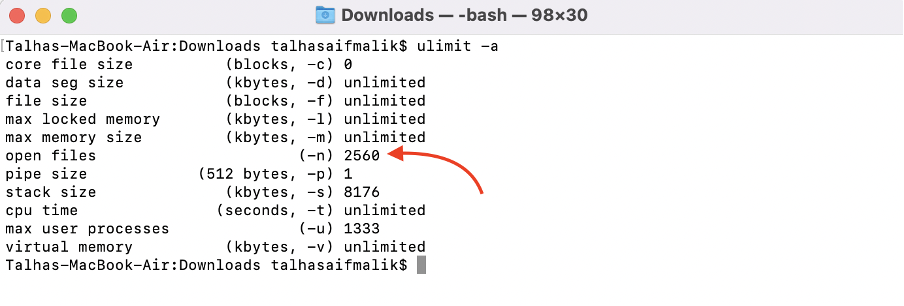
Step 7 : To run the mongoDB you have to make a few changes in the ulimit settings. Open the ulimit setting:
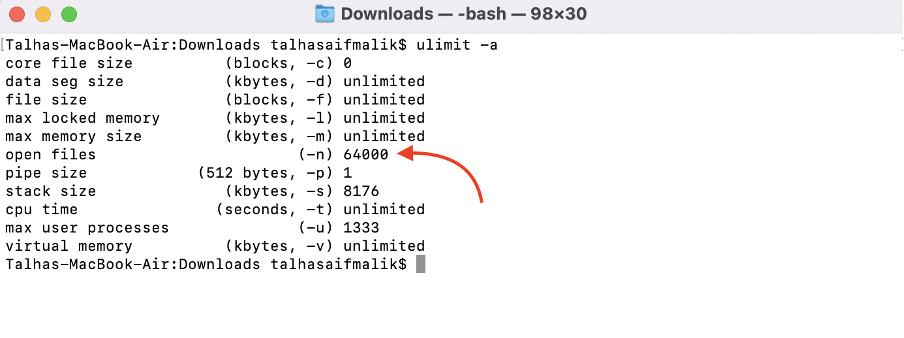
Make sure the value of open files (-n) is not less than 64000. To change the value use the command:
Limit has changed:
Step 8 : Now create directory for MongoDB to write date (for macOS 10.15 Catalina and above):
Step 9 : You also need to create a log directory using:
Note: To give access to these directories to other users, you need to change the permissions:
$ sudo chown <username> /usr/local/var/log/mongodb
Step 10 : To run the mongod in command line interface provide the following parameters directory in the terminal:
Step 11 : Now, to verify whether mongod service is active or not use:
Step 12 : That’s it , now type mongo in terminal to begin with MongoDB:
To close the mongoDB, type quit():
Conclusion
MongoDB is one of the widely used NoSQL database management systems. Installation process of MongoDB on mac is a bit tricky. This article guides you to install MongoDB on a mac using two different approaches: through brew and through downloading the tar file from the official MongoDB website. Both methods install the MongoDB successfully but it is recommended to use brew, as it is easy and sets up many things automatically.


