This blog will illustrate:
- What is the kubectl?
- Prerequisite: Install Chocolatey on Windows
- How to Install kubectl Using “choco install”?
- Conclusion
What is kubectl?
The “kubectl” is the command line tool of Kubernetes that is utilized to deploy, monitor, and manage the containerized application inside the cluster. It is used to deploy, operate, and inspect the Kubernetes resources by offering a wide variety of kubectl commands. Users can easily communicate with Kubernetes components, give instructions, scale, and monitor applications through the “kubectl” command.
Prerequisite: Install Chocolatey on Windows
Chocolatey is an open-source free Microsoft machine-level package manager. It is used to install and upgrade software, applications, and packages. To install the Chocolatey on Windows, go through the following instructions.
Step 1: Launch PowerShell
First, launch PowerShell with administrator rights:
Step 2: Get Execution Policy
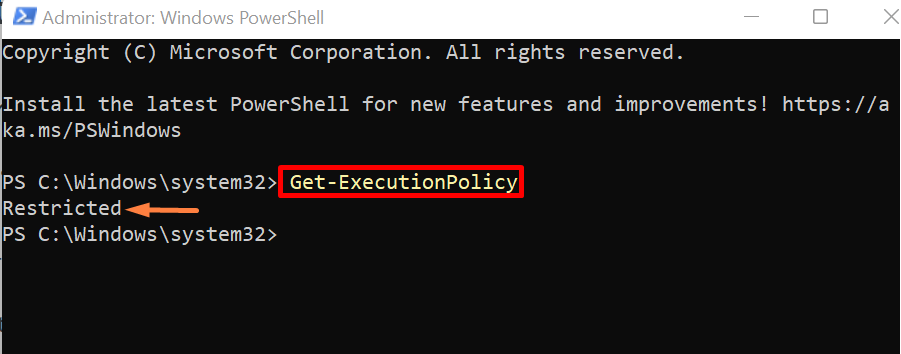
To get the current execution policy of PowerShell, use the below command. By default, its value is “Restricted”:
If its status is “Restricted” as shown below, then the user needs to change it to the “AllSigned” policy:
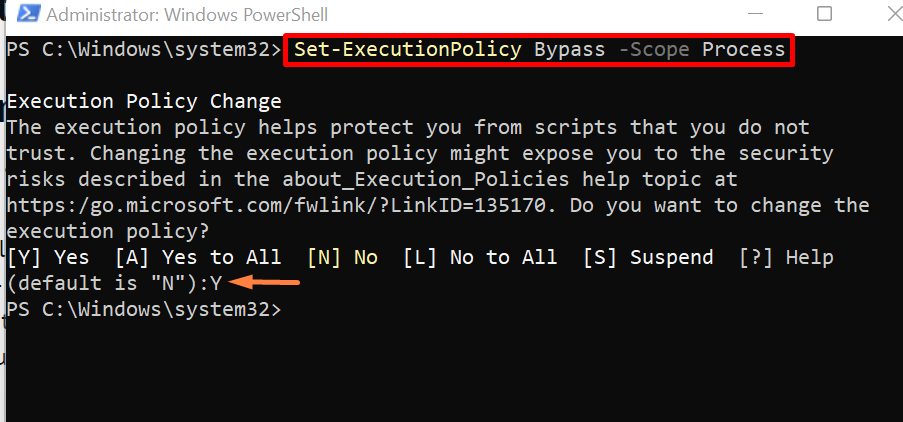
Step 3: Set Execution Policy
To change the execution policy, utilize the given command. This step is essential to run the script in Windows PowerShell:
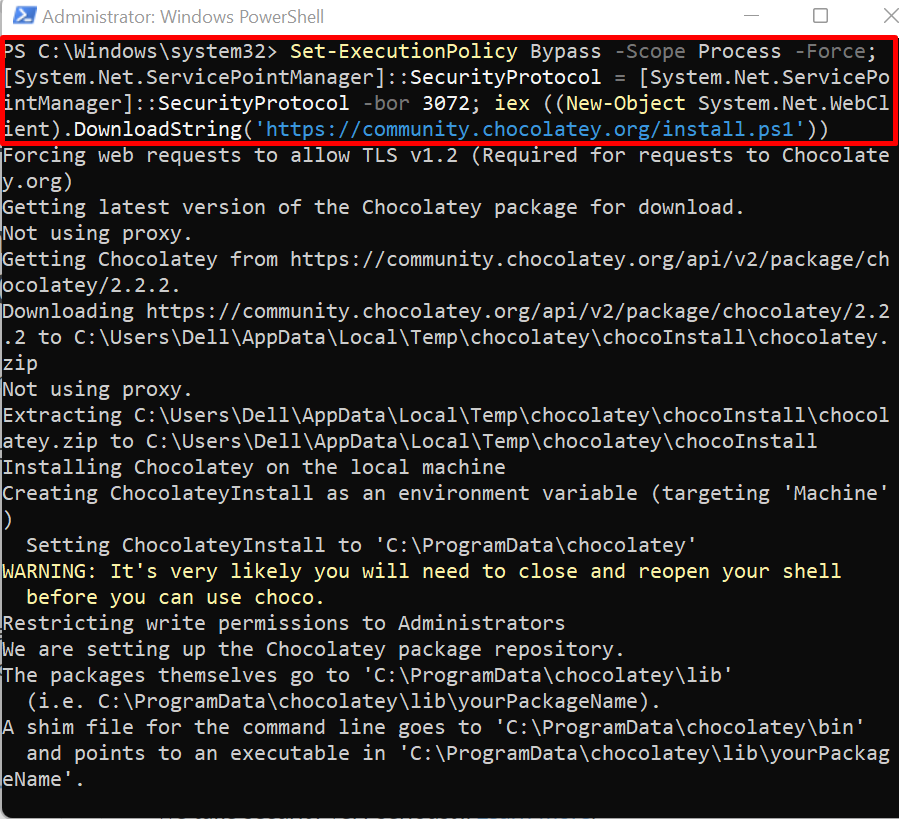
Step 4: Install Chocolatey Package Manager
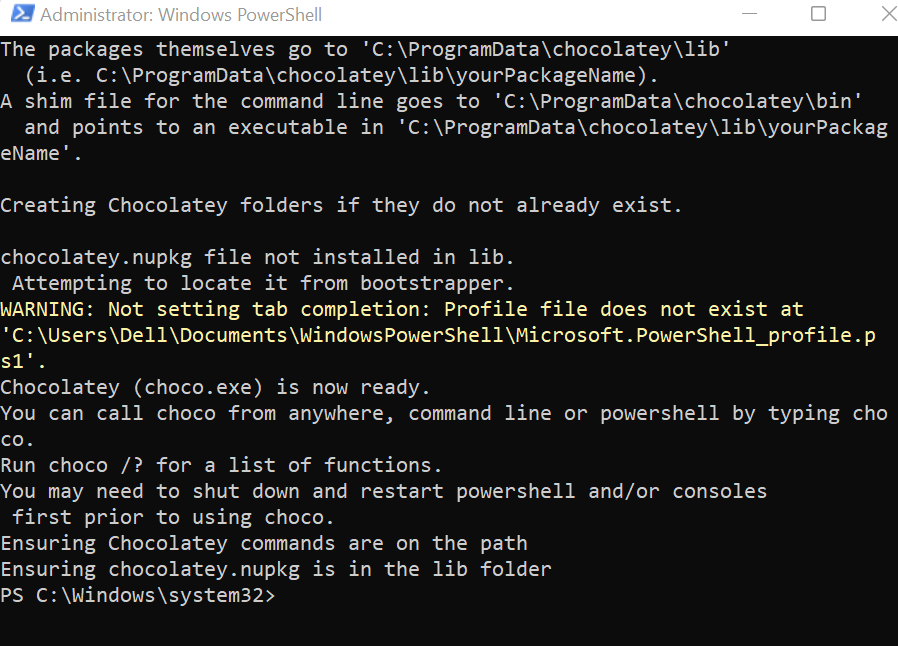
Now, install the Chocolatey by executing the following command in the PowerShell:
After installation, run the “choco” command to verify that if the package is installed or not:
The output shows that we have effectively installed the Chocolatey “v2.2.2” on Windows:
How to Install kubectl Using “choco install”?
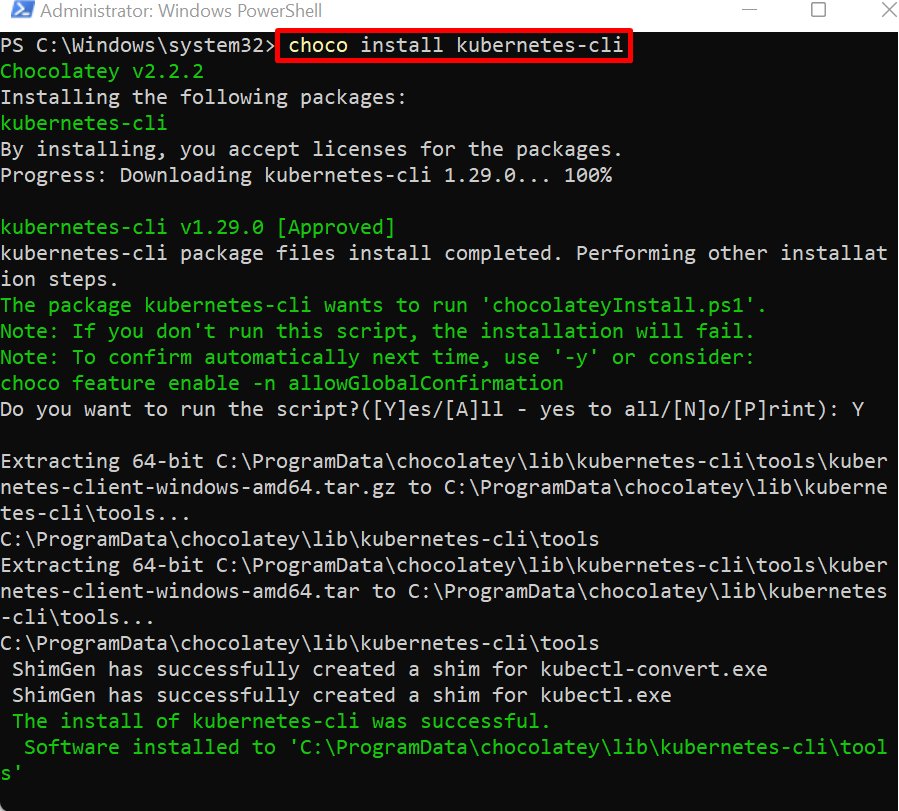
Choco package manager offers numerous packages and is supported by hundreds of companies. It also permits us to play with Kubernetes and its components through the “kubernetes-cli” package. To install the kubectl Kubernetes command line tool, use the below instructions.
Step 1: Install kubectl
To install kubectl using Chocolatey, utilize the below command:
Step 2: Verification
After installing the kubectl CLI, check the kubectl version:
The output shows that we have successfully installed the kubectl “v1.29.0” on Windows:
Step 3: Do Additional Configuration
To configure and use the remote Kubernetes cluster, first, navigate to the Windows Home directory which is “C:\Users\<User-name>”:
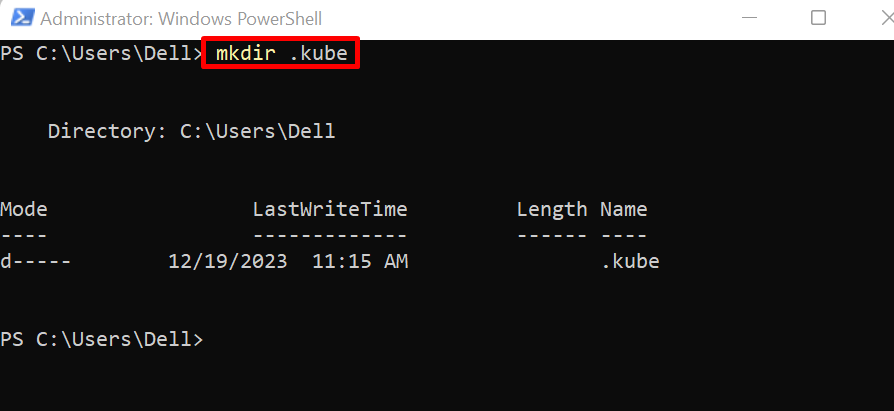
Create a new directory named “.kube”:
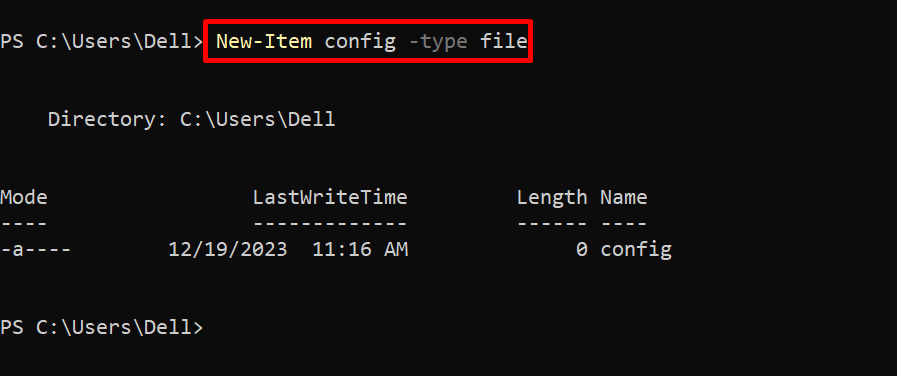
Configure a remote Kubernetes cluster by creating a config file. This file can be edited and opened in any text editor:
Step 4: Start Minikube Cluster
To use kubectl to manage and control the Kubernetes cluster, first start the cluster using the minikube tool. To start understanding Kubernetes and to install minikube, follow our linked article. To start the minikube Kubernetes cluster, use the “minikube start” command:
Step 5: Use Kubectl Command
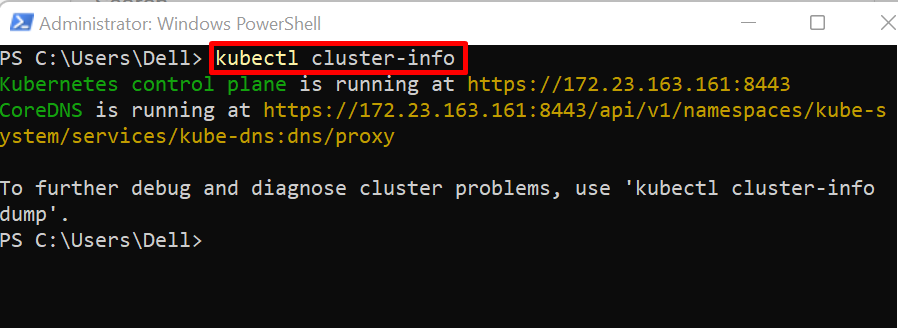
After starting the cluster, the user can get the cluster info through the “kubectl cluster-info” command:
That is all about installing kubectl using the “choco install” command.
Conclusion
To install kubectl using the “choco install” command, first, install the Chocolatey Windows package manager on the system. After that, run the “choco install kubernetes-cli” command to install the kubectl. For verification, start the Kubernetes cluster using the minikube tool and use the “kubectl cluster-info” command. We have covered the installation method of kubectl using Chocolatey.


