This tutorial is about setting up KDE on FreeBSD 10.2. KDE is short for K Desktop Environment, and it’s a Linux desktop manager with a simple, straightforward, and very intuitive interface. It comes with everything that a modern desktop manager does: toolbars, applications, a variety of different color themes, an all-encompassing start menu, internationalization features, and desktop configuration options that are dialog-driven.
Step 1: Install some supporting packages.
Issue the command below to install Nano:
$ pkg install nano

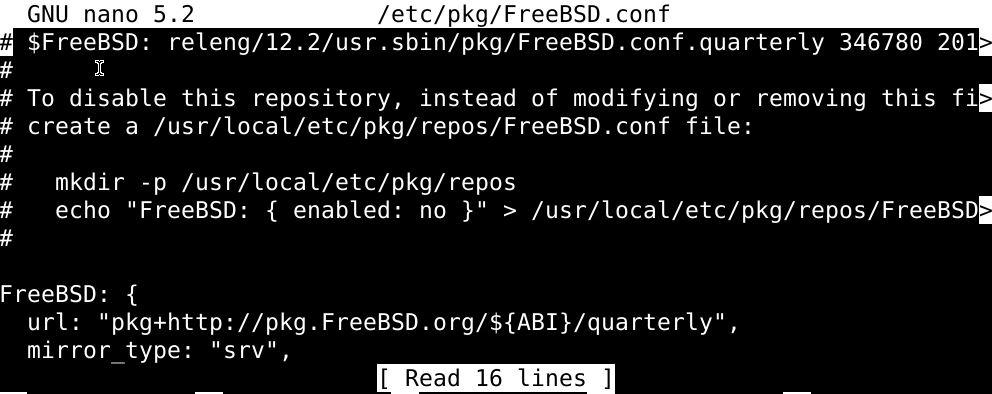
The head over to the rep configuration file located at:
$ nano /etc/pkg/FreeBSD.conf
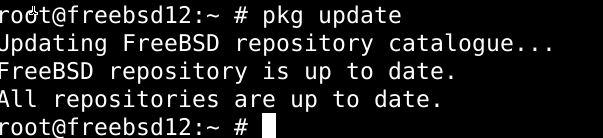
Then update the pkg repo with the command below:
$ pkg update
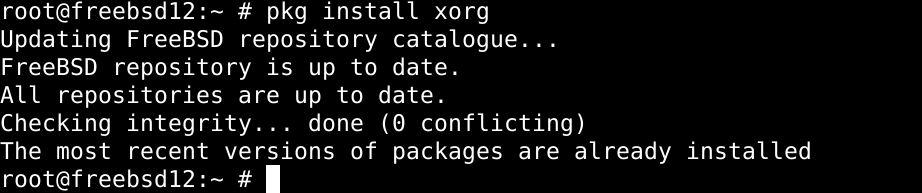
Lastly, use the pkg package manager to install Xorg:
$ pkg install xorg
Step 2: Install and configure KDE.
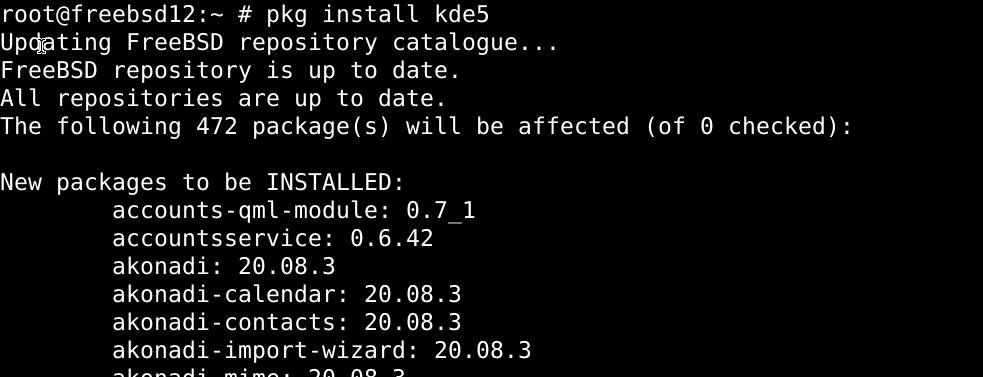
Then use the package manager to install KDE:
$ pkg install kde*
Then go to the fstab file, and append the line below the file, then save and exit the file:
$ nano /etc/fstab
proc /proc procfs rw 0 0
proc /proc procfs rw 0 0

Go to the rc.conf file edit as follows:
$ nano /etc/rc.conf
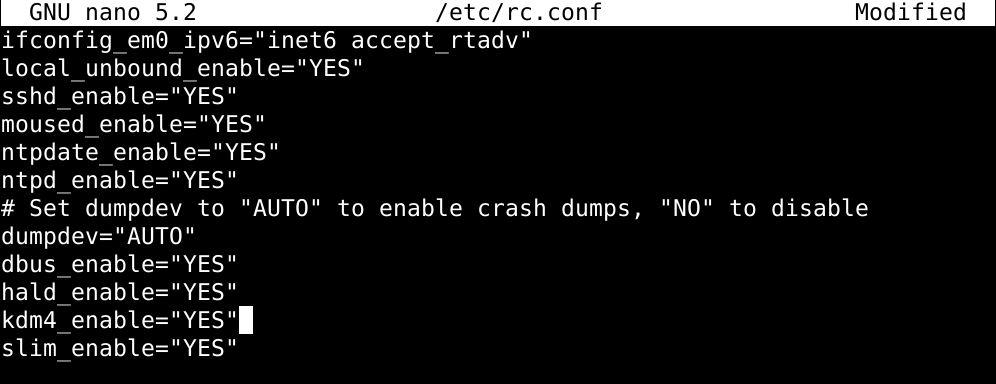
Save and exit to keep changes.
Reboot the system using the command below:
$ init 6
Step 3: Getting started with KDE.
Upon system reboot, and when the installation finishes, log in with your credentials.
- To see details on system configuration, head over to system settings.
- See what applications are running, select the applications tab.
- Select the computer tab to see details on disk partitioning, etc.
- The recently used tab shows all the applications opened recently.
- To turn off your computer, select the leave icon and click on shut down.
Wrapping up
That’s it for this tutorial. Hopefully, the instructions worked out for you, and you’ve KDE up to and running on your computer by now.