Jenkins supports different types of agents such as the following:
- Controller – The controller or master node refers to the system where Jenkins is installed. The controller node creates, schedules, and dispatches the jobs and builds to the available agents.
- Slave – The slave agent refers to a Jenkins instance which is connected to the Jenkins controller. The job of a slave agent is to execute the build jobs as the controller node dispatches them. Slave agents distribute a load of build jobs, allowing the master to handle the scheduling and dispatching tasks while the slave agents perform the build processes.
- Cloud – Jenkins also supports using the cloud-based agents, virtual machines that are created on demand and destroyed when they are no longer needed. This can be useful to scale the number of agents up or down, depending on the build workload.
The goal of Jenkins agents is to perform the tasks as the Jenkins controller issues them. Such tasks include building, testing, and packaging the defined applications. Agents are an incredible feature of Jenkins as they provide the necessary computation resources to run and execute the defined builds.
In this tutorial, we will learn how we can connect a Linux agent to a Jenkins controller.
Setup
For this tutorial, we use a Jenkins controller on CentOS 9. First, we need to connect a Jenkins agent that runs on Debian 11.
Step 1: Login to the Jenkins Dashboard
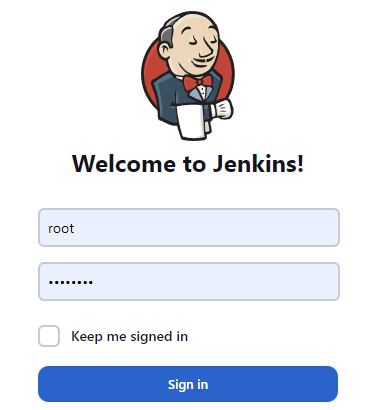
The first step is to login into the Jenkins controller. In our case, the Jenkins controller runs on the localhost on port 9001.
Specify the username and password to log in to your Jenkins dashboard.
Once logged in, select the “Build Executor Status” on the left pane.
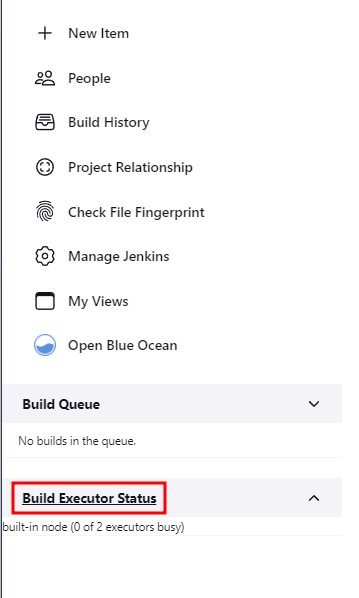
This takes you to a page where you can manage and add the various nodes and agents to your cluster.
Step 2: Start the Jenkins Agent
Step 2: Start the Jenkins Agent
The next step is ensuring that Jenkins runs on your Agent machine. You can do so by running the following command:
Output:
Setting up max open files limit to 8192
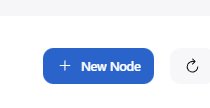
Step 3: Add the Jenkins Node
On the Jenkins controller, select “New Node” to configure a new Jenkins agent.
Enter the name that you wish to assign to your Agent. You can assign the Agent with any identifiable name.
For simplicity, we assign the IP address of the Agent as the name.
Select “Permanent Agent” to provision the Agent as a permanent node.
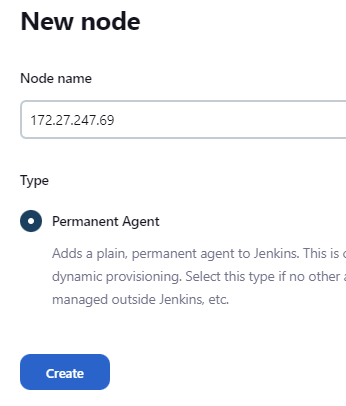
Click “Create” to proceed to the next step.
In the next step, fill the necessary details such as the description.
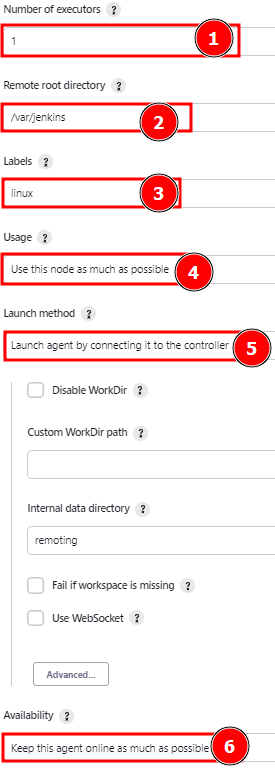
Set the number of executors that you wish to assign to the Agent. The default number is 1. The number of executors refers to the total number of concurrent builds that Jenkins will execute on the node.
Next, define a remote root directory for the Agent. This is a directory on the Agent filesystem which is dedicated to Jenkins and its operations. Again, using an absolute path on your agents’ filesystem is recommended.
In our example, we use the /var/Jenkins directory.
There is no need for this path to be visible from the controller.
NOTE: The Agent does not store critical data such as job configuration, build logs, etc. All these files are stored on the controller node.
If the Agent belongs to a specific group of nodes, you can assign it with the label of the group to which it belongs.
For example, if the Agent belongs to the nodes in the “linux” group. Then, we can assign the “linux” label to the node.
Set the usage to “Use this node as much as possible”.
Choose the launch method as “Launch agent by connecting it to the controller.”
In the “Availability” section, select “Keep this agent online as much as possible.”
Once completed, click “Save” to add the controller.
Step 4: Connect the Agent to the Controller
On the Jenkins controller, navigate to Manage Jenkins -> Manage Nodes ->. Select the new node that we just added.
Select the “Run agent from command line” option and copy the commands. Next, run the commands on your Agent’s terminal as shown in the following:
Next, run the following command:
The previous command should allow you to connect the Agent to the controller. Then, you can go back to your Jenkins controller to check the status of the connected Agent.
Conclusion
You now learned how you can connect a Linux Jenkins agent to a Jenkins controller using the command line.