Hence, IntelliJ is a versatile IDE that can enhance your productivity and make coding more efficient. However, installing and using IntelliJ IDE may be confusing if you are a Linux beginner. In this article, you will get to know about the different ways to install IntelliJ IDE on Fedora Linux.
How to Install IntelliJ IDE on Fedora Linux
Here, we included multiple methods by which you can try to install and use IntelliJ IDE on your Fedora machine.
The JetBrains Toolbox
First, visit the official website of JetBrains and then download the Toolbox utility.

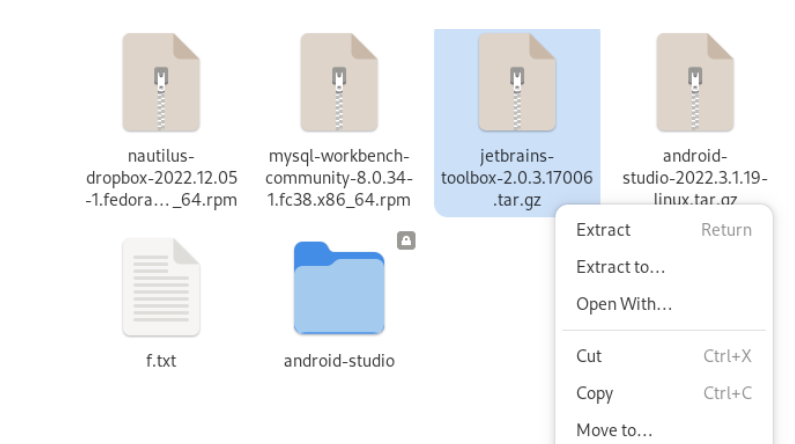
Go to the directory where you downloaded the “.tar.gz” file and then right-click on it.
Click on “Extract” to unpack the “tar.gz” file and open it. Here, right-click on the JetBrains Toolbox and then click on “Run”:
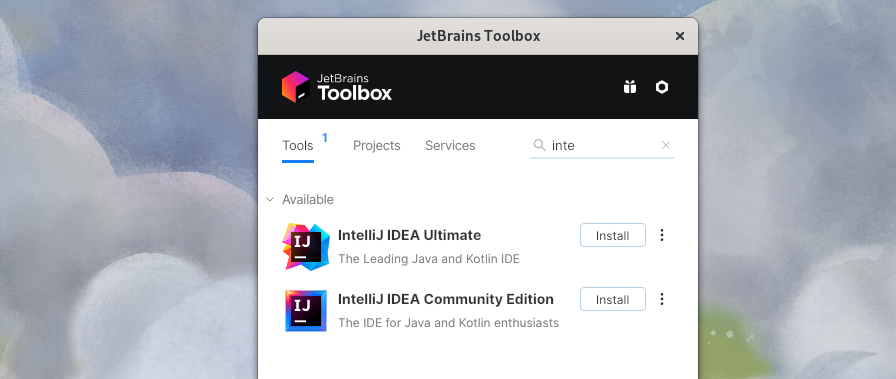
Once you run the JetBrains Toolbox, search for the IntelliJ IDE in it.
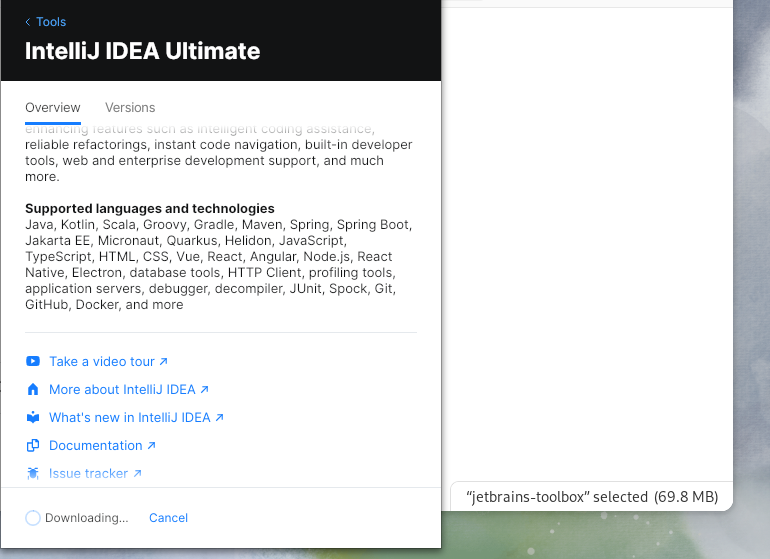
Finally, click the “Install” button to download the IntelliJ IDE.
The Snap Package
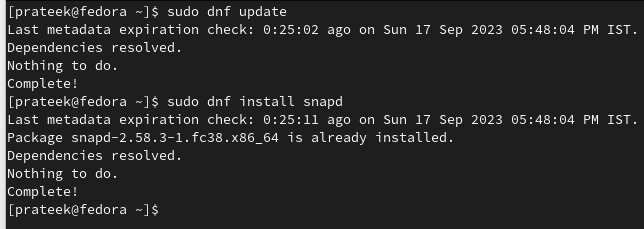
Run the following commands to update the system and install the “snapd” utility:
sudo dnf install snapd
Now, you can run any of the following commands to install a specific version of IntelliJ IDE.
For the Ultimate edition:
For the Community edition:

How to Use IntelliJ IDE
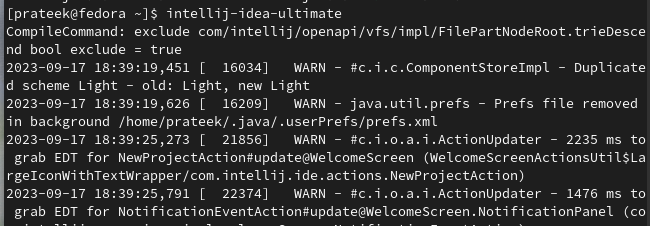
After installing the IntelliJ IDE, you can either run the following command or go to the “Application” menu and search for it:
For the Ultimate edition:
For the Community edition:
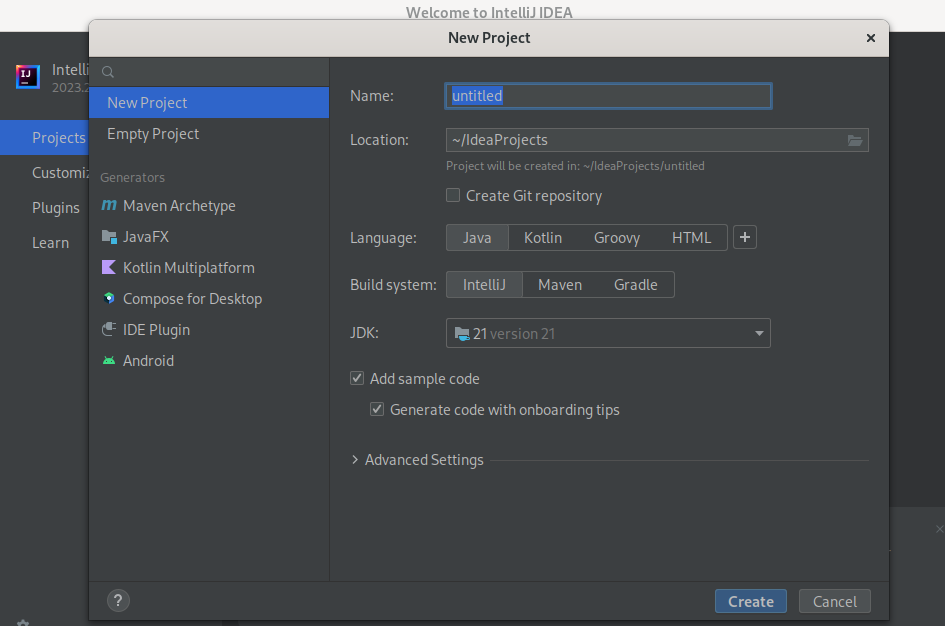
Once you open IntelliJ IDEA, click on “File” > “New” > “Project” to create a new project.
Select your project type (e.g., Java, Python, JavaScript) and configure the project settings.
Conclusion
This is all about installing IntelliJ IDEA on Fedora Linux. Although the methods that are mentioned here are simple, make sure that you use the commands correctly to eliminate the chances of errors. You can use IntelliJ IDEA’s robust features to easily create, develop, and debug your projects, making it an invaluable tool in your software development arsenal.

