The compiler for each language has its own name. The compiler for C++ is called G++, the compiler for Ada is called GNAT, and so on.
This post consists of a profound guide on how to install GCC Compiler on CentOS 8. We will also learn how to write, compile, and execute a simple C program in GCC compiler.
But first, we will learn how to check the installed packages and groups on CentOS 8.
List Installed Packages
You can run the following command to list installed packages on CentOS 8:

Access the Summary of Installed Groups
You can use the following command to access the summary of installed groups on your OS:

Installation of GCC on CentOS 8
CentOS 8 has a package group named “Development Tools” by default. It includes all the tools required for compiling code, such as GNU, GNU debugger, and development libraries.
To install this package group, input the following command:
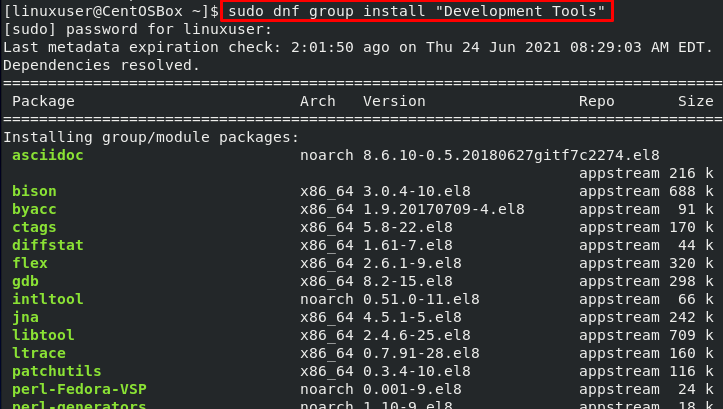
This command will install many packages, such as GCC and G++.
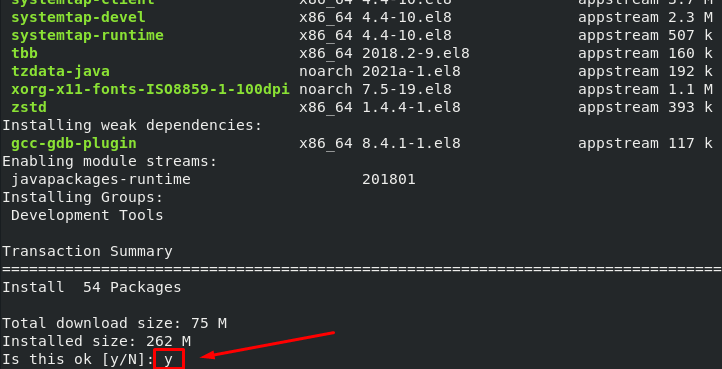
To grant installation, input “y” and press the “Enter” button:
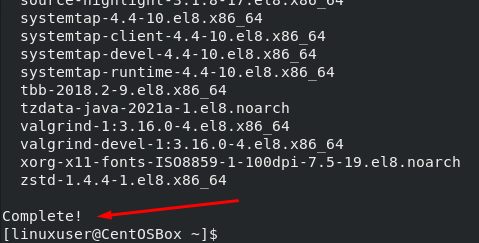
The GCC Compiler with other development tools is successfully installed on CentOS 8 Operating system.
Use the following command if you also want to install the manual about using GNU:

You can verify the installation by checking the installed version of GCC. To do that, run the “gcc –version” command on the terminal:

As you can see, the GCC Compiler has been successfully installed on the CentOS 8 operating system. Thus, you can start using it.
Now, we will learn how to compile a C program using GCC.
How to Compile a “Hello World” C Program Using GCC
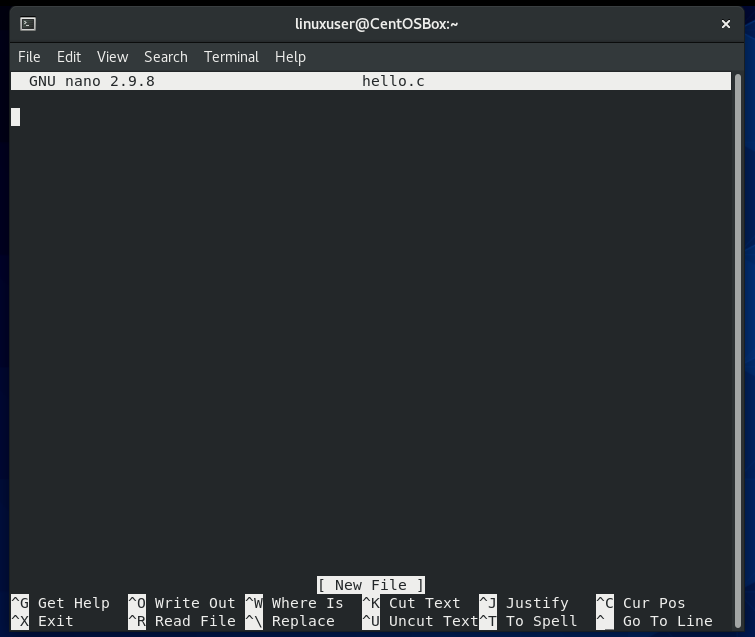
First, create a new file using the “nano” command followed by the file name in the terminal:
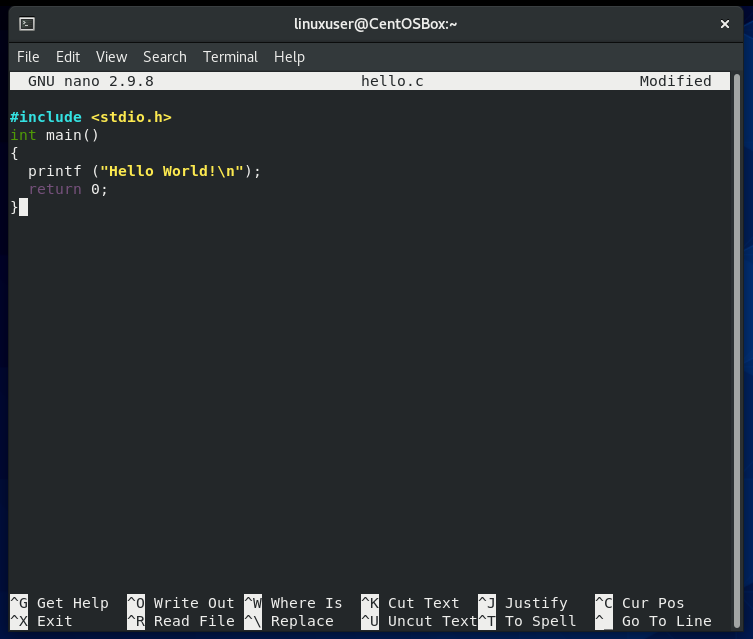
Next, write the following simple “Hello World” code in Nano Editor as an example:
int main()
{
printf ("Hello World!\n");
return 0;
}
Now, save the file and make it executable by inputting the following command:
![]()
The binary file will be created and saved in the same directory where you are running the command.
Now, run the executable hello program using the command:
Output:

Conclusion
This post contains a profound and detailed guide on how to install GCC on CentOS 8. We also learned about GCC and how we can use it to compile a basic C program.
For more information, you can visit GCC’s official website to learn more about using GCC and G++ to compile your C and C++ programs from the official documentation.