Installing Darktable on Linux Mint 21
Darktable in short is an application suitable for photographers to edit and manage the raw images moreover the installation process for this application is not that complicated as there are two ways to install it and those are:
Installing Darktable Using snap Package Manager
One way to install the Darktable is by using the snap package manager so just follow the subsequent steps to install it:
Step 1: For installing the Darktable using the snap package execute the below mentioned command:
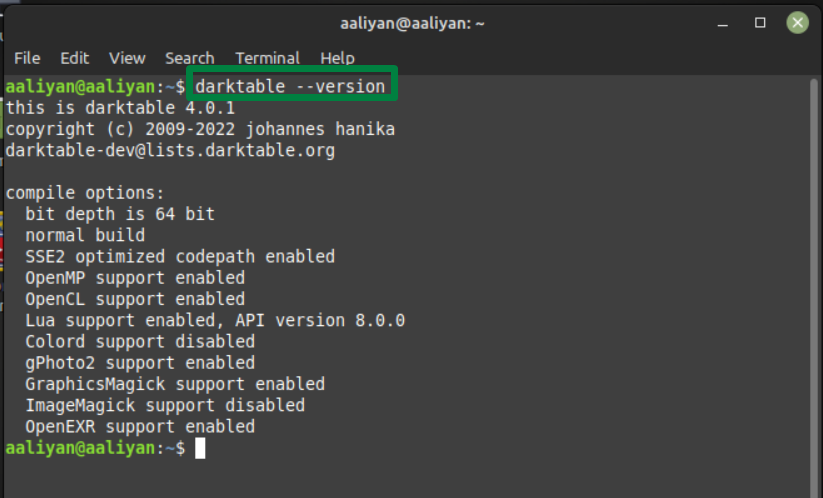
Step 2: Next check the version installed on your Linux Mint to see if it is installed correctly by using:
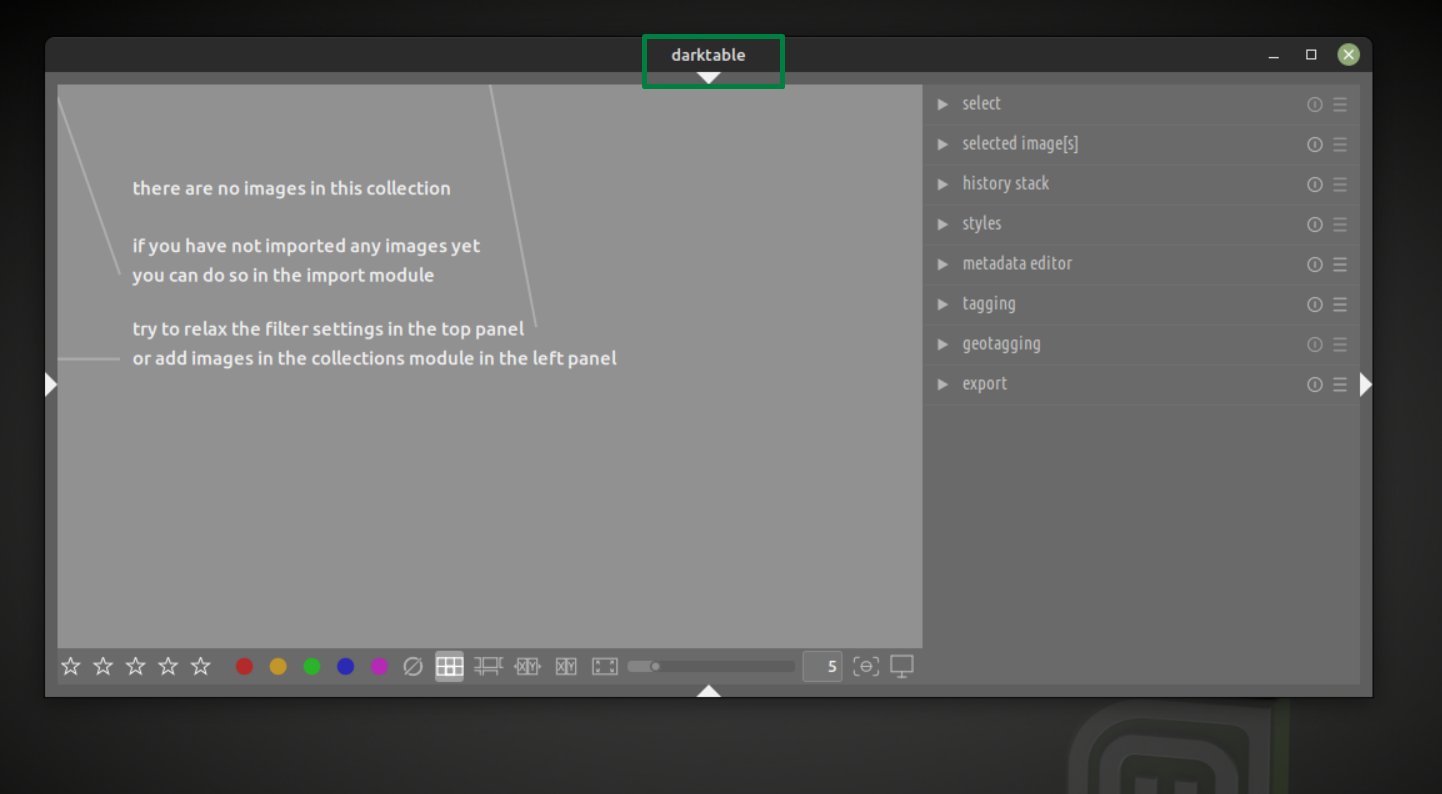
Step 3: Next, it’s time to run the application it can be done through terminal using:
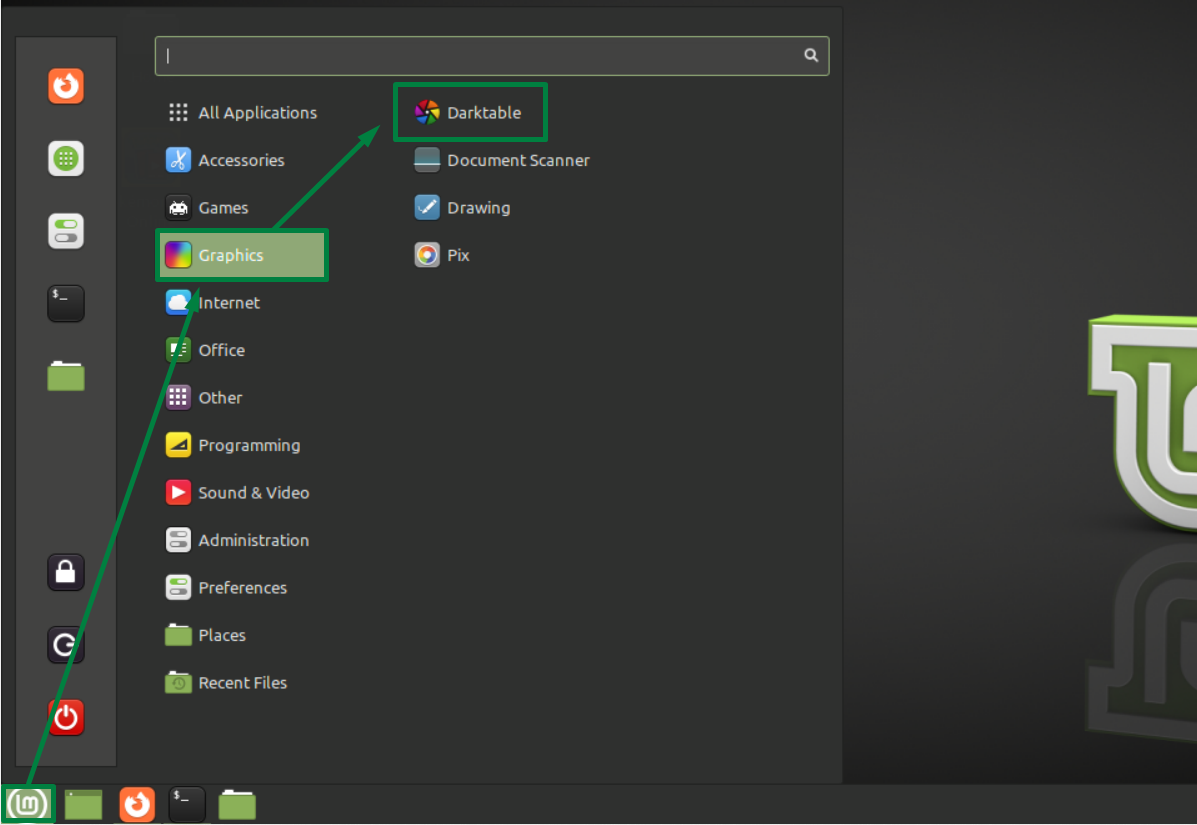
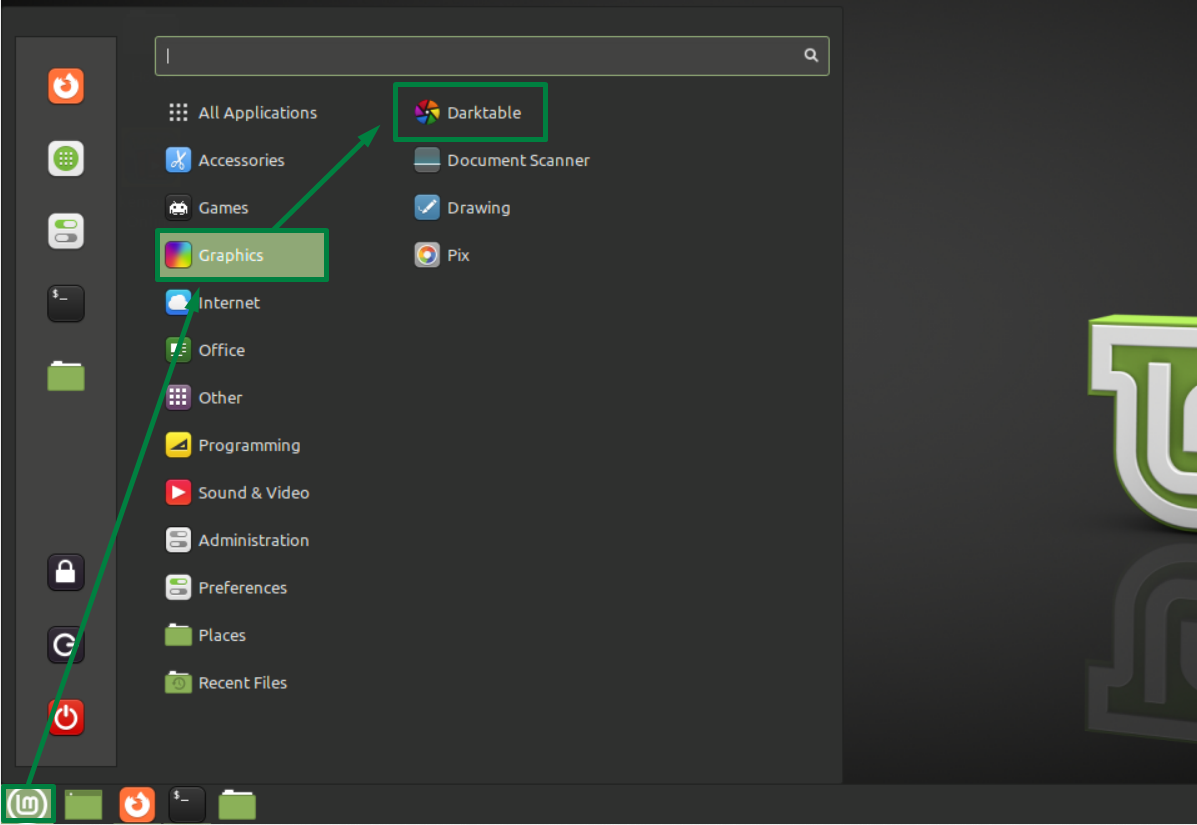
Or this application be opened by clicking on Darktable under the graphics menu that can be accessed by clicking on the Linux Mint logo on the taskbar:
Removing Darktable from Linux Mint 21
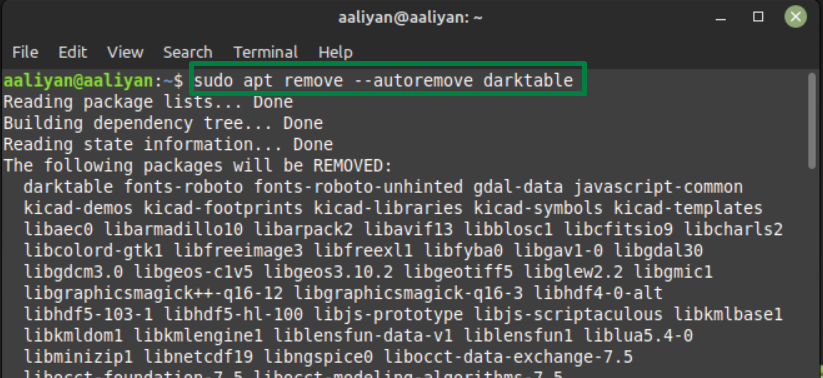
If you are no longer interested in using this application and want to remove it then use:
Installing Darktable Using PPA Repository
Another way to install this application is by adding its repository; so to install this application using this method follow the steps given below:
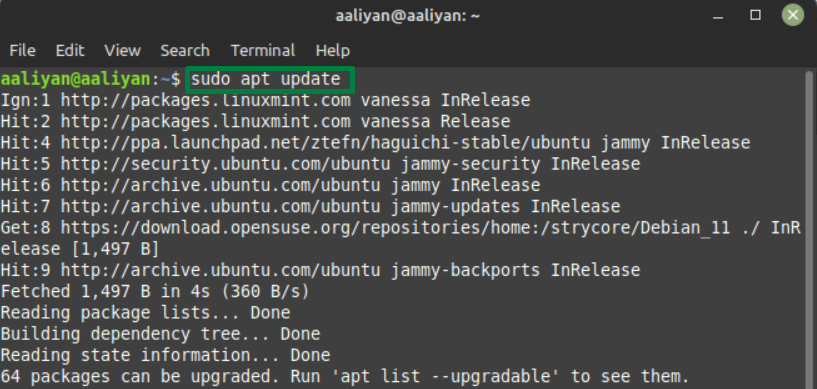
Step 1: Before directly jumping to add the repository first update the package list of the default package manager:
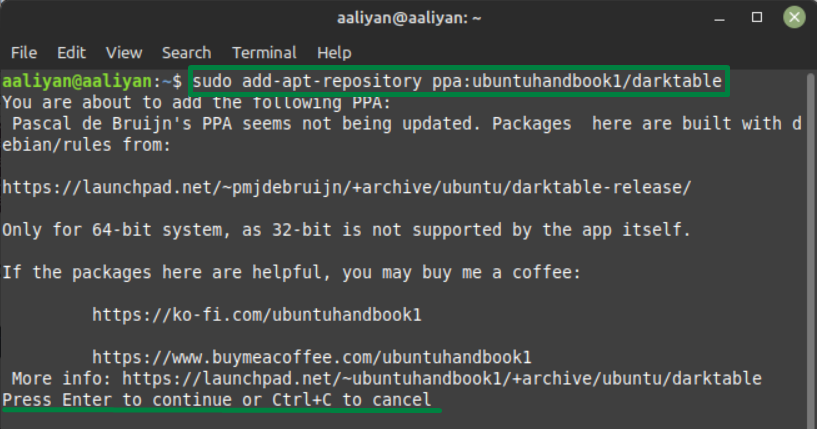
Step 2: Now add the respective PPA repository in the default package manager using:
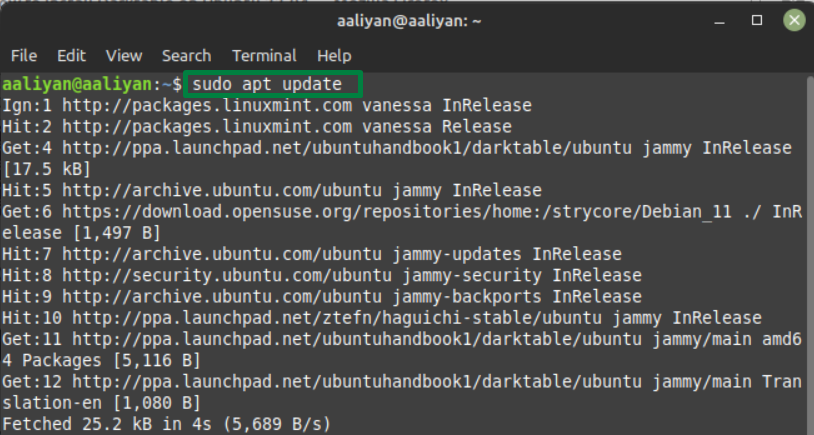
Step 3: After adding the repository let’s again update the package list so that the installation is carried out smoothly:
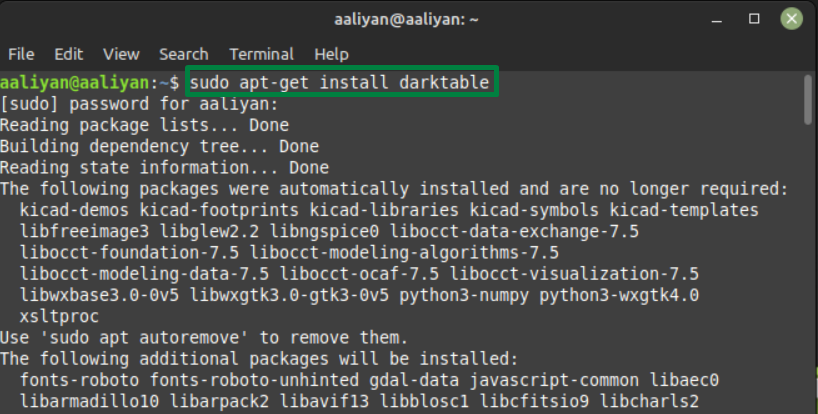
Step 4: Now it’s time to install the application using the default package manager:
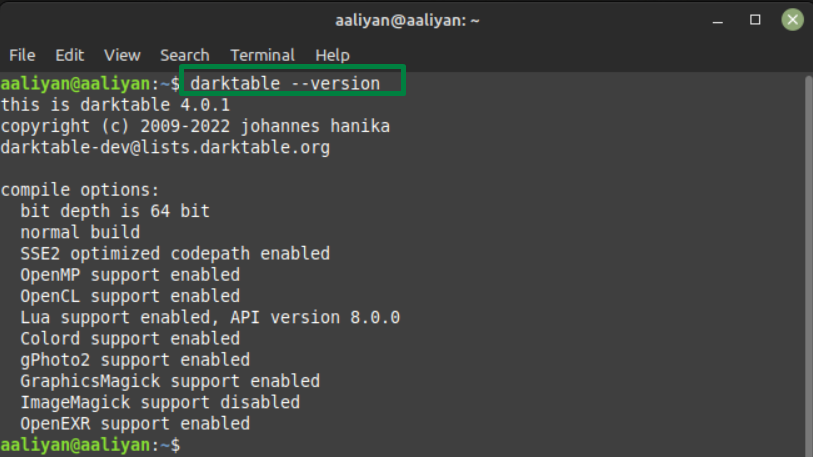
Step 5: Now to see if the Darktable is installed correctly or not just check its version using:
Step 6: Next, it’s time to run the application it can be done through terminal, use:
Or this application be opened by clicking on Darktable under the graphics menu that can be accessed by clicking on the Linux Mint logo on the taskbar:
Uninstalling Darktable from Linux Mint 21
If you no longer need this application and want to remove it, then use:
Conclusion
Darktable is one of the best applications if one is looking for editing and creating raw images, not only that it also saves the negatives of the images as well. To install this application on Linux Mint there are two ways one is using the snap package manager and the other is by adding a PPA repository to its default package manager, both these methods are described in detail in this guide.


