
How to Install Custom Fonts in Linux Mint Desktop
You can use the following methods for installing the custom fonts on the Linux Mint desktop that will be available for all installed applications.
1: Use GNOME Font Viewer for Installing the Custom Fonts on Linux Mint
You can use it for installing custom fonts and viewing the installed fonts with their properties on your system. Follow the below steps to install custom fonts on Linux Mint desktop:
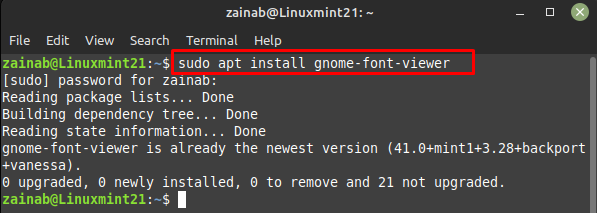
Step 1: Install GNOME Font Viewer
The GNOME font viewer is available by default on all Linux- distributions. However, you can install it via the following command:
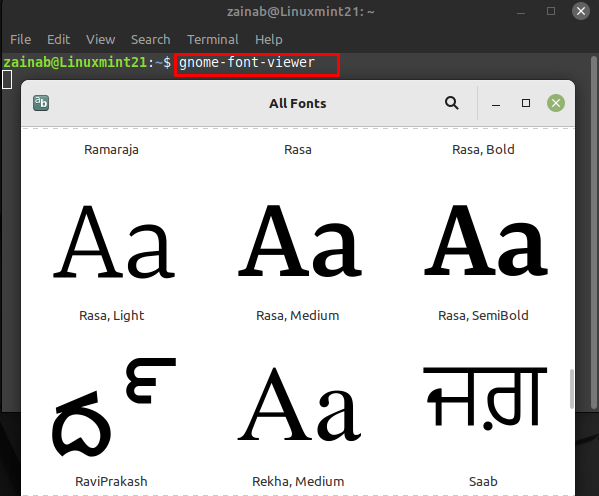
Once the software is installed on your device, launch it via the command line:
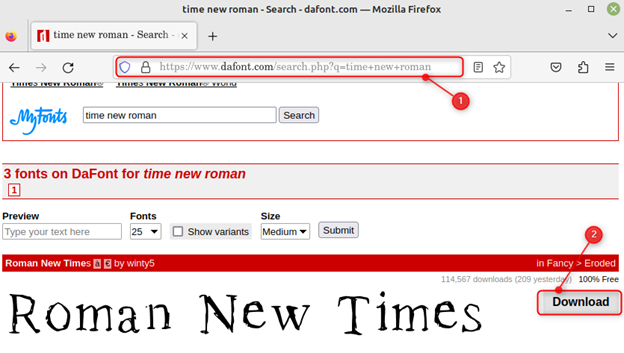
Step 2: Download the Fonts from Web
Open your file manager and create a new directory name as fonts. Next, go to the web browser and open any font-downloading website and download a font from there:
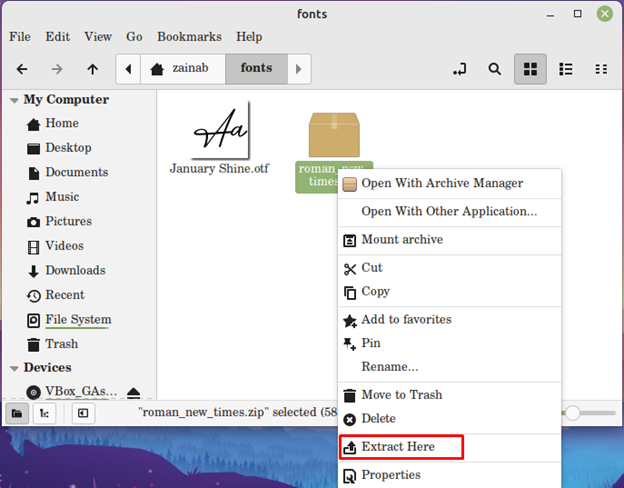
Extract the file and you will get the .otf file of the downloaded font:
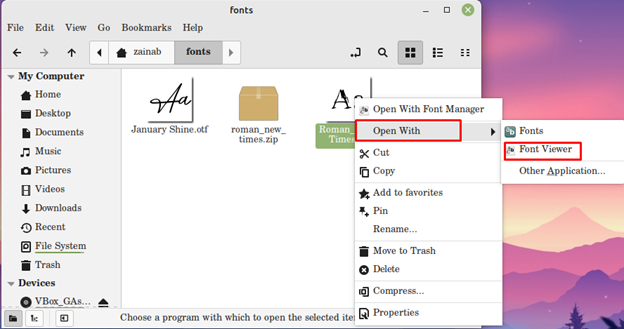
Next, go to the fonts folder and click on the .ttf file of the installed font and open it with Font Viewer:
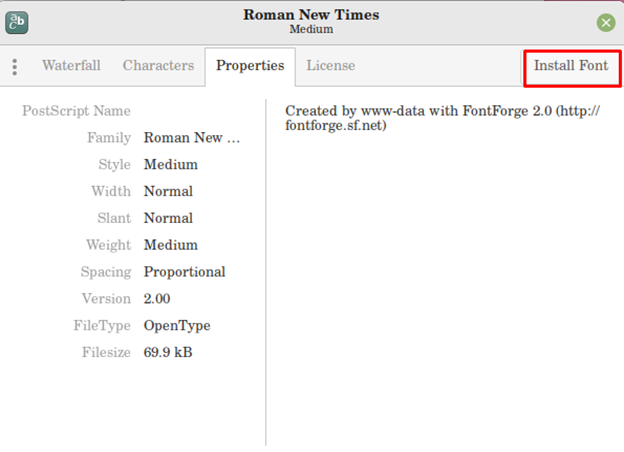
Step 3: Install Fonts Using GNOME Font Viewer
Once you have opened the font, click on the install font button to install the font using the GNOME font viewer:
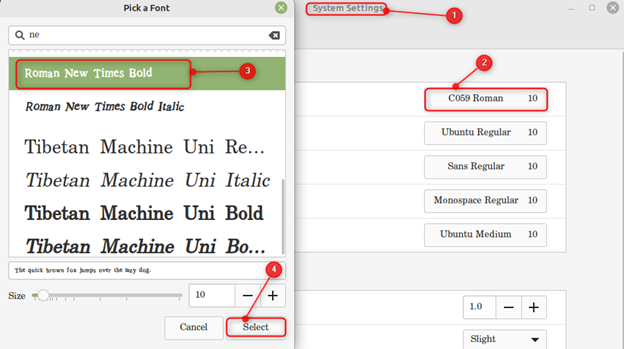
Once installed go to the system settings to change the font:
2: Use Font Manager for Installing Custom Font on Linux Mint
Font manager is a versatile tool for installing custom fonts on Linux Mint. It allows you to change the font of the system from the app. The fonts are categorized into different tabs and organized within the app. To install the Font manager on the Linux Mint, use the following command:

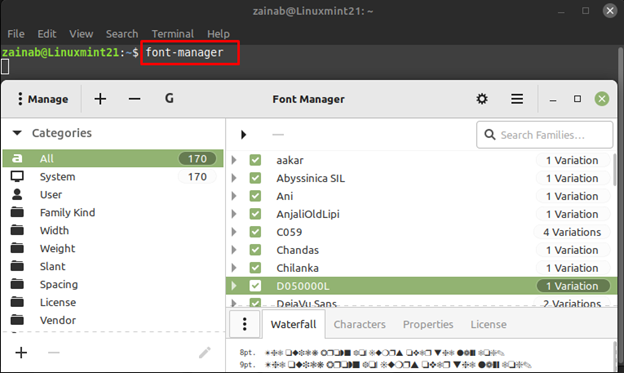
Once the process of installation is finished, launch the program via the following command:
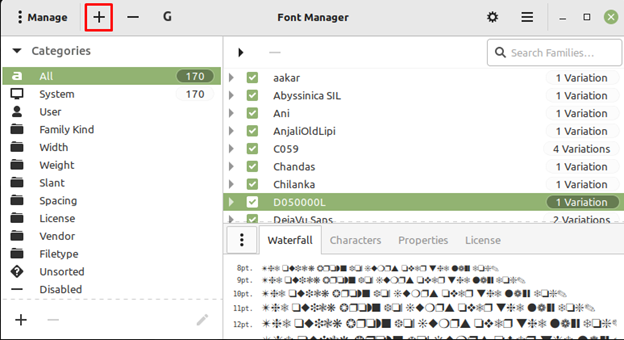
Click on the Plus sign to add the installed font using font manager and set it as the default font of your system:
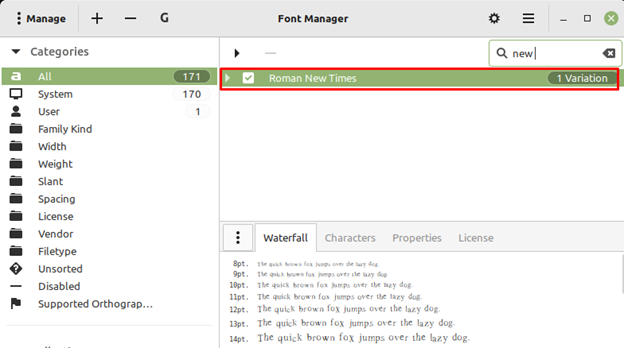
The Roman New Times is installed and added to the list of the installed fonts:
After installing the font go to the system settings and use the same steps as above to set the Roman New Times as the default font of the system.
Conclusion
Linux Mint comes with pre-installed fonts but sometimes you might not be satisfied with the installed fonts. In that case, you can install new font on a Linux Mint. The fonts for Linux come in .ttf and .otf file formats. This guide mentioned two methods to install fonts on Linux Mint: through GNOME font viewer and through Font Manager.