CouchDb is a very popular NoSQL database, just like other famous databases MongoDB, Redis, and Apache Cassandra. It also stores the data in a non-relational way and JSON-documented format. CouchDB can easily be installed and managed from the terminal, and we will learn to install CouchDB on the CentOS 8 Operating system.
Installation of CouchDB on CentOS 8
CouchDB is not available in the official DNF package repository of CentOS 8, so we have to go for the other alternatives and install by adding the repository of CouchDB on CentOS 8.
Step 1: Ensure EPEL repository is enabled
The first step to install CouchDB on CentOS 8 is to ensure that the EPEL repository is enabled.
To ensure that the EPEL repository is enabled on the CentOS 8 Operating system, type the command:
After enabling the EPEL repository, the next step is to add the CouchDB repository to the system.
Step 2: Add CouchDB repository to the system
To add the CouchDB repository, create a repository file using the command given below:
Once the apache-couchdb.repo file is opened, copy and paste the content given below in the file:
name=bintray--apache-couchdb-rpm
baseurl=http://apache.bintray.com/couchdb-rpm/el$releasever/$basearch/
gpgcheck=0
repo_gpgcheck=0
enabled=1
After pasting the above-provided content, Save and close the file using the shortcuts CTRL + S and CTRL + X.
Step 3: Install CouchDB on CentOS 8
Right after adding the CouchDB repository, you can now run the installation command of CouchDB on CentOS 8 machine using the command given below:
The installation of CouchDB will start and complete in a while.
CouchDB is completely installed on CentOS 8 Operating system at this stage.
Step 4: Start and enable the CouchDB service
Once the installation of CouchDB is completed, you need to start the CouchDB service by typing the command:
Enable the CouchDB service on the system startup boot time using the command:
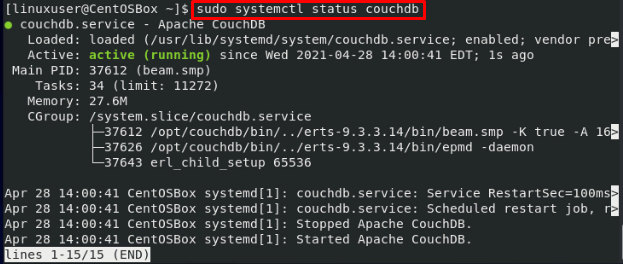
To verify either the CouchDB service is running or not, you can type the command typed below:
After successfully installing CouchDB and starting the service, CouchDB is ready to use.
Configuration of CouchDB
If you want to configure the CouchDB, like setting up the password and allowing access from external IP addresses. The configuration file local.ini of CouchDB is placed in /opt/couchdb/etc. Directory.
To open up the local.ini file using the nano editor in CentOS 8, type the command:
Go to the ‘admins’ section and uncomment the line if it is commented as shown in the screenshot attached below and provide the password of your desire that you want to set for the CouchDB:
admin = mypassword
Similarly, if you want to allow external access, scroll down a little bit more, go to the ‘chttpd’ section, uncomment the port and bind_address, and provide the values, you want to set.
After getting done with the CouchDB configuration, save and close the nano editor using the CTRL + S and CTRL + X keyboard shortcut keys.
Restart the CouchDB service to secure the password with a hash.
Lastly, in case of a firewall running on your system, enable and configure the firewall of the CentOS 8 system to open port 5984 for allowing external traffic:
At this point, CouchDb is fully configured and ready to serve your needs.
Access CouchDB’s Web Interface
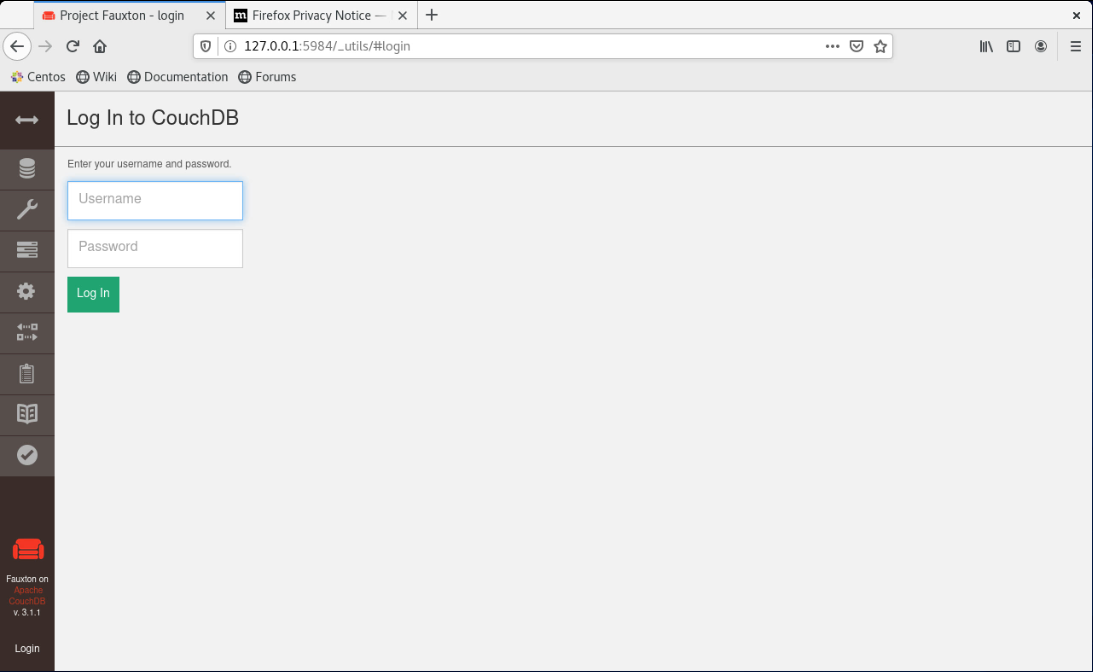
To access the web interface of CouchDB, simply go to your favorite browser and visit the link given below:
You will have a clean and elegant look of Fauxton(a web-based interface of CouchDB).
Conclusion
This is how we can install, configure and start using the CouchDB on the CentOS 8 Operating system. CouchDB is a preferred NoSQL Database amongst the industry developers and is widely used in database clustering. If you want to learn more about CouchDB, read the official documentation to explore and expand your CouchDB’s knowledge.


