OpenStack is the most suitable tool to develop the public, private, and cloud platforms. This open-source set of tools or “projects” allows the private and public infrastructure admins to manage the networking, computing, cloud computing, etc. OpenStack became popular because of its vendor-agnostic approach and open-source nature.
This platform is backed up by OpenStack Foundation which handles its community and development. If you want to install and setup OpenStack in Linux, this guide is for you. Here, we will explain how to install and configure OpenStack on Rocky Linux 9 (RHEL-based OS).
How to Install and Configure OpenStack on Rocky Linux 9
OpenStack provides flexible solutions to deploy and manage the cloud environment. Let’s install the OpenStack client first and then configure it as per the requirements:

Now, it is time to install the pip package through the following command:
sudo pip install --upgrade pip
Once you are done, run the following command to begin installing the OpenStack client in Rocky Linux 9:
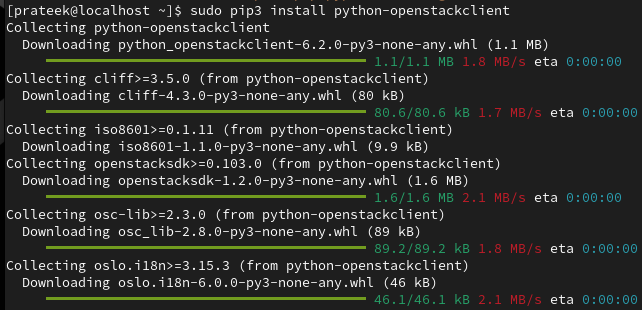
Furthermore, let’s check the current version of the OpenStack client:

OpenStack Configuration on Rocky Linux 9
To configure the OpenStack on Rocky Linux 9, you need to create a keystone config file. Here is the command for it:
Now, enter the following details in the config file:
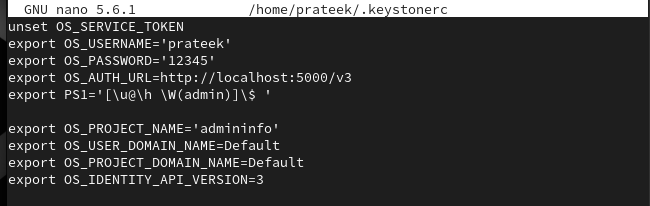
In the previous details, every line has an essential role in the configuration. The first line unsets the “OS_SERVICE_TOKEN” environment variable.
export OS_PASSWORD='admin_password'
The previous lines authenticate the environment variables, so replace the admin_username and admin_password terms according to the requirements.
The OS_AUTH_URL sets the URL for the keystone service. Either you can set the server_ip or go for the localhost only.
This line sets the shell prompt to display the essential detail about the active keystone environment.
export OS_USER_DOMAIN_NAME=Default
export OS_PROJECT_DOMAIN_NAME=Default
export OS_IDENTITY_API_VERSION=3
Lastly, the previous lines are used to set the additional environment variables for the keystone. Moreover, you can access the OpenStack dashboard from the web browser. All you need to do is open your browser’s http://<ip_address>/dashboard.
Conclusion
This is how you can easily install and configure OpenStack on Rocky Linux. We explained a simple method to setup and use the OpenStack dashboard without issues. We recommend that you check the commands correctly, or you may face errors while configuring OpenStack otherwise.