How to Install Ansible on Linux Mint 21
Ansible is popular among system administrators and IT professionals because it is easy to use and can help automate many routine tasks. The process for installing Ansible is easy to follow so here are some necessary steps for installing Ansible on Linux Mint 21:
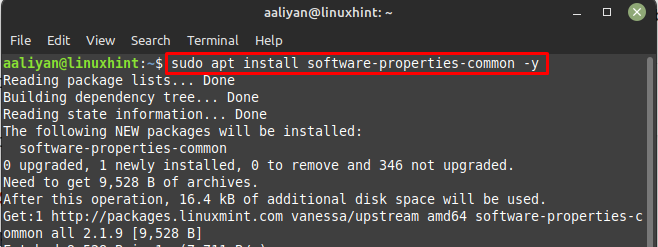
Step 1: First install all the required dependencies to run Ansible successfully on Linux Mint by executing:
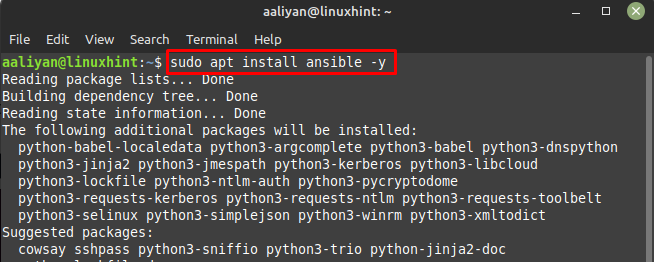
Step 2: Next, execute the given command to install it through the apt package manager on Linux Mint 21:
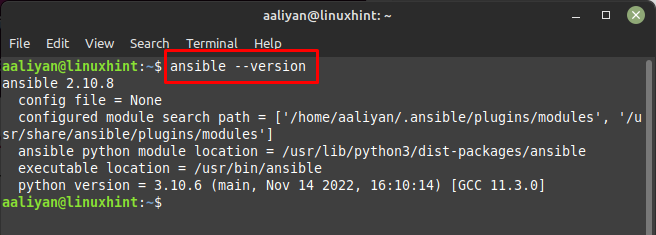
Now to confirm the installation on Ansible let’s check the version of it by using:
How to Configure Ansible on Linux Mint 21
Once the installation is complete now it’s time to configure Ansible to make it usable on Linux Mint and for that go through the subsequent steps:
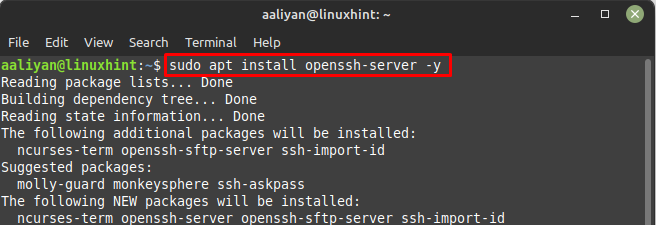
Step 1: First install the secure shell server on Linux Mint that is used to securely connect to and manage remote systems over a network so execute:
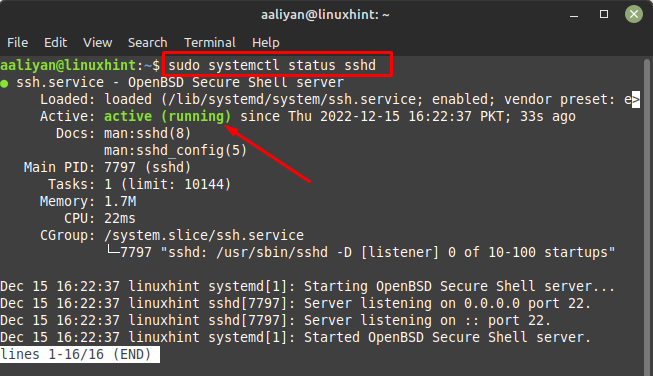
Next to see if it is running or not check the status of ssh on Linux Mint by executing:
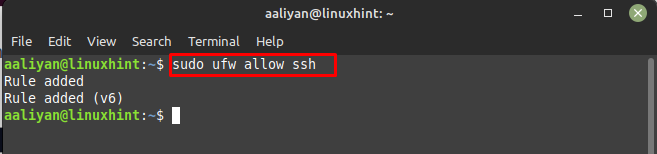
Step 2: Next, to ensure proper functionality of ssh allow it through the firewall of Linux and for that use:
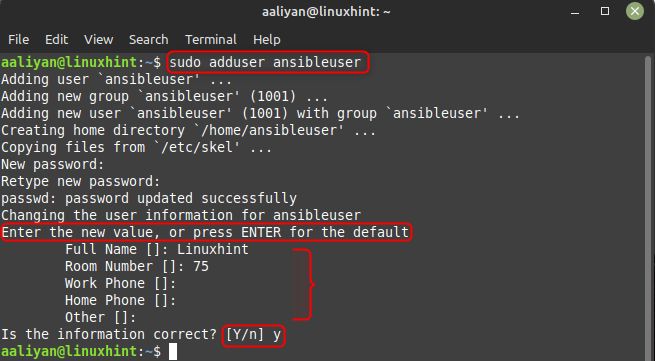
Step 3: Now create a user; enter his/her details like name and phone number, below is the syntax to create a user:
In my case I have named it as “ansibleuser”:
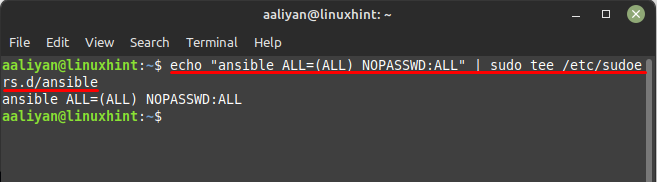
Step 4: Now allow all ansible users to have password access to Ansible and for that edit the ansible file by adding “ansible ALL=(ALL) NOPASSWD:ALL” using:
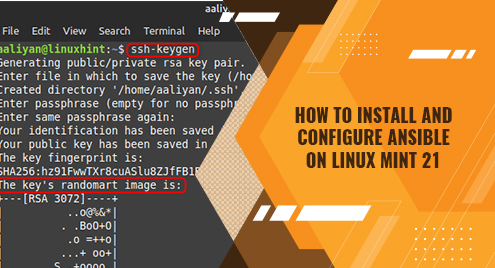
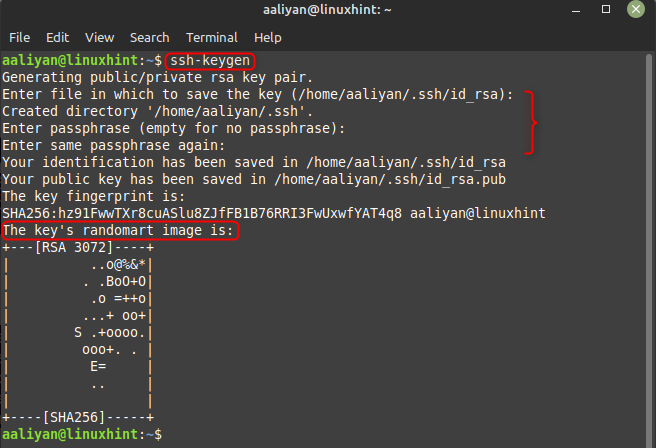
Step 5: Next, to generate the ssh keys through the key generator in Linux Mint:
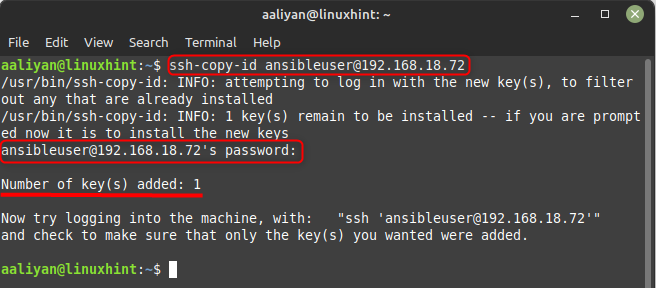
Step 6: Now copy the public version of ssh key to the host you want to give access and for that follow the given below syntax:
Here in my case the IP address of the host is 192.168.18.72 so I have copied the public to that IP using the above given syntax:
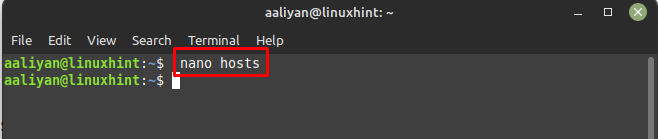
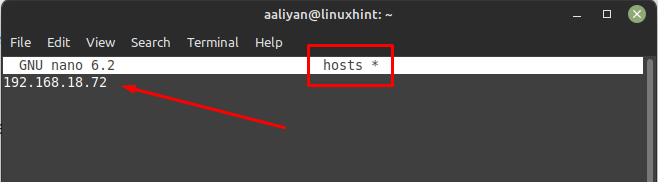
Step 7: Now, open the host file to add the IP addresses of the host for Ansible and for that execute:
Now enter the IP address of the hosts you want to give access, here in my case its only one host so I have given only one IP, once you are done with entering the IP close the file after saving it:
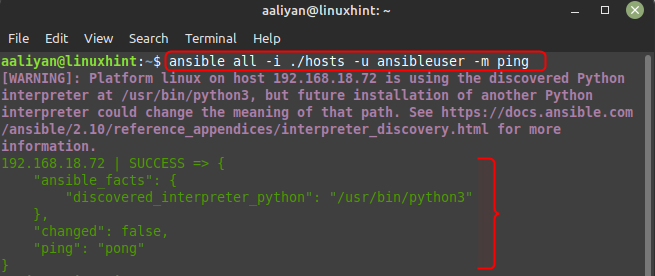
Step 8: Now let’s check if the Ansible is working, for that pin the any of the user you have created by following the below syntax:
Since I created a user named ansibleuser so I ping the ansibleuser by following the above-mentioned syntax:
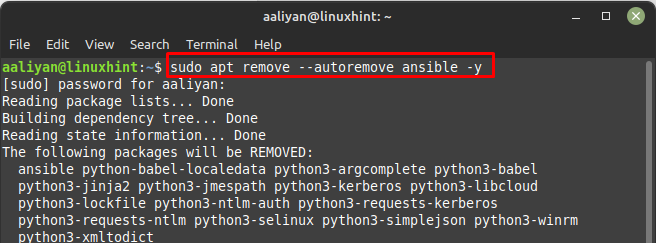
Removing Ansible from Linux Mint 21
If you no longer going to use Ansible and want to remove it completely from your Linux Mint, then execute:
Conclusions
Ansible is designed to be easy to use and learn, and it uses a simple, declarative language for expressing tasks and configurations. It is also highly scalable and can be used to manage large and complex IT environments. On Linux Mint 21 Ansible can be installed through its default package manager, this guide discusses the process of installing and configuring it.