How to Use Kickstart to Install CentOS 7
You can install CentOS 7 automatically with a Kickstart file. A Kickstart file has the answer to all the questions that the CentOS 7 installer asks when you manually install it. You can create a Kickstart configuration file with a graphical program like Kickstart Configurator and use it to install CentOS 7 automatically.
In this article I will show you how to generate and use a Kickstart file to install CentOS 7.
Installing Kickstart Configurator on CentOS 7
Kickstart Configurator is a graphical application for creating a Kickstart configuration file. It is not installed by default on CentOS 7. You can easily install Kickstart Configurator from the App Store.
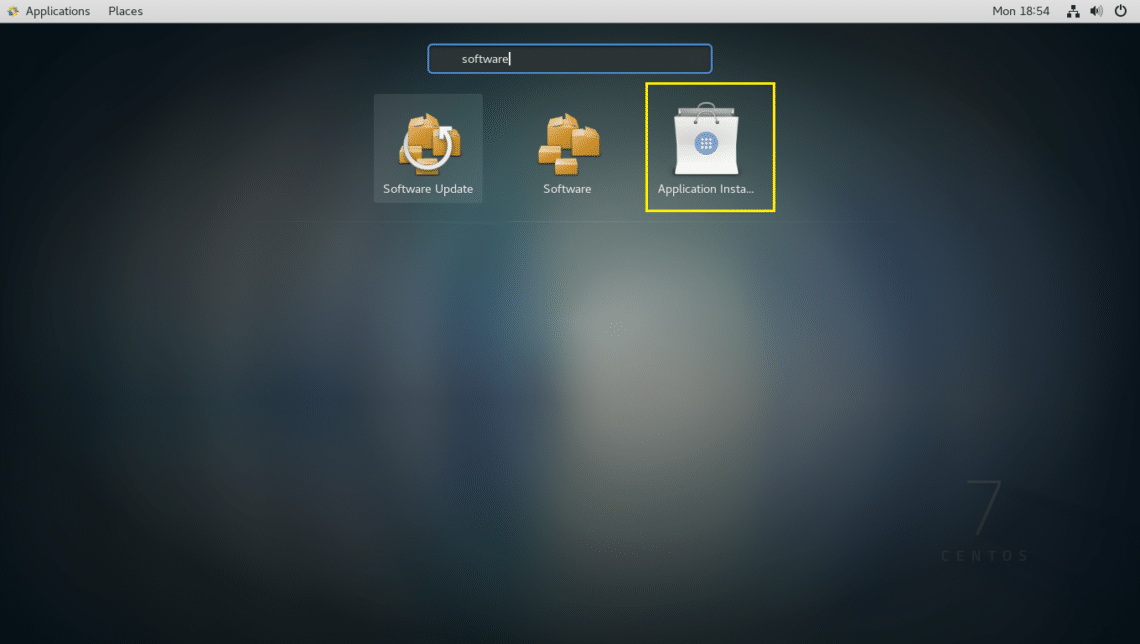
First search for App Store in the GNOME 3 Application Menu. You should see the following icon as marked in the screenshot below.
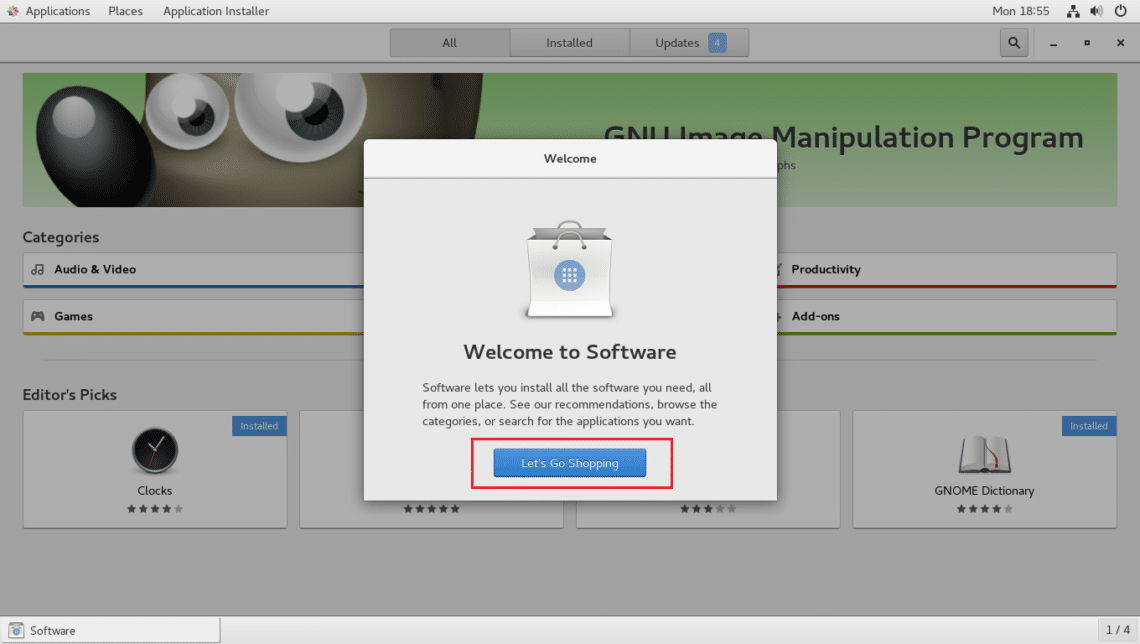
The GNOME3 App Store also known as Application Installer should start. Click on Let’s Go Shopping.
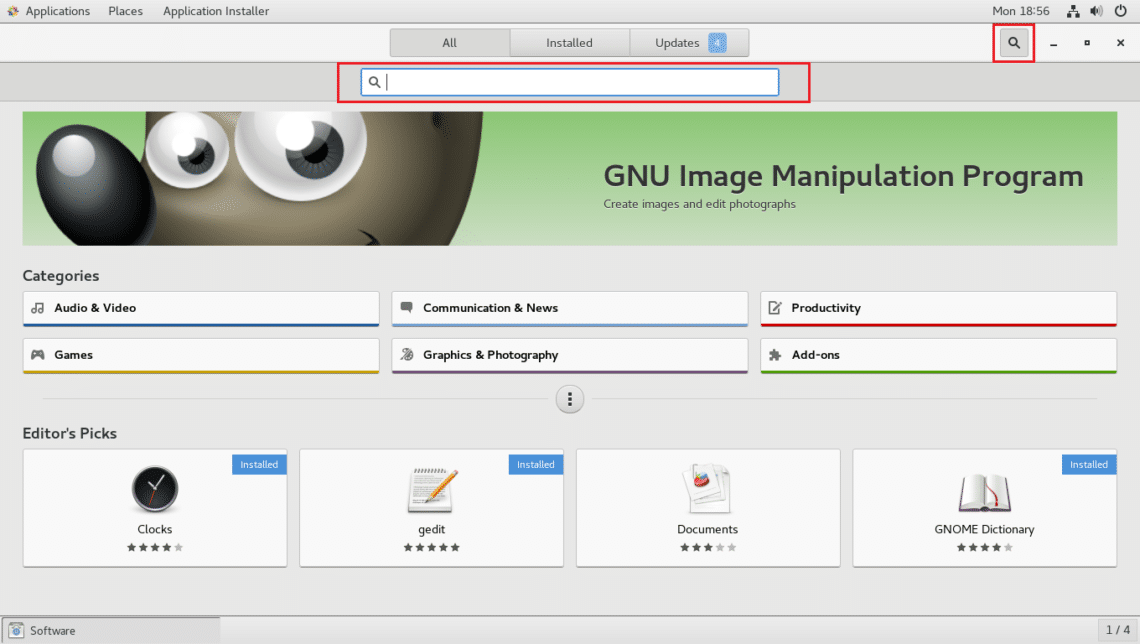
Now click on the Magnifying glass icon and a search box should appear as marked in the screenshot below.
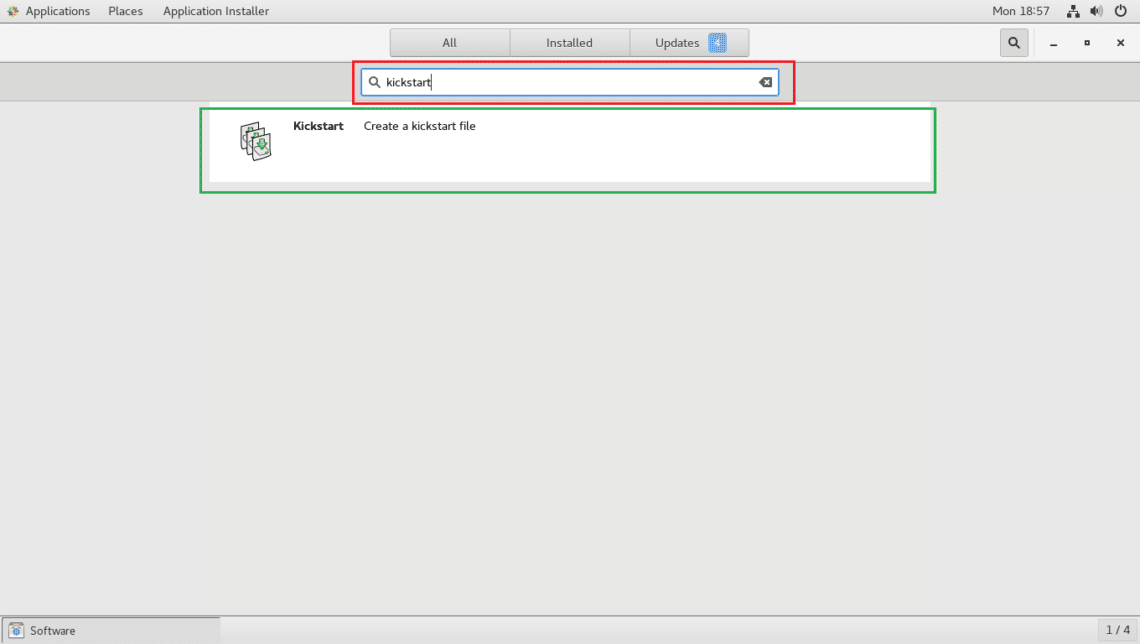
Now search for kickstart. You should find Kickstart Configurator as marked in the screenshot below. Click on it.
Now click on the Install button as marked in the screenshot below.
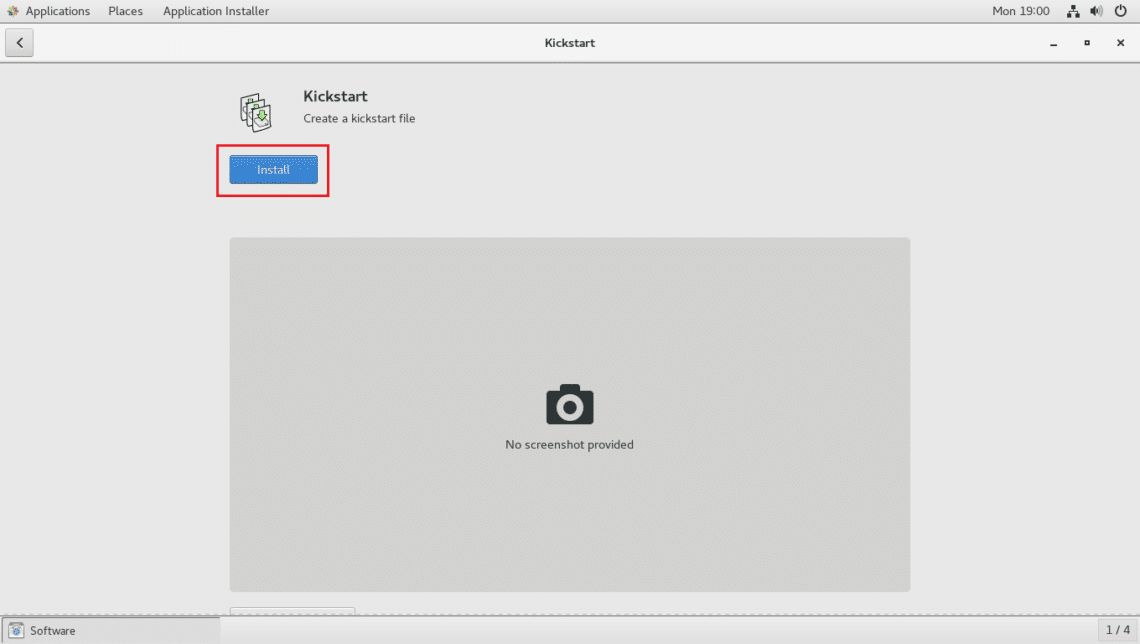
The installation should start.
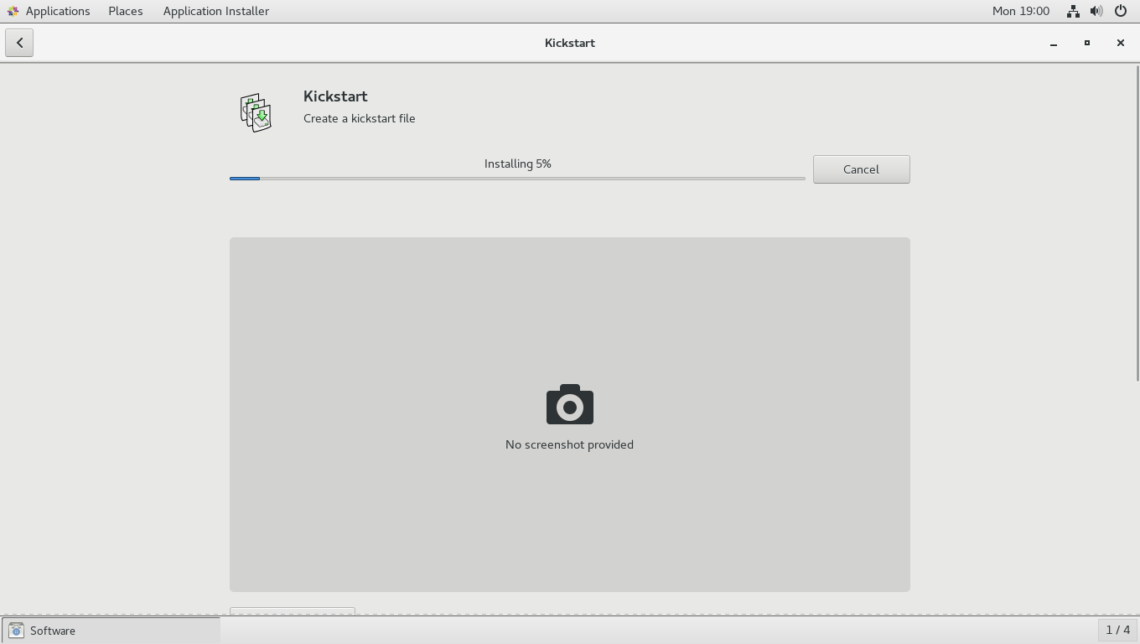
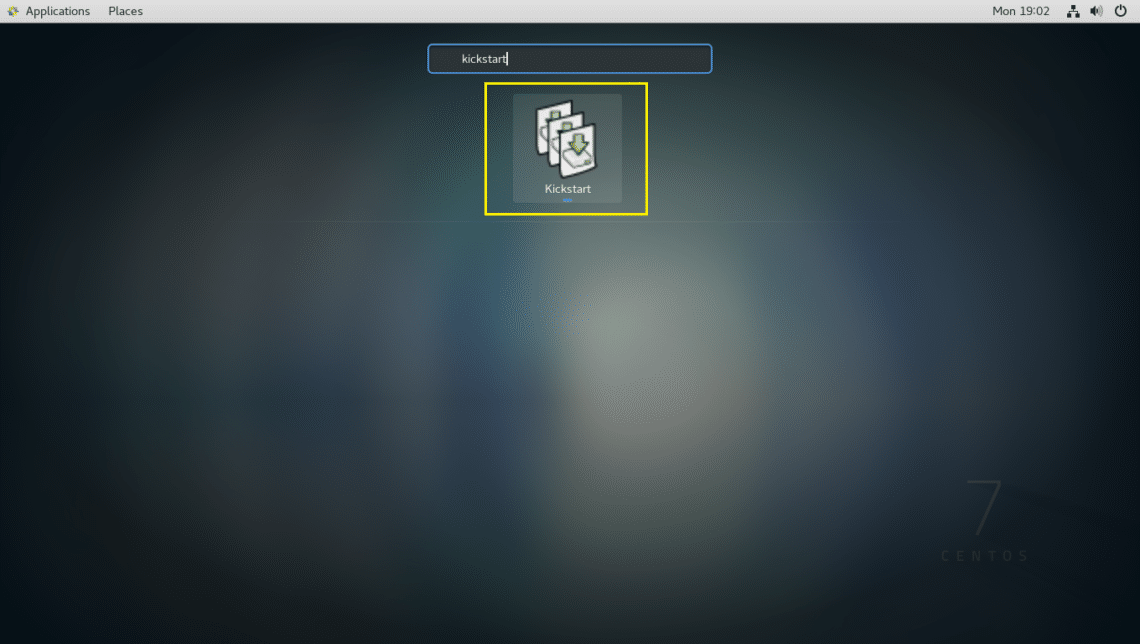
Once the installation is complete, you can start Kickstart Configurator from the GNOME 3 Application Menu.
Fixing Kickstart Configurator Package Selection Problem
Kickstart Configurator has a bug that won’t let you select software packages. But it’s easy to fix.
Run the following command to edit /usr/share/system-config-kickstart/packages.py:

You should see the following window. Now type in :set number and press <Enter>.
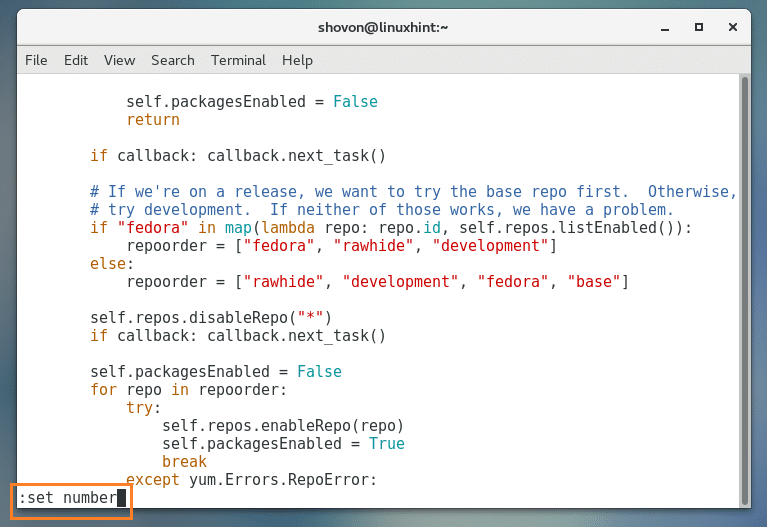
The line numbers should be displayed. Now press <Down> arrow keys to navigate to line 161 as marked in the screenshot below.
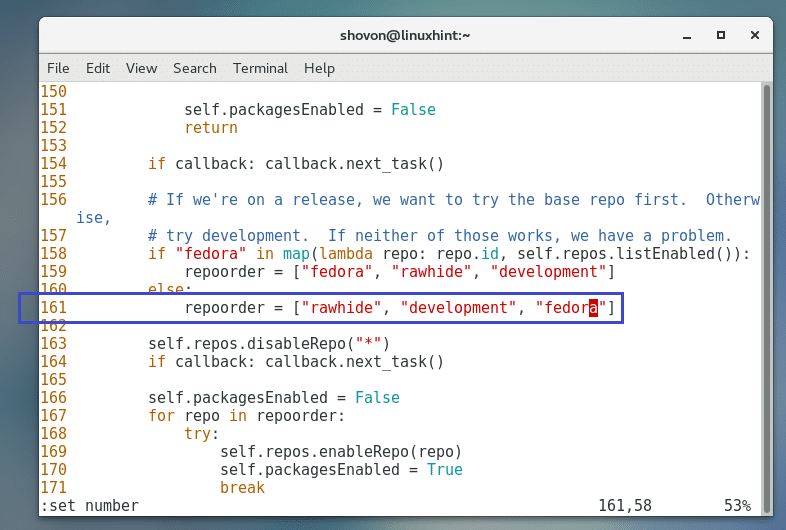
Now add “base” at the end of the line as marked in the screenshot below. Now press <Esc> and type in :wq! and press <Enter> to save the file.
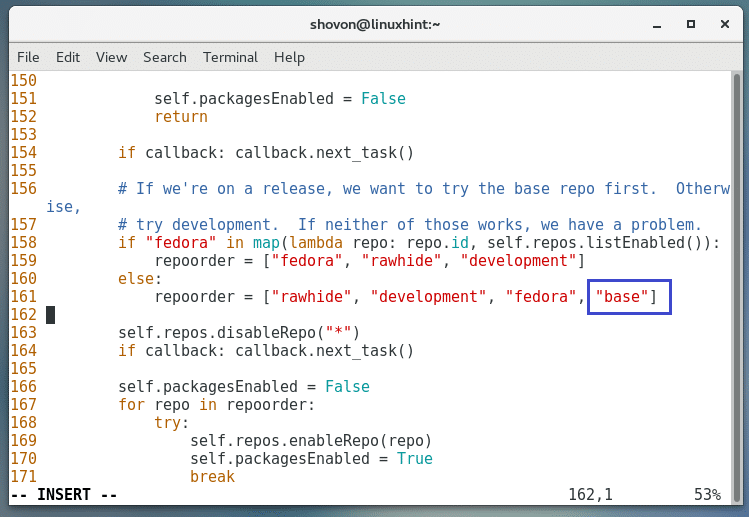
The problem should be solved.
Using Kickstart Configurator to Generate a Kickstart File
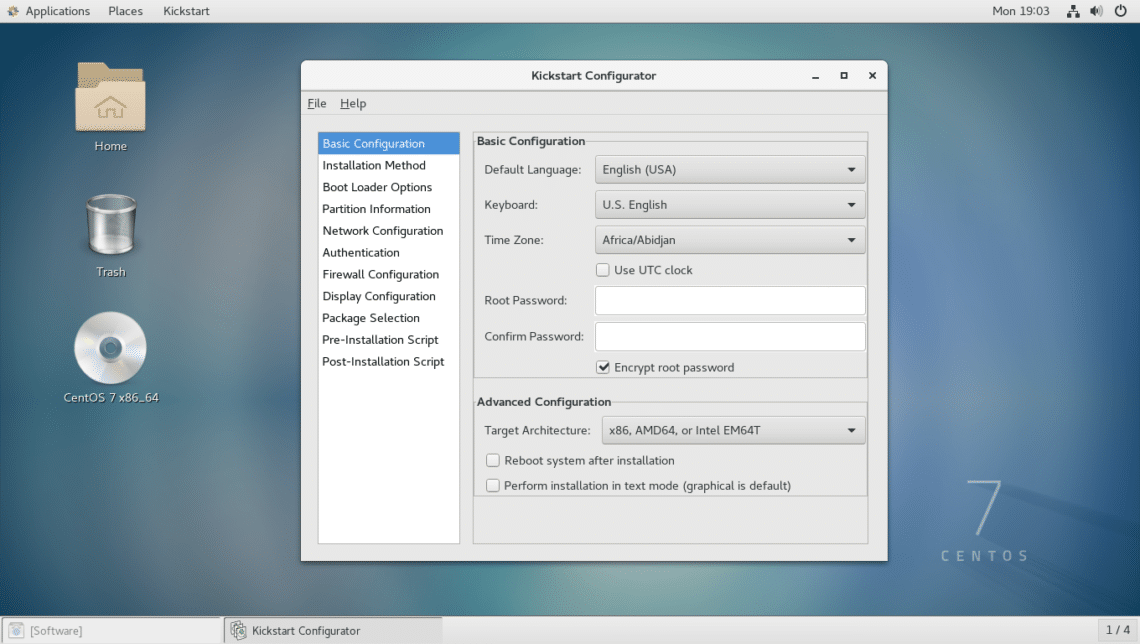
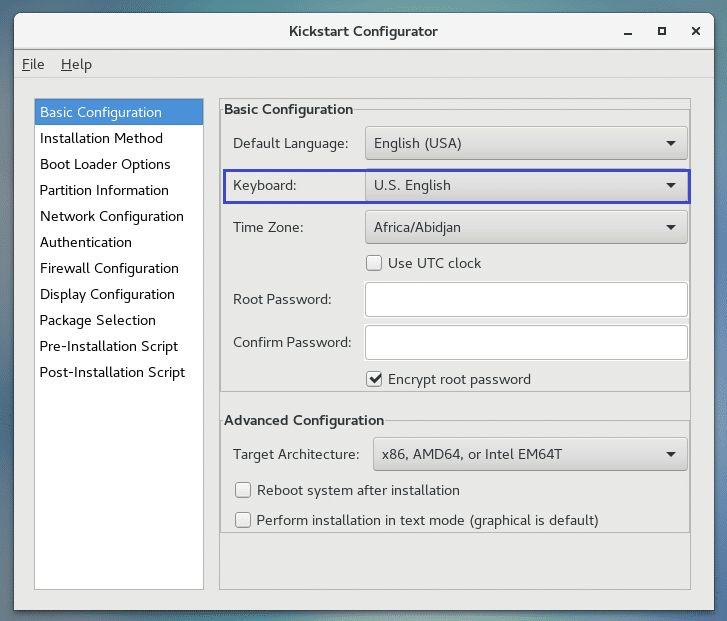
Now start Kickstart Configurator and you should see the following window.
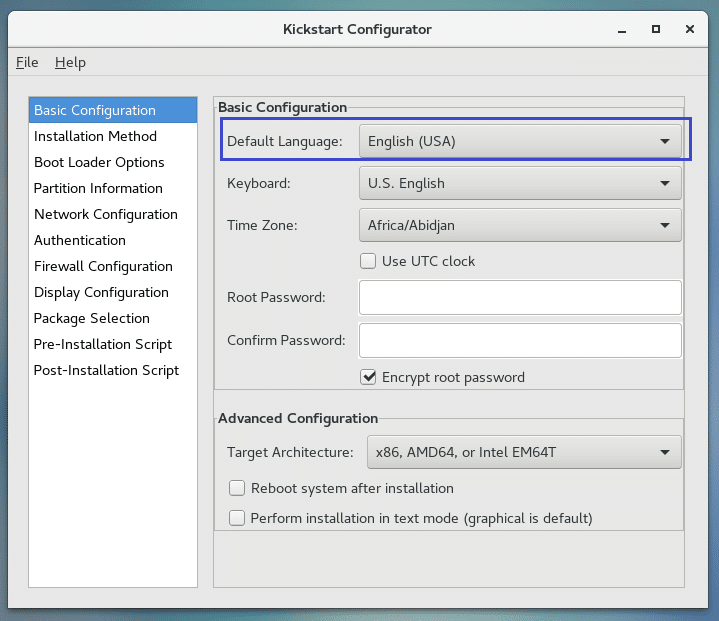
Now select your Language from the Default Language section’s dropdown menu.
Now select your Keyboard layout from the Keyboard section’s dropdown menu.
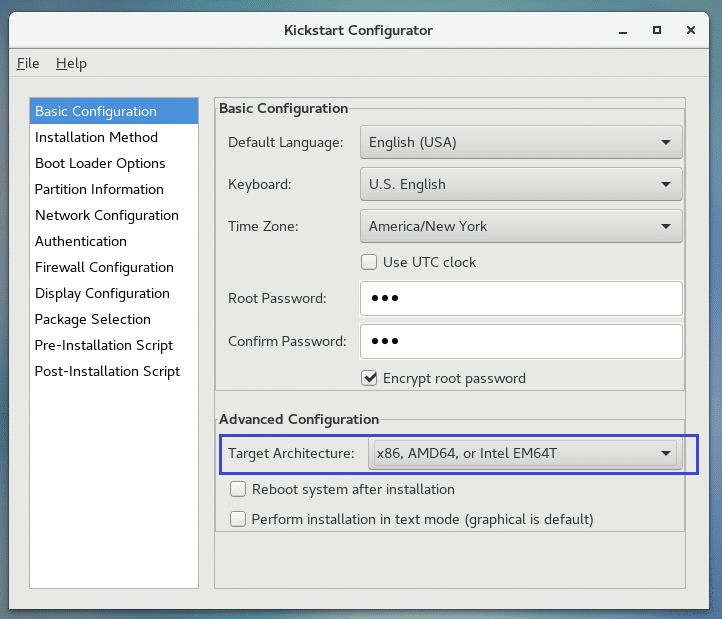
Now select your Time zone from the Time Zone section’s dropdown menu. I will select America/New York.

You may check Use UTC clock checkbox to enable UTC clock. I am not going to do that.

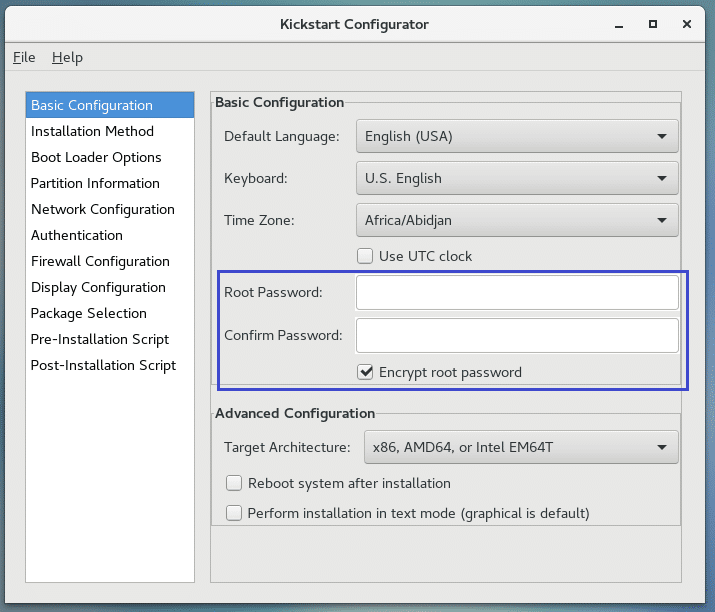
Now set up a root password for your CentOS 7 installation.
Now select the machine architecture. I want to install it in a 64bit machine. So I will leave the default.
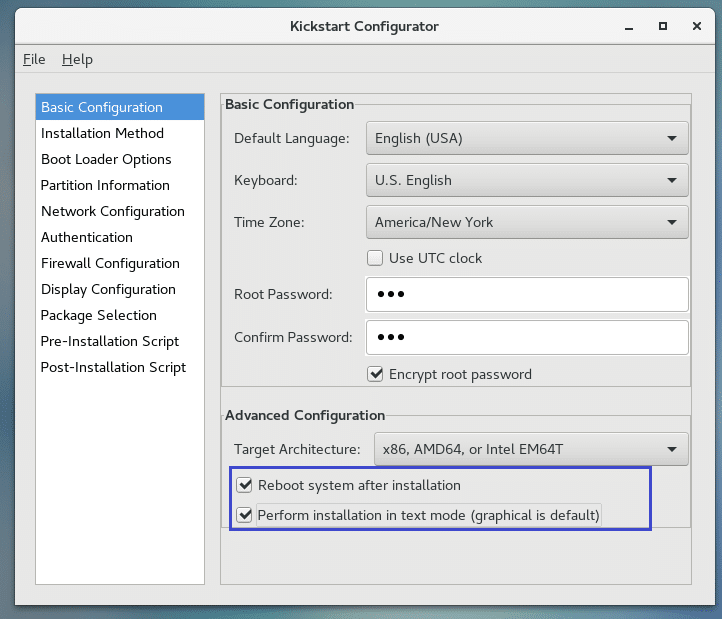
Now check Reboot system after installation to reboot the system once the installation is complete. Also check Perform installation in text mode (graphical is default) to start the installer in text mode. Text mode installer is lightweight and fast. That’s why I like it.
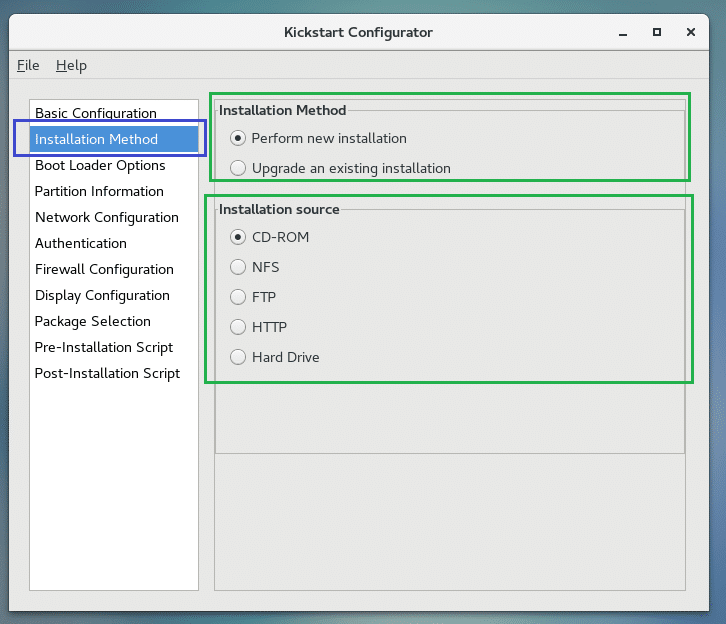
Now to go Installation Method tab as marked blue in the screenshot.
In the Installation Method section as marked green on the screenshot below, click on Perform new installation. Of course you can perform system upgrades. But it is out of the scope of this article.
Now from the Installation source section, select CD-ROM.
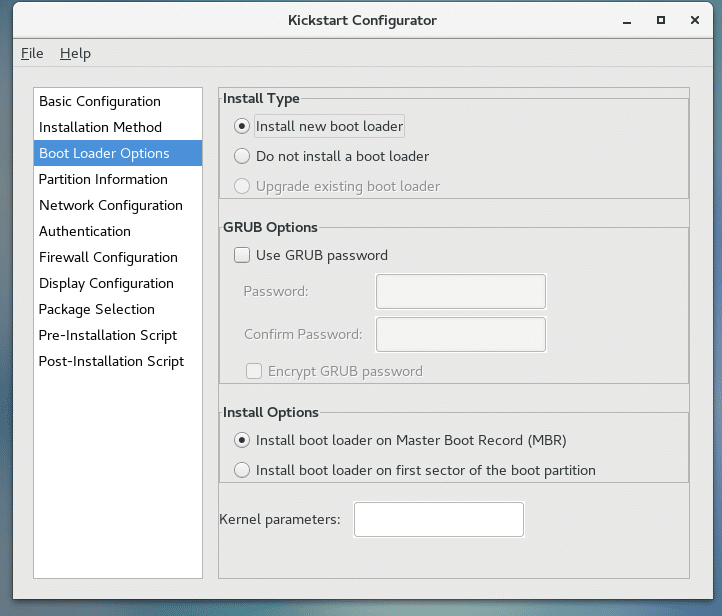
Now on the Boot Loader Options tab, select Install new boot loader from the Install Type section.
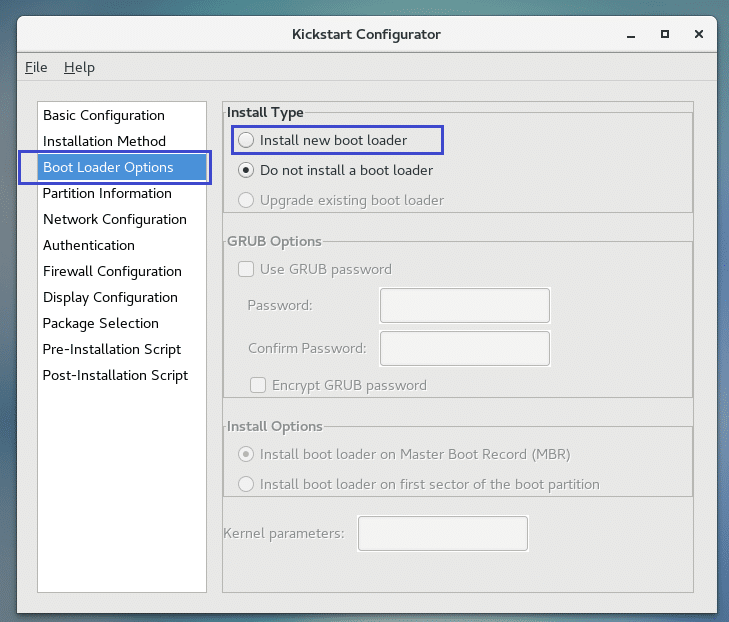
Now click on Install boot loader on Master Boot Record (MBR) from the Install Options section.
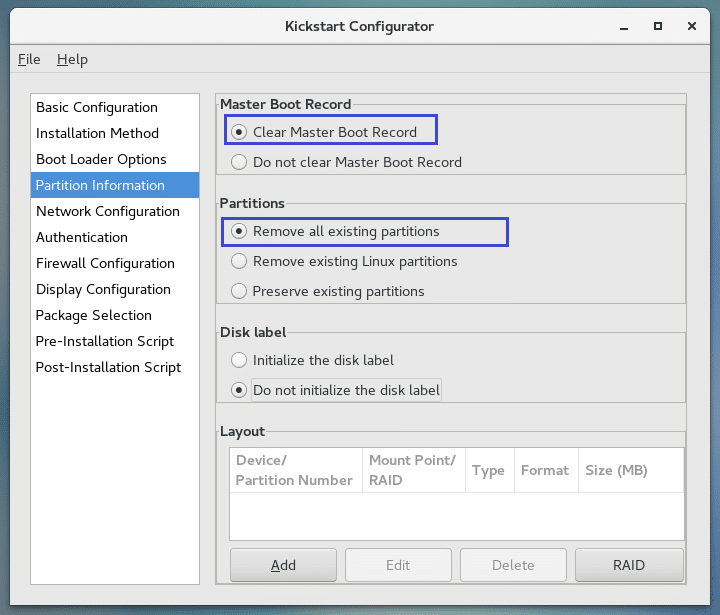
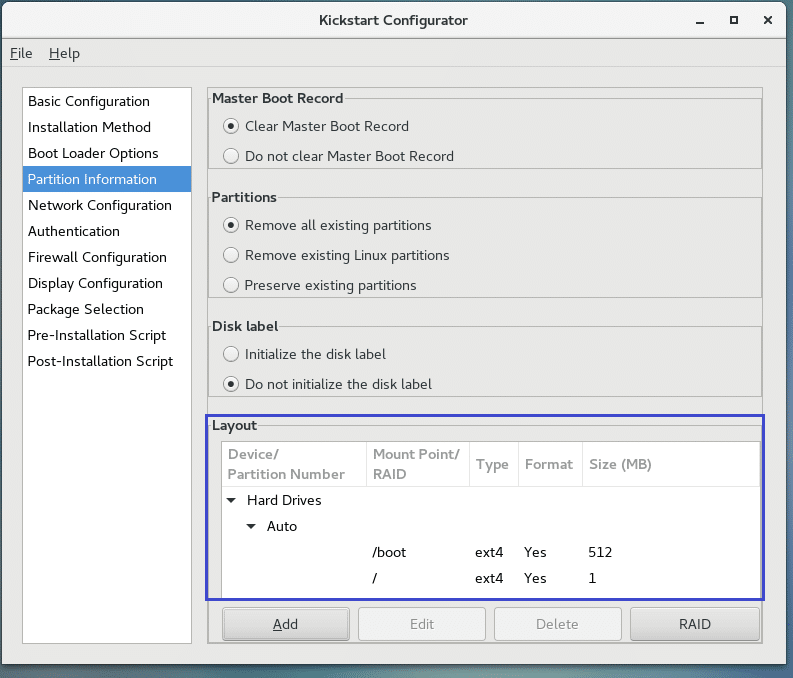
Now go to the Partition Information tab and you should see the following window. This is where you do the disk partitioning.
I want to perform a clean installation of CentOS 7. So I will wipe out my entire hard drive and install CentOS 7. But once you understand how partitioning works, you can configure it as you want.
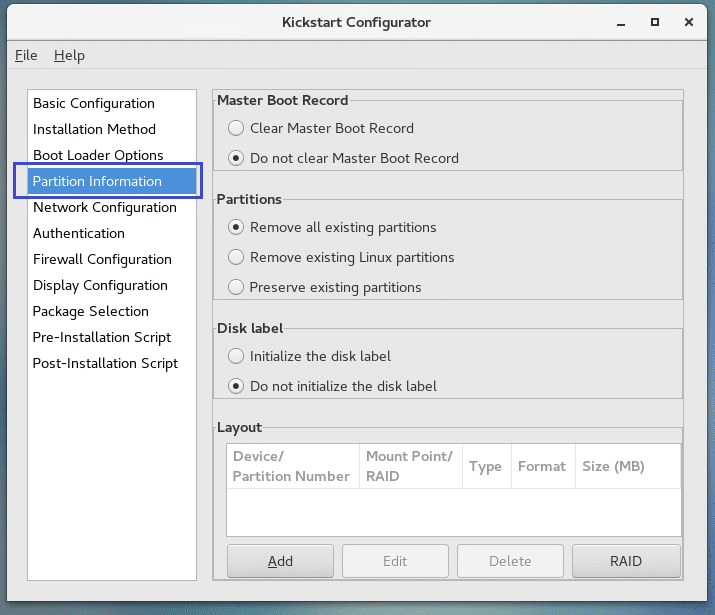
Now click on Clear Master Boot Record and Remove all existing partitions as marked in the screenshot below.
Now to create a new partition, click on Add.
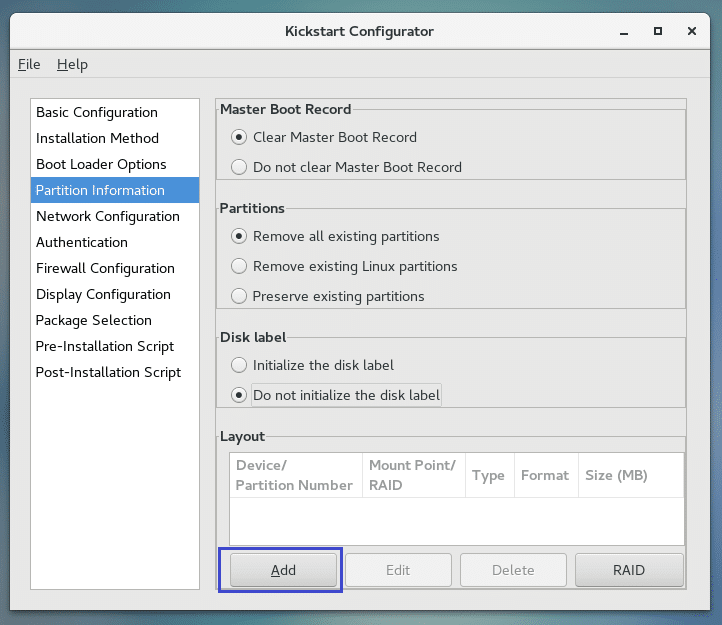
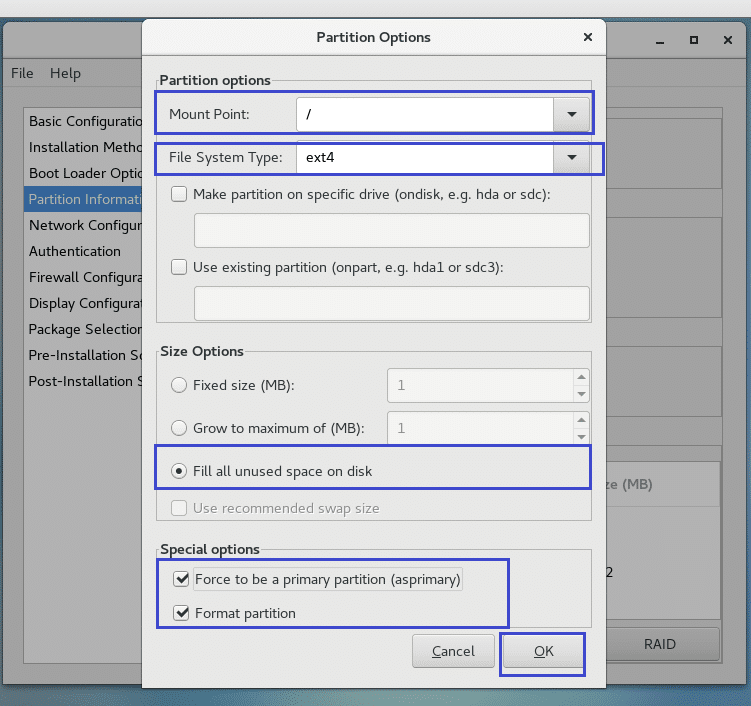
You should see the following window.
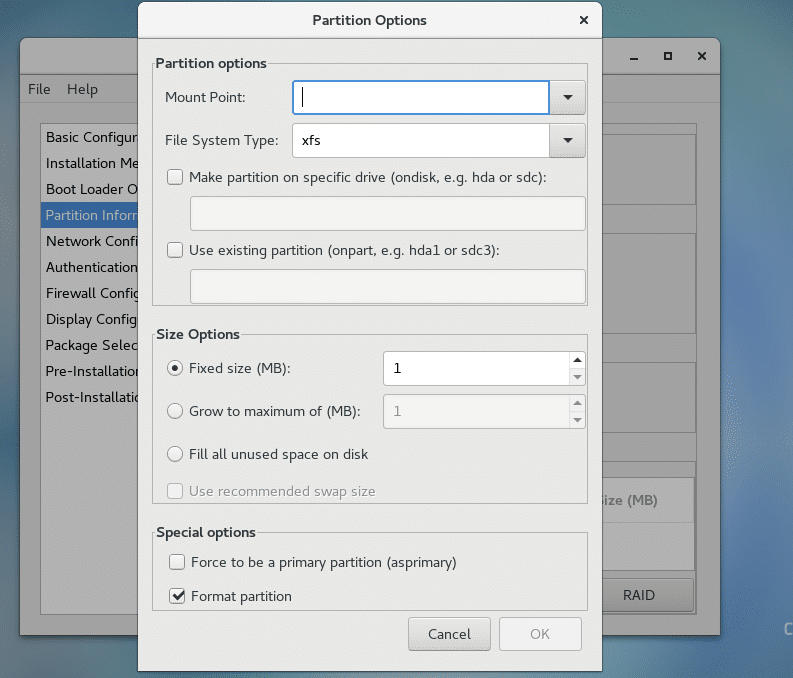
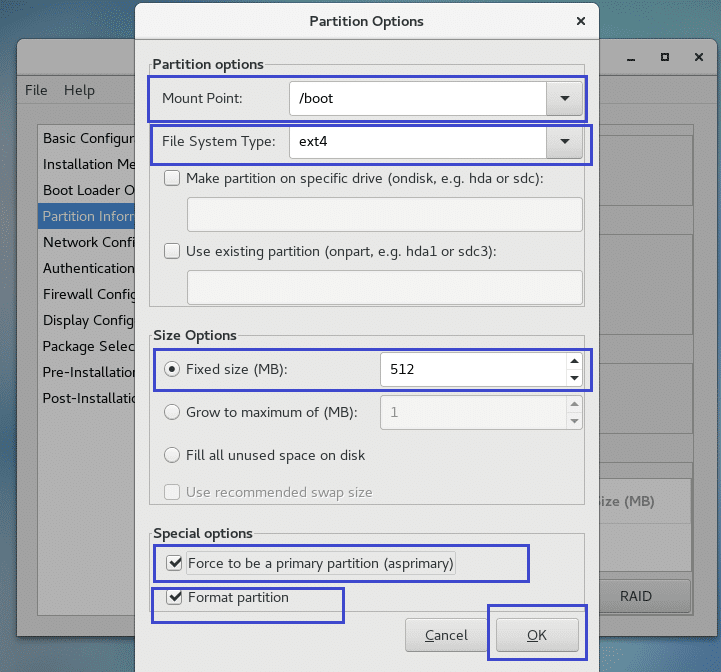
First create a boot partition as follows. 512MB is enough for a boot partition. Once you’re done, click on OK.
Now I will create a root partition as follows. Make sure to click on Fill all unused space on disk in the Size Options section as marked in the screenshot below. Then the root partition will take up all the space left after creating the boot partition. Once you’re done, click on OK.
Once the partitioning is done, it should look as follows.
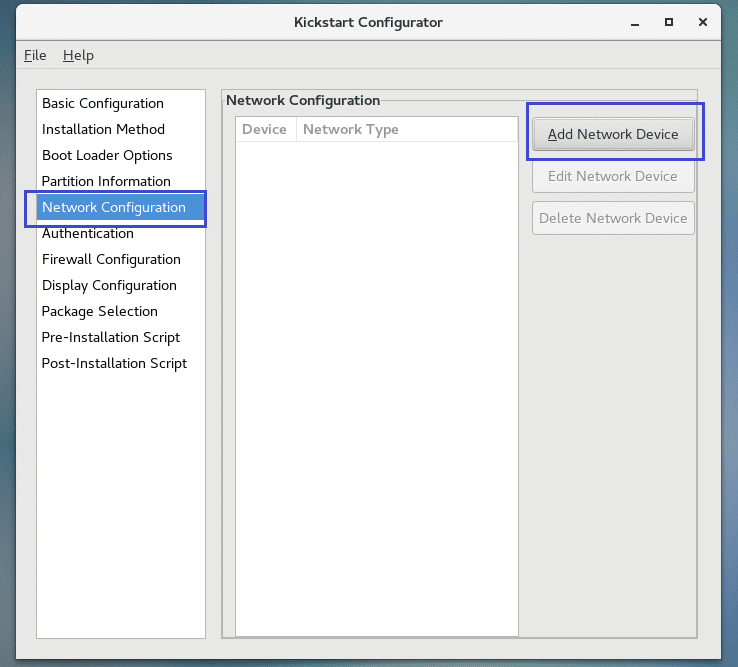
You can also configure the network from the Network Configuration tab as marked in the screenshot below. I am not going to do it now as I will be installing CentOS 7 from a DVD.
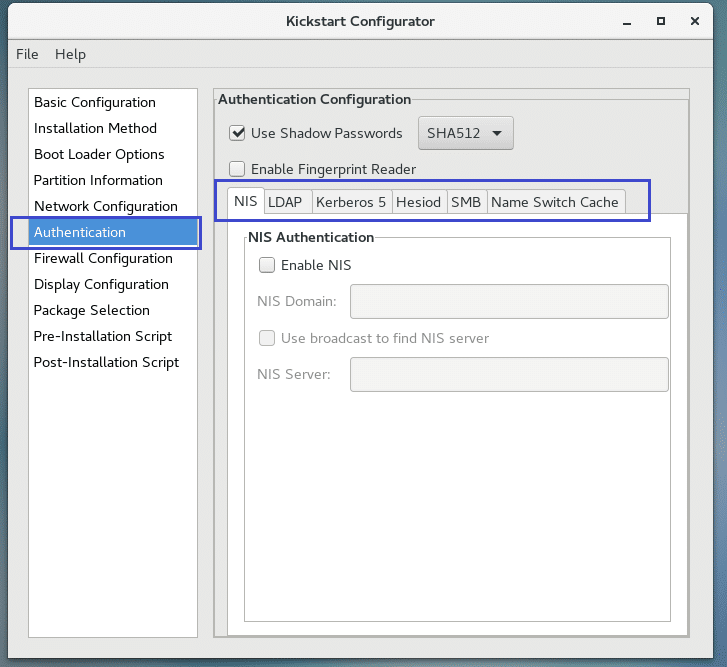
You can also configure how the users may be authenticated once the installation is complete from the Authentication tab as shown in the screenshot below. I will leave the defaults.
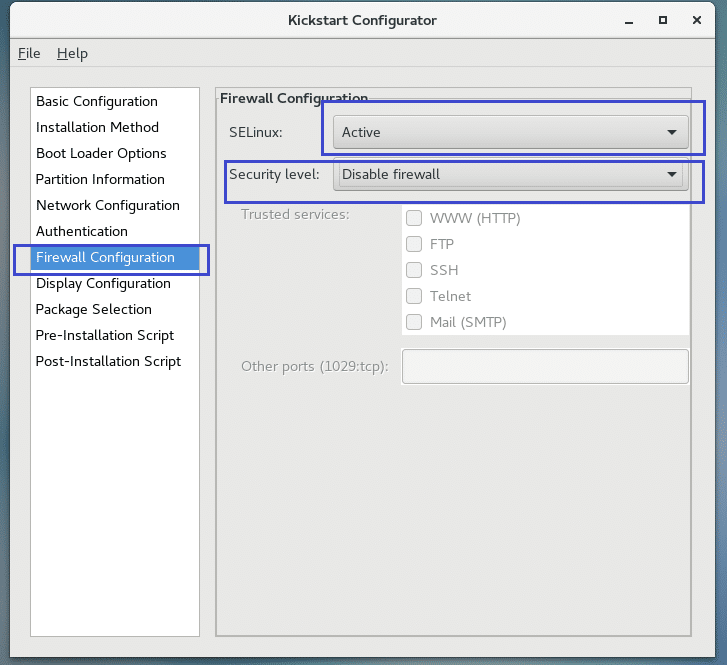
You can also configure the firewall and SELinux from the Firewall Configuration section. I will leave the defaults.
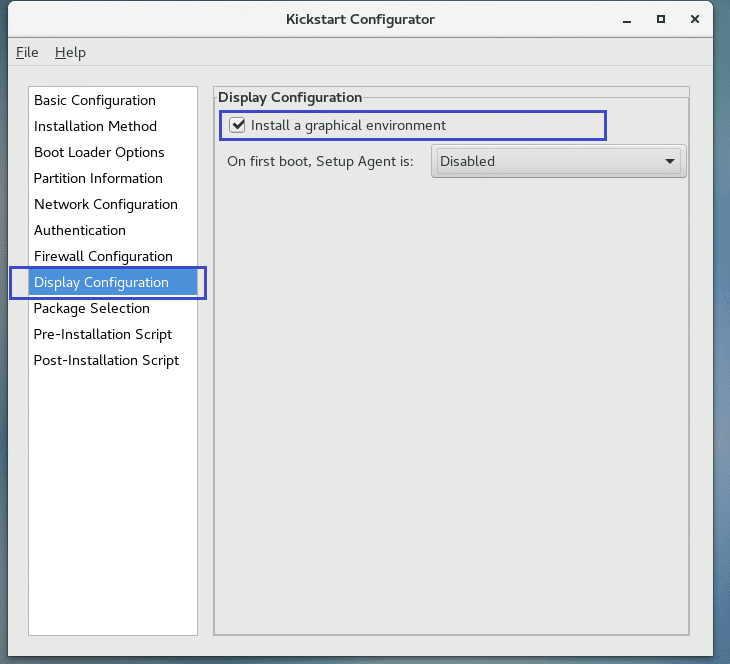
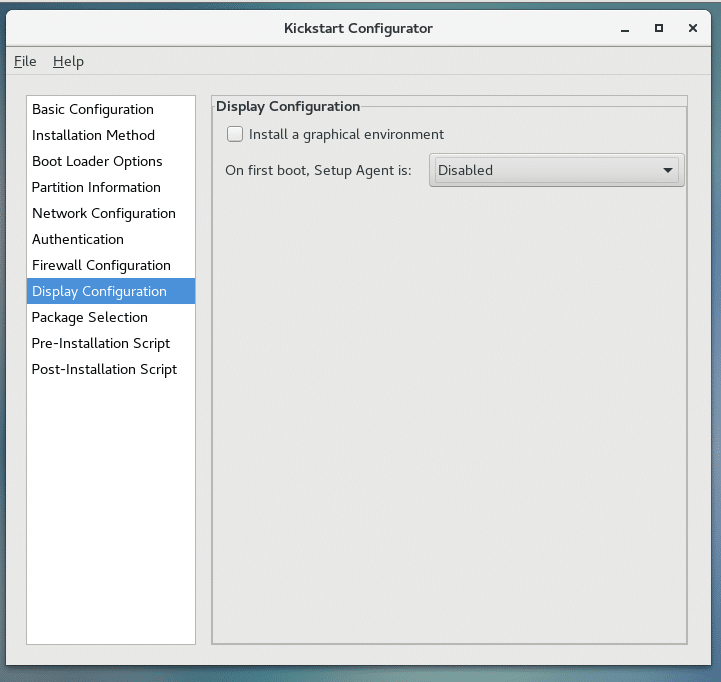
You can configure whether you want to install a graphical desktop environment from the Display Configuration tab as marked in the screenshot below. I will go for a headless CentOS 7 machine. So no desktop environment. I unchecked Install a graphical environment.
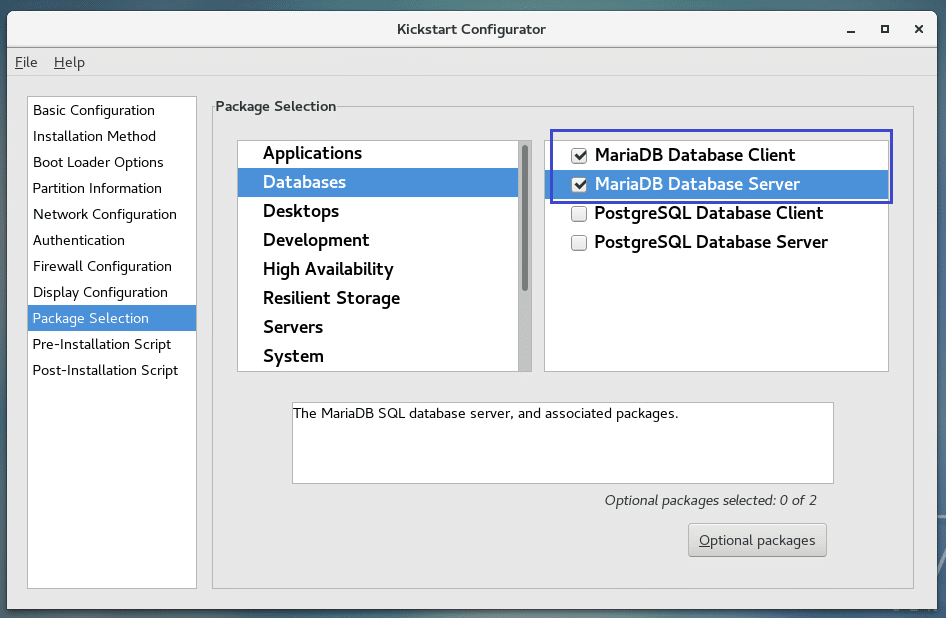
Now you can select which packages to install from the Package Selection tab.
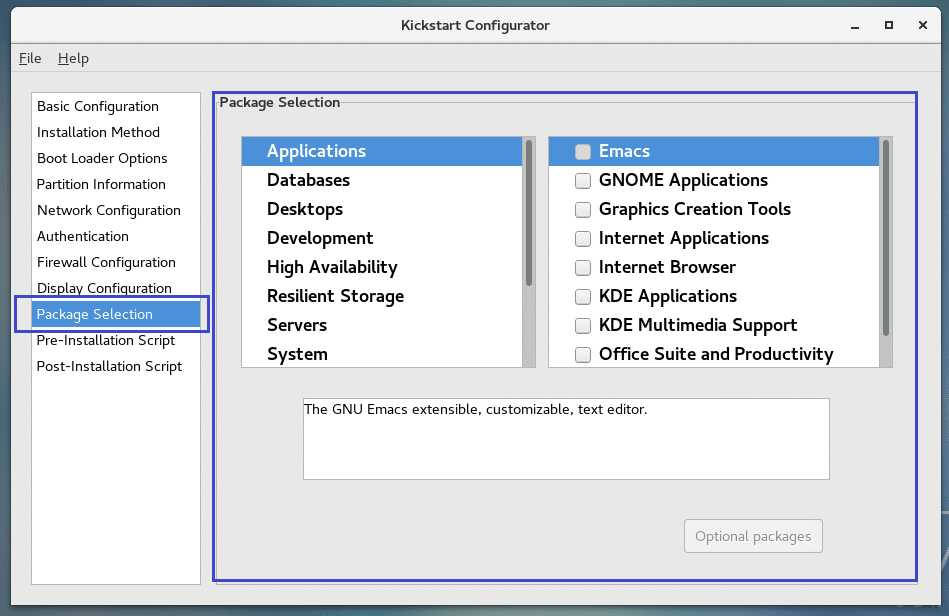
For demonstration, I will select MariaDB Database.
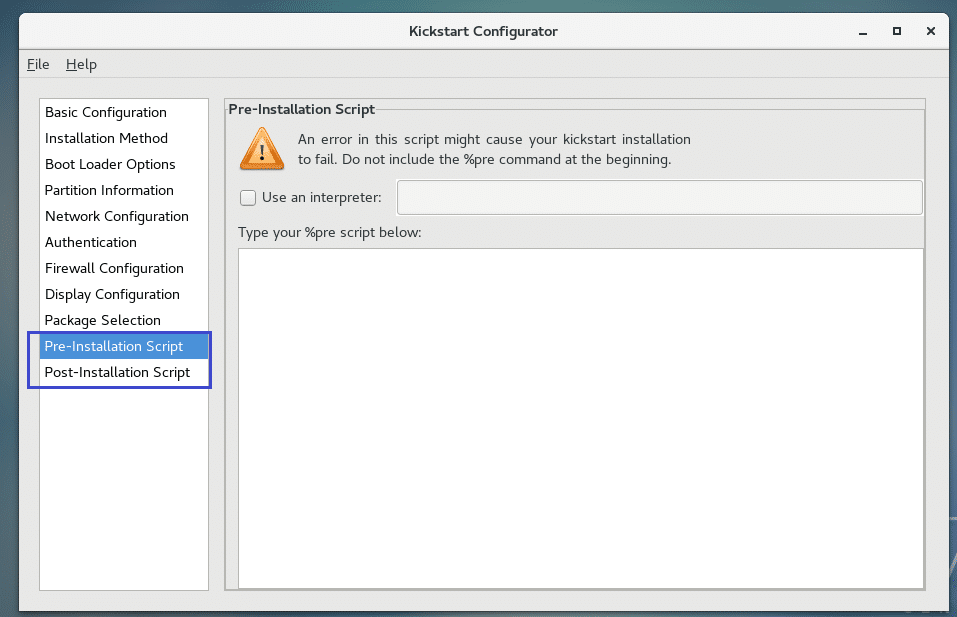
You can also set Pre and Post installation scripts if you want.
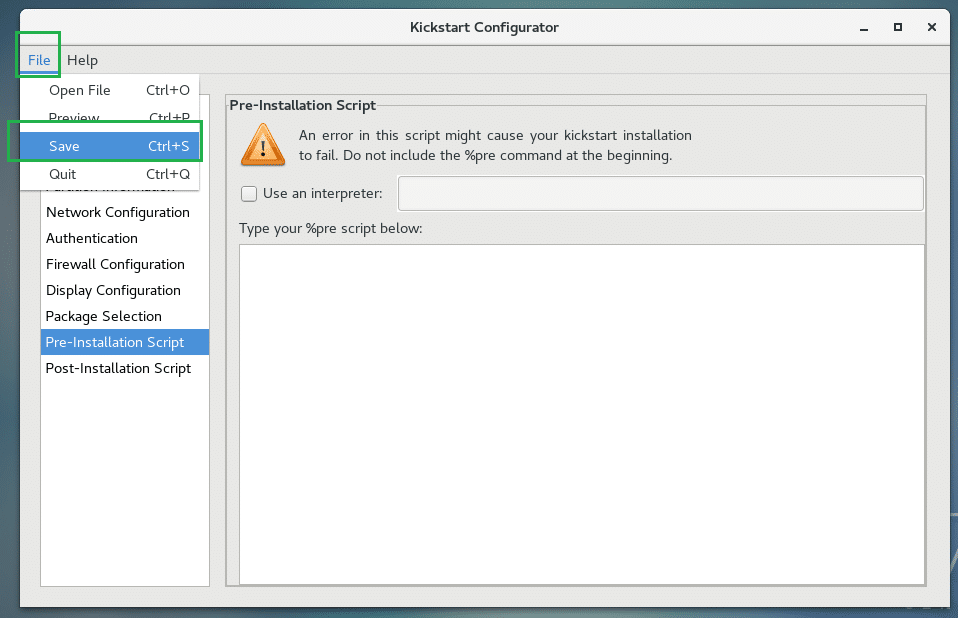
Once you’re done, click on File and then click on Save.
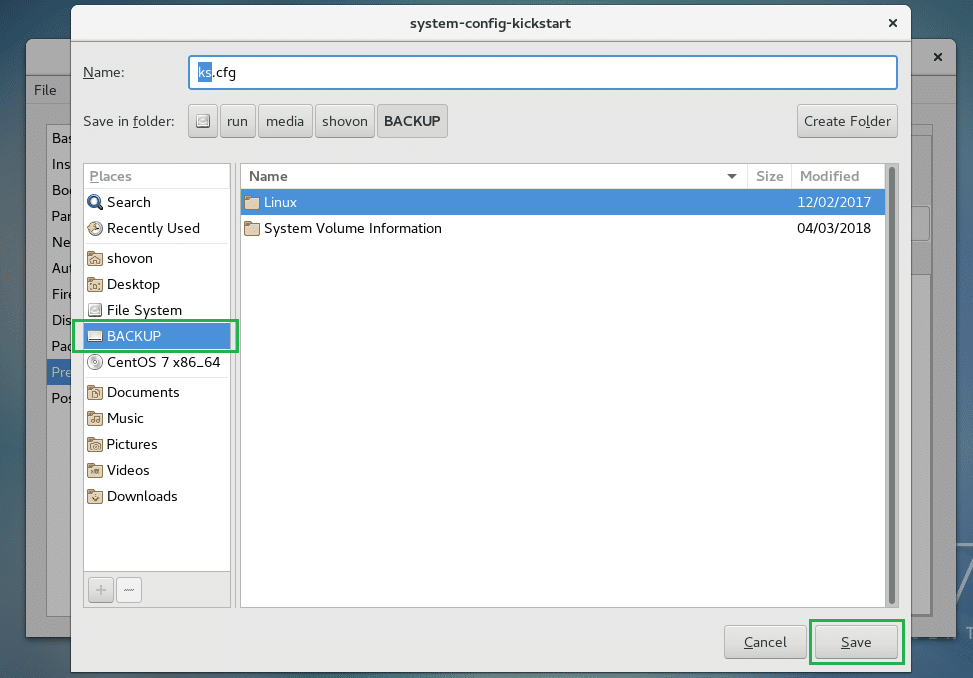
Now save the Kickstart configuration file to a USB drive as ks.cfg.
Now boot CentOS DVD on any machine where you want to install CentOS 7. Also insert the USB device where you have ks.cfg file stored.
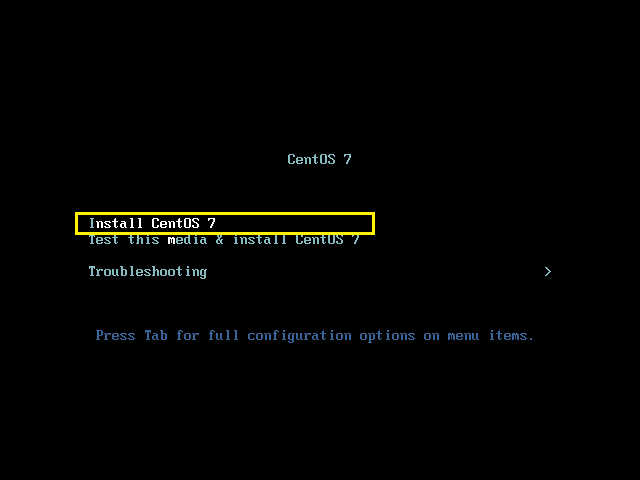
Now press <Esc> button. You should see the following window.

Now type in the following command and then press <Enter>:
NOTE: Here /dev/sda is the hard drive where CentOS 7 should be installed and /dev/sdb1 is the USB drive where you saved ks.cfg file.
![]()
The automatic installer should start.
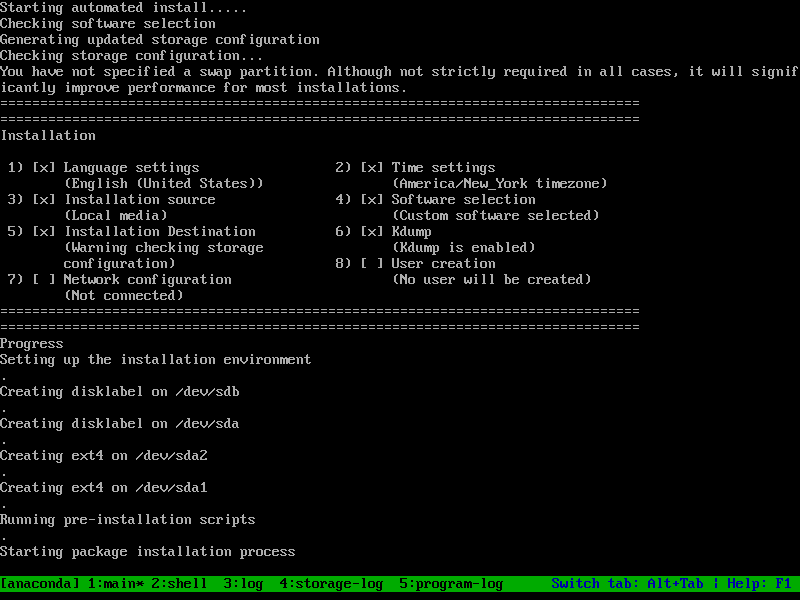
CentOS 7 is being installed automatically using the Kickstart file:

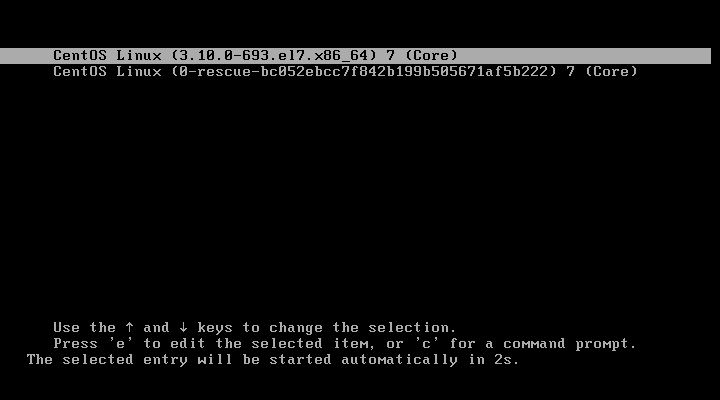
Once the installation is complete, you should see the CentOS 7 GRUB menu as shown in the screenshot below. Select the first option and press <Enter>.
You should see the login screen of CentOS 7. You can login as root with the password you set up in the Kickstart Configurator.
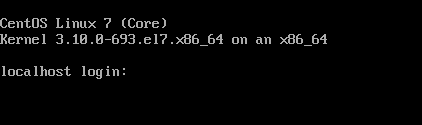
As you can see I am able to log in.

Also notice that the MariaDB packages I selected are installed by default.

That’s how you install CentOS 7 using a Kickstart file. Thanks for reading this article.