This tutorial demonstrates the ways for the installation procedure of Autossh on Linux Mint 21.
How to Install Autossh on Linux Mint 21 through apt Command
It is available in the Linux Mint repository, so the installation process is easy. First, update your system to get the latest packages. Install Autossh via the following command.
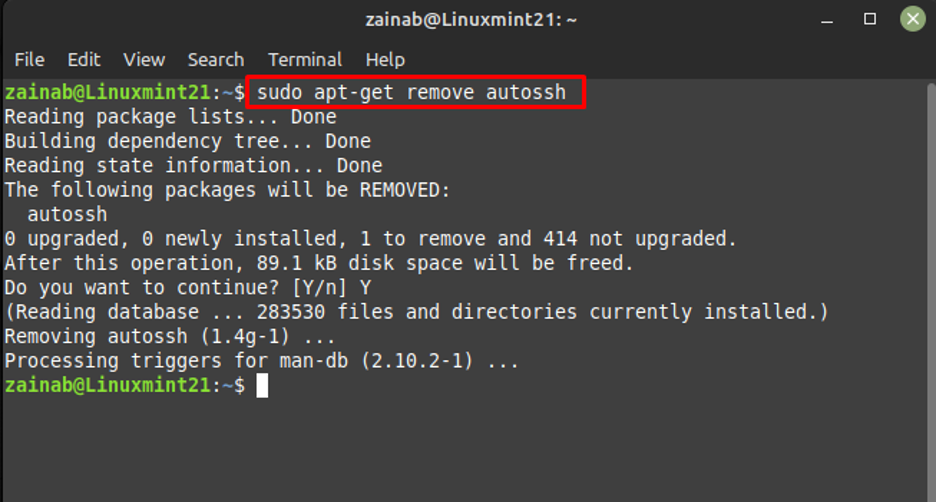
How to Remove Autossh on Linux Mint 21
As you have installed it through the apt-get command so use the same syntax with the remove command to uninstall Autossh from your system:
How to Install the Autossh through Source File on Linux Mint 21
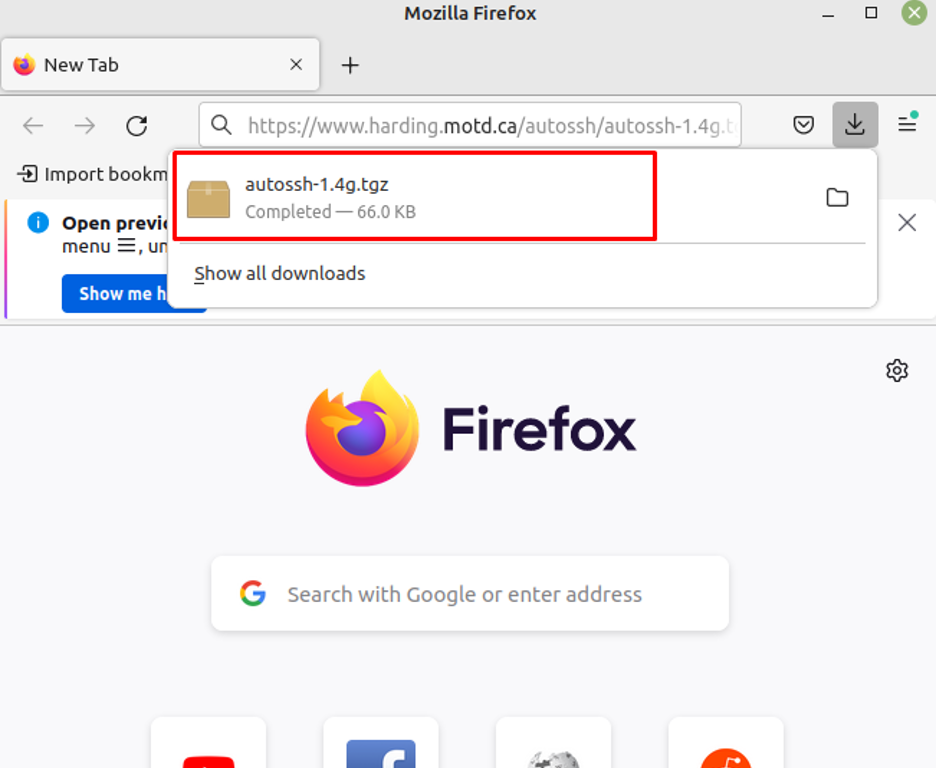
Install the latest version of Autossh by downloading its source file and building it. To build Autossh from the source download the file via this link:
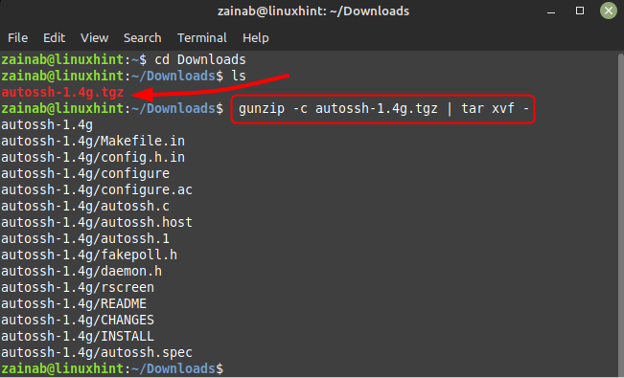
Next, unzip the downloaded file by executing the below command and don’t forget to switch the directory where the file is downloaded:
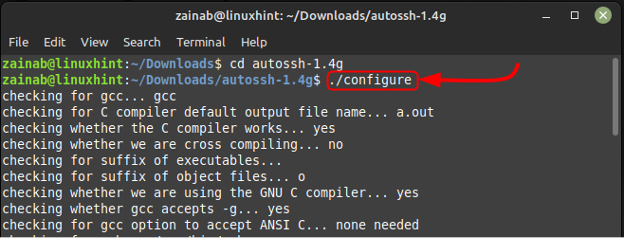
Now execute the configure file using:
Now to make the file executable and to compile multiple program files just use the make command:
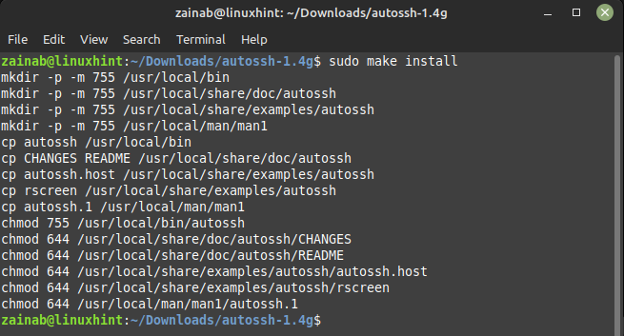
Once the files are compiled, just install them to get this tool on Linux Mint:
To delete the source file of Autossh from the Linux Mint 21, execute the following command:
Conclusion
Autossh is a program that determines and connects the SSH connection when it drops. It keeps a record of SSH connections and connects the monitoring using the loops of port forwarding. Autossh also specifies the ports for remote echo services, these services echo back the data to the source or client. This is a quick tutorial on installing and uninstalling Autossh in Linux Mint 21.
There are two simple ways to install and set up the Autossh on Linux minutes including the default package manager and downloading the source file. Moreover, to uninstall the Autossh use the remove command in the terminal.


