This guide will demonstrate the process of installing Asterisk on an AWS EC2 Ubuntu Instance. However, the prerequisite includes an EC2 Ubuntu instance and your PC connected to the EC2 instance using the SSH connection. If you still need to do the prerequisites, then follow this guide!
Installing Asterisk on EC2 Ubuntu Instance
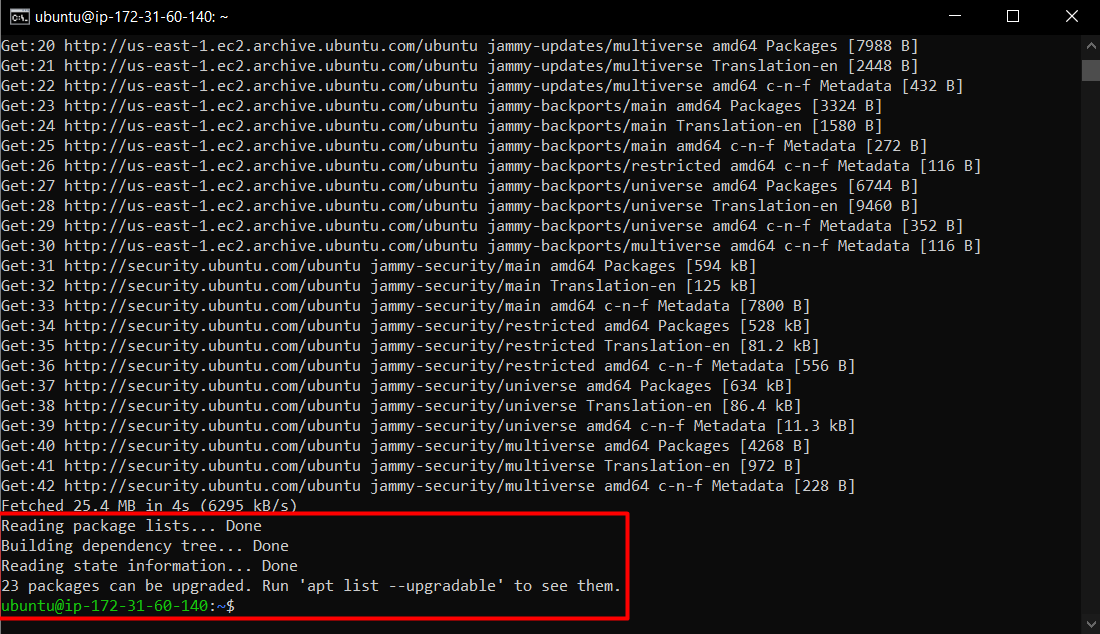
Assuming that you have done the prerequisites step mentioned above and are connected to the SSH terminal, the very first command is to update the apt packages list:
This will produce the following results on the SSH terminal of the EC2 instance:
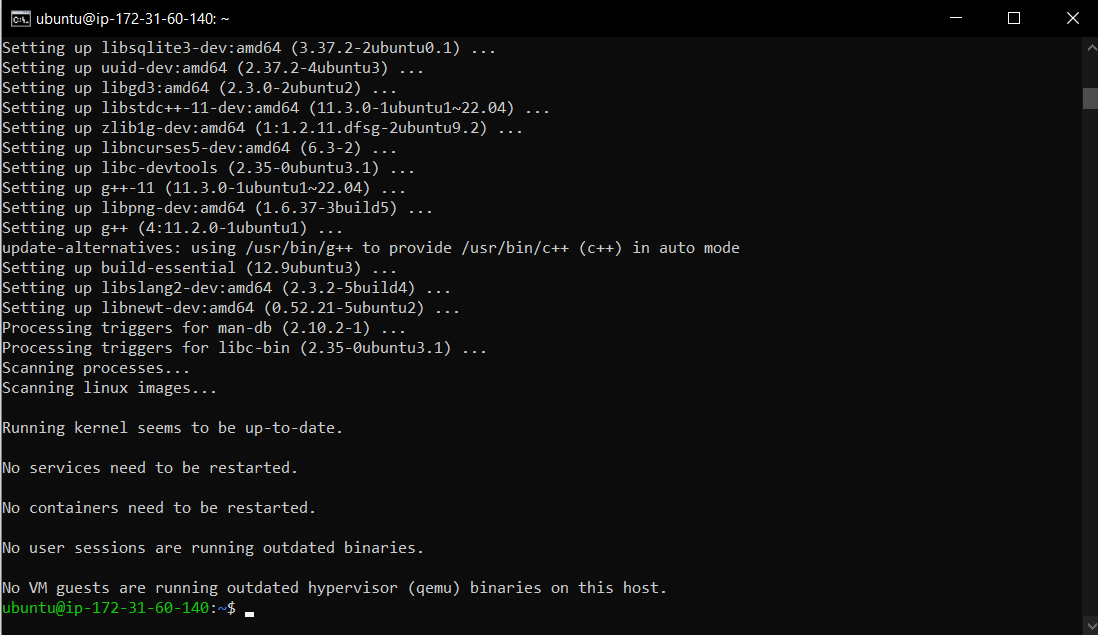
After that, install the packages that are required to ensure the correct building, configuring and working of asterisk:
The SSH terminal will display the following outcome indicating a successful install
The next step is to download the asterisk zipped package, for that first inside the “src” directory with the following command:

After that, download the asterisk zipped package using the following command:
Executing this command will display the following output on the SSH terminal:

This means that the package has been downloaded in the “src” folder and since it is a zipped\archive folder, you need to untar it using the following command:
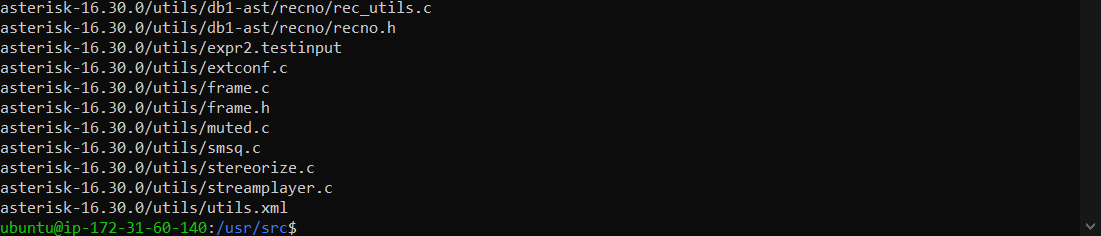
After the package has been unzipped, head inside the asterisk folder using the following command:

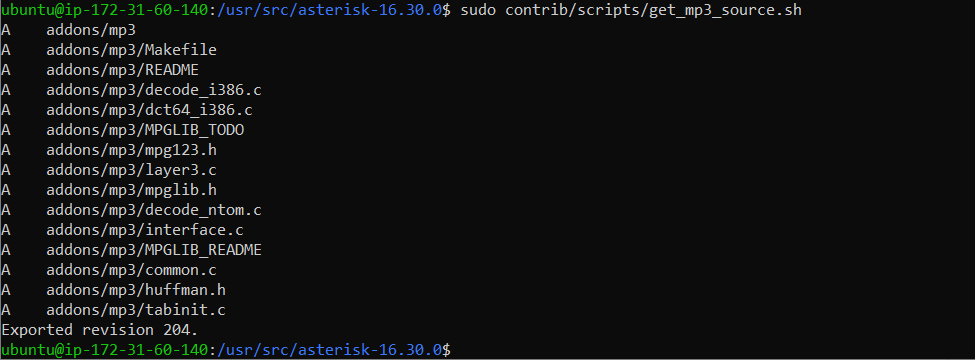
After that, download the MP3 source scripts as they will work as the decoder package for MP3 when building asterisk:
This command will produce the following results:
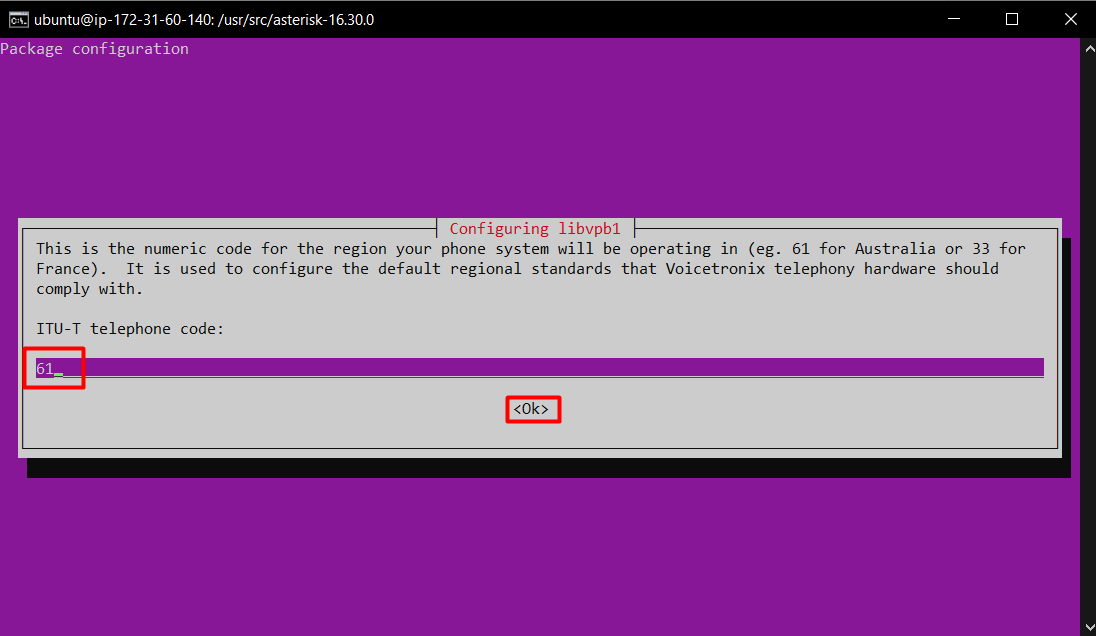
After that, we install all the prerequisites using the following command:
During this installation, you will be prompted about the area code, type that in and then press the “Enter” key:
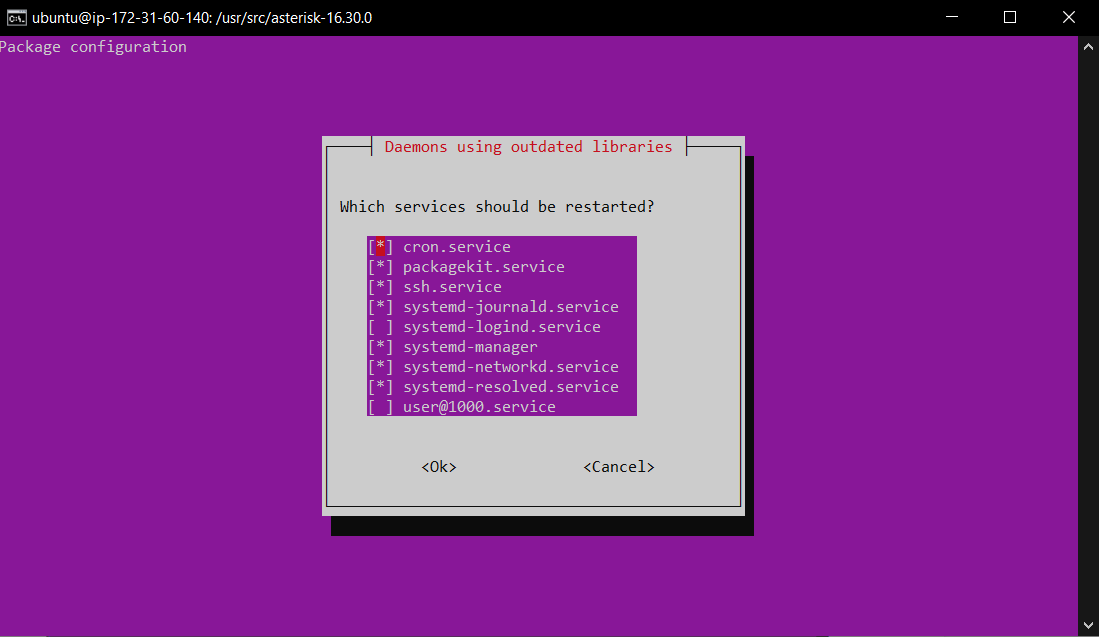
When the installer asks you about the services that should be restarted, simply hit the “Enter” key:
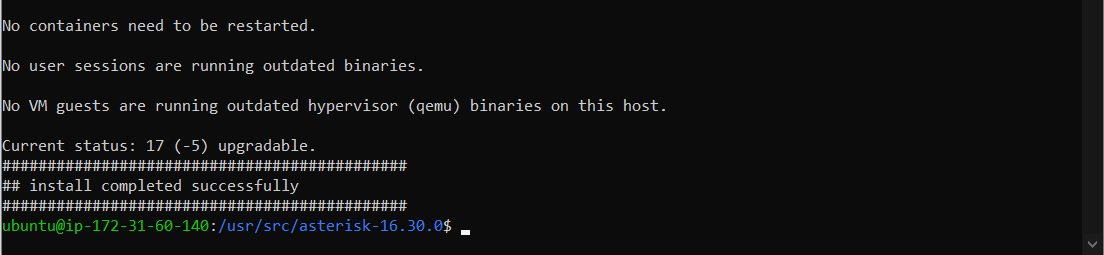
Once the installation is successful, the following message will be visible on the SSH terminal:
After that, to configure everything all together, run the configure script using the following command:
This command can take a couple of minutes, therefore, wait patiently. After successful execution, the command will return the following output on the terminal:
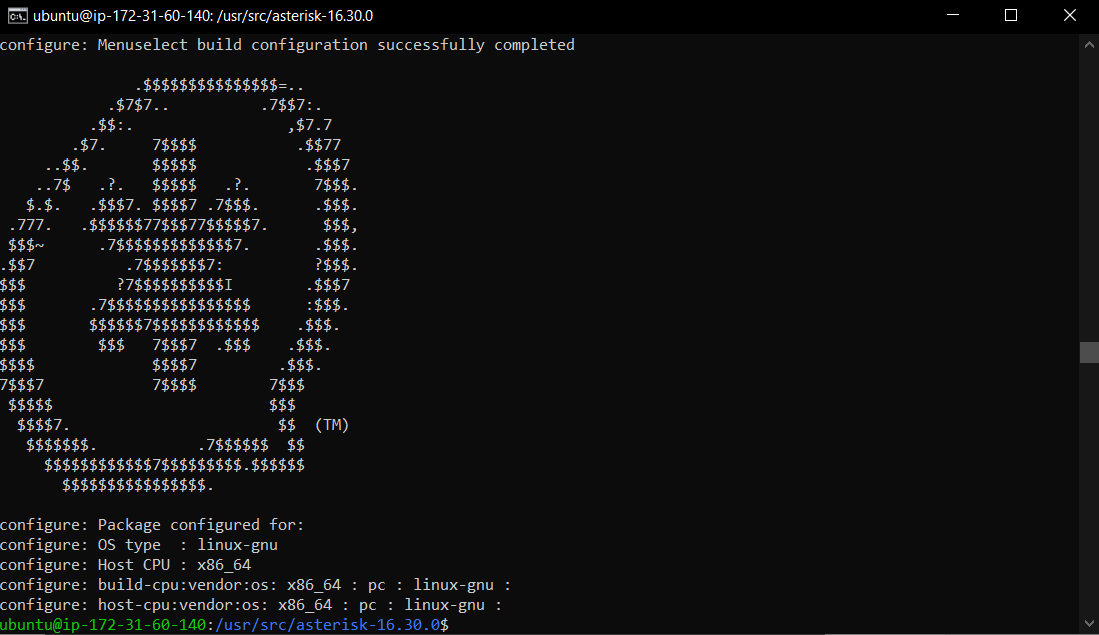
This confirms that your build configurations are completed. After that, move on with the menu selection using the following command:
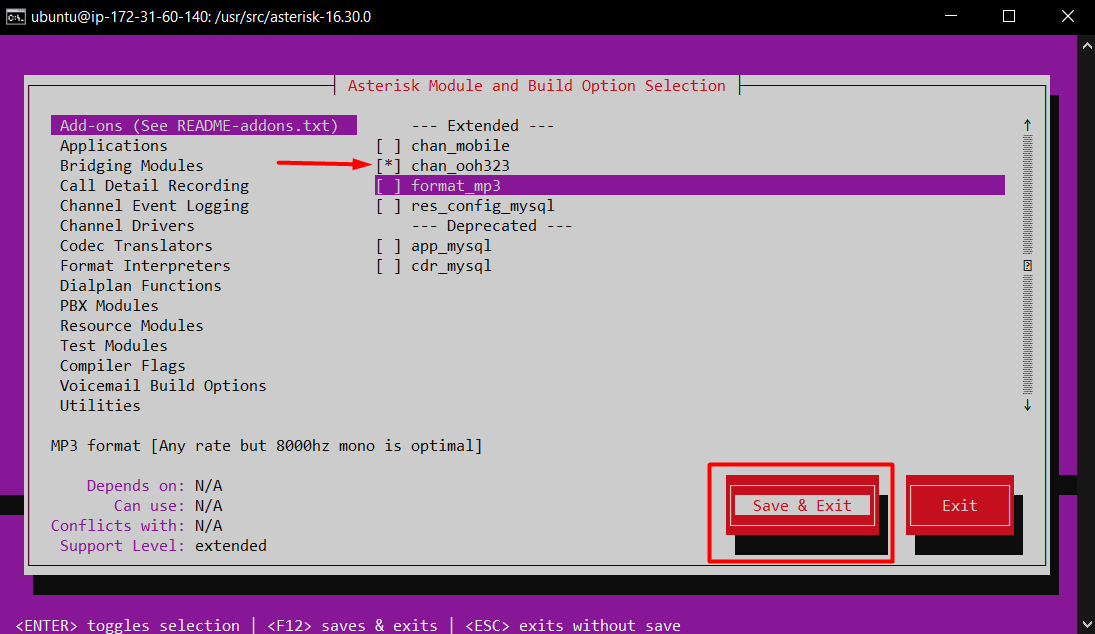
This will show a “Build Option Selection” menu, and from this, select the add-ons that you want to go with and then press the “Enter” key. For this post, the selection is as:
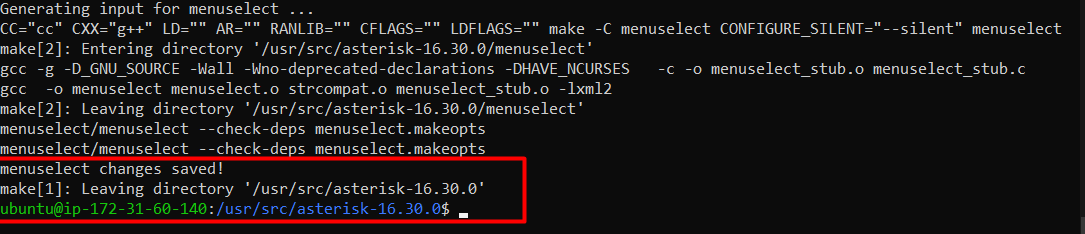
Upon pressing the “Enter” key, it will show that the changes have been saved:
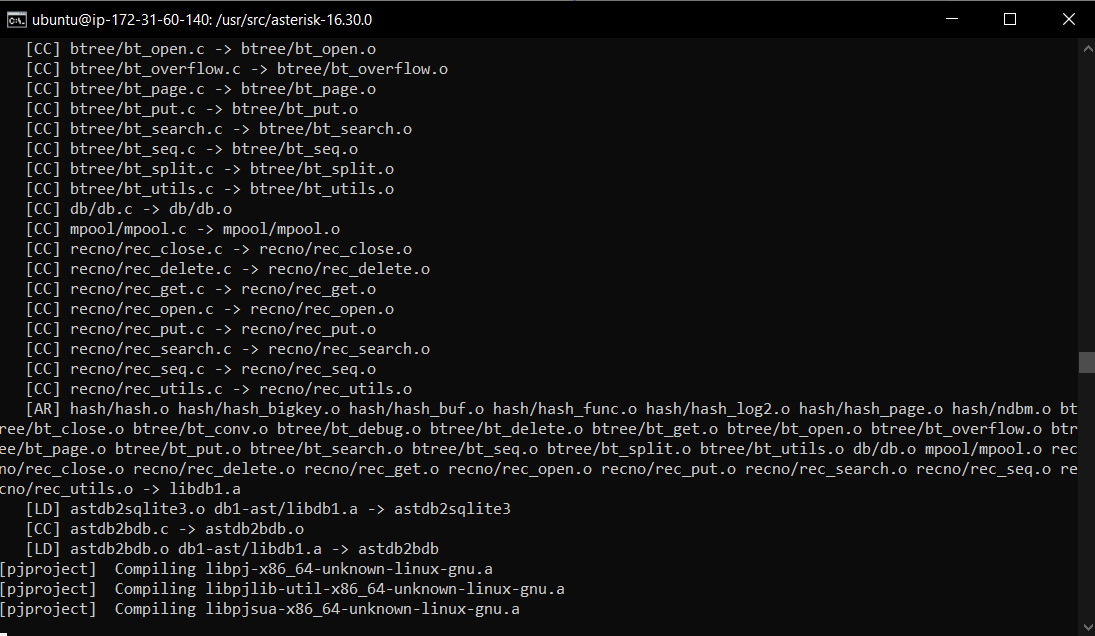
After this, all of the configurations are in place for the build. Therefore, build the asterisk using the following command:
Executing this command will initiate the build process:
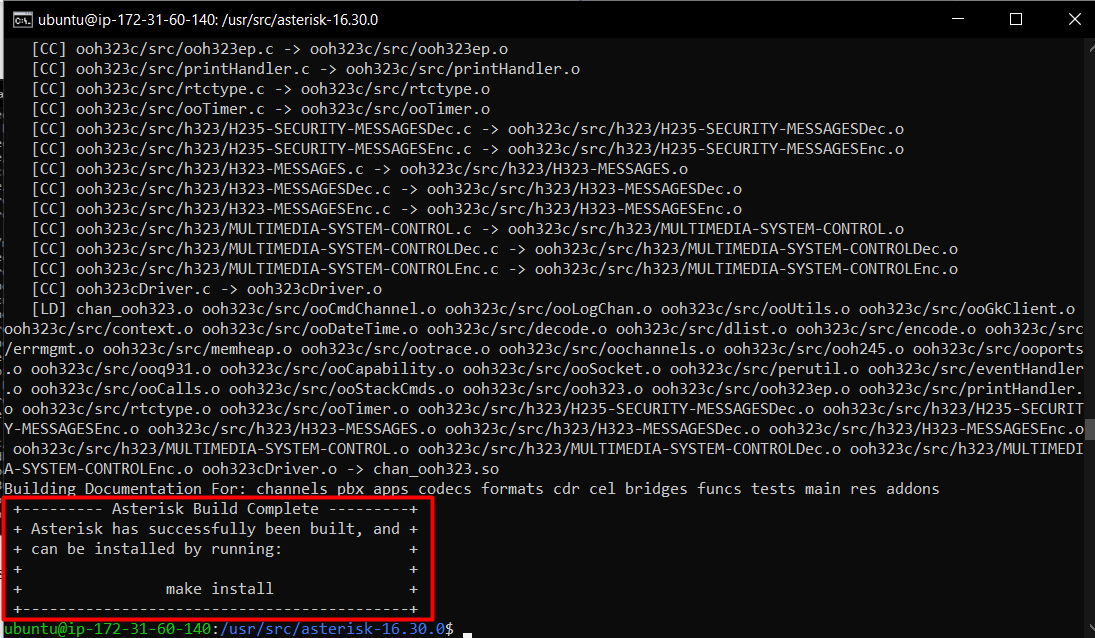
After the building process is done, the terminal will show the following output:
Move on to the installation using the following command:
Once the asterisk installation is complete, the SSH terminal will show the following output:
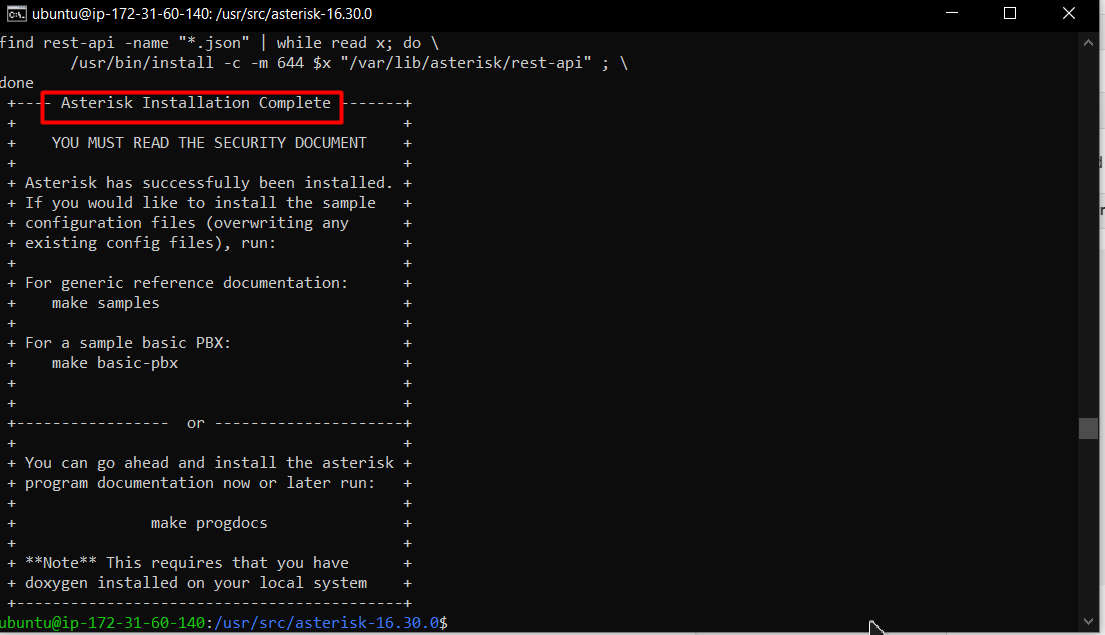
This confirms that you have successfully installed Asterisk on EC2 Ubuntu
Conclusion
To install Asterisk in the EC2 Ubuntu instance, connect to the instance and then download the required packages. Once that is done, download the Asterisk package (commands mentioned above). After that, download, unzip the package, head inside the Asterisk directory, and install all the prerequisites. After that, configure the build options, build the asterisk, and install it.