Before writing a tutorial for Linux Hint, I always check other blogs’ content in order to make ours better. This time I was surprised that no available tutorials on installing Apache Tomcat on Debian 11 included the apt-get installation method, which is easier to execute. Therefore I decided to include both methods: Installing Tomcat on Debian 11 using apt and Tomcat manual installation.
Setting up your system to install Tomcat on Debian 11
All instructions in this section are mandatory for both Tomcat installation methods.
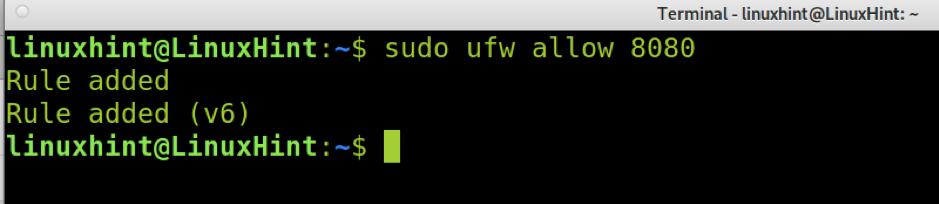
Before starting, we need to open Tomcat’s default port, 8080. You can do it using UFW by running the following command.
Then update your repositories by running the command below.
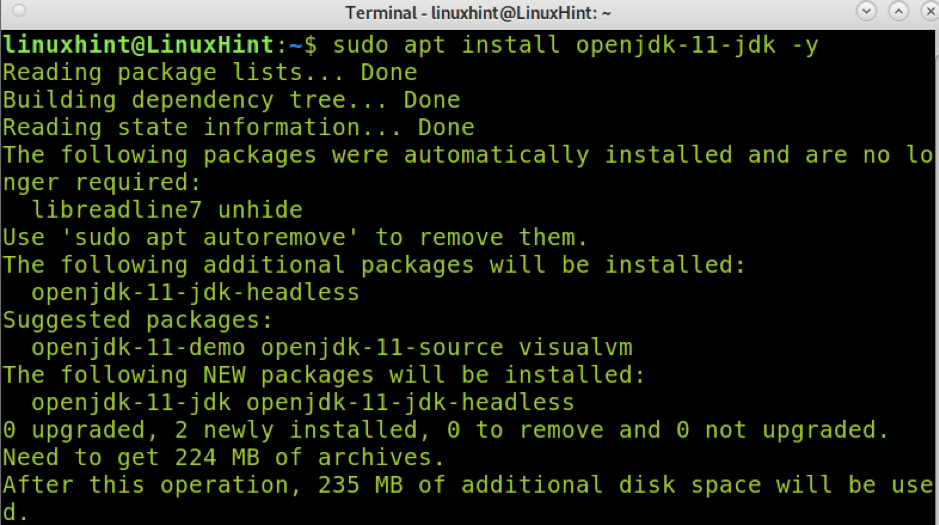
Install Java using apt as shown in the following screenshot.
Installing Apache Tomcat on Debian 11 using apt
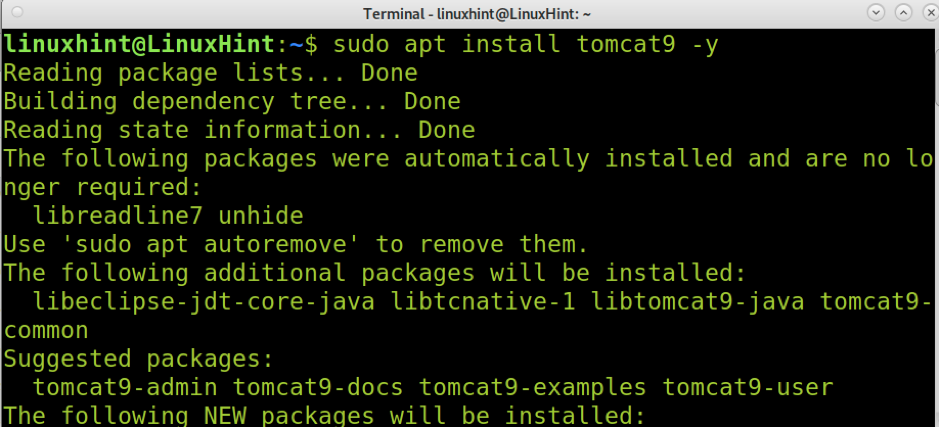
To begin, let’s install tomcat using apt, as shown in the screenshot below.
Before adding a Tomcat user, add the group tomcat9 by running the command below.
Then create the user by executing the following command, as shown in the next screenshot.

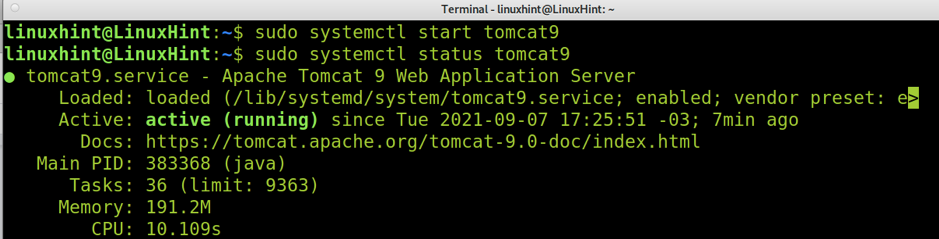
Now Tomcat is installed, you can start it and check if it starts properly by running the commands below.
sudo systemctl status tomcat9
Now it’s time to define the user with access to Tomcat9. To do it, you need to edit the configuration file /etc/tomcat9/tomcat-users.xml. You can edit it with nano by executing the following command.

Once inside the file, copy the following code replacing linuxhint with your username and YourPasswordHere with the password you want to access Tomcat.
<role rolename="admin-gui"/>
<role rolename="manager"/>
<role rolename="manager-gui"/>
<user username="linuxhint" password="YourPasswordHere" roles="admin,admin-gui,manager,manager-gui"/>
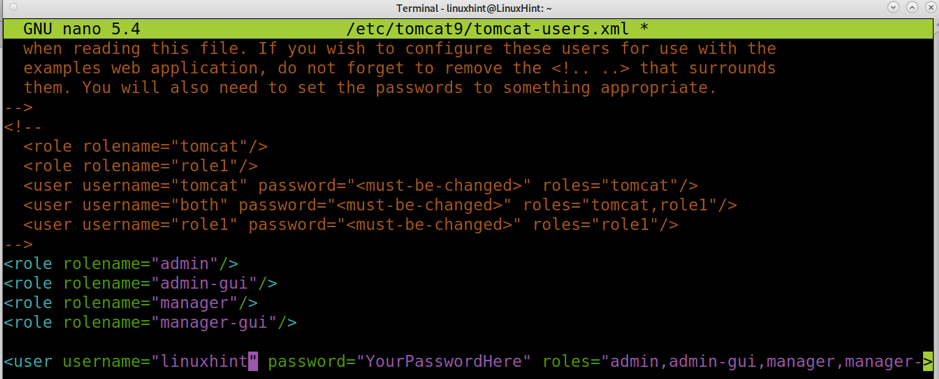
Save and exit the configuration file; if you use nano, you can press Ctrl+X to exit saving changes.
Now, you can access the following link: http://localhost:8080/
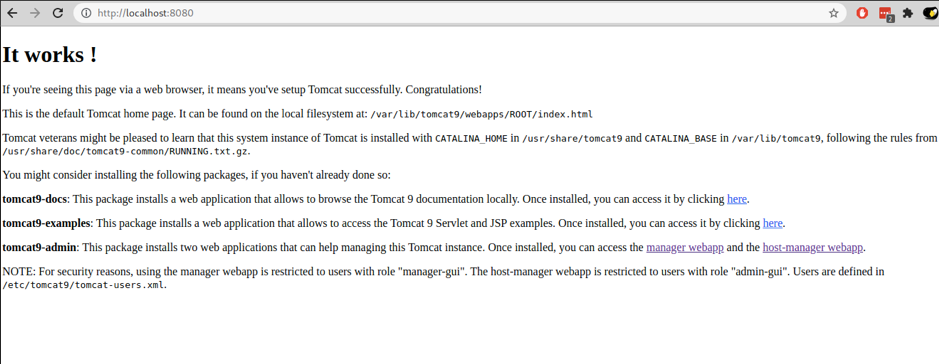
As you can see, Tomcat was installed successfully. Now, let’s install the Tomcat web manager and host-manager by running the following command.

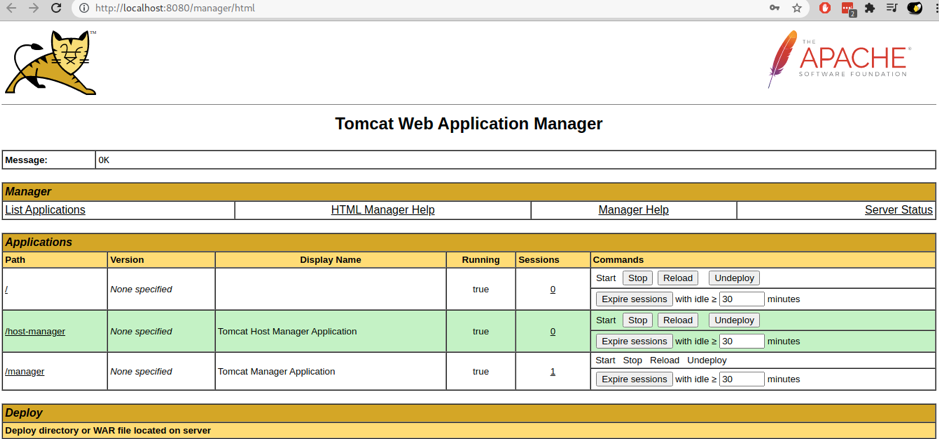
Access http://localhost:8080/manager/html and type the username and password you typed when editing the file /etc/tomcat9/tomcat-users.xml.

And as you can see, Tomcat Web Application Manager works properly.
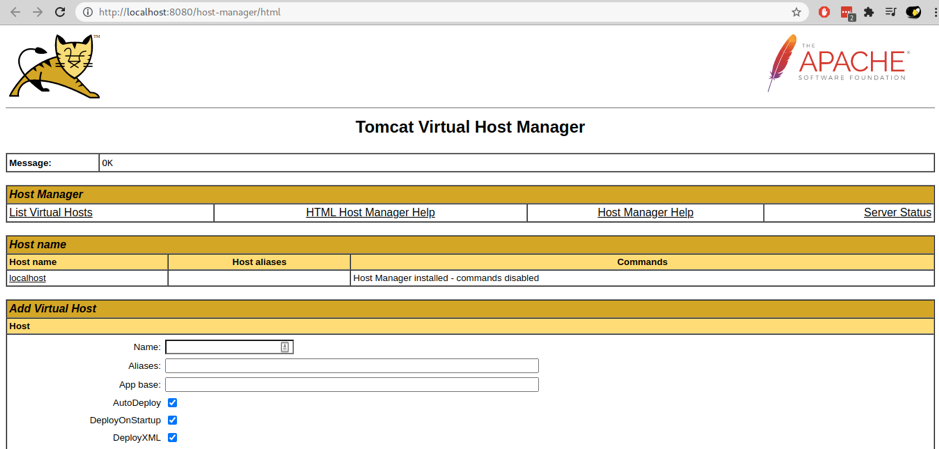
Now let’s access http://localhost:8080/host-manager/html to check the Tomcat Virtual Host Manager; type the username and password when asked.

And as you can see, the Host Manager works properly.
Installing Apache Tomcat on Debian 11 manually
Now let’s see how to install Apache Tomcat on Debian 11 manually, without apt/apt-get.
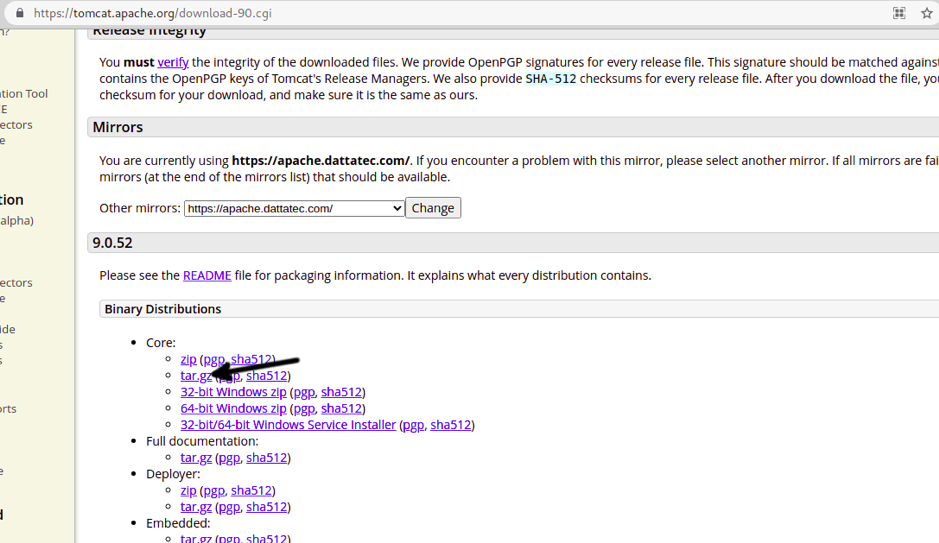
To begin, access the following link: https://tomcat.apache.org/download-90.cgi and select the .tar.gz file shown in the following image and download it to your system.
Create the directory /opt/tomcat using mkdir as shown below:

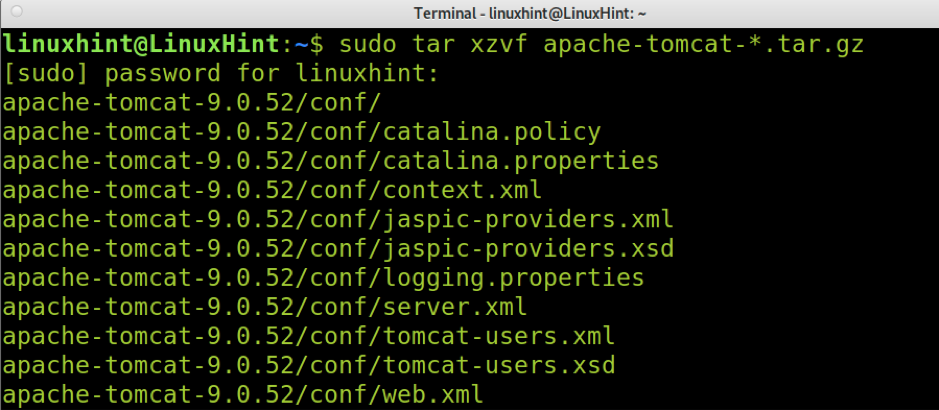
Extract Tomcat by running the following command.
Move all the content of the extracted directory into /opt/tomcat, as shown in the screenshot below.

Add the group tomcat by executing the following command.
Now, add the user tomcat by running the command below.

Give the user and group recursive permissions over /opt/tomcat by running the following command.

Now it’s time to get the path of the Java package we installed in the first steps of this tutorial. To get the proper path, you can execute the command below.

As you can see, the path is /usr/lib/jvm/java-1.11.0-openjdk-amd64. We’ll need to copy it into Tomcat’s configuration file. Open it using nano was shown in the following example.
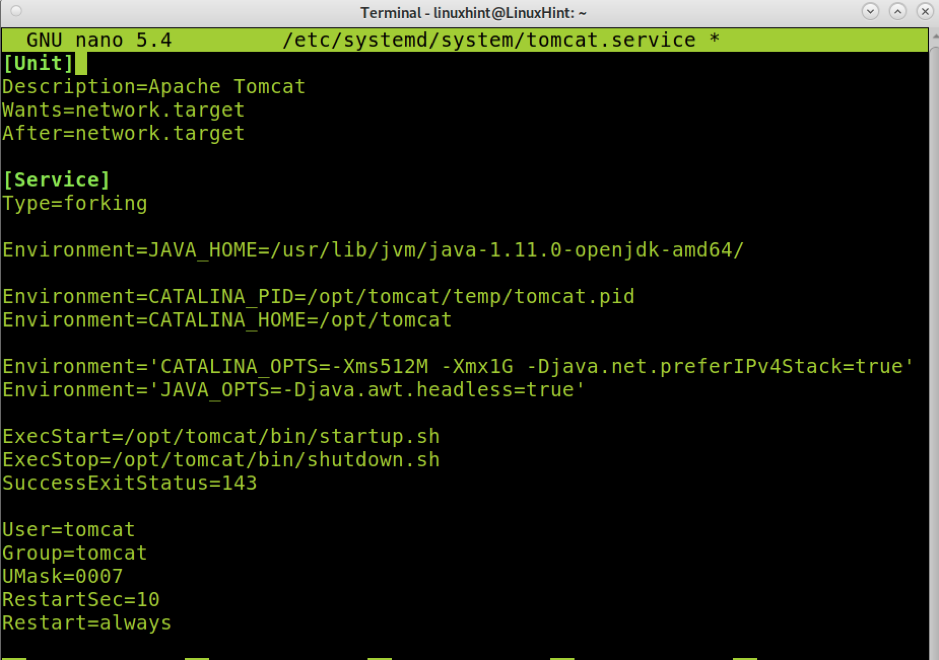
Copy all the code below into the file you just created.
Note: In the line Environment=JAVA_HOME= add /usr/lib/jvm/java-1.11.0-openjdk-amd64 or the path you got when running update-java-alternatives -l, as shown in the example below.
Description=Apache Tomcat
Wants=network.target
After=network.target
[Service]
Type=forking
Environment=JAVA_HOME=/usr/lib/jvm/java-1.11.0-openjdk-amd64/
Environment=CATALINA_PID=/opt/tomcat/temp/tomcat.pid
Environment=CATALINA_HOME=/opt/tomcat
Environment='CATALINA_OPTS=-Xms512M -Xmx1G -Djava.net.preferIPv4Stack=true'
Environment='JAVA_OPTS=-Djava.awt.headless=true'
ExecStart=/opt/tomcat/bin/startup.sh
ExecStop=/opt/tomcat/bin/shutdown.sh
SuccessExitStatus=143
User=tomcat
Group=tomcat
UMask=0007
RestartSec=10
Restart=always
[Install]
WantedBy=multi-user.target
Exit nano saving changes.
Give all scripts execution permissions as shown below.

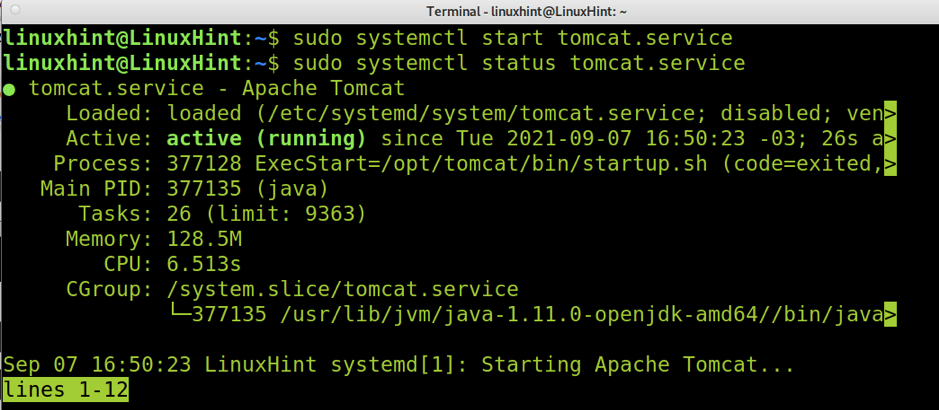
Start the Tomcat service using systemctl as shown below.
You also can run the command below to check if Tomcat’s service was started properly.
Enable the service by executing the following command.

Now let’s add a tomcat user on the configuration file /opt/tomcat/conf/tomcat-users.xml. Open the configuration file by running the following command.

Copy the following code, replace linuxhint with the username you want to define, and replace YourPasswordHere with the password you choose.
<role rolename="admin-gui"/>
<role rolename="manager"/>
<role rolename="manager-gui"/>
<user username="linuxhint" password="YourPasswordHere" roles="admin,admin-gui,manager,manager-gui"/>

Exit the file saving changes.
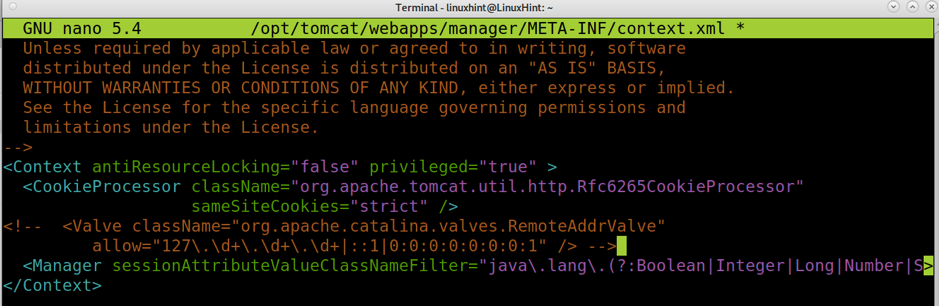
Now edit the configuration file /opt/tomcat/webapps/manager/META-INF/context.xml by running the command below.

Find the following lines:
allow="127\.\d+\.\d+\.\d+|::1|0:0:0:0:0:0:0:1" />
Replace the code above with this one, or comment by adding <!– at the beginning and –> at the end, as shown below.
allow="127\.\d+\.\d+\.\d+|::1|0:0:0:0:0:0:0:1" /> -->
Repeat the previous operation with the configuration file /opt/tomcat/webapps/host-manager/META-INF/context.xml. To do it using nano run:
Again comment on the following piece of code, or comment on it.
allow="127\.\d+\.\d+\.\d+|::1|0:0:0:0:0:0:0:1" />
The result must be the following with <!– at the beginning of the code and –> at the end, as shown in the screenshot below.
allow="127\.\d+\.\d+\.\d+|::1|0:0:0:0:0:0:0:1" /> -->

Exit saving changes.
Now restart the Tomcat service again using systemctl as shown below.

Visit the link http://localhost:8080/, and you should see Tomcat is working properly, as shown in the image below.
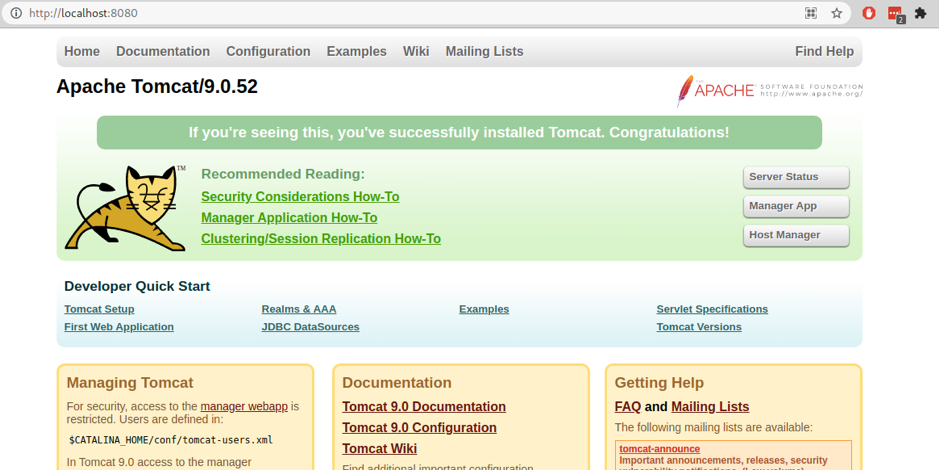
Now you can see Tomcat works properly.
Conclusion
Installing Apache Tomcat on Debian 11 isn’t different from installing it on previous Debian versions. The methods explained above are also useful for Debian-based Linux distributions such as Ubuntu. As you can see through this reading, the installation process includes many steps but is pretty simple, and any Linux user level can achieve this. Remember to open port 8080 (many users forget about this). Also, it is recommended to follow the apt method over the manal method.
Thank you for reading this article explaining how to install Apache Tomcat on Debian 11. Keep following us for more Linux tips and tutorials.