
The drive Allocation statuses are:
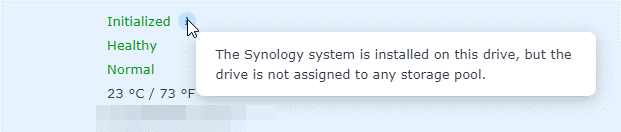
i) Initialized: When you install the DSM operating system on your Synology NAS, it creates a system partition in all the available drives installed on your NAS. A drive will have the allocation status Initialized if the DSM system partition is installed on the drive and the drive is not used by any storage pools.
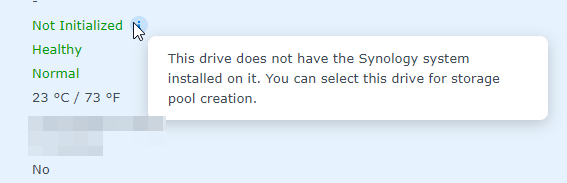
ii) Not Initialized: If a drive does not have a DSM system partition, it will have the Not Initialized status. If you install a brand new drive on your NAS, it will have the Not Initialized status as well.
If a drive has any hardware problems, it will also have the Not Initialized status.
iii) Normal: If a drive has a DSM system partition and is used by a storage pool, the drive will have the Normal allocation status.
iv) System Partition Failed: If the DSM system partition of the drive is corrupted due to hardware failure or it can’t be accessed for some reason, the drive will have the System Partition Failed allocation status.
In this article, I am going to show you how to initialize newly installed drives of your Synology NAS. So, let’s get started.
Table of Contents
Finding Drive Allocation Status
You can find the drive allocation status from the Storage Manager app.
To open the Storage Manager app, click on the Application Menu (
![]() ).
).

Click on Storage Manager.
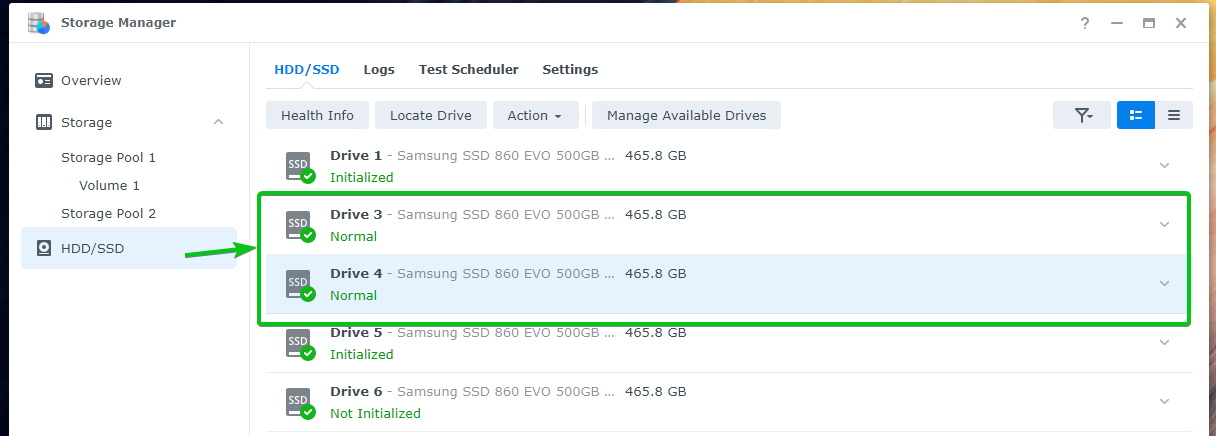
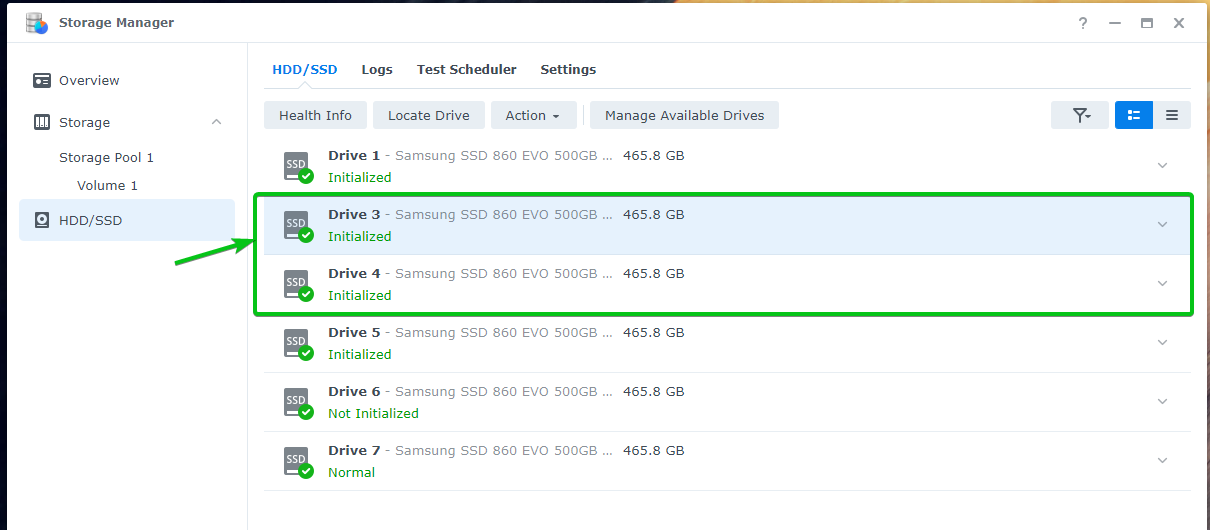
The Storage Manager app should be opened. You will find all the drives installed on your Synology NAS along with their allocation status in the HDD/SSD section as you can see in the screenshot below.
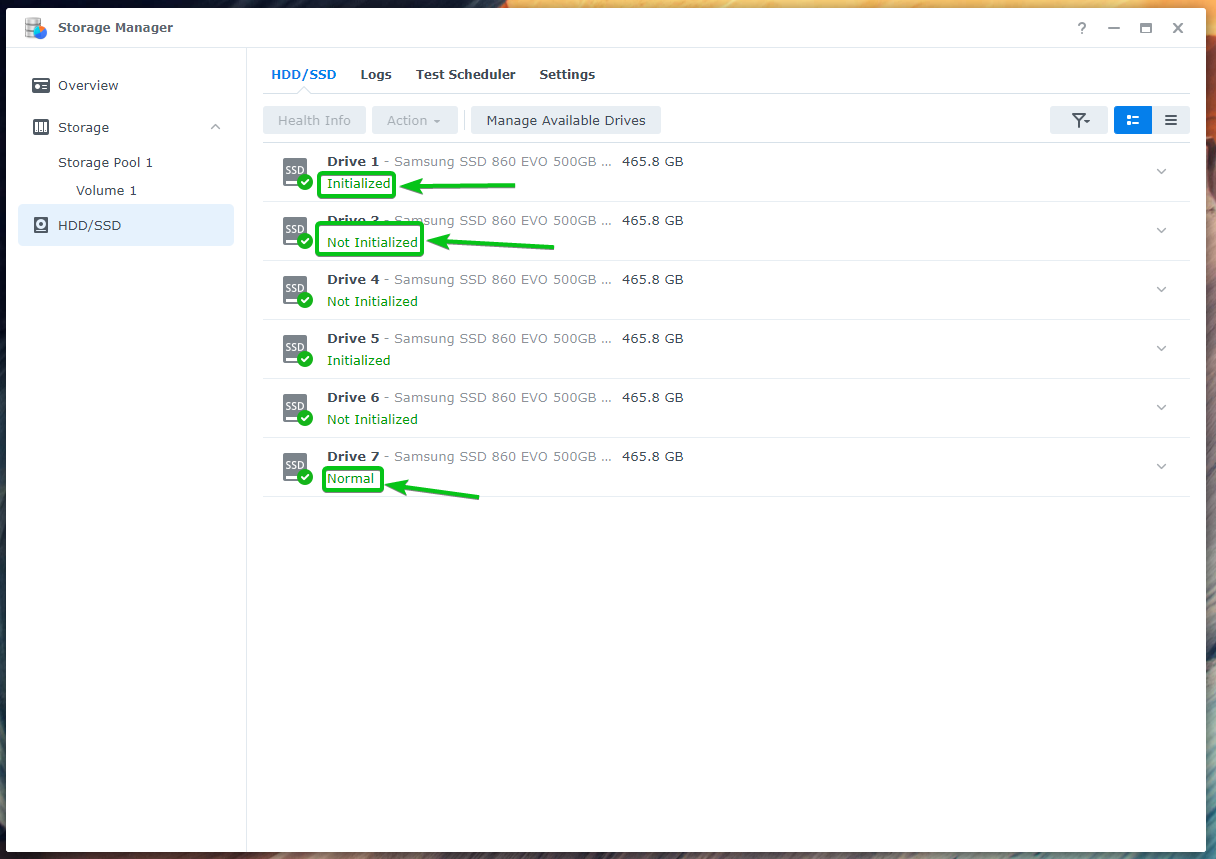
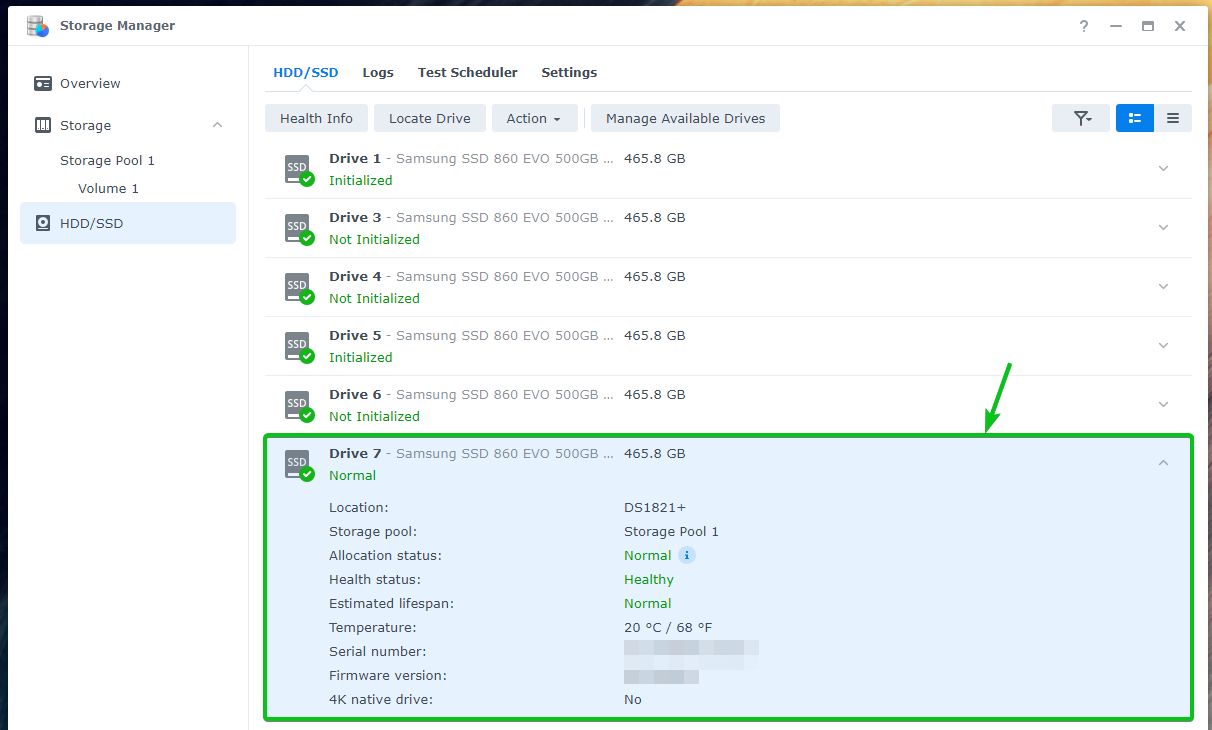
You can double-click (LMB) on any of the drives to find more information of that drive.
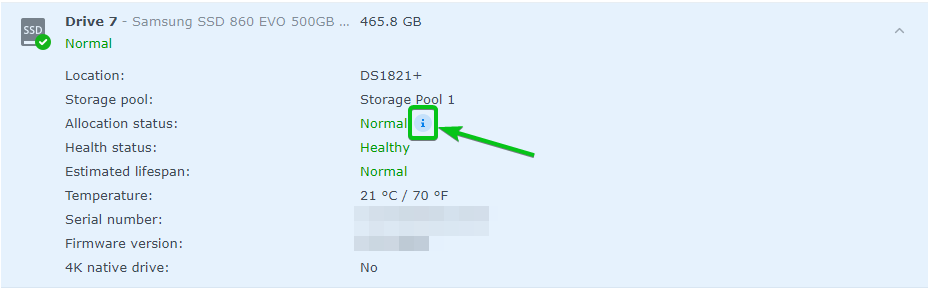
You can hover over the
![]()
icon to learn more about the drive’s allocation status.
The tooltip text for Initialized allocation status.
The tooltip text for Not Initialized allocation status.
The tooltip text for Normal allocation status.
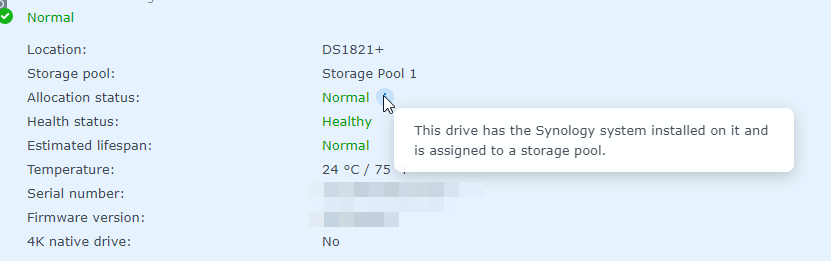
A drive with the Normal allocation status will also show the storage pool that is using this drive.

Initializing Newly Installed Drives:
To initialize newly installed drives, all you have to do is create a new storage pool using the Not Initialized drives. Then, remove the newly created storage pool.
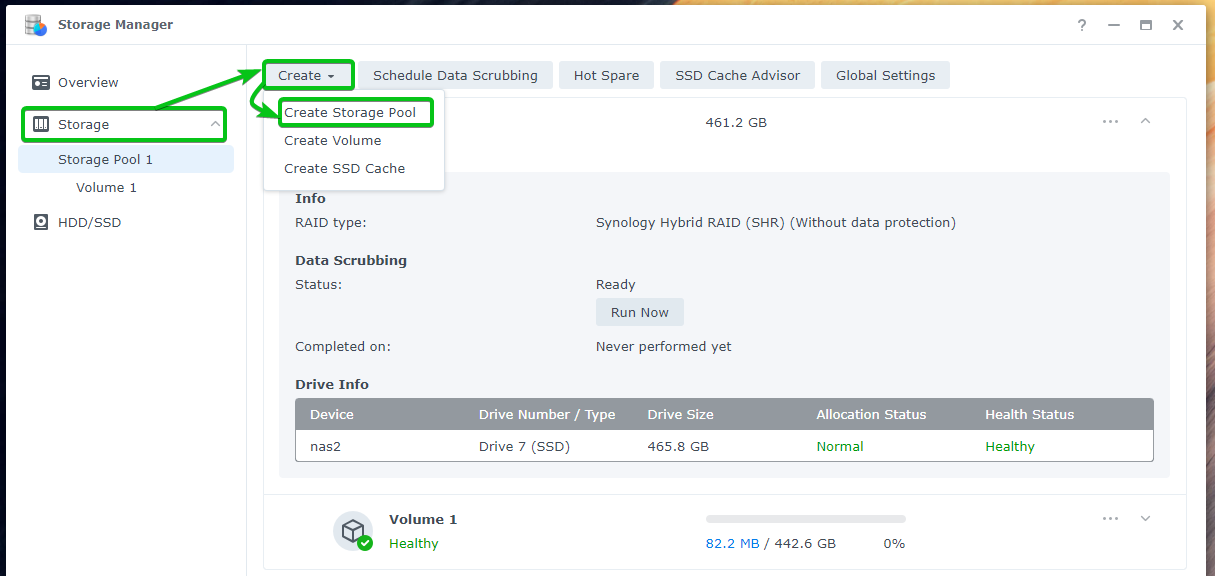
To create a new storage pool, navigate to the Storage section and click on Create > Create Storage Pool as marked in the screenshot below.
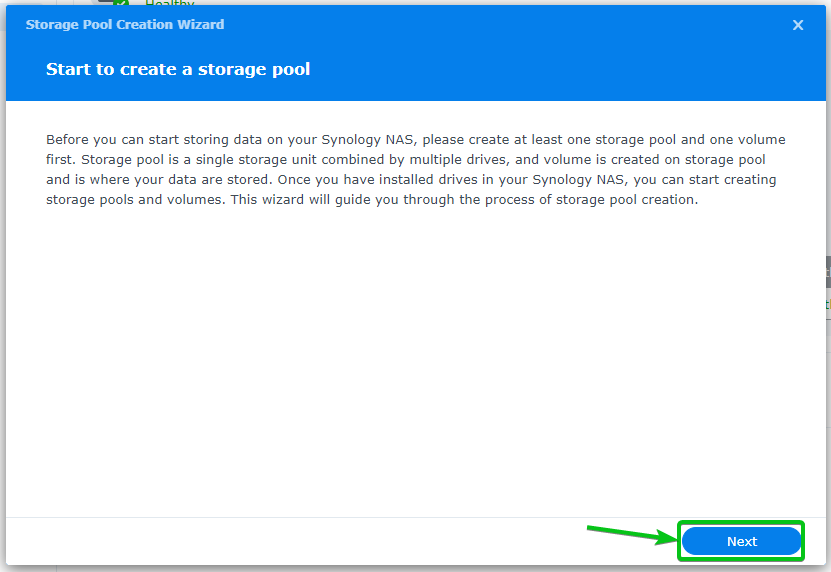
Click on Next.

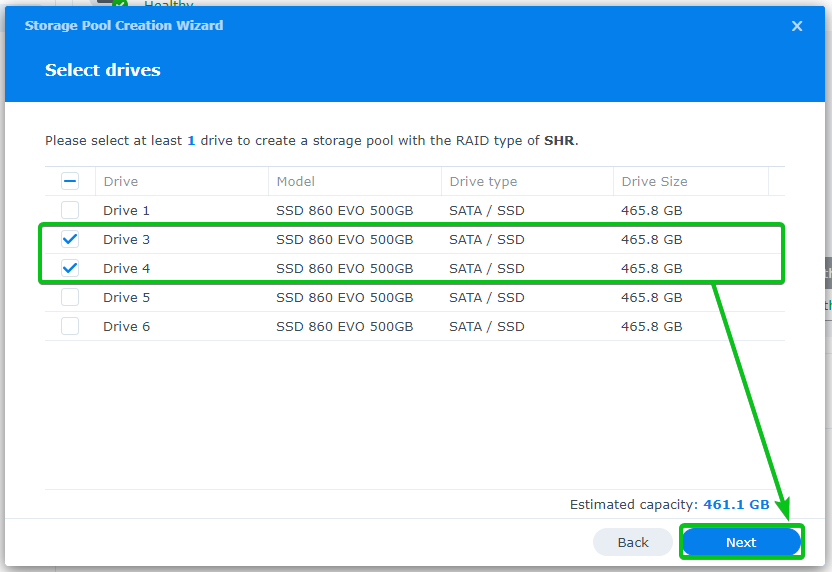
Select the drives with Not Initialized allocation status and click on Next.
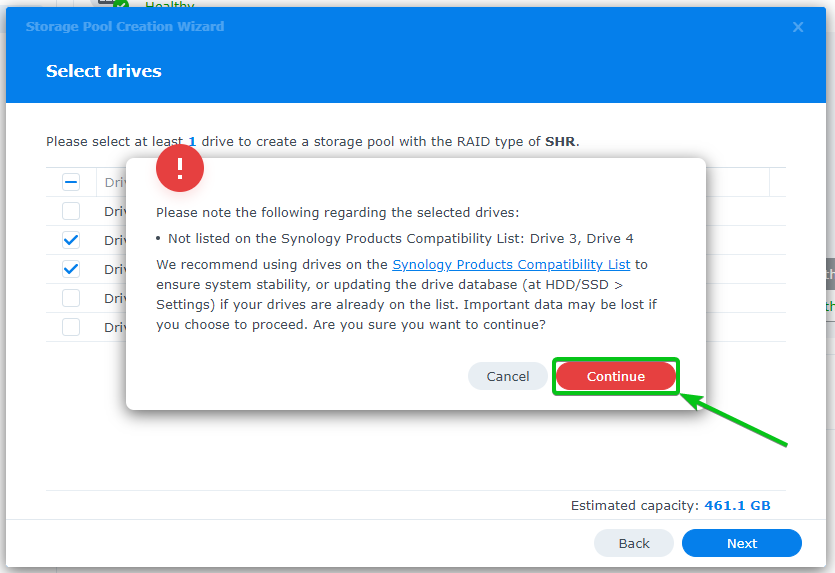
Click on Continue.
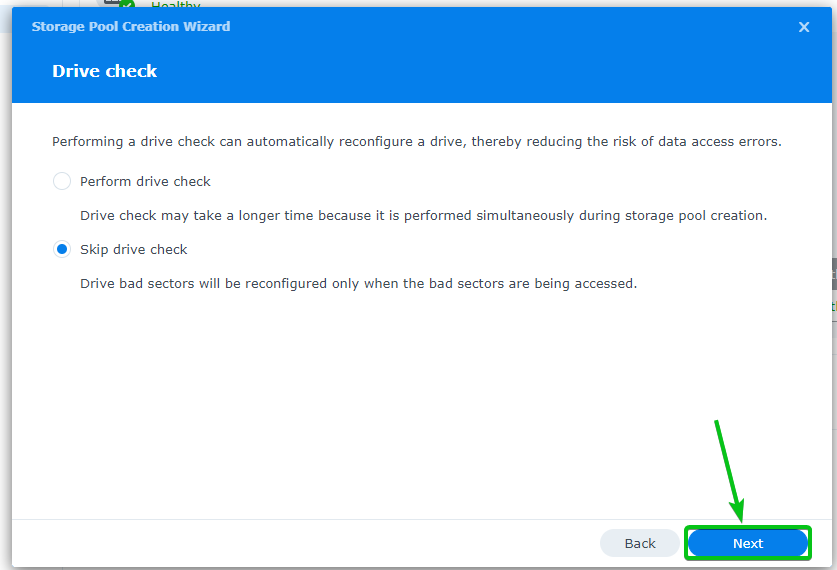
Click on Next.
Click on Apply.

Click on OK.

A new storage pool should be created.
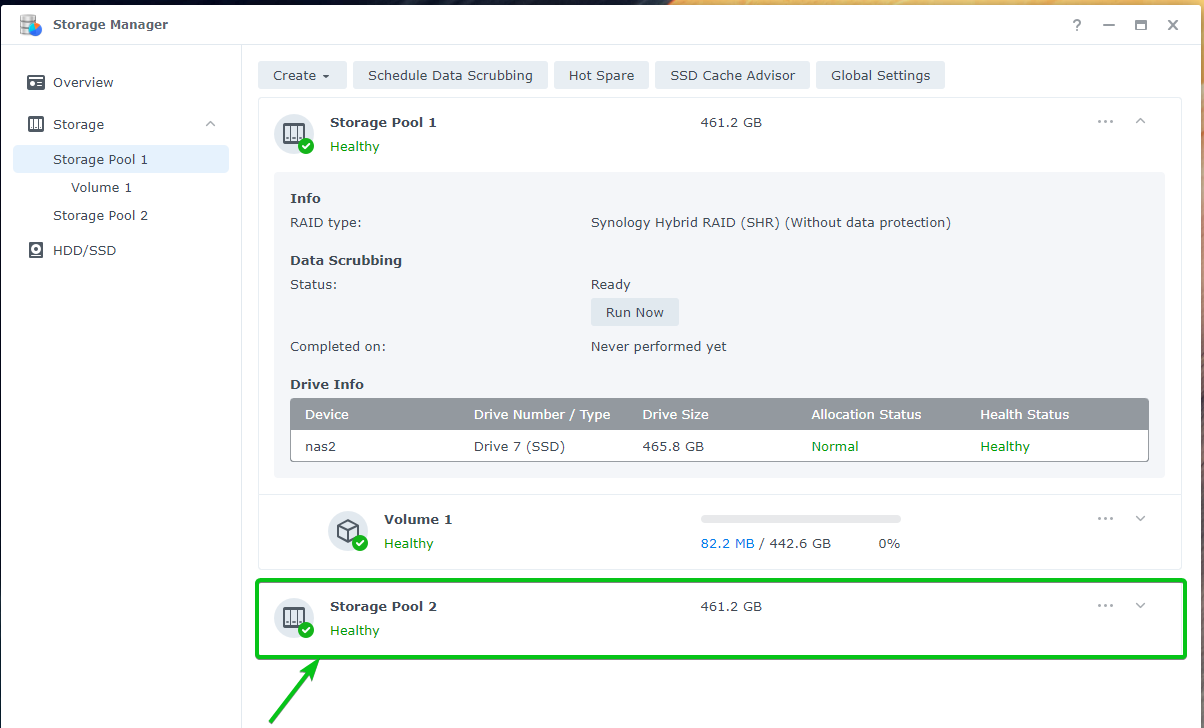
The drives will show the Normal allocation status as you have used them to create a storage pool.
Now, navigate to the Storage section, click on the icon of the newly created storage pool, and click on Remove.
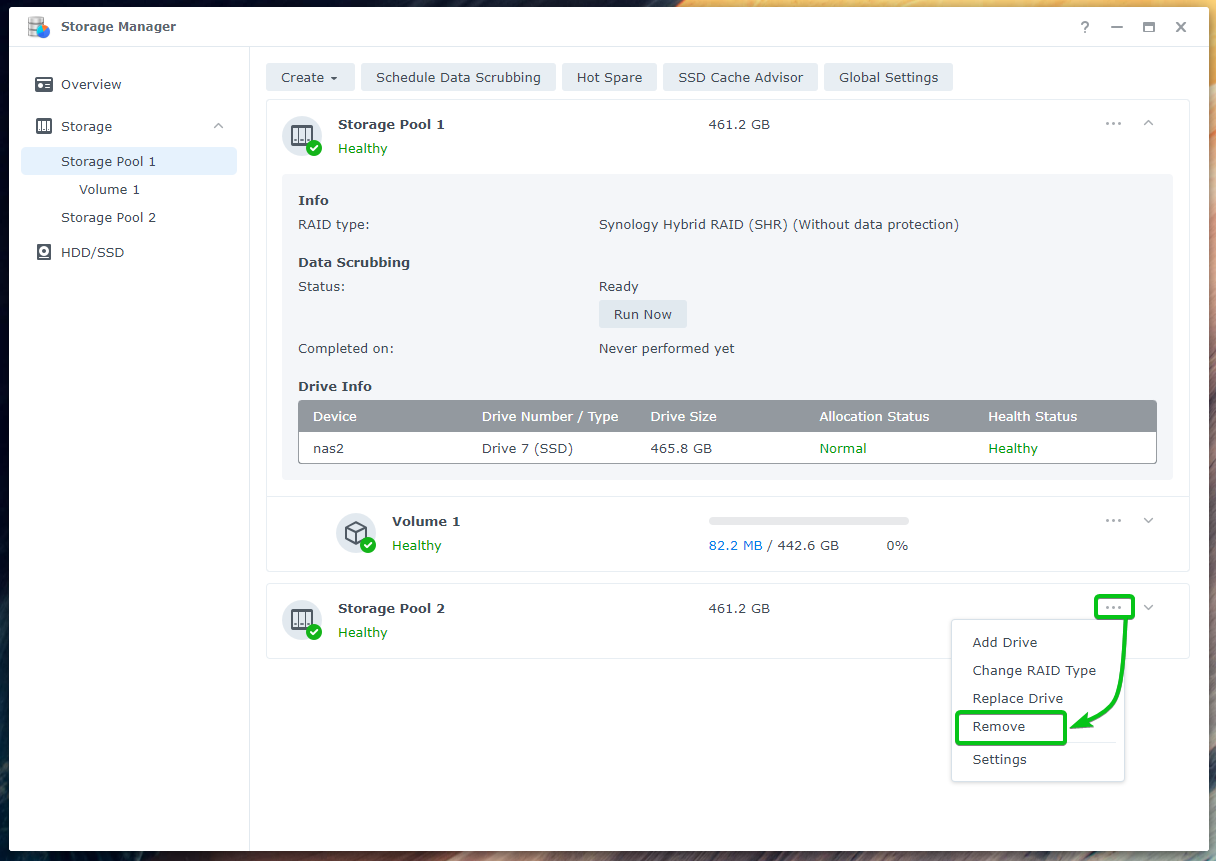
Click on Remove.

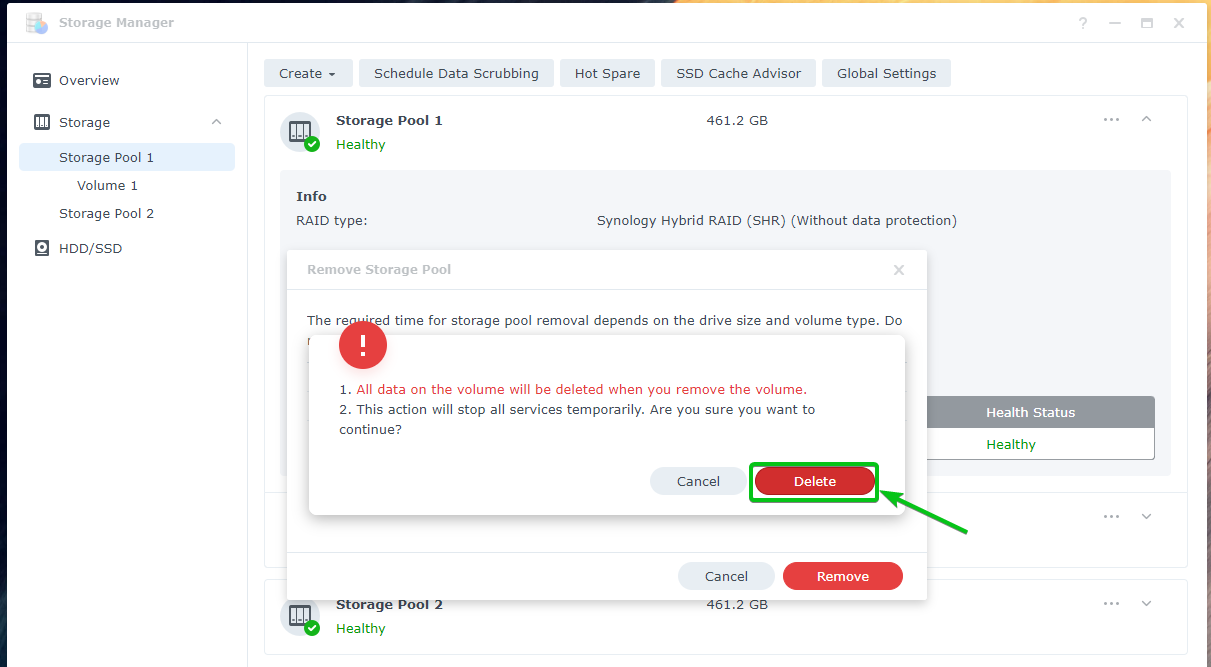
Click on Delete.
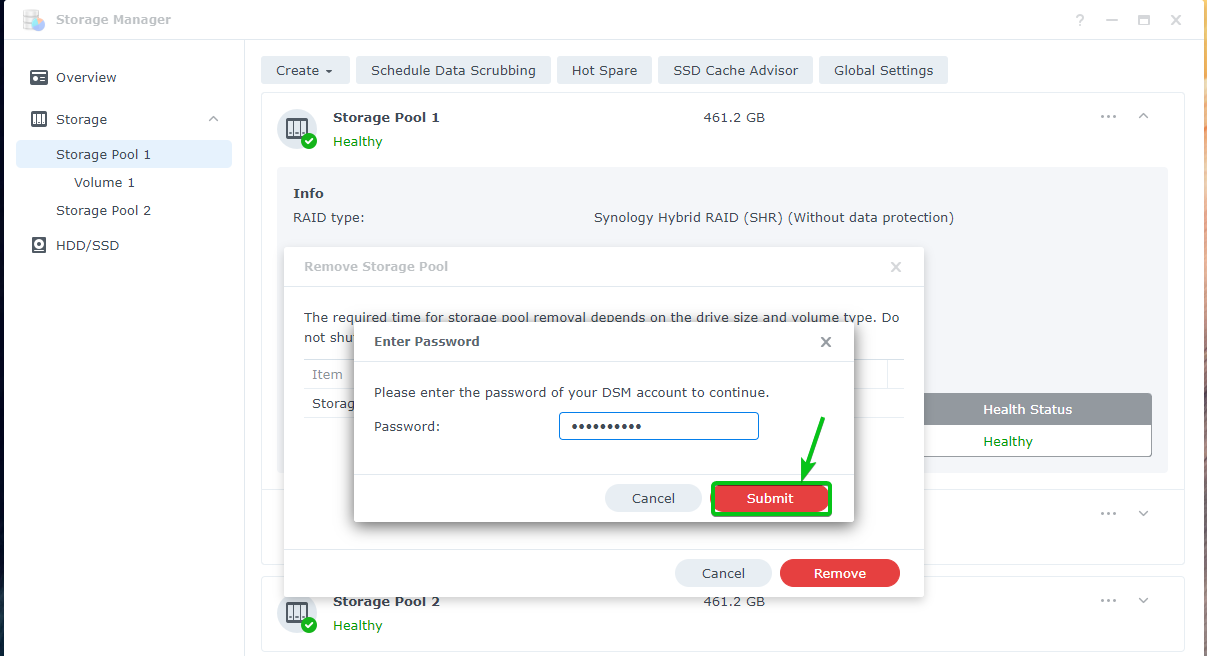
Type in your DSM login password and click on Submit.
The newly created storage pool should be removed.
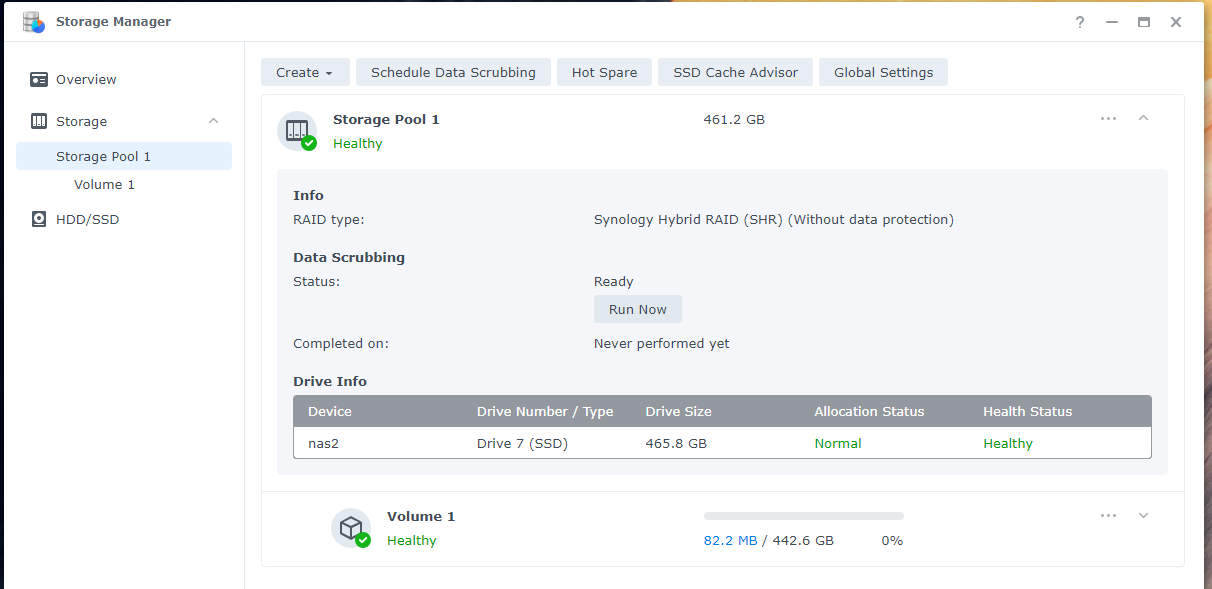
As you can see, the drives are now Initialized.
Conclusion:
In this article, I have shown you how to initialize newly installed drives on your Synology NAS. This article should help you understand the allocation status of the drives installed on your Synology NAS as well.
References:
[1] ‘Why is my drive allocation status shown as “Not Initialized”? – Synology Knowledge Center