This guide will explain the installation of Jenkins on the EC2 server.
How to Install Jenkins on ECS Instance?
For the purpose of installing Jenkins on an EC2 instance, check out the following instructions.
Step 1: Install Additional Packages on the EC2 instance
To install Jenkins on an EC2 instance, it is required to have an EC2 instance created and connected using an SSH client. To learn how to do that, click here:
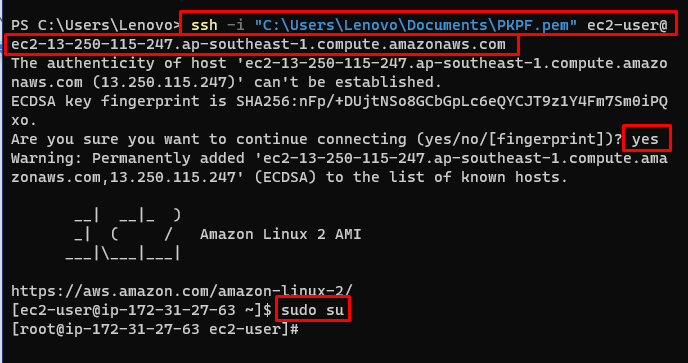
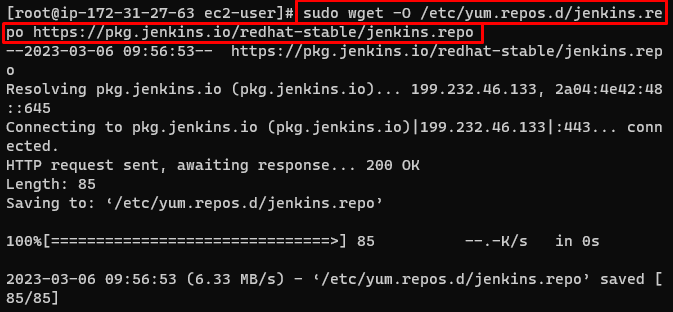
After connecting to the instance, type this command to get packages from the repository:
Import packages from the added repository:
Then, get extra packages from Linux:
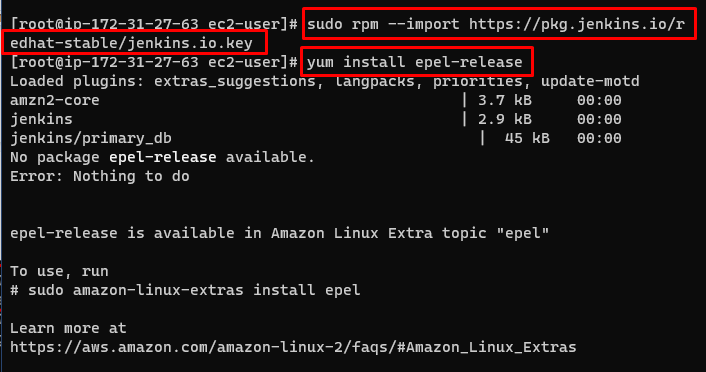
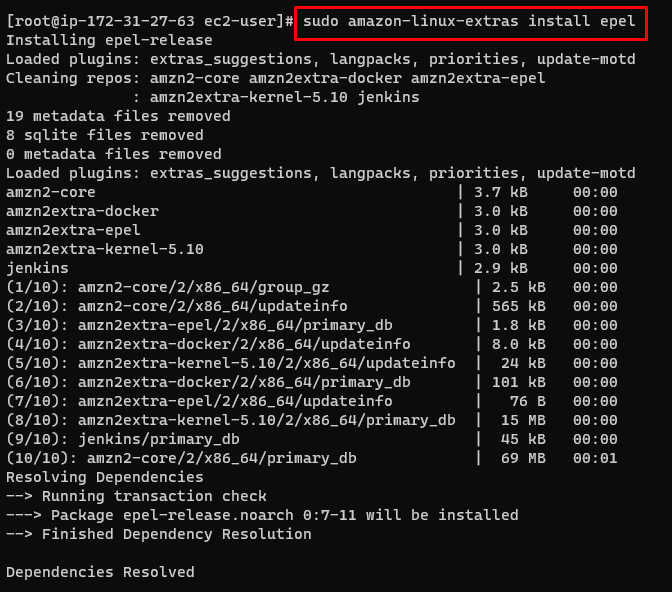
Now, install Epel on the Amazon Linux machine to use its packages:
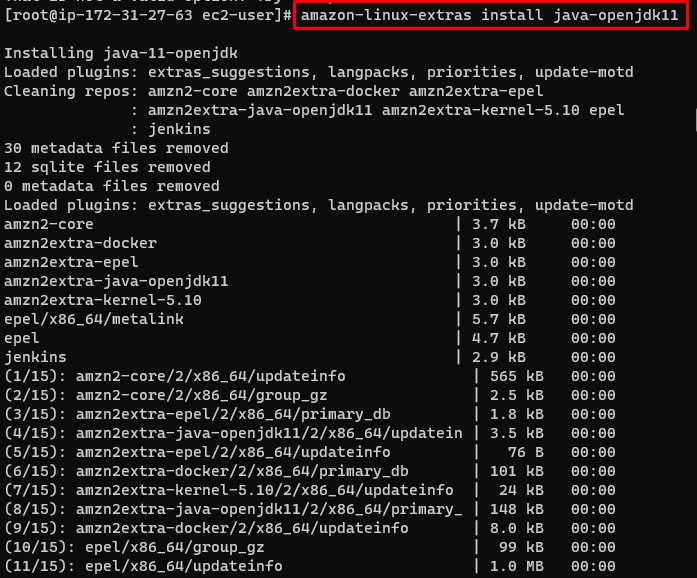
Use the following command to install Java JDK with version 11:
Step 2: Install Jenkins on the EC2 instance
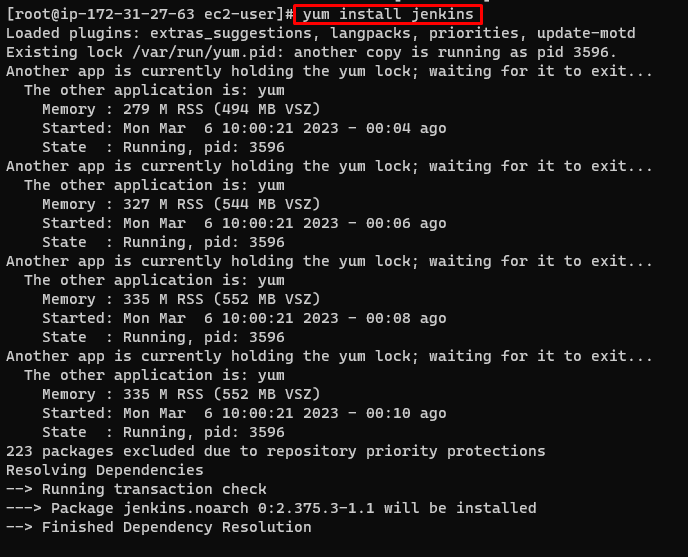
Finally, install Jenkins on the EC2 instance:
Step 3: Start Jenkins Service
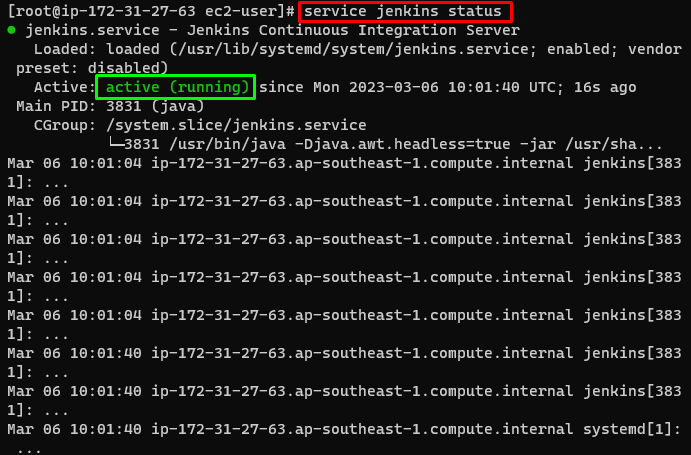
Once the Jenkins is installed, type the following command to start Jenkins service:

Check the status to verify that the Jenkins is started:
Execute the following command to enable Jenkins service:
![]()
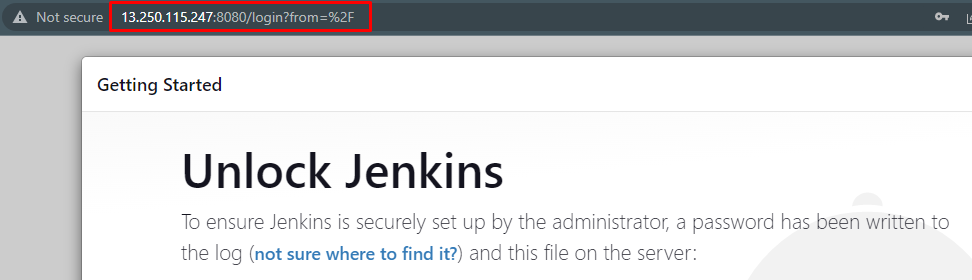
Step 4: Access Jenkins Using IP Address
Head back to the EC2 dashboard and copy the Public IP of the instance:
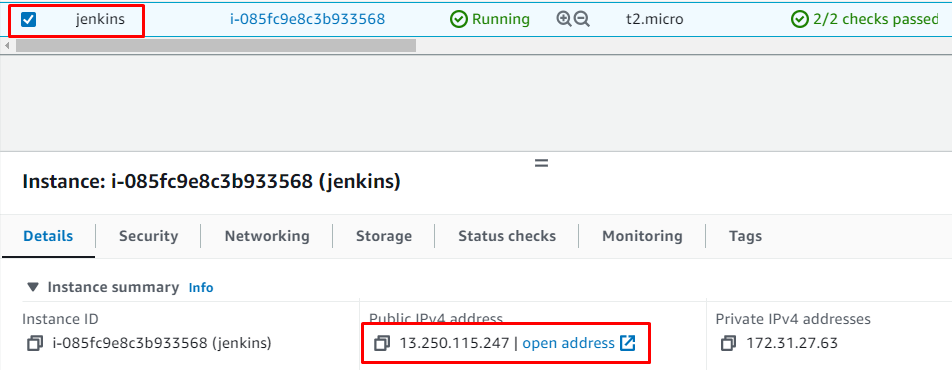
Paste the IP address with a port number on the Web browser to access the Jenkins service:
Syntax
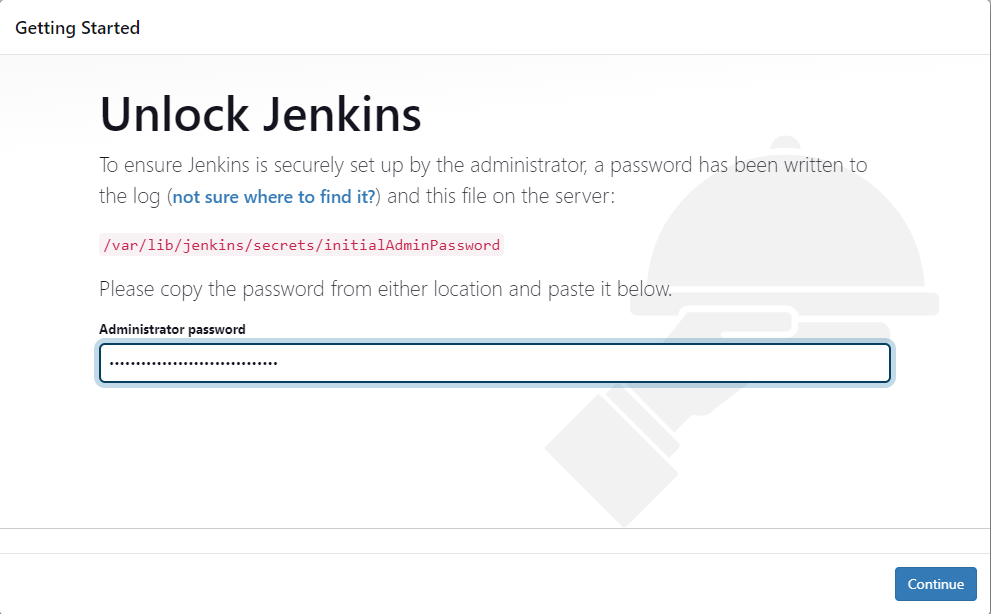
Step 5: Login to the Jenkins
Jenkins will prompt the user to provide the Login password that is placed inside the following directory. Head into it to get the password:

Copy and paste the password on the page and click on the “Continue” button:
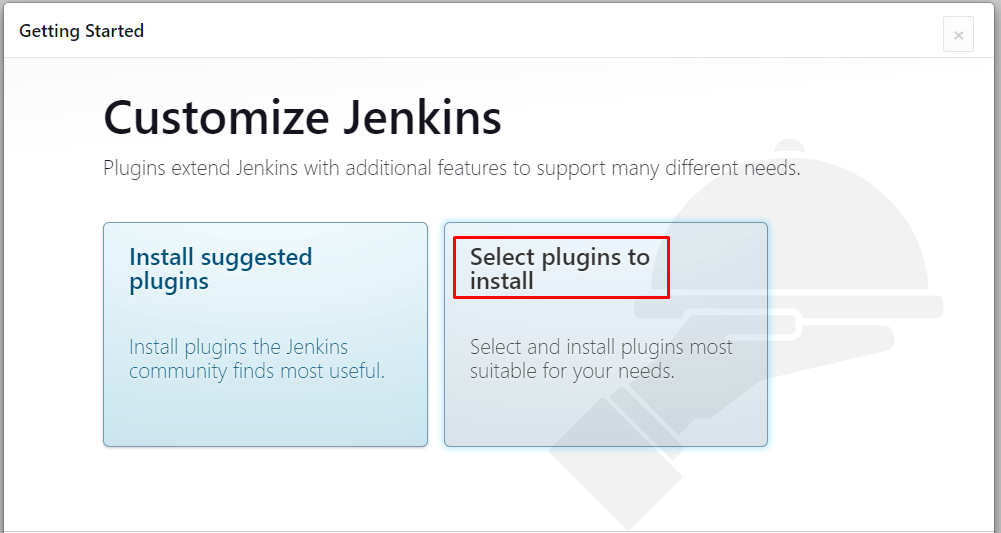
After that, Jenkins needs to be configured according to user requirements:
That’s all from the installation of Jenkins on the EC2 instance.
Conclusion
To install Jenkins on the EC2 instance, it is required to install and connect to the EC2 instance. Install the extra packages from the repository and import them on the Linux machine. After that, install Java and Jenkins using simple commands. Then start and enable the Jenkins service to access it from outside the instance. Use the IP address of the instance on the web browser to use the Jenkins server. This post has explained the installation of Jenkins on EC2 instances.