
In this article, let’s check out how to install Google Drive on Ubuntu 20.04.
Google Drive on Ubuntu
Because of its immense popularity, Google officially offers desktop clients for Windows and macOS. It’s 2020, and we’re yet to get an official Google Drive client for Linux.
Thankfully, there are other ways to enjoy Google Drive on Linux, especially on Ubuntu. All of these are 3rd-party apps. I’m going to showcase some of the best clients you can use to enjoy Google Drive on Ubuntu. These methods are very likely to work on other Ubuntu-based distros as well.
GNOME Online Accounts
Ubuntu now uses GNOME as the default desktop environment. The GNOME Online Accounts is a sign-on framework for GNOME. It supports popular online services like Google, Facebook, Microsoft, and Nextcloud, etc. This method should be followed if you’re using the GNOME desktop.
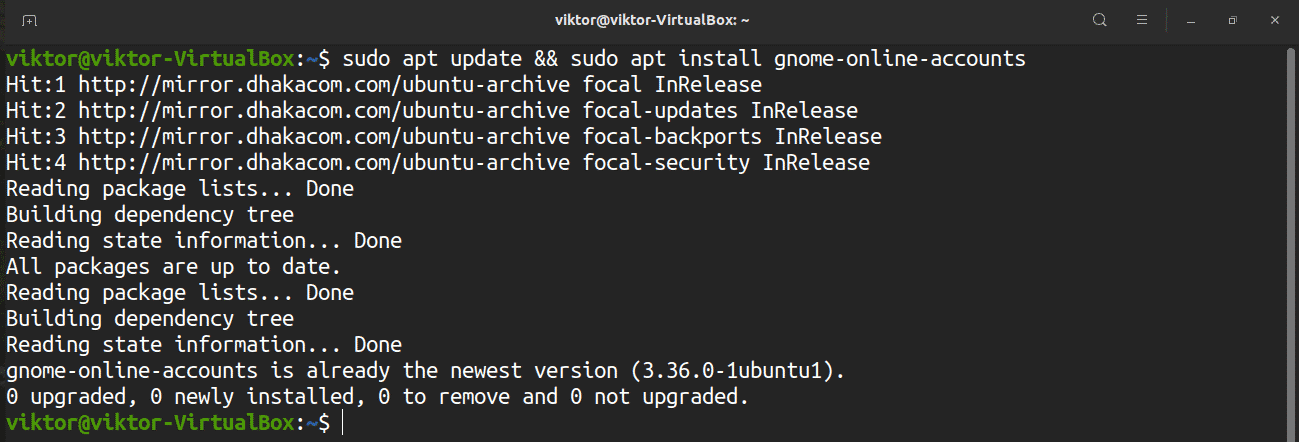
The tool comes pre-installed with Ubuntu, so you don’t have to worry about manual installation. However, if, for some reason, the app isn’t installed, then run the following command to install it quickly.
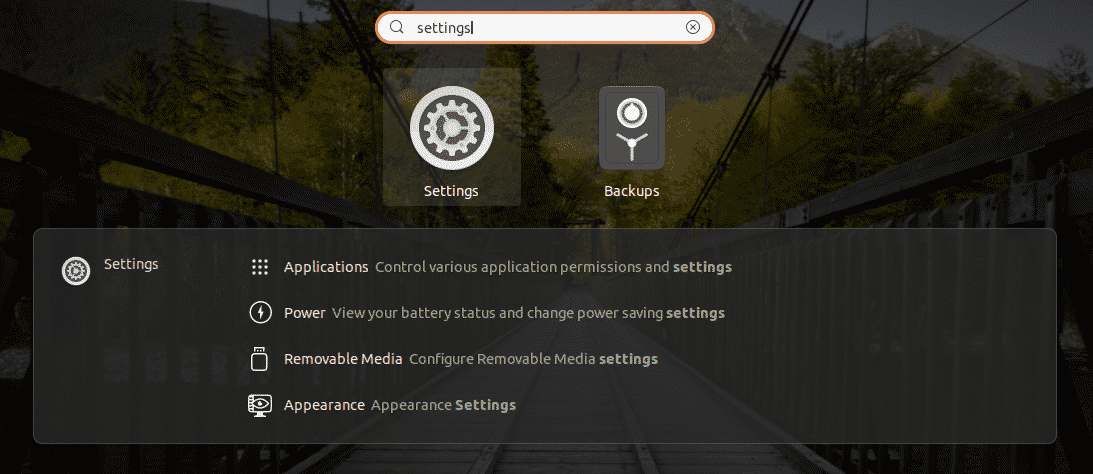
To add your Google Drive account, search for “Settings” in the GNOME menu.
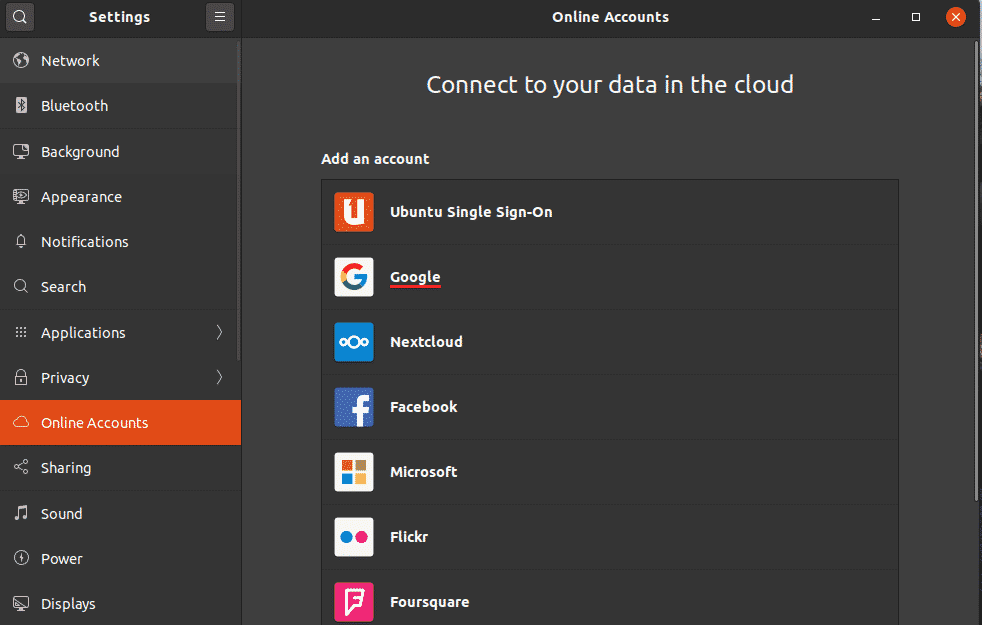
From the left panel, select “Online Accounts”. Select “Google” from the available options.
A tiny browser window will pop up, prompting you to log in to your Google account.

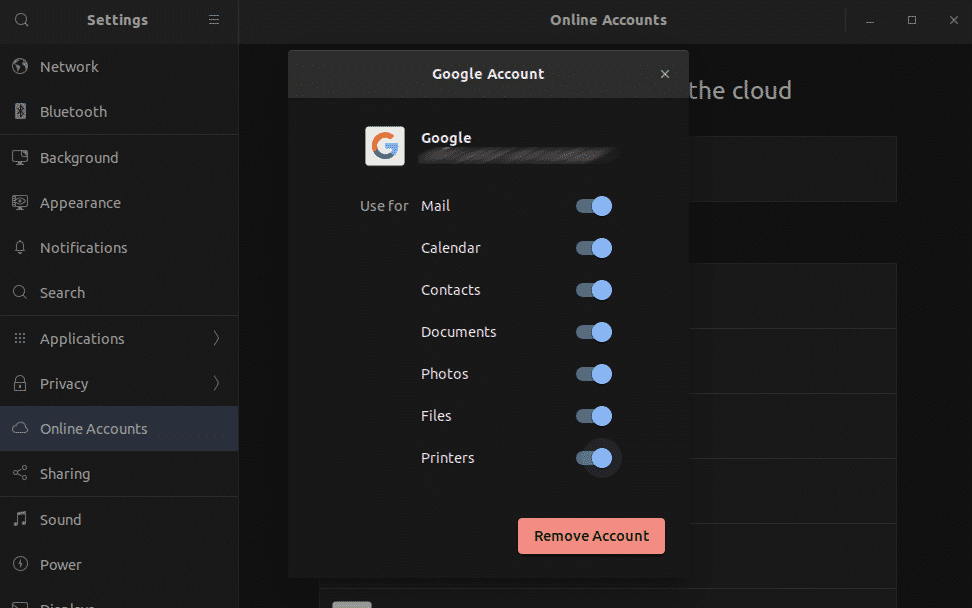
Once the login is successful, GNOME will prompt for the contents to sync with your Google Drive.
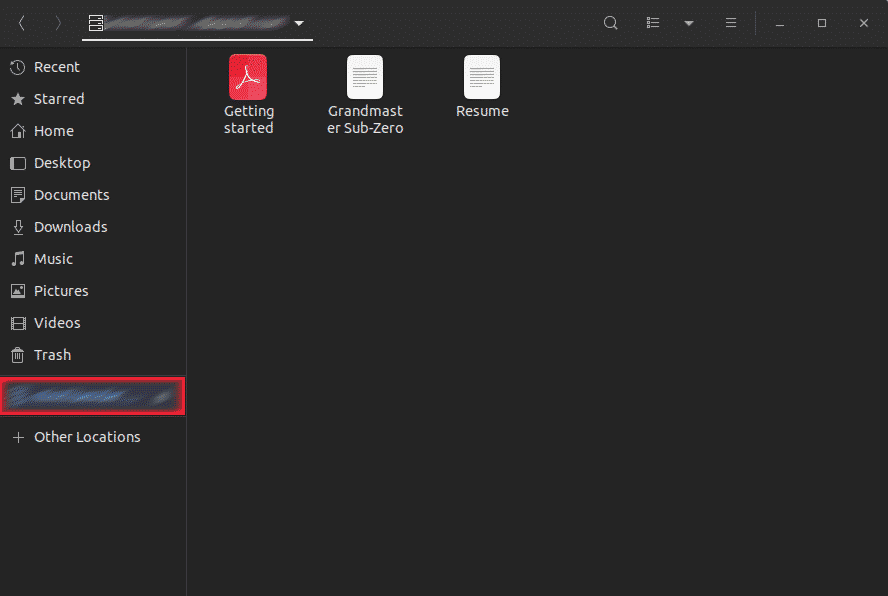
Voila! Google Drive is ready to go! Fire up the file manager. You can directly access the Google Drive folder. Any change made in the folder will be synced with the online storage.
google-drive-ocamlfuse
According to the official description, google-drive-ocamlfuse a FUSE filesystem for Google Drive that’s written in OCaml. Using this tool, you can mount your Google Drive on the system and access it just like a regular directory. Any change made will be automatically synced.
Features of google-drive-ocamlfuse include –
- Multiple account support
- Symbolic links
- Read-only access to Docs, Sheets, and Slides
- UNIX file permission and ownership
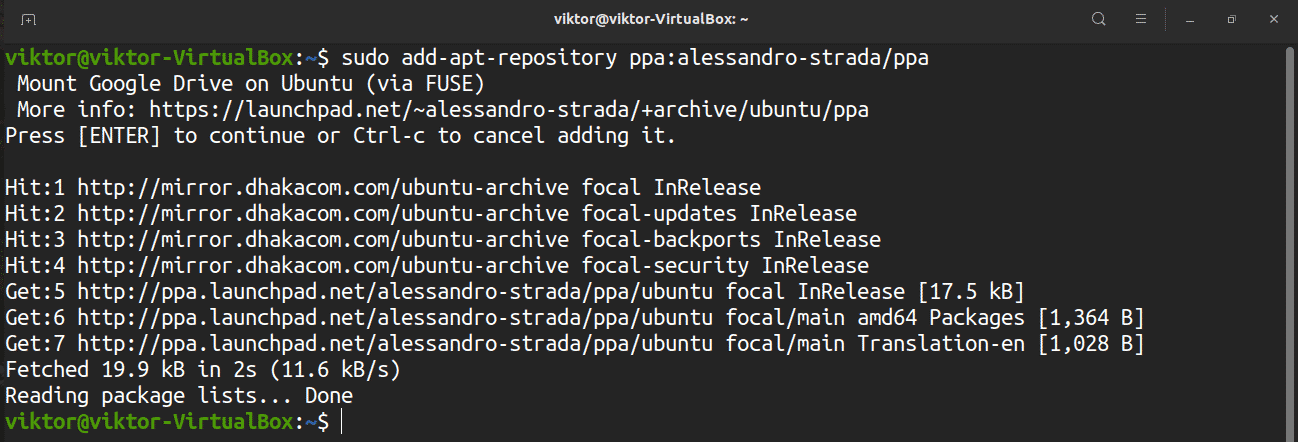
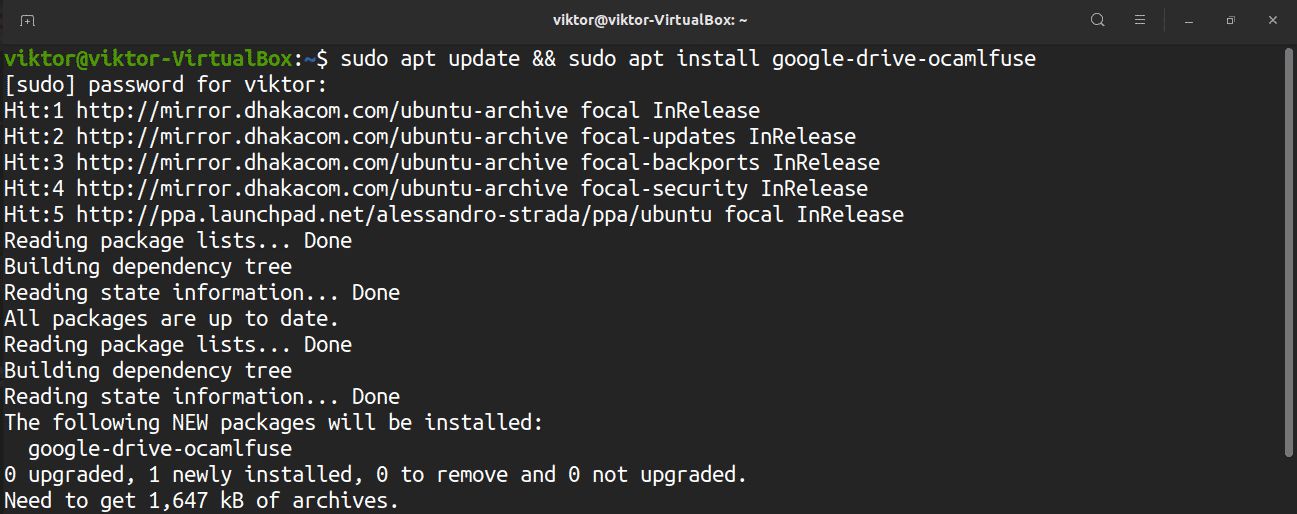
For Ubuntu, there are dedicated PPAs, one for the stable version, one for the beta version. Here, I’ll be showcasing how to install the stable version of google-drive-ocamlfuse. Fire up the terminal and run the following commands.
To set your Google drive folder, launch the tool.
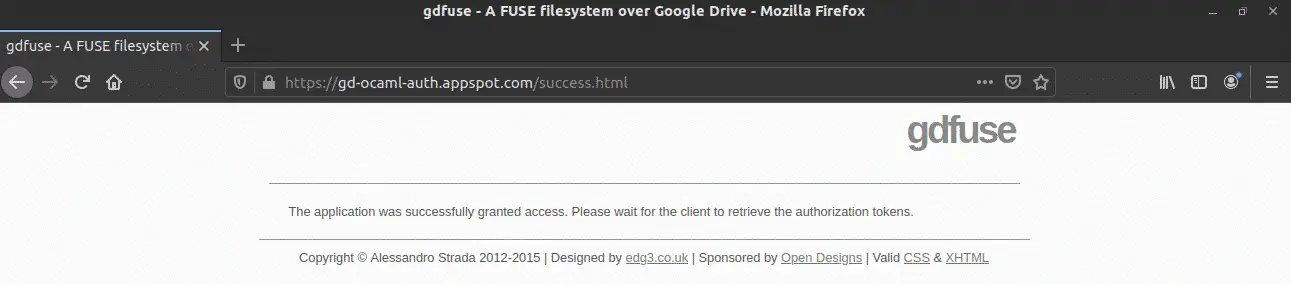
It’ll pop up a webpage in your default browser, prompting you to log in to your Google account.
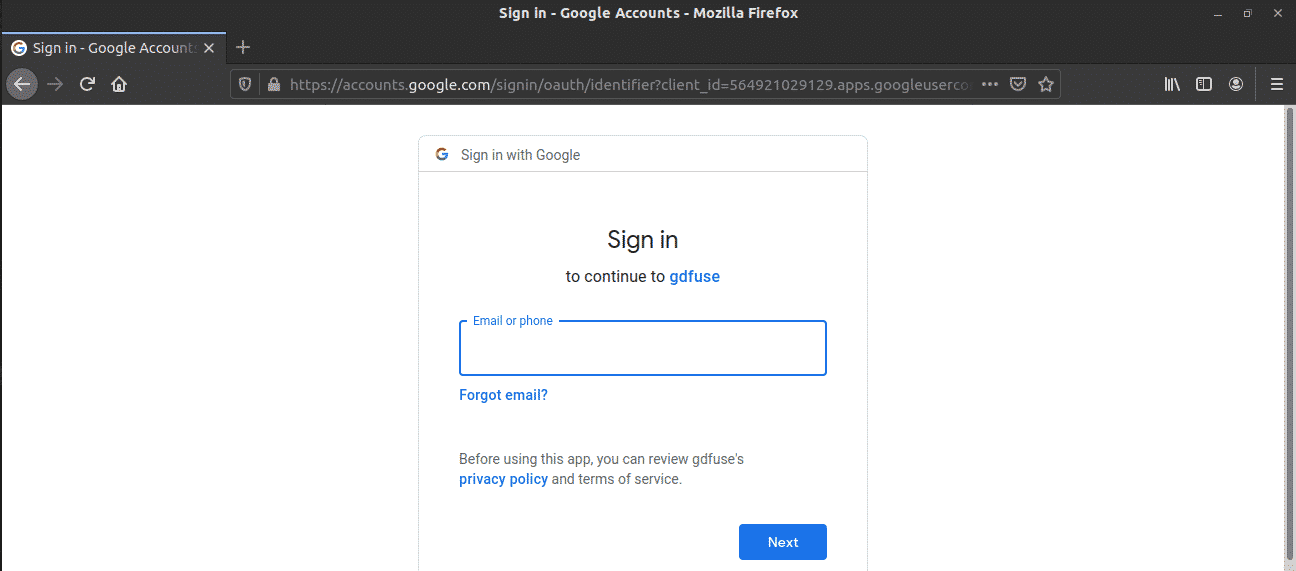
Go through the login process. If it’s successful, you’ll see a success message. You can now close the browser.
Now, we need to create a mount point for Google Drive. Let’s create a sub-directory under the home directory.

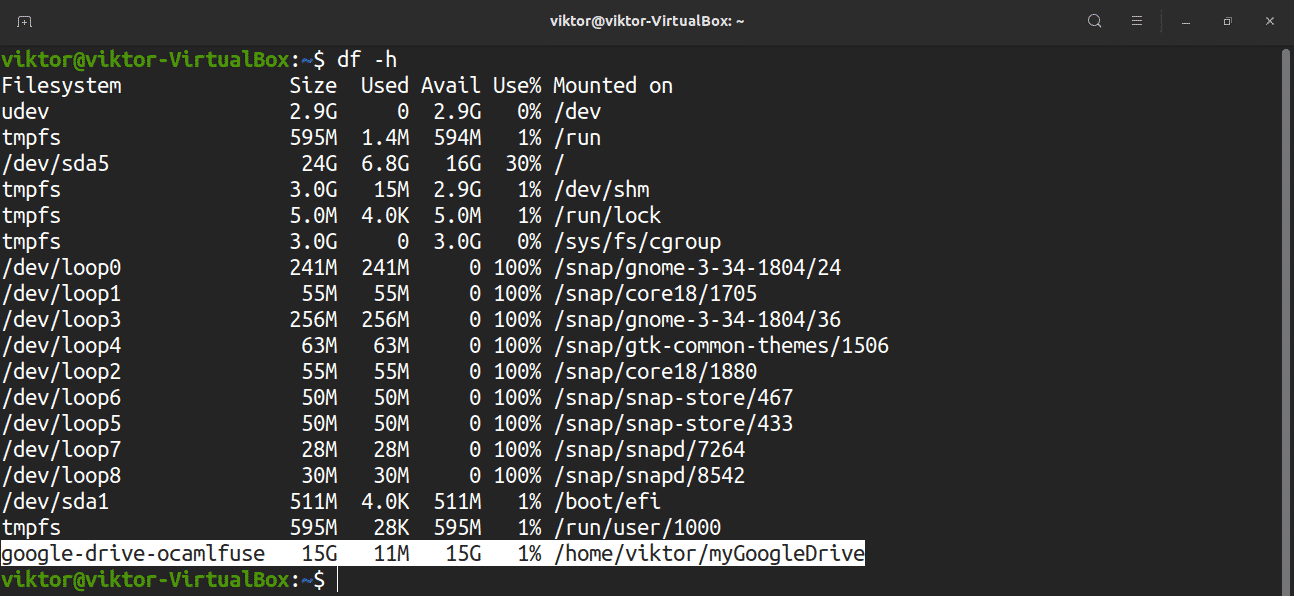
Tell google-drive-ocamlfuse to mount your Google Drive folder at the location.
Check if the mount was successful.
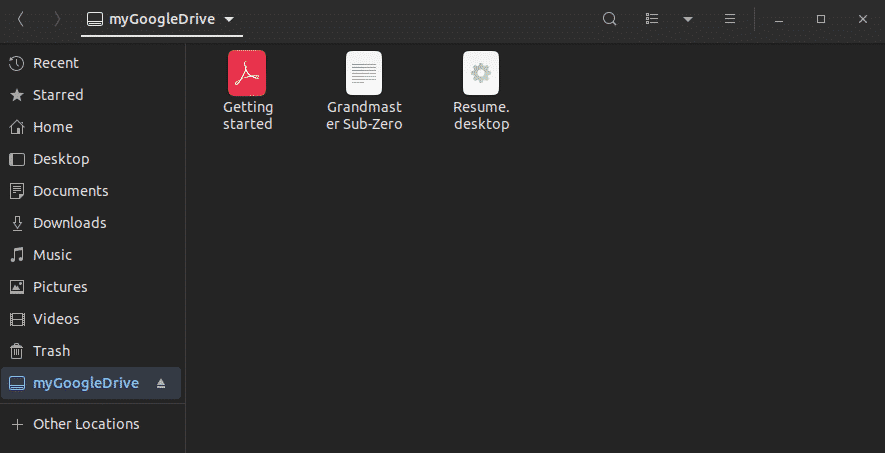
Let’s test out how the synchronization is working.
Note that google-drive-ocamlfuse will sync the directory with the server every 60 seconds. If you’ve made a change in the mounted directory, it’ll be updated after 60 seconds. Similarly, if any change is made to the Google Drive contents from somewhere else, google-drive-ocamlfuse will update it locally after a minute.
Insync
Insync is a powerful desktop client designed to work with Google Drive and Microsoft OneDrive. It’s a GUI tool available for Windows, macOS, and Linux. It has multi-account support (both Google Drive and OneDrive), selective syncing, and above all, a pleasant and simple UI.
However, unlike other solutions mentioned in the article, it comes with a price tag. You can enjoy Insync for up to 2 weeks for free. If you want to use it more, you have to unlock it by performing a one-time purchase. The pricing is determined by the number of accounts you want to use with Insync.
Here, I’ll be showcasing how to install and use Insync (trial version). If you’ve purchased the product, then all you need is manually enter the license key in the software.
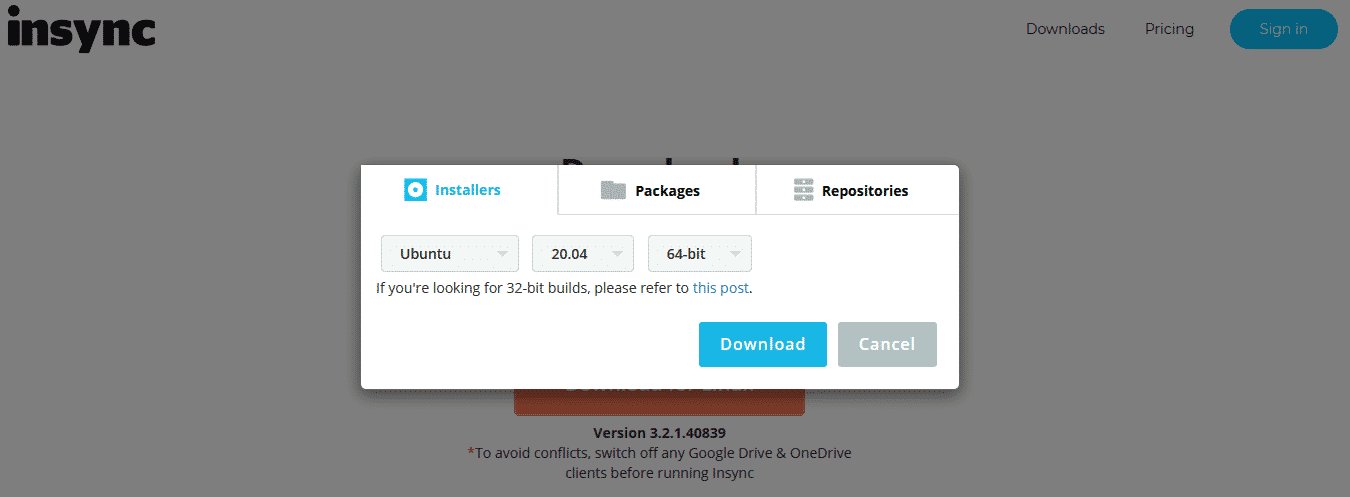
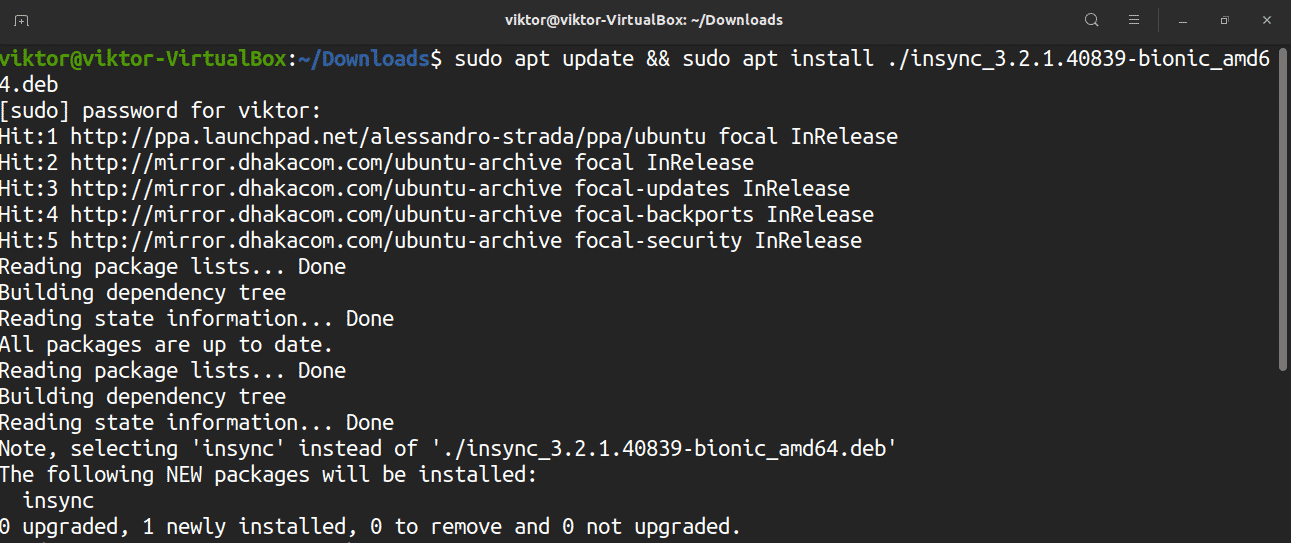
It’s time to install the DEB package. Fire up the terminal and run the following commands.
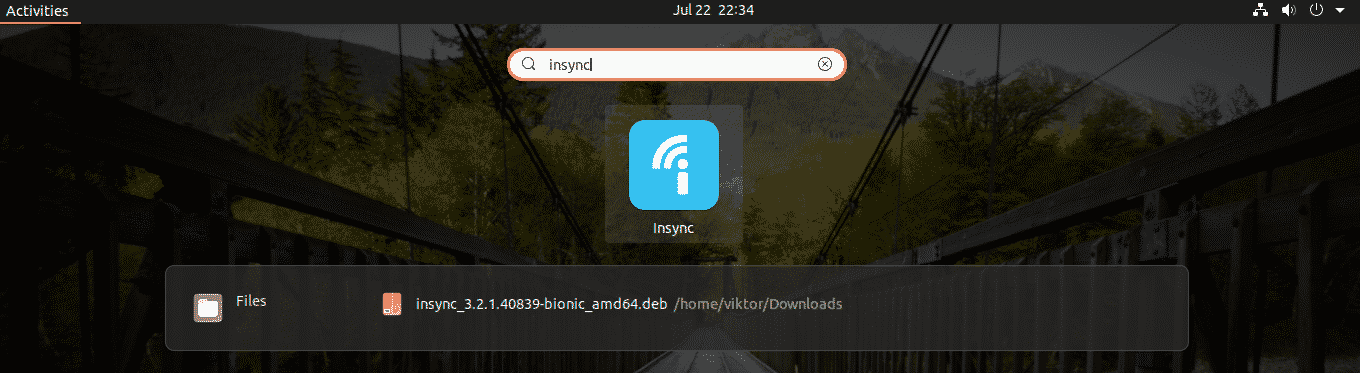
Launch the tool.
First, the tool will ask for which cloud service you’re interested in. In this case, we’ll be going with Google Drive.
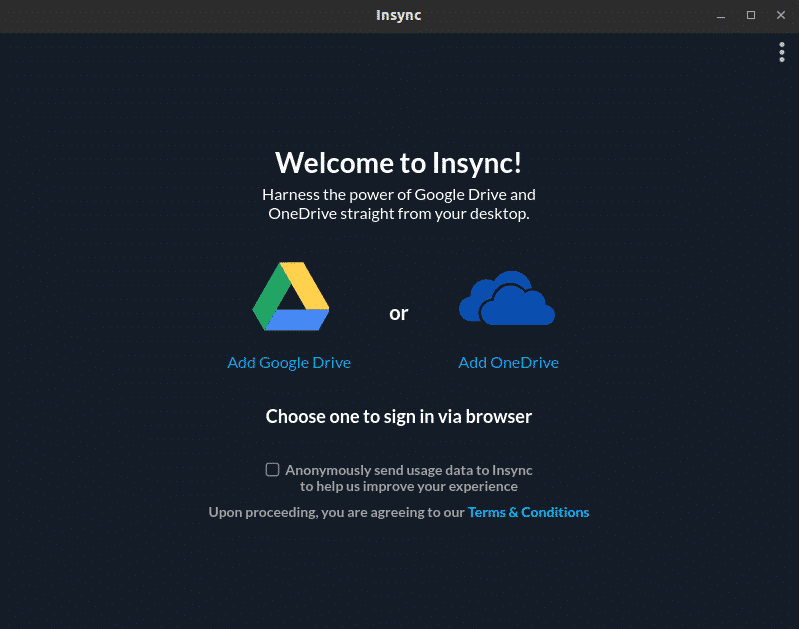
Click on the Google Drive icon. It’ll open a webpage on the default browser. You’ll be asked to log in to your Google account.
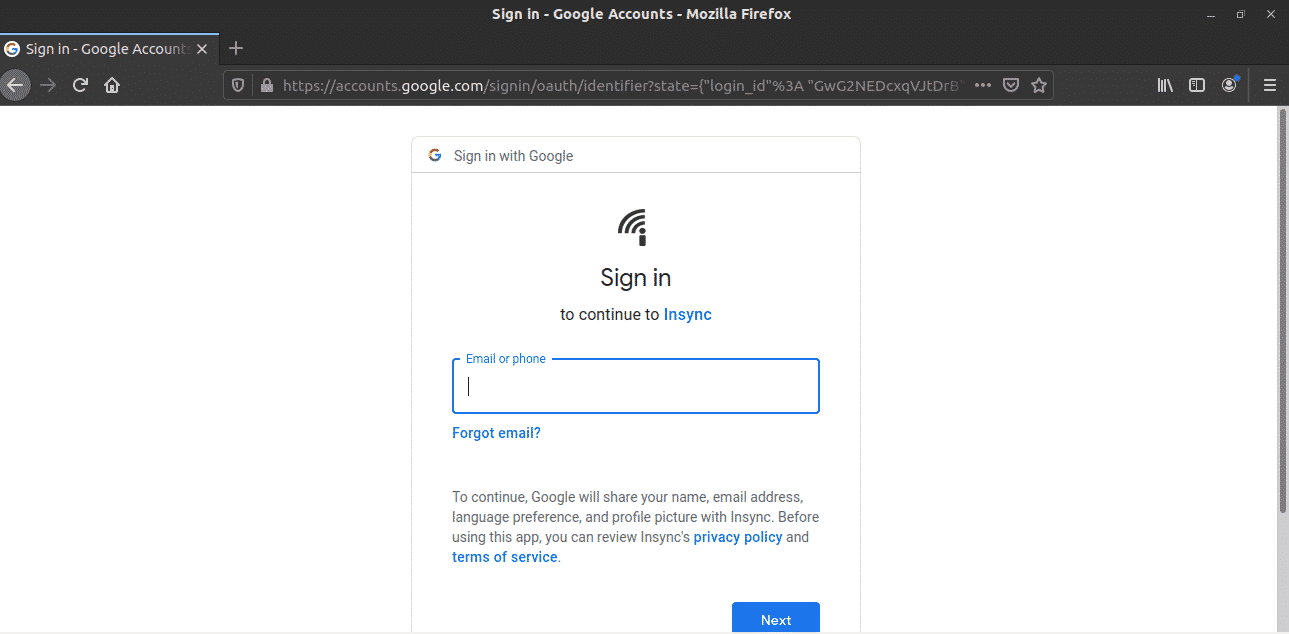
Once the login is complete, a success message will pop up. You can now close the browser.

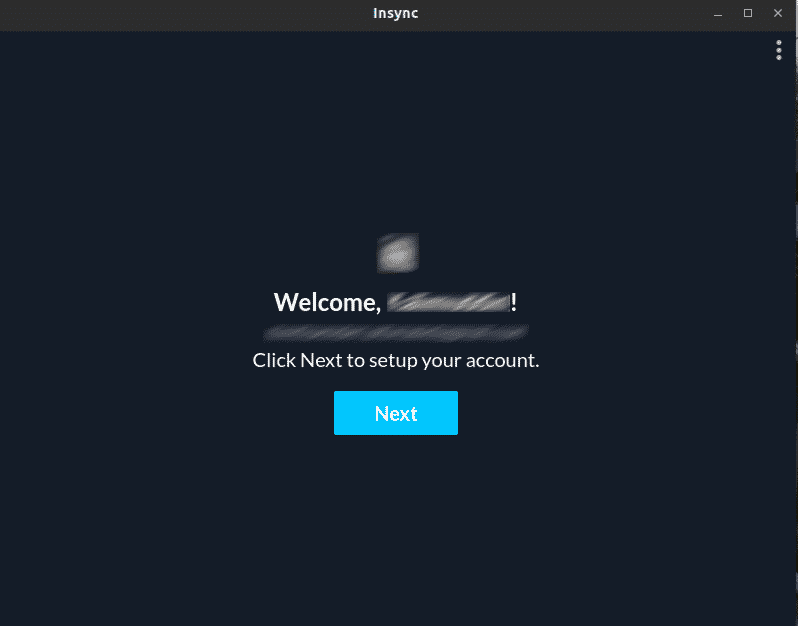
Insync will be ready to go. Click “Next”.
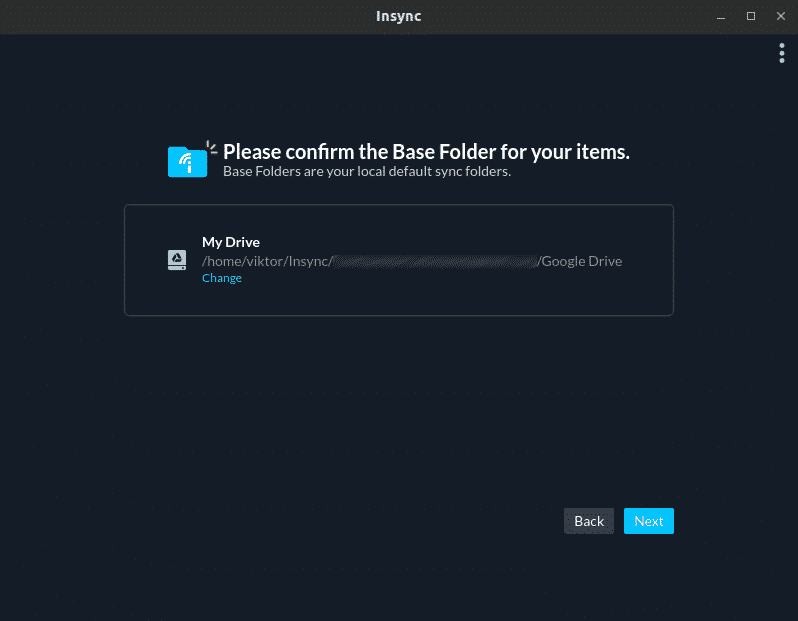
Select the physical location of the folder where Insync will sync all the Google Drive files.
Insync will ask for configuring your sync preference. For general use, you can ignore the message. If you’re an advanced user, however, then you should look into it. I’ll be just skipping ahead.

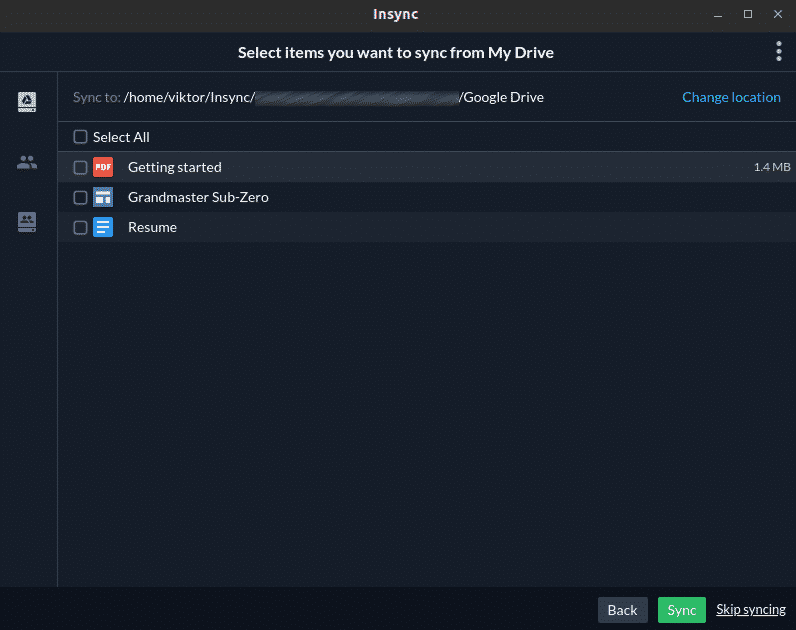
Select all the contents that you wish to sync at the moment.
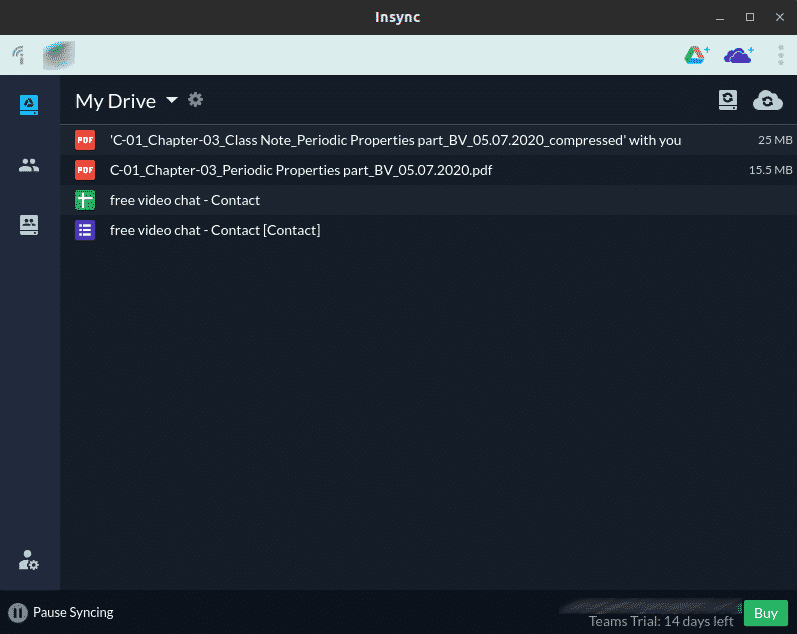
Voila! Insync is ready to go!
Final thoughts
Google Drive is an awesome service suitable for both personal and professional use. Feel free to use the right tool for you. If you need to access services like Google Docs, Sheets, and Slides, it’s better to use your browser.
Don’t forget to check out ODrive – a powerful syncing service that allows managing all the popular cloud storages (Amazon, Dropbox, Google Drive, OneDrive, Slack, FTP, SFTP, DigitalOcean, and others) from a single place. One of the interesting key features of ODrive is its encryption support. The files are locally encrypted and uploaded, leaving no chance of loss even in the case of data theft. Check out how to install ODrive on Ubuntu.
Enjoy!