
Global Access to Resource Using Distributed Architecture (GARUDA) is an Arch-based Linux system initiated by Indian’s Grid Computer. In contrast to other Arch-Linux systems, Garuda introduced a graphical installer to manage modern graphical tools.
Garuda OS is new in the world of Linux Distributions contains advanced and enhanced features with outstanding performance. The C-DAC (Center for Development of Advanced Computing), IITs (Indians Institutes of Technology), and 45 other institutes are the project participants.
Garuda is an open-source operating system with a terminal-based text editor that makes the system easy and understandable. Also, it provides several GUI tools to manage the system out of the box. As we mentioned above, it is an Arch-based Linux distro, ensuring that users will always get the latest version.
How to Install Garuda Linux System:
There are many ways to install the Garuda Operating System on your system, such as Virtualbox and through the bootable drive. But in this learning tutorial, we will guide how you can install it on Virtualbox, which is pretty simple.
Let’s take a look to understand what is Virtualbox and Virtual Machine:
VirtualBox is an open-source virtualization tool that allows users to run several operating systems on a single platform. Virtual Machine acts like a computer system with hardware devices; you can install and run multiple operating systems in it and behave like you’re running in the real physical environment.
Recommended Requirements:
Before installing the Garuda Linux distribution in the system, there is some prerequisite of it:
- RAM: 4 GB
- Free Disk Space: 30 GB
To start the installation process of Garuda OS in the system, follow the steps carefully:
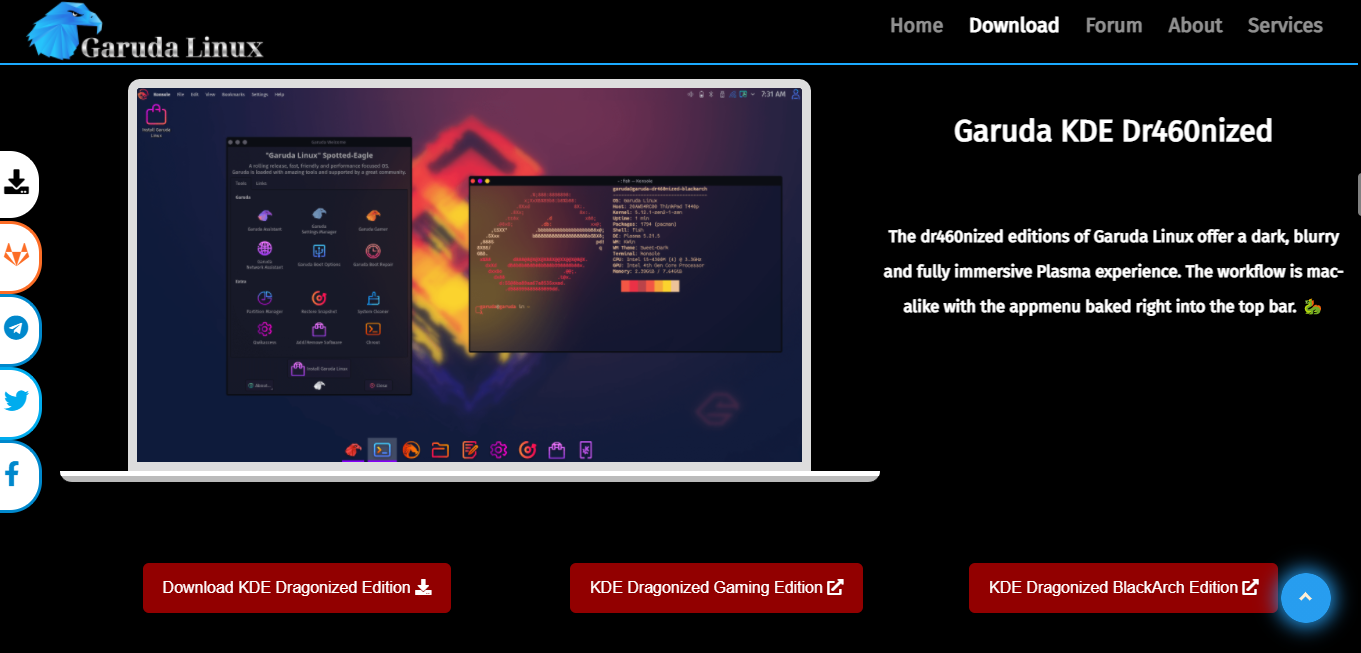
Downloading Garuda OS ISO:
The first step is downloading the ISO for the Garuda operating system; you can download the ISO from the official site of Garuda OS.
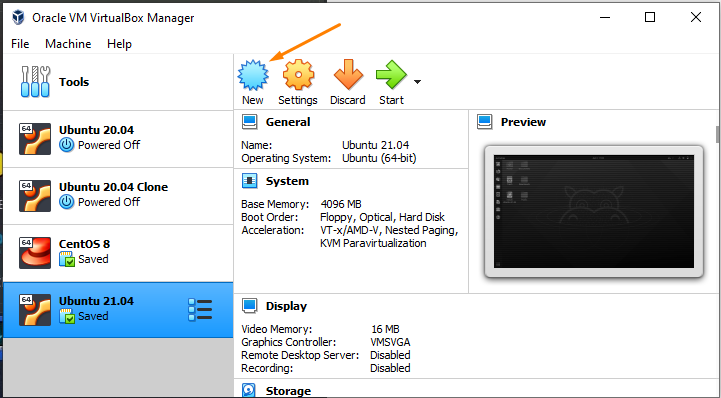
Creating Virtual Machine:
To create a new machine on VirtualBox, click on the “New” icon:
Type the name “Garuda OS” for this Virtual Machine in the text field of “Name” and click on the “Next” button:

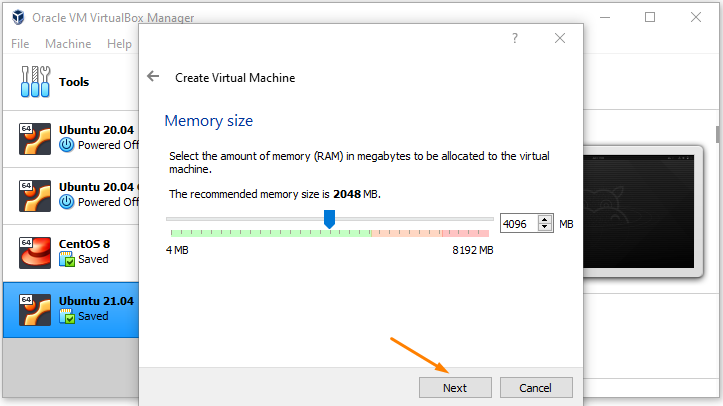
In the next window, select the memory size to allocate for the Garuda Operating System.
(Keep in mind for Garuda OS, 2GB minimum RAM is required)
Let’s set it to 4GB and click on the “Next” button:
Select “Create a virtual hard disk now” to create a virtual hard disk on the system. If you want to go with the existing hard disk, select the last option, “Use an existing hard disk,”; navigate to the “Create” button:

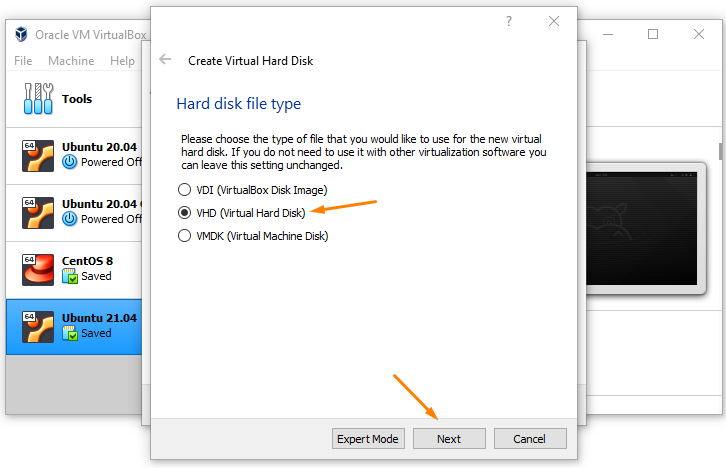
Select the hard disk type, as we want to create Virtual Hard Disk (we have selected above”, so select the 2nd option, “VHD (Virtual Hard Disk)” and click on the “Next” button for further process:
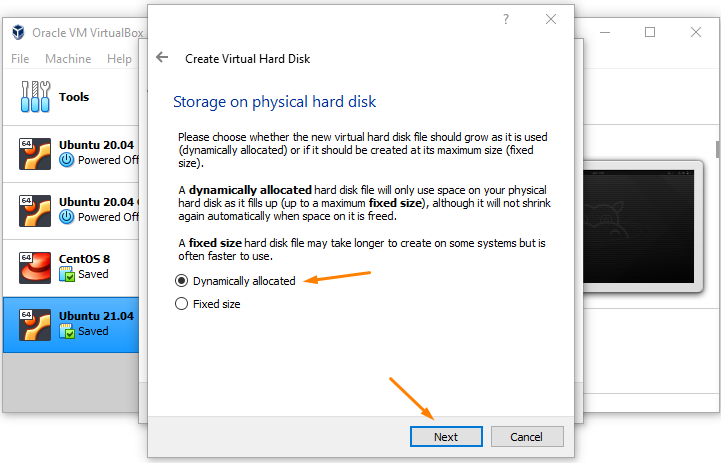
The system will ask you to pick what disk you want to create, dynamically allocated or fixed size.
Dynamically, hard disk files will grow upon installing packages, and in the fixed size, the hard disk size will remain fixed.
I will go with the “Dynamically allocated” disk; select it and hit the “Next” button:
In the next window, you will see the file location, where a hard disk file has been created (as you can see, mine is created with the name “Garuda Os.vhd”).
You can also set the size of the Virtual Hard Disk, which is changeable when needed. Set it according to the requirement and hit the “Create” button:

So, the virtual machine for Garuda Operating System is created. Navigate to the “Start” button and click on it:
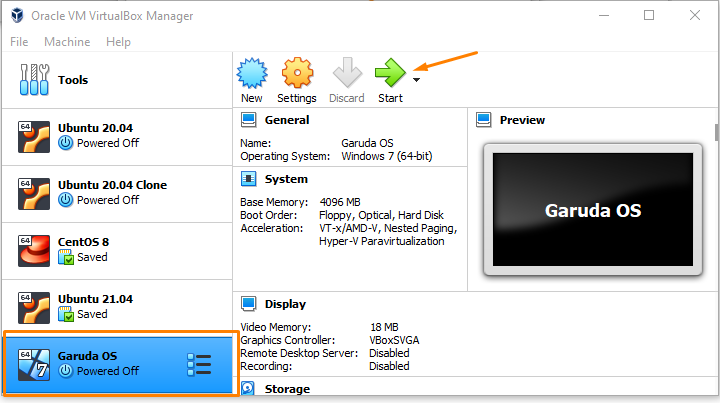
On the next window, you will be asked for the start-up disk, select the downloaded ISO of Garuda OS and click on the folder icon to get it:
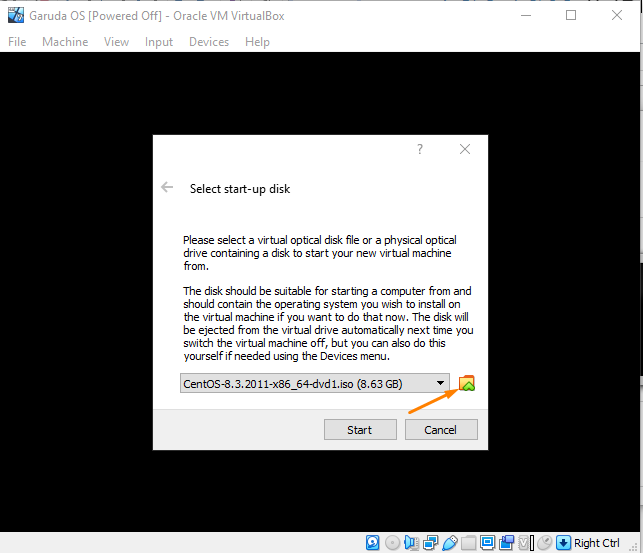
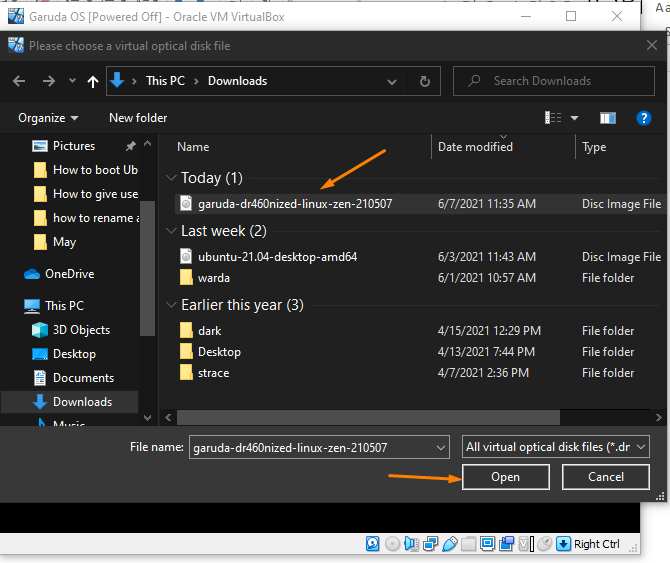
As we have downloaded the Garuda OS, so to add the ISO path in the virtual machine, select the “Add” icon:
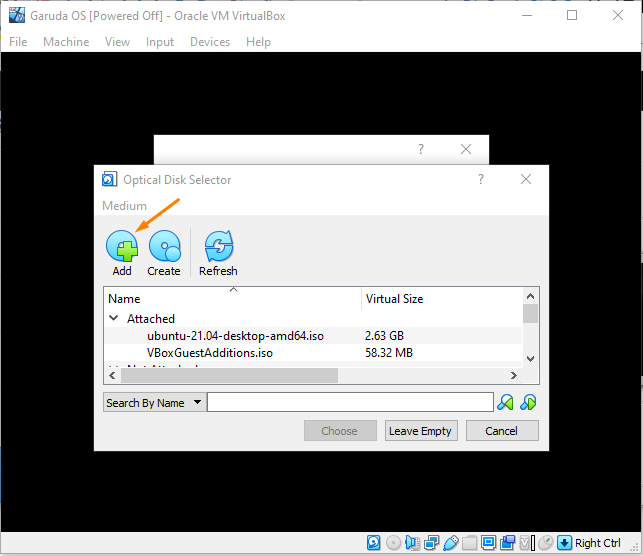
Once clicked, choose the ISO and click on the “Open” button:
It will add to the list, as mentioned below the image. Select it and navigate to the “Choose” button:
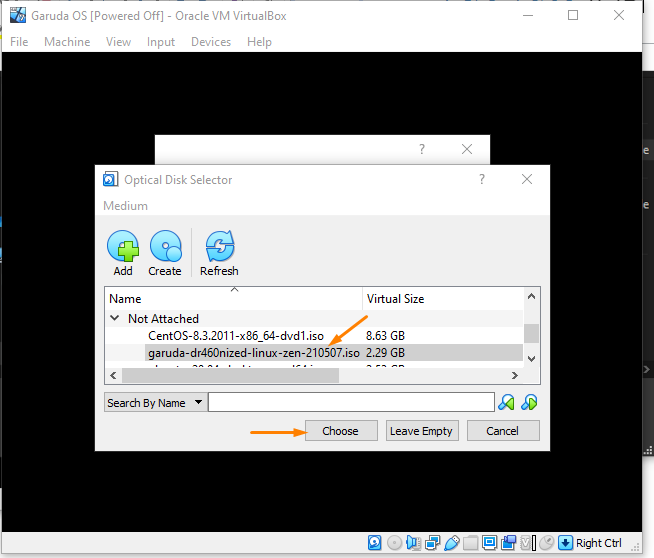
And finally, move to the “Start” button to run Garuda OS on Virtualbox:

So, the Garuda Setup has launched successfully on the Virtualbox; once you clicked on the “Start” button, the Garuda OS boot menu will appear on the screen:
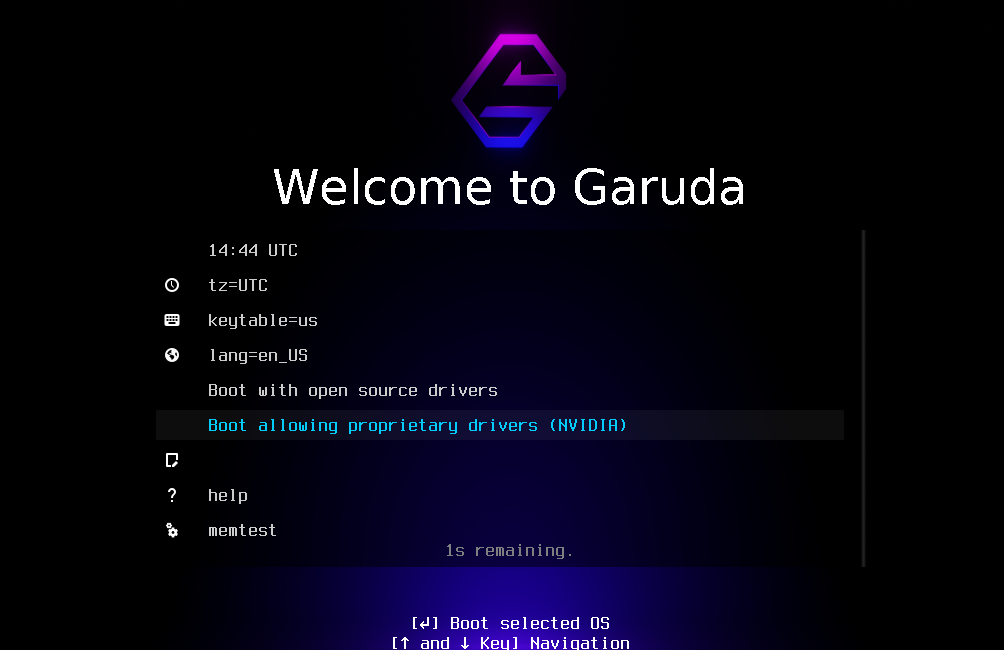
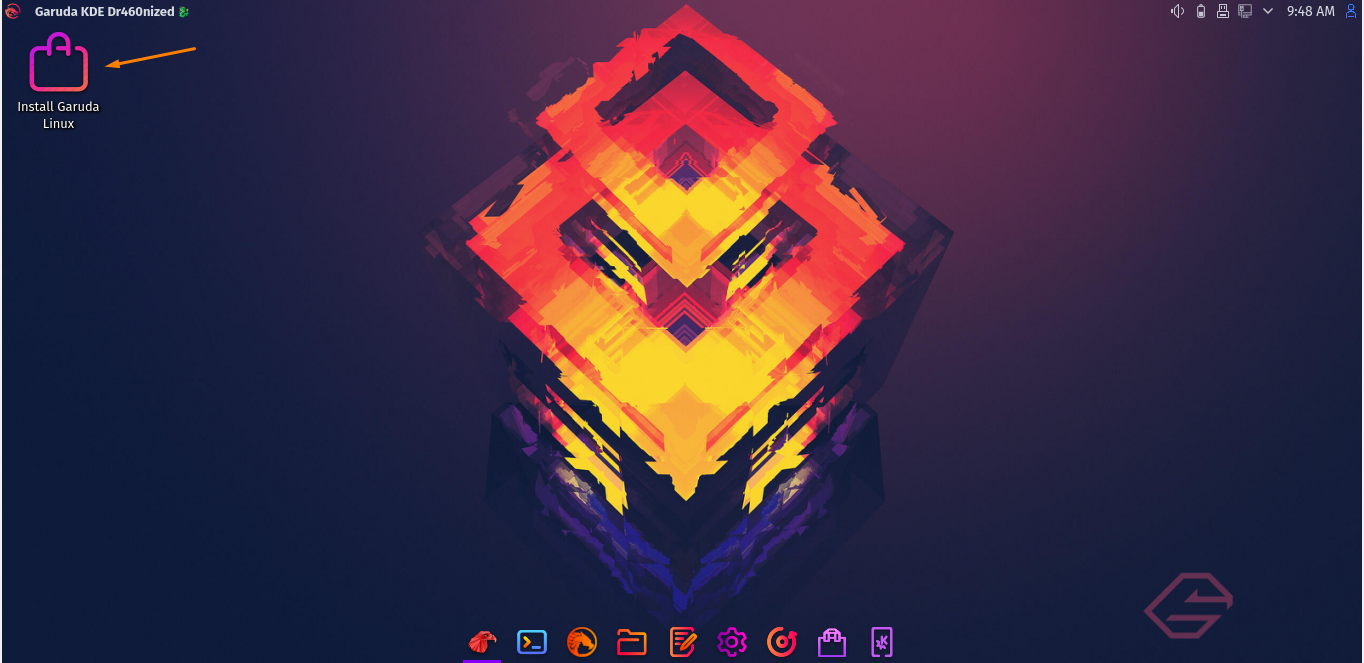
After the welcome screen, the system will start to boot. And once it’s done, a screen will appear with several Garuda tools:

Minimize the tools window; you will get the “Install Garuda Linux” icon on the desktop; click on it to start installation:
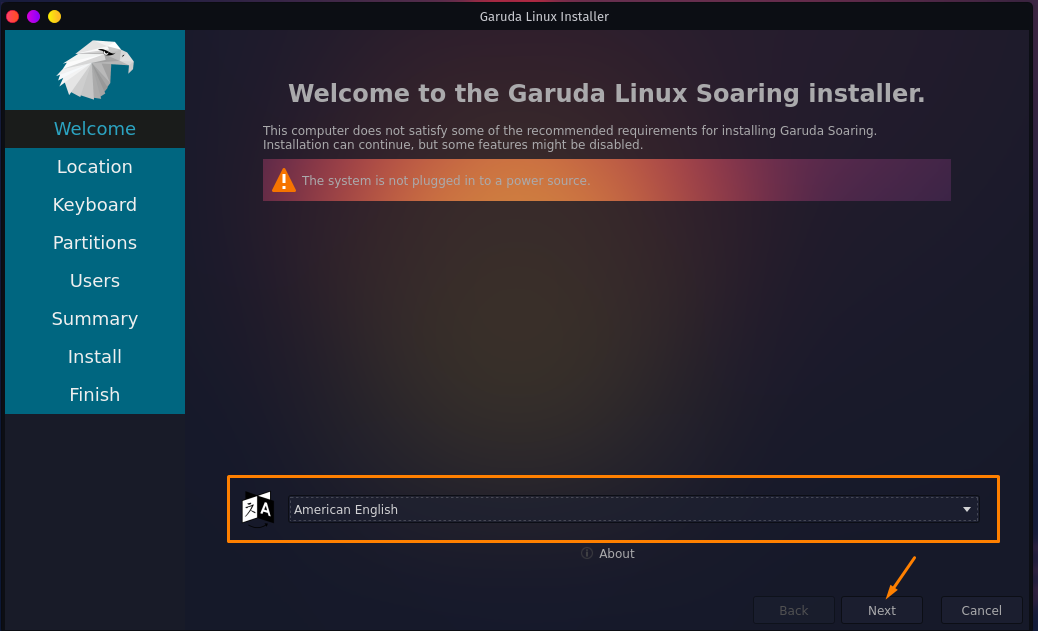
Before the installation begins, you need to configure the setup for Garuda OS, such as language, time zone, keyboard language, etc.
The first window will appear to ask what language you prefer while using Garuda System. Select the language according to choice and navigate towards the “Next” button:
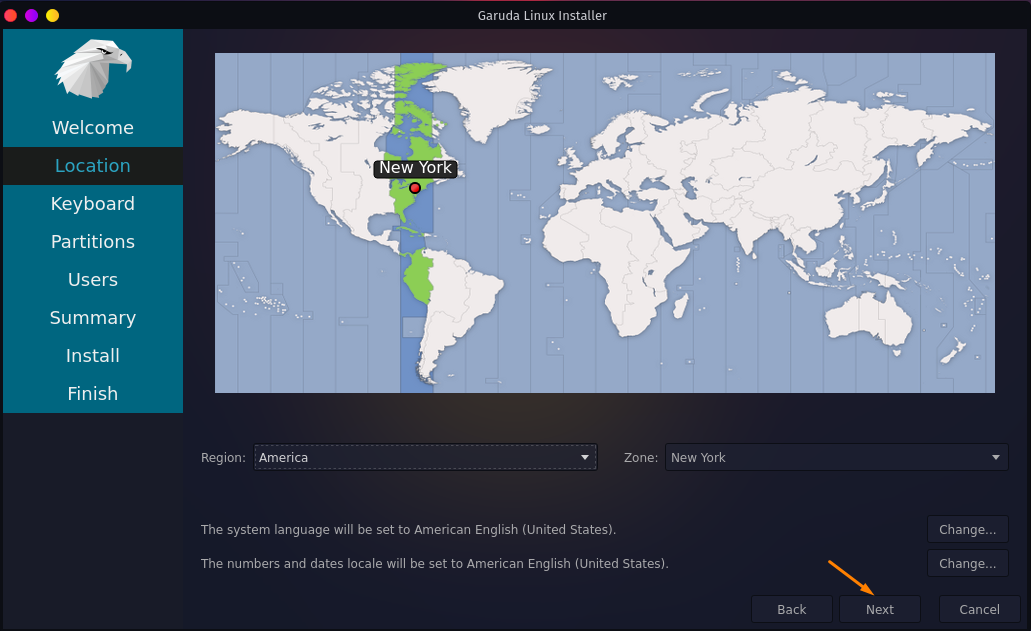
Adjust the location and click on the “Next” button:
The next window will appear to ask what keyboard language you want to set; set it, and move to the “Next” button:

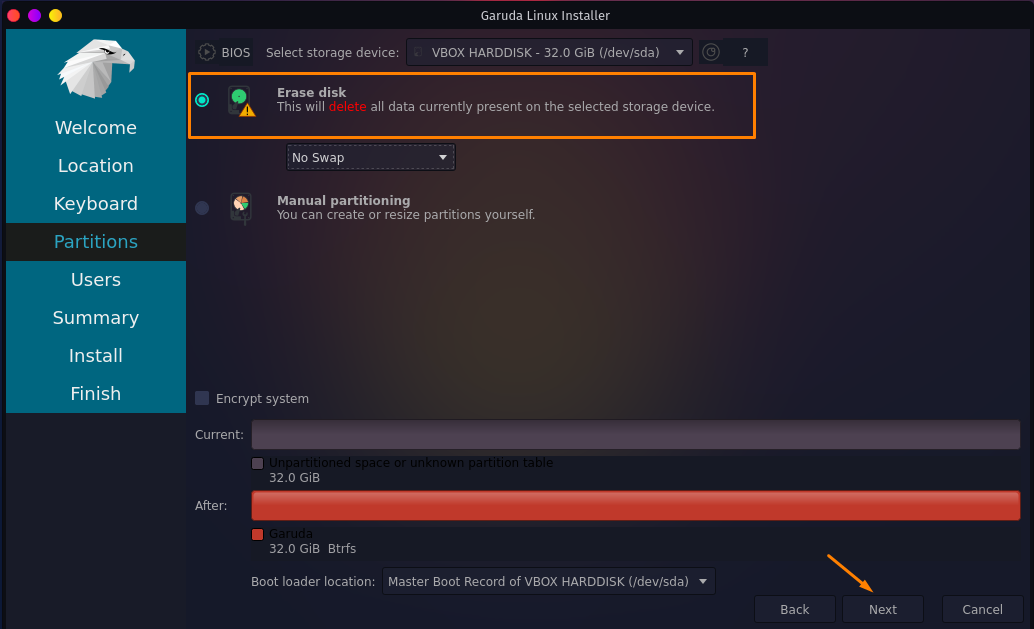
In the next move, choose the partition where you want to install the Garuda system and click “Next”:
Now, create a user account by entering all the credentials for the Garuda system and select “Next”:

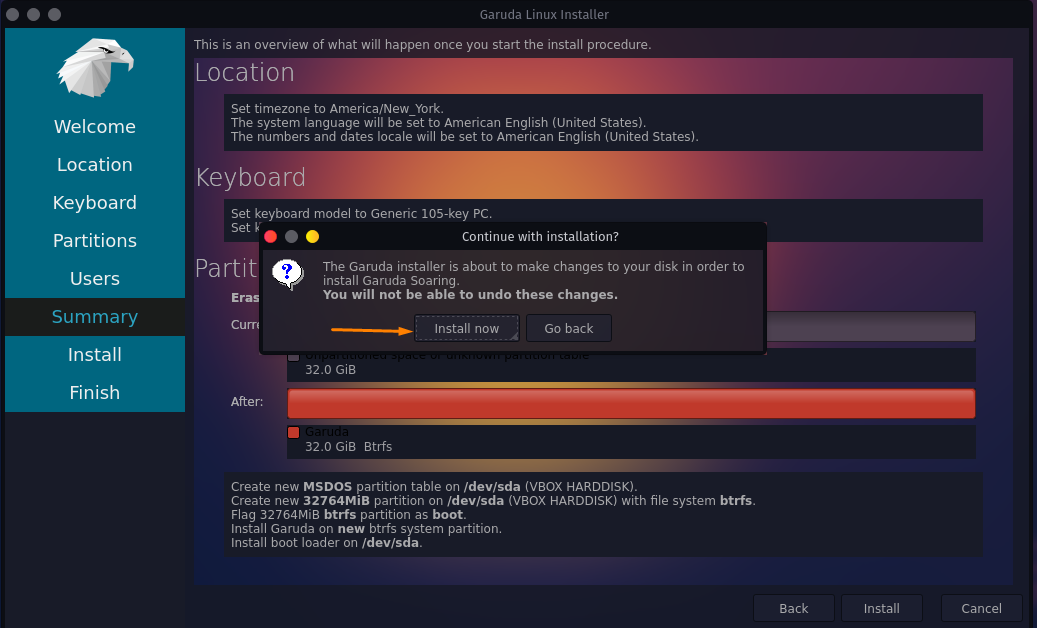
The last step is to select the “Install” button so that it begins to install the Garuda Operating System on the hard disk:

A dialogue box will appear to ask if you really want to install the Garuda Operating system; click on the “Install now” button:
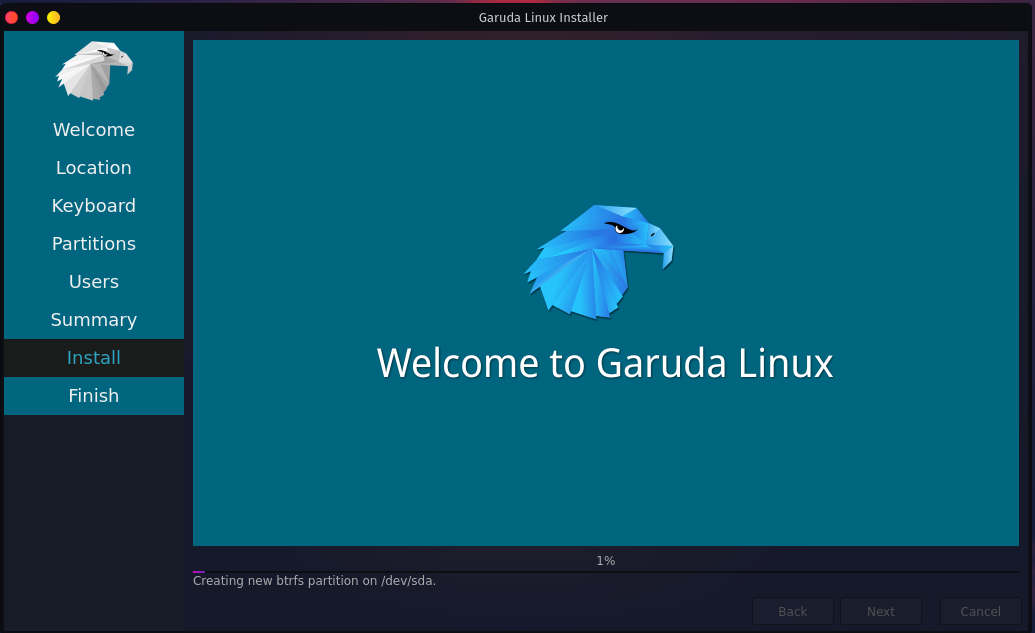
Once you clicked, the installation process will begin, as you can see in the image below:
When it’s done, it will ask you to restart the system, mark check on “Restart now,” and select “Done”:

Conclusion:
Garuda is the Arch-based Linux operating system initiated by Indian’s Grid Computer. Garuda development aims to create an open-source, user-friendly environment for beginners with outstanding performance. 17 cities connect in this project and 45 institutes, including India’s advanced computing and technology institutes.
This guide has seen a step-by-step procedure to install the Garuda Operating system on a Virtualbox. Although we have two ways to install it, such as on Virtualbox and through the bootable drive, installing it on Virtualbox is quite simple. We have also discussed how to create a virtual machine on VirtualBox.