Secure Shell (SSH) protocol is used to manage or transmit data between computers through the internet. Old methods for accomplishing these actions, such as telnet do not have these capabilities. They are unsafe since they transmit the user’s password in plaintext. It offers a secure route over an unprotected network, connecting an SSH client program to an SSH server in a client-server architecture. It is mainly used to communicate to Unix-like operating systems, although it may also be used on Windows.
How SSH works
The default SSH client allows you to connect to Linux workstations through a secure channel, and it defaults to TCP port 22. SSH encodes the packets, making it impossible for anyone to observe your activities. Unlike telnet, which does not encrypt the packets, telnet leaves open the possibility of someone reading what you do with the SSH. We are going to show you how to enable secure shell (ssh) on Linux Mint in this article.
How to install the Openssh server
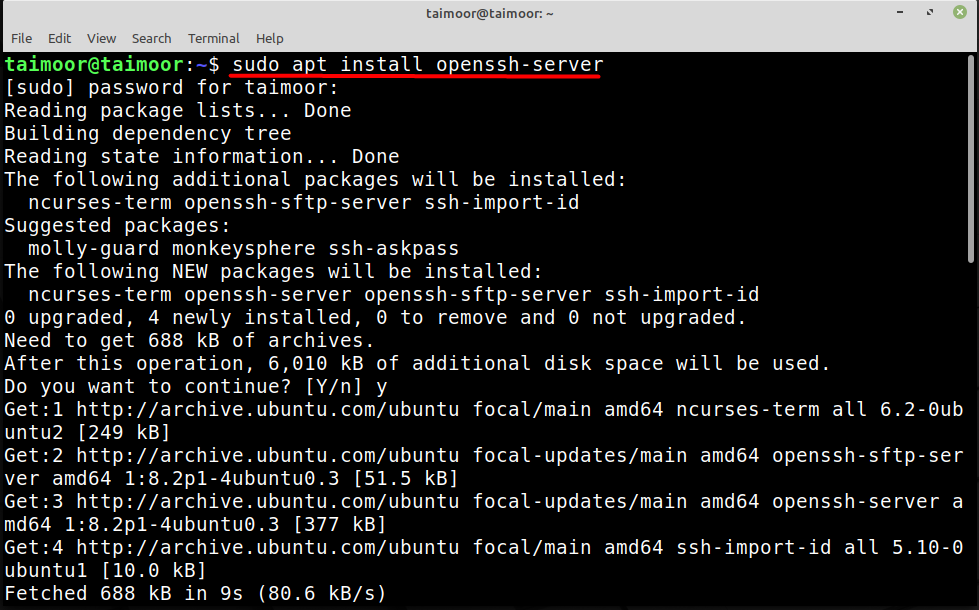
You can install the OpenSSH server by opening a terminal and typing the following command there.
SSH should be automatically set to start on system startup and should be running once installed. However, rather than just assuming, we’ll double-check.
To check that SSH is enabled and to start automatically on system startup, run the below-given command.
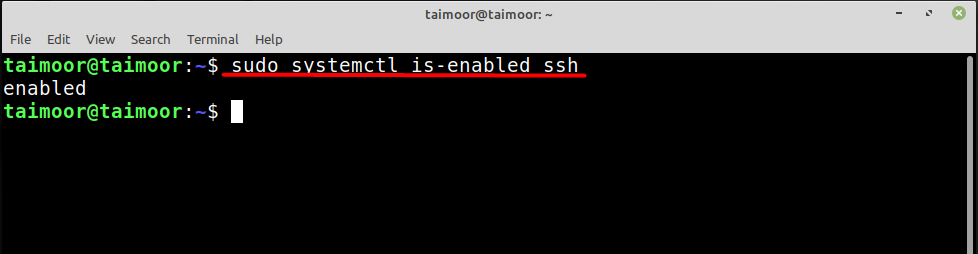
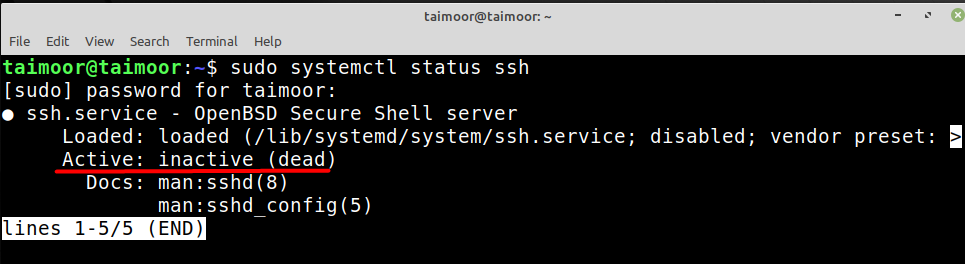
If it returns ‘enabled‘ SSH should start up immediately when the computer boots. If it is disabled or if the status is inactive as shown in the following image:
Then use the below-mentioned command to enable it:
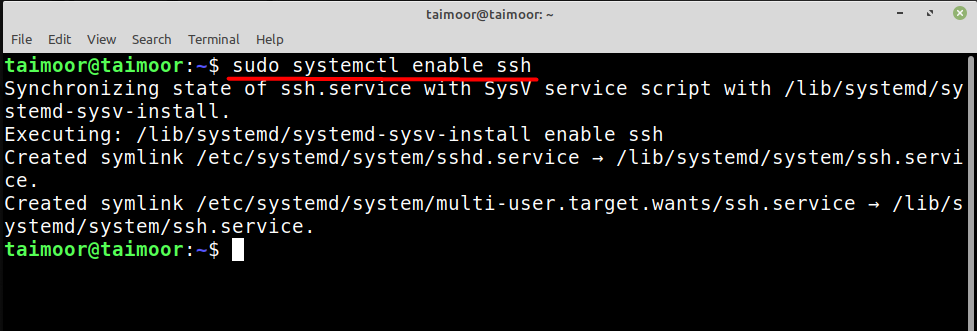
Now you start the SSH service by typing:
And check the status:
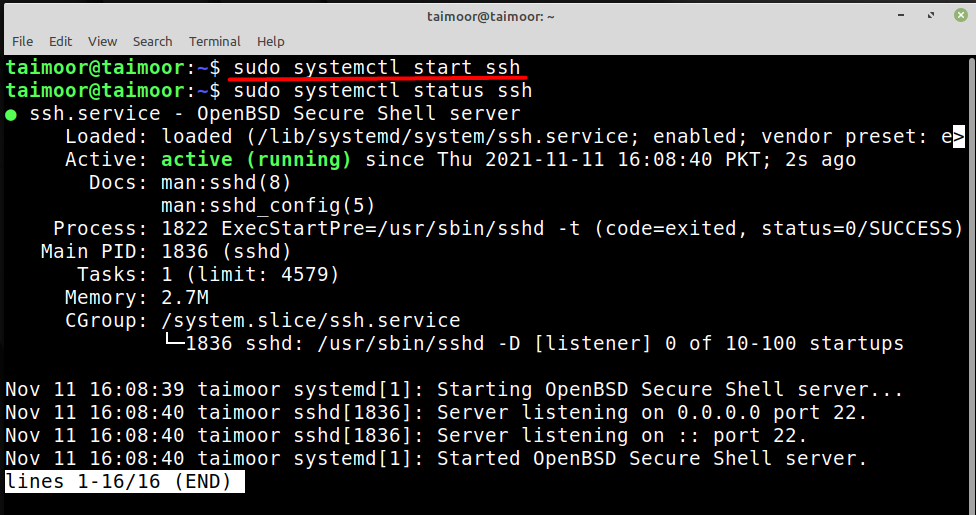
We may also use ‘systemctl status’ to receive a quick summary of all information; in the above image, we can see that the service is up and running and other helpful details.
How to allow ssh connection in Firewall
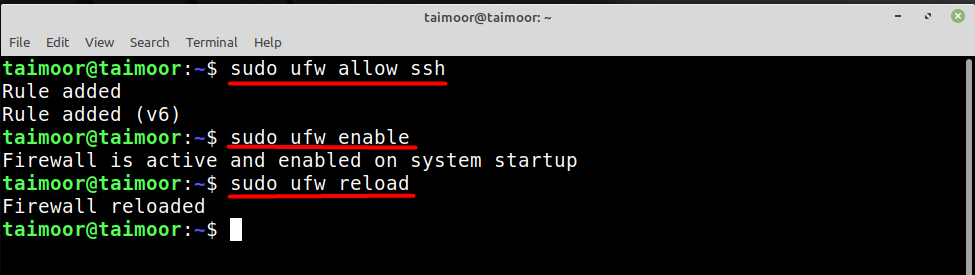
Sometimes the firewall restricts you from using the connection between the client and server. So, to allow that you need to type.
This will add the rule on your firewall to allow the ssh connection. Later you can enable the firewall if it is currently disabled by typing.
You need to refresh the newly made settings in order to implement them and you can do that by typing.
In the above command, UFW is an “uncomplicated firewall” that is used to manage a Linux firewall:
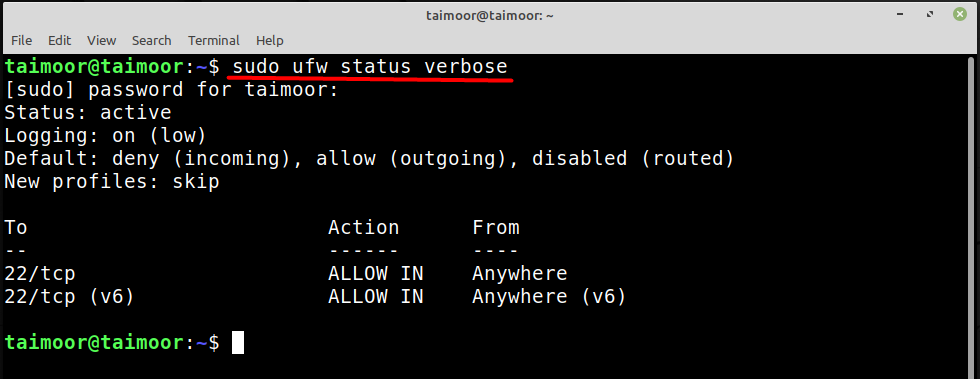
You can also check the status and complete details of the ufw firewall by typing.
Conclusion
The SSH protocol is used by OpenSSH, which is a free version of the Secure Shell (SSH) protocol suite that is not installed by default but is necessary to do so to enable it. The reason for this is that it establishes a safe and encrypted interface between the server and the client. We’ve demonstrated how to rapidly set up and utilize SSH in Linux Mint. Upon performing the above mentioned method, the SSH will be activated automatically when the system boots up.