In this post, we will focus on enabling the auto-login feature on Linux Mint 20.
Enabling the auto-login on boot in Linux Mint 20
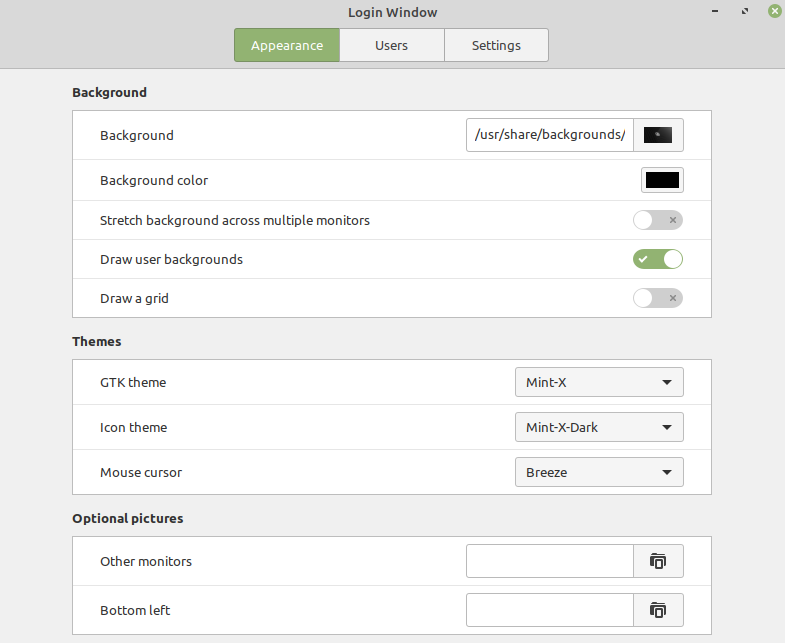
Linux Mint 20 provides a ‘Login Window’ utility for customizing the login screen features, enabling or disabling the auto-login, login screen themes, and pictures.
By using the ‘Login Window’ utility, we can easily enable the auto-login feature.
To do so, click on the Application Menu and search for the ‘Login Window’ utility.

Click on the “Login Window” utility icon to open it. The Login Window’s dashboard screen will appear.
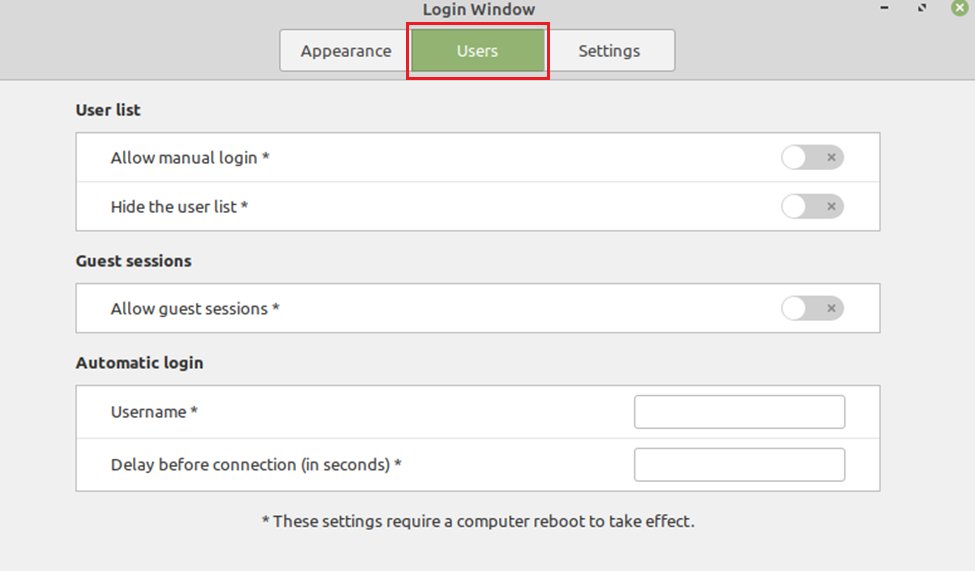
Click on the “Users” tab to enable the auto-login feature. To enable the auto-login feature, first, make sure that manual login is disabled.
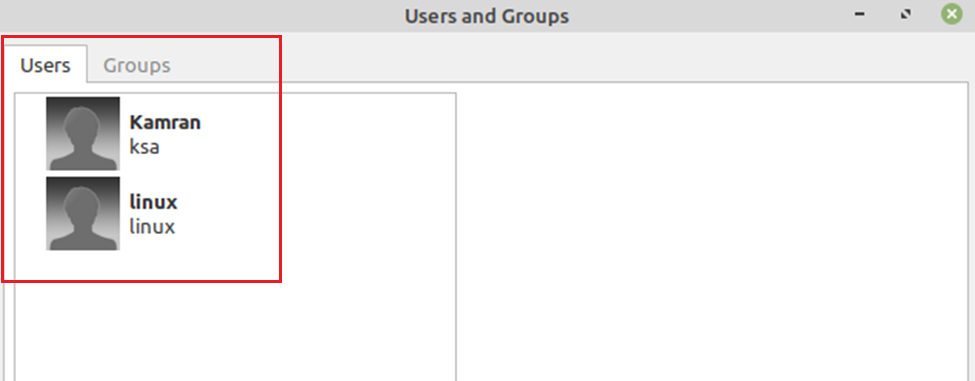
Next, in the automatic login category, enter the username, and delay before connections time in seconds in the given field. If you want to check all the users, then open the Users and Groups application from the application menu, and it will show the list of all the users.
Check the username information and enter it in the given field. Then enter the delay before time in seconds. It refers to the time the system will take to automatically log in to the user at the end of the boot process.
Once the required information is entered, reboot the system.
To reboot the system, run the below-given command on the terminal:
The auto-login will be enabled on boot successfully.
Conclusion
The auto-login feature allows us to log in to the system at boot time automatically. This post focuses on how to enable or set auto-login features in Linux Mint 20.


