
In this article, I am going to show you how to install and configure Dropbox on CentOS 8 headless server (server without GUI). So, let’s get started.
Connecting to the Server:
First, you have to connect to your CentOS 8 server via SSH. In order to do that, you need the IP address of your CentOS 8 server.
To find the IP address of your CentOS 8 server, run the following command on the server:
Here, the IP address of my CentOS 8 headless server is 192.168.21.143. It will be different for you. So make sure to replace it with yours from now on.

Now, check whether the SSH service is running with the following command:
If it’s running, you should see the green active (running) text as marked in the screenshot below.

If SSH service is not running in your case, you can start it with the following command:
If SSH is not installed on your CentOS 8 machine, take a look at the article How to Enable SSH on CentOS 8.
You can connect to your CentOS 8 machine using PuTTY on Windows. On Linux, you can use the ssh command line program.
To connect to your CentOS 8 machine via SSH, run the following command:
Here, <username> is the username and <ip> is the IP address of your CentOS 8 headless server.

If you see this prompt, type in yes and press <Enter>.

Now, type in the login password of your CentOS 8 headless server and press <Enter>.

You should be connected.

Installing Dropbox Headless Client:
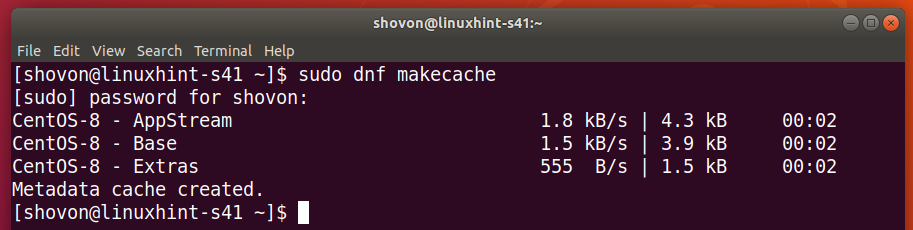
Now, update the CentOS 8 package repository cache as follows:

The package repository cache should be updated.
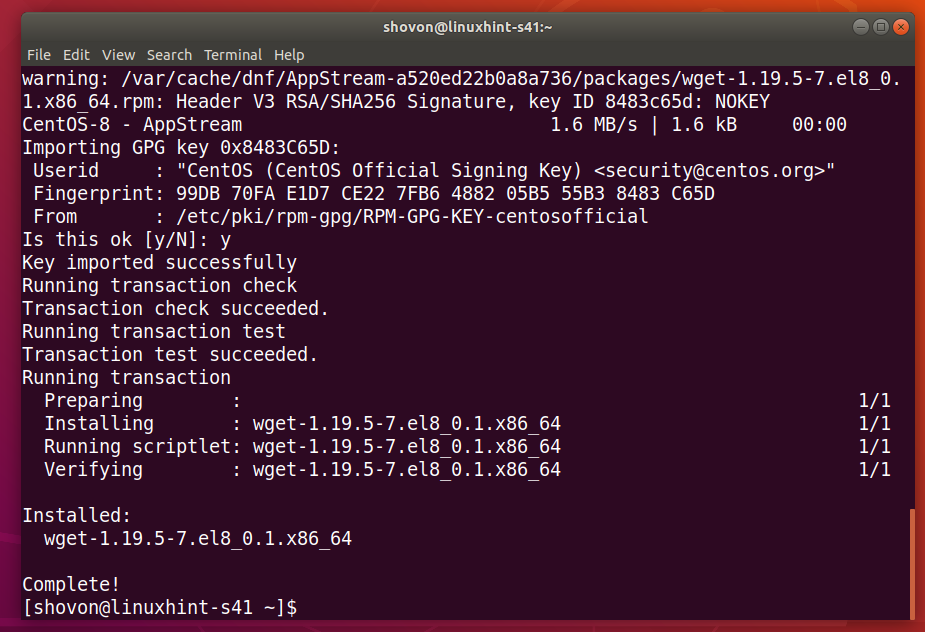
Now, install wget with the following command:

To confirm the installation, press Y and then press <Enter>.

You may be asked to add the GPG key. Press Y and then press <Enter>.

wget should be installed.
Now, navigate to the /tmp directory as follows:
Now, download the Dropbox from the official website of Dropbox as follows:

Dropbox archive is being downloaded.
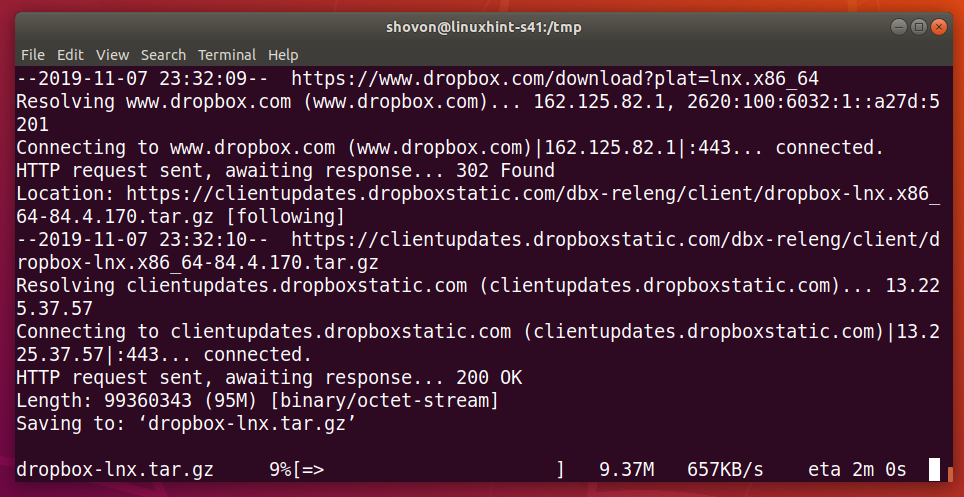
At this point, Dropbox archive should be downloaded.

Now, extract the Dropbox archive in your HOME directory as follows:

Dropbox archive should be extracted.

Now, navigate to your HOME directory as follows:

You should see a new directory ~/.dropbox-dist in your HOME directory.

Now, you can configure Dropbox as follows:

In the end of this command, you can find a URL which you can visit to set up a Dropbox account on your CentOS 8 headless server.

Just copy the link.

And paste it in your web browser. Once the page loads, login to your Dropbox account.
If you don’t have a Dropbox account, you can create one from here as well.
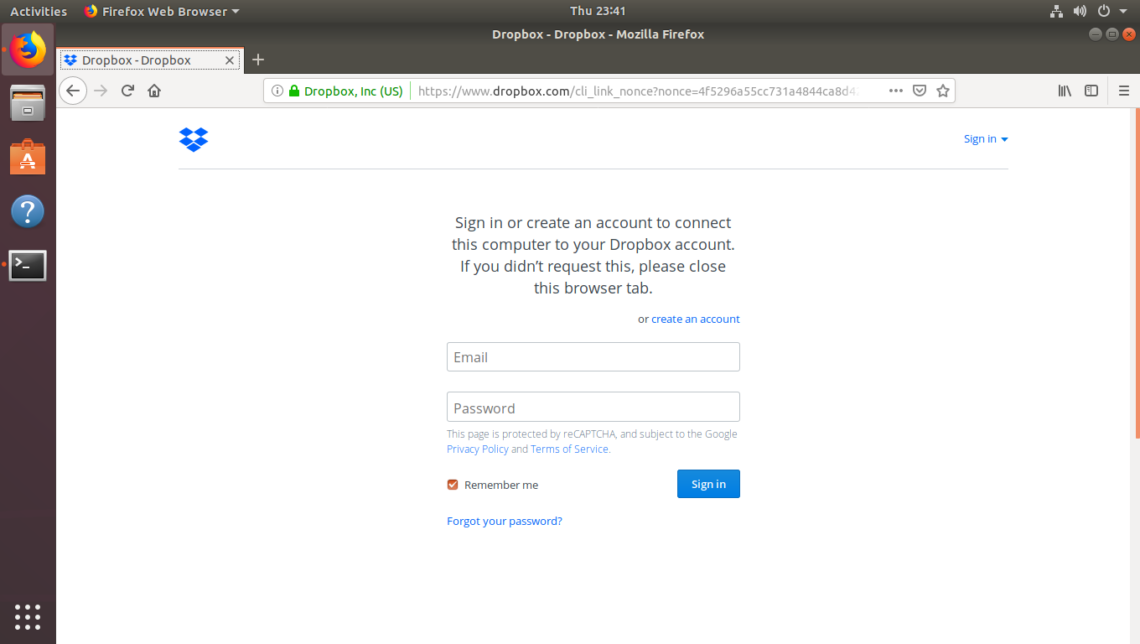
Once you’re logged in, click on Continue to Dropbox.

Your web browser should take you to your Dropbox account. Now, you can close the browser if you want.

Your CentOS 8 headless server should be linked to your Dropbox account.

Now, you can exit the Dropbox program by pressing <Ctrl> + C.

A new directory ~/Dropbox should be created.

Navigate to ~/Dropbox directory as follows:

You should see all the files of your Dropbox account here.
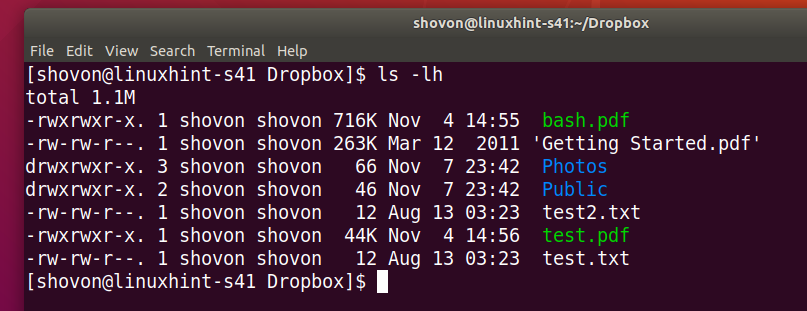
The files in the ~/Dropbox directory will be synced with your Dropbox account if Dropbox daemon is running on your CentOS 8 machine.
You can manually start Dropbox daemon as follows:

Dropbox daemon should start.

Now, create a new file in the ~/Dropbox directory as follows:
![]()
It should be synced instantly with your Dropbox account as you can see in the screenshot below.

Manually starting Dropbox daemon every time you make some changes to the ~/Dropbox directory is very impractical. In the next section of this article, I will show you how to automatically start Dropbox daemon on system boot.
Automatically Start Dropbox Daemon on System Boot:
You can use the Dropbox systemd service written by joeroback on GitHub to automatically start Dropbox on system boot.
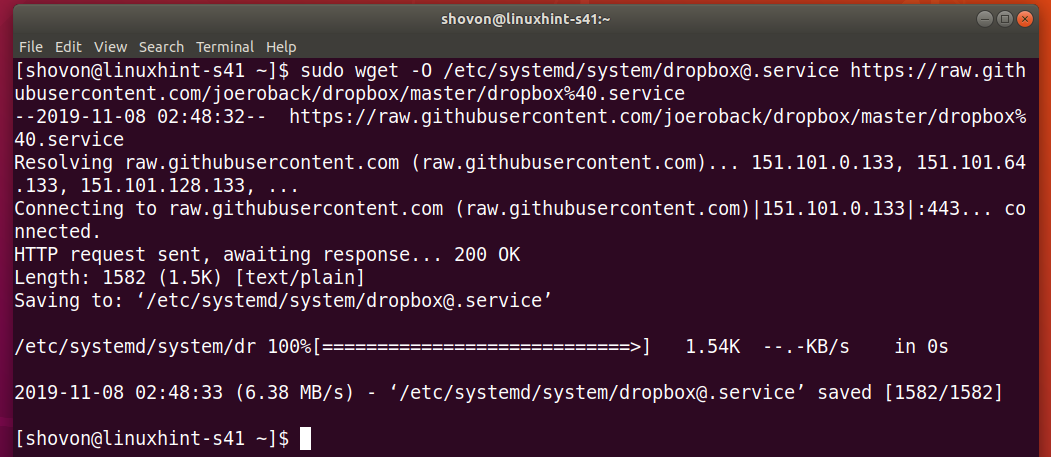
First, download the Dropbox systemd service from GitHub with the following command:
https://raw.githubusercontent.com/joeroback/dropbox/master/dropbox%40.service

The Dropbox systemd service should be downloaded.
This is the contents of the Dropbox systemd service file:

Now, add the Dropbox systemd service to the system startup of CentOS 8 with the following command:

Now, reboot your computer.

Once your computer starts, check whether the Dropbox system service is running as follows:

It should be active as shown in the screenshot below.

Now, if you create a new file in the ~/Dropbox directory. It should be synced with your Dropbox account instantly as you can see in the screenshot below.

So, that’s how you install and configure Dropbox on CentOS 8 headless server. Thanks for reading this article.