Namespaces provide room for names. Namespaces can’t be snuggled inside one another, and every resource in Kubernetes resides only in one namespace. However, it provides a way to split cluster resources between various users (via resource quota). It is not essential to use many namespaces to distinct resources, like the same software with different variants: use labels to differentiate resources using the same namespace.
So today, we will discuss this topic of Kubernetes. But before proceeding further, you should know the built-in Kubernetes namespace. They are:
- default: As its title suggests, the default namespace is recognized by default for all Kubernetes commands.
- kube-system: This kube-system is utilized for Kubernetes components.
- kube-public: The namespace is used by public resources. This namespace is automatically created and is understandable by all users. Kube-public is kept aside for cluster usage if some resources should be publicly visible and readable throughout the entire cluster.
Now let’s discuss the ways to create and delete namespaces in Kubernetes.
Pre-requisites:
To delete the namespace in Kubernetes, we first check whether the minikube cluster is installed or not. If it is already present, then you are good to go. If it is not, then first check the version of your operating system and then install the minikube cluster on your system to efficiently execute Kubernetes services in Linux.
Delete Namespace in Kubernetes
Now it’s time to discuss the ways through which we create or delete namespaces in Kubernetes. Carefully follow the listed methods so that you’ll deeply understand the concept of deleting namespace in Kubernetes.
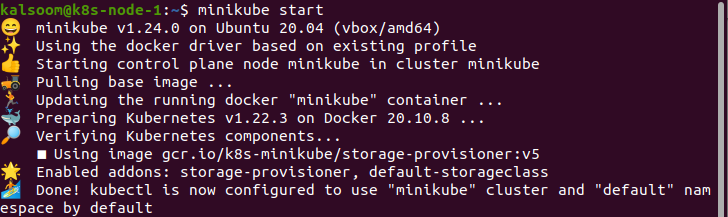
Start Minikube:
To launch a minikube cluster, you need to open the CLI terminal by simply writing the “terminal” name in the search area of the Ubuntu 20.04 system or by hitting the “CTRL+ALT+T” keys. After launching the minikube by choosing either of the above-cited ways, our next goal is to start the minikube. So, our below command is very helpful to start minikube. All you need to do is to wait a while and don’t exit the terminal until it begins.
Check Namespace
Now, if you want to check the namespace and then issue the given command that you see in the below screenshot.

After its execution, you can then view the built-in namespace of nodes, as we discussed earlier.
Specific Namespace Summary:
If you want to get the details of the specific namespace, then you’ll use the kubectl command with a specified namespace.

Here we use the “hello-there” namespace and get the desired result along with status and age.
Detailed Information:
If you want to get detailed information on the namespace, then you’ll use the below command with the “describe” keyword.
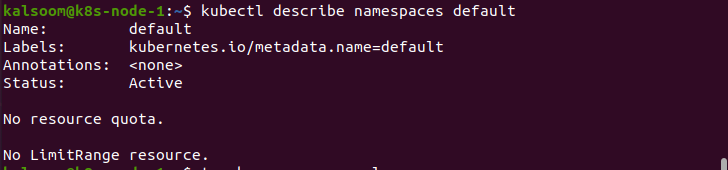
Keep in mind that these details also specify the resource quota or resource limit ranges. However, Resource quota paths collective resources usage in the Namespace and lets cluster operators to state the limits of Hard resource usage that a Namespace may utilize. On the other hand, a limit range outlines minimum or maximum constraints on the number of resources a single object can utilize in a Namespace.
There are two phases of the namespace:
- The namespace that is in use is known as Active.
- Ending the namespace is being removed and can’t be used for the new entity
Create New Namespace:
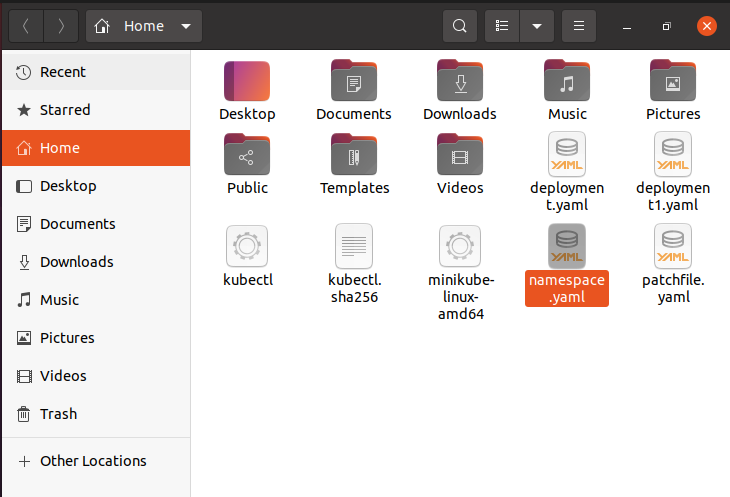
If you want to create a new namespace with content apiVersion, kind, and metadata, create a new file with the “touch” command.
![]()
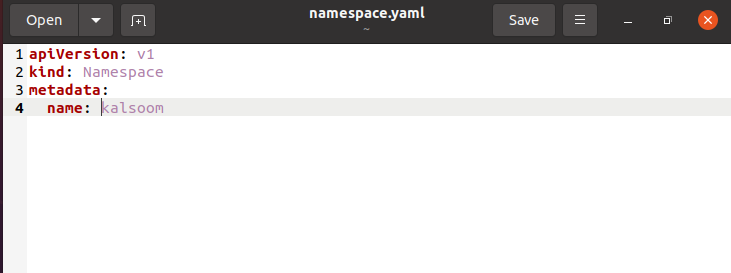
Run the command, and you’ll then view the file named “namespace” with “.yaml” extension is created successfully.
Once you save and open the file, you’ll then view that the file contains the desired content.
To create the namespace, the below command is very helpful to create a namespace.
Note: There is a mandatory field ‘finalizer’, which lets observables eliminate resources whenever the namespace is removed. So, if you add a missing finalizer, then the issue is that namespace will be formed, but it will get stuck in the Terminating state if the operator tries to remove it.
![]()
Delete Namespace:
You can use the below command to delete the specified namespace.
![]()
Conclusion:
In this workaround, we have elaborated the usage, concept, and importance of namespace in Kubernetes. I hope this guide is beneficial to understanding the concept of the namespace.