Prerequisites:
To perform the steps that are demonstrated in this guide, you need the following components:
- A properly-configured Debian 12 system. Check out how to install Debian on a VirtualBox VM.
- Access to a non-root user with sudo privilege. Learn more about managing the sudo privilege using /etc/sudoers in Debian.
Nginx on Debian
Developed and maintained by the Debian Project, Debian is a popular, free, and open-source Linux distribution. Debian is well-known for its stability, security, and community support. Debian 12 (codename “bookworm”) is the latest stable release. Learn more about upgrading from Debian 11 to Debian 12.
Nginx is a free and open-source web server that is known for its high performance, scalability, memory efficiency, and security. Moreover, it can also function as a reverse proxy, load balancer, HTTP cache, etc.
On Debian, Nginx is directly available from the official package repos. However, it may be slightly out of date as a result of Debian’s package release cycle. Thankfully, Nginx offers an official Debian repo with the latest releases.
Method 1: Installing Nginx from the Debian Repo
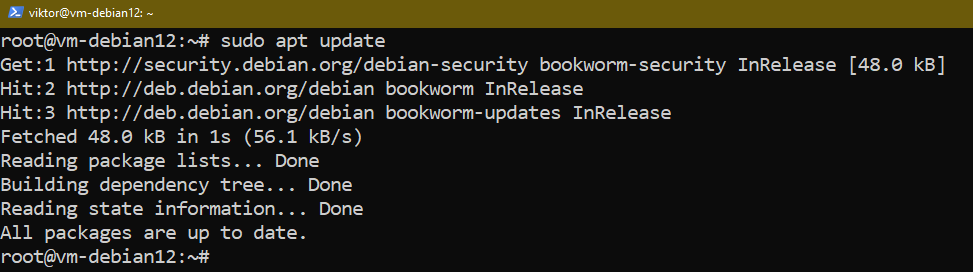
First, open a terminal window and update the APT repo cache:
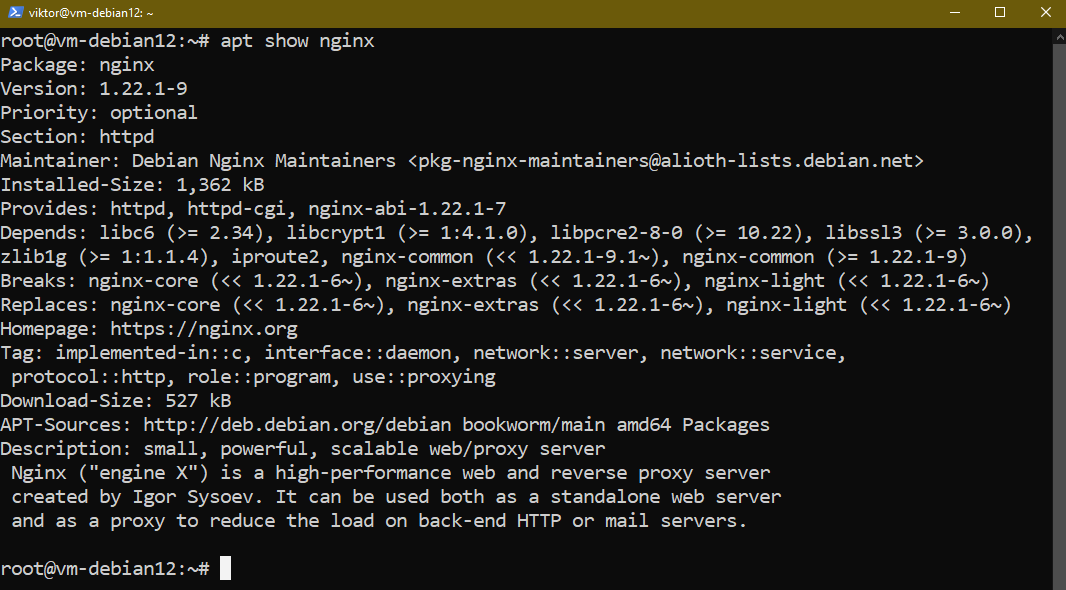
Nginx is available as the “nginx” package:
To install Nginx, run the following command:

Method 2: Installing Nginx from the Nginx Repo
Configuring the Nginx APT repo provides the latest version of Nginx. However, it may conflict with other Nginx packages from the default repo.
Installing Prerequisites
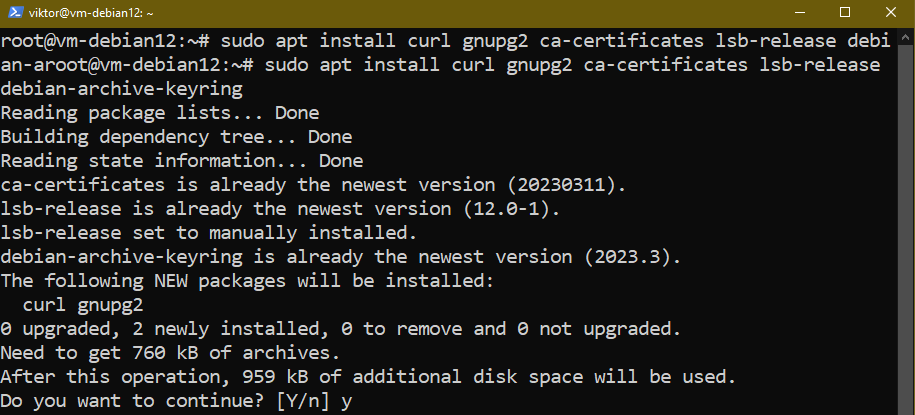
First, install the prerequisite packages:
Importing the GPG Signing Key
The Nginx signing key is required for APT to verify the authenticity of the downloaded packages. Grab the signing key:

Verify if the proper key is imported:
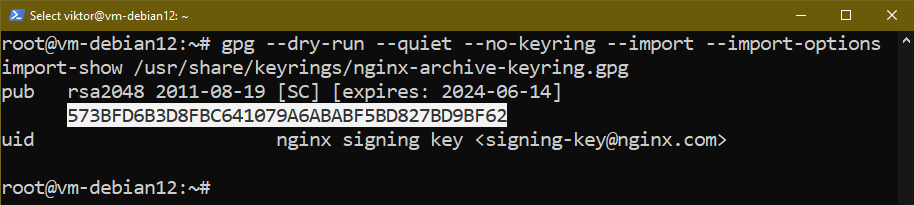
The output should print 573BFD6B3D8FBC641079A6ABABF5BD827BD9BF62 as the fingerprint of the key. If not, remove the file from /usr/share/keyrings/nginx-archive-keyring.gpg and restart the process.
Adding Nginx APT Repo
With the signing key installed, we can now add the Nginx repo to APT. Nginx offers two release branches:
stable: Better compatibility with third-party modules. Only receives critical fixes.
mainline: New features may impact the module compatibility. However, it receives more bug fixes, security patches, and critical fixes.
Nginx officially recommends deploying the mainline branch in all cases. To add the Nginx mainline branch, run the following command:

If you want the Nginx stable branch instead, run the following command:

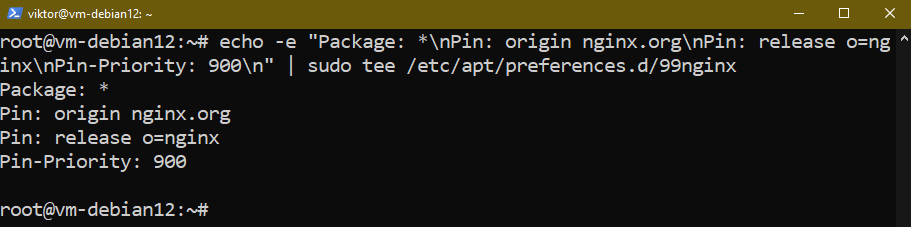
Repo Pinning
To force APT to use the Nginx repo when dealing with Nginx-related packages, we enable the repo pinning:
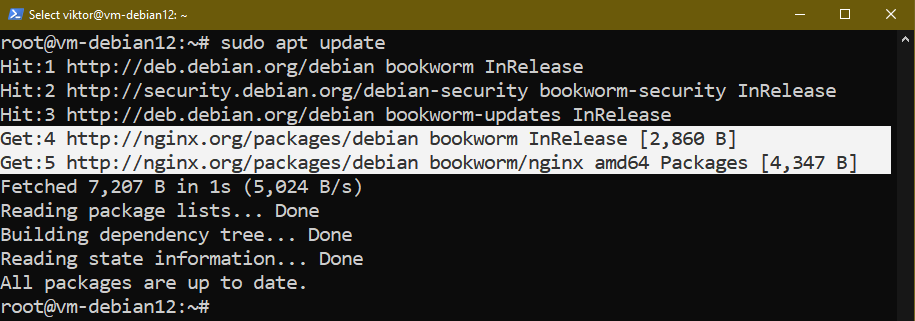
Installing Nginx
With the new repo configured, update the APT repo cache:
Check out the Nginx package info:
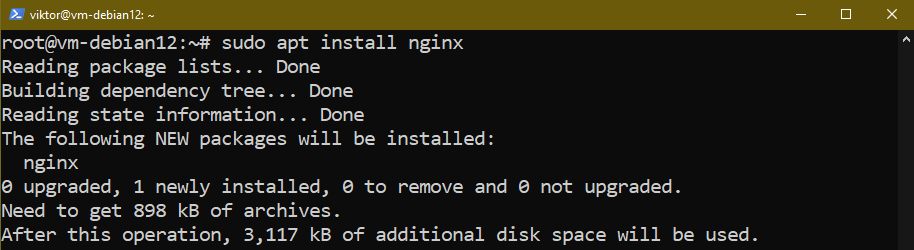
Finally, install Nginx:

Firewall Adjustment
Debian comes with the iptables (netfilter) firewall preinstalled. For ease of use, however, it’s recommended to use the UFW firewall. It’s basically a more user-friendly frontend to netfilter.
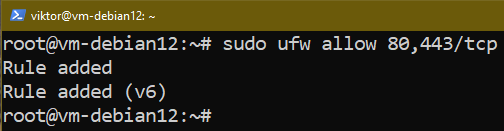
By default, UFW blocks Nginx from the network access. To allow both HTTP/HTTPS access, run the following command:
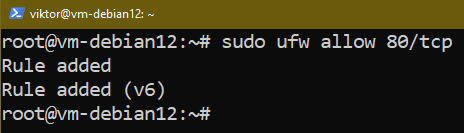
If you want the HTTP access only, use the following command instead:
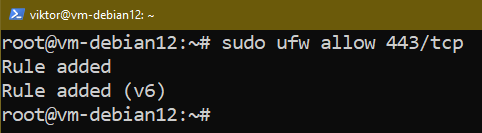
If you want the HTTPS access only, use the following command instead:
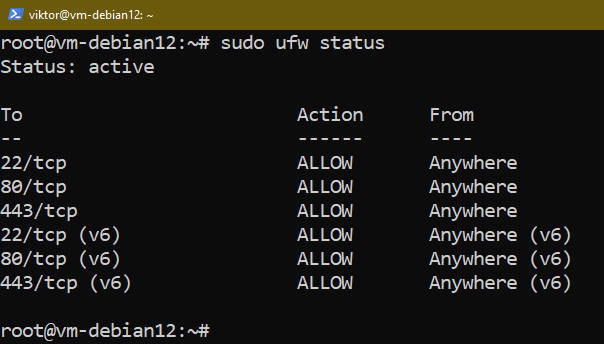
Verify if the rules were successfully added:
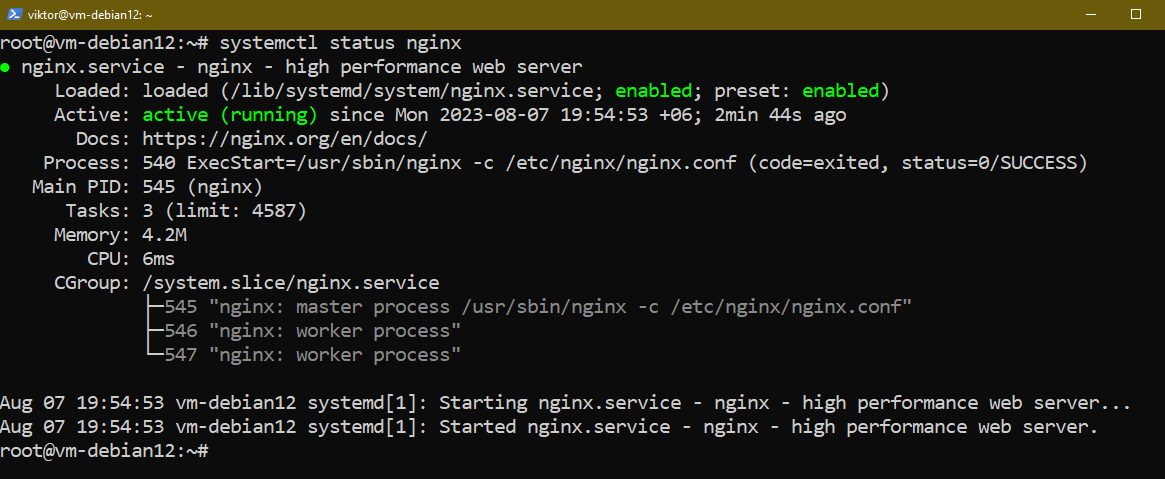
Verifying the Nginx Installation
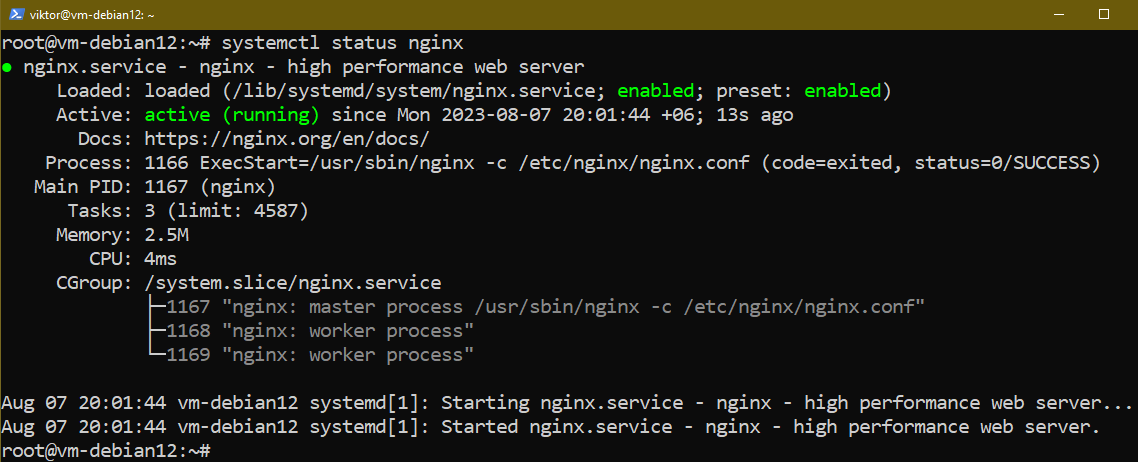
There are a couple of ways in which we can verify if the Nginx installation is successful. First, check the status of the Nginx service:
If it’s not running, start the server:
Now, open the following URL in a web browser:
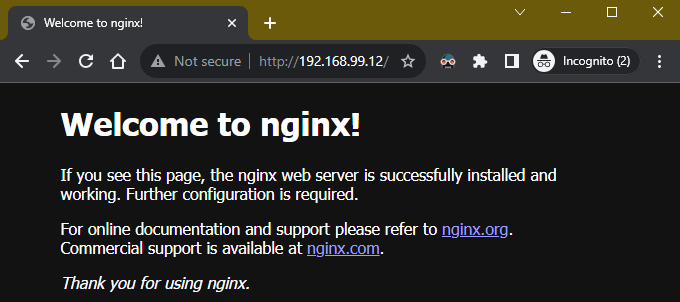
You should land on the default Nginx welcome page.
Managing the Nginx Process
Upon installation, Nginx registers a service with systemd. We can easily manage the Nginx processes using the service.
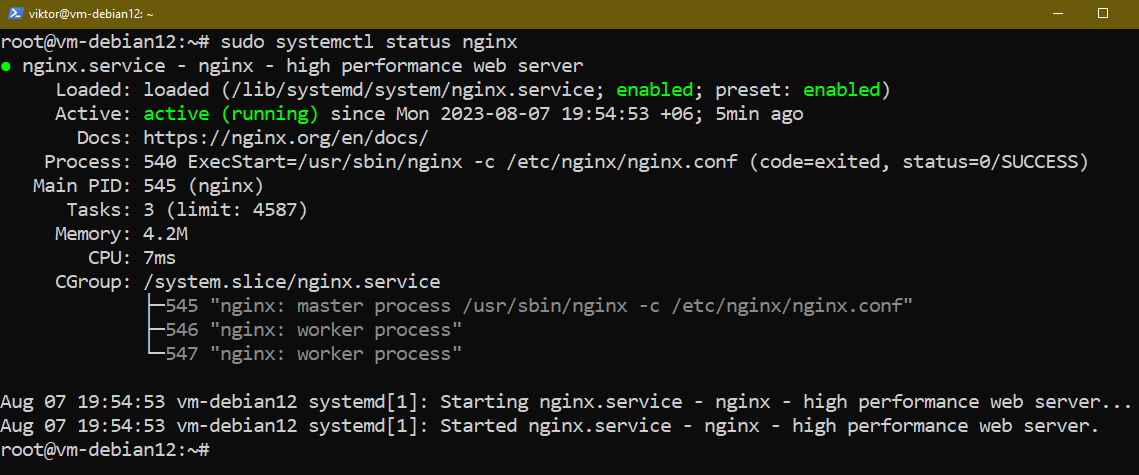
Nginx Status
The following command returns the status of Nginx:
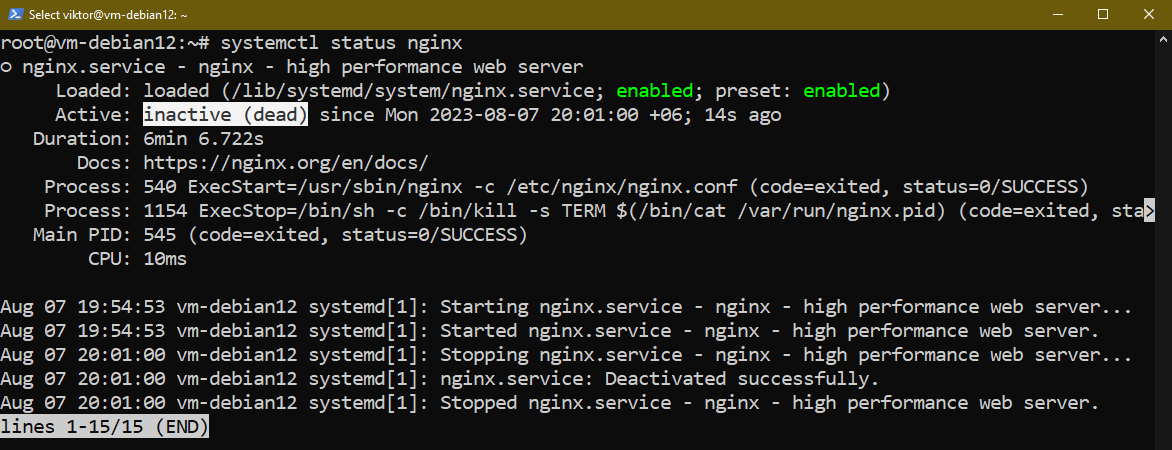
Stopping Nginx
The following command stops Nginx:
Starting Nginx
If Nginx isn’t running, use the following command to start the server:
Reloading Nginx
Nginx doesn’t require a full restart to apply any changes to its configuration. In that case, we can reload the Nginx service without dropping any connection:
Restarting Nginx
To restart the Nginx server, run the following command:
Reloading or Restarting Nginx
If you’re not sure whether to reload or restart Nginx, use the following command:
In this case, systemd automatically decides the best course of action.
Bonus Tips 1: Nginx Blocks
Similar to virtual hosts in Apache, Nginx also supports multiple hosts on a single server.
Here’s a dummy configuration that handles two virtual servers (source):
index index.html;
server {
server_name www.domain1.com;
access_log logs/domain1.access.log main;
root /var/www/domain1.com/htdocs;
}
server {
server_name www.domain2.com;
access_log logs/domain2.access.log main;
root /var/www/domain2.com/htdocs;
}
}
The file contains multiple blocks within the configuration file, each describing various properties. The most important blocks are the server and location blocks:
- server: It describes a virtual server to handle the client requests of a specific type. There can be multiple server blocks for multiple virtual servers. Incoming connections are redirected to different server blocks based on the requested domain name, IP address, and port.
- location: It’s a sub-block within the server block. It describes how Nginx should handle the incoming client requests for different resources.
These configurations are stored in files in /etc/nginx/sites-available. There can be unique files for every server block. The configurations are applied when placed under /etc/nginx/sites-enabled. Generally, the configuration files from the sites-available are symlinked to sites-enabled.
Bonus Tips 2: Important Nginx Files and Directories
Here’s a short list of important Nginx files and directories:
- /etc/nginx: The parent directory that hosts all the Nginx configurations.
- /etc/nginx/sites-available: It contains the server block files. The configuration files aren’t used.
- /etc/nginx/sites-enabled: It also hosts the per-site server blocks. Generally, they are symlinks from the sites-available. Nginx actively uses configurations from this directory to serve the client requests.
- /etc/nginx/snippets: It hosts the configuration fragments that can be implemented elsewhere.
- /etc/nginx/ngnix.conf: It is the primary configuration file for Nginx. It handles the global behavior of Nginx.
Conclusion
We showcased the various ways of installing Nginx on Debian. We also briefly discussed how to manage the Nginx processes using systemd. In addition, we also briefly touched on the Nginx blocks and how Nginx can be configured to serve multiple virtual hosts.
Interested in learning more about Nginx? Check out the Nginx sub-category.