Example 01:
In this example, we will use the width and height property for the button element to increase its size. We will use the CSS Style Tag approach in this example to add several properties. First, we will look at the default size of the button element present in an HTML file.
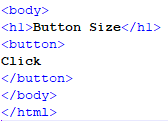
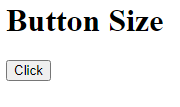
As we can see in the given script, we have not altered the size of the button. In the following output, we can see that the button size is very small and is not feasible for a web page.
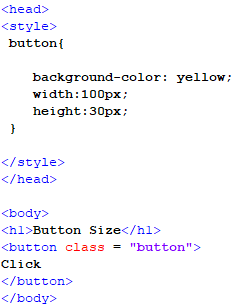
So, now we add the styling to the button. First, we open the head tag for the file. In this tag, the style tag for CSS is called. In this tag, we add all the properties for the button element. We write all the properties for the button element inside the button class parenthesis. First, we set the background color to “yellow”. Then, we set the width in pixel format to “100px”. Finally, we set the height in pixel format to “30px”. We close the style and head tags after all of the formatting are complete. Then, we go to the body tag. We write the page’s headline using the h1 tag in the body tag and then open the button tag. The class from the style tag is called in the button tag. Following that, we close the button tag with the text that displays on the button in between, as well as the body tag.
As explained earlier, we added the code in the previous script. Now, we open this new script on our browser after saving it in the correct format.
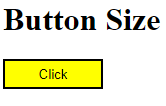
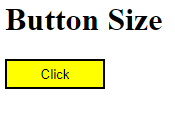
In the given output, we can see that the button has all the formatting including the size that we specified in the style class in the file header.
Example 02: Using Inline CSS to Alter the Size of a Button in an HTML File
In this example, we will use the inline CSS to change the size of an HTML file’s default button element. All the style properties will be assigned inside the button tag. This is an unconventional method to add CSS to any element and will only be associated with the current element.

As we can see in the previous snippet, we directly moved to the body of the file as all the content would be in the body tag. First, we open the h1 tag to write a heading for the page and then close it. Then, we open the button tag. In this tag, we call the style attribute by its keyword. After this, we write all the properties for the button element in the inverted commas and separate them by using the semicolon character. First, we assign the background color, “yellow”. Then, we assign the width in the pixel format. In the end, we assign the height, also in the pixel format. After this, we close the button tag with the text in between, which will appear on the button. And close the body tag along with it. Now, we save this file in the “.html” format and open it on our browser to get the following result:
As we can see in the output of our script, the heading and button from the body tag are visible. The button has all of the values defined in the tag, including the height and width.
Example 03: Increasing the Size of a Button When It Hovers With Our Cursor in an HTML File
In this example, we will use the width and height properties of the button element to make it bigger, only when the pointer is over it. In this example, we will use the CSS style tags to add numerous attributes and effects to the button element.
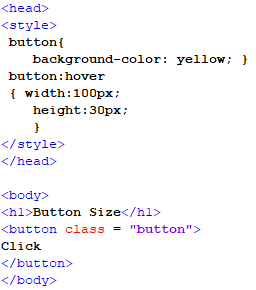
In this example, we customize the button using the CSS style tags. First, we open the file’s head tag. And then, we call the CSS style tag from there. We add all of the button element’s attributes in this tag. Inside the button class parenthesis, we enter all of the properties for the button element; in this example, we set the background color to “yellow.” Then, we open a button class that inherits a method called “hover”. In this function, we do the following: we set the width in pixel format to “100px” and set the height in pixel format to “30px”. After we finish formatting, we close the style and head tags. Then, we go to the body tag. We use the h1 tag to create the page’s title in the body tag, then open the button tag. The button tag uses the class from the style tag and have the text that appears on the button in between. Following that, we close the button tag and the body tag.

As we can see in the previous output, the size and the background color have changed as we hovered on the button with our cursor. This is because the hover function has all these properties defined in the style tag of the header’s file.
Example 04: Using the Font Size to Enhance the Size of a Button Using CSS
In this example, we will opt to a different method to change the size of a button. The font size property will be used to increase the size of a button using the style tag CSS.
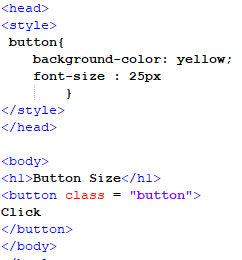
First, we open the style tag in the file header and create a styling class for the button. In this class, we assign a background color to the button. After that, we assign the font size as well. In this case, it is set to “25px”. Then, we close the class and the style and head tags, respectively. Then the body tag has a heading and a button tag which have the style tag class inherited in it. After this, we close the tags and save the file to open it on our browser.
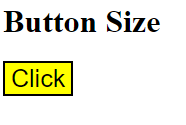
In the output screen, we can see that the button has an increased size from the default button that the HTML provides due to the change in the font size property.
Conclusion
In this article, we discussed the size of the button element present in the Hypertext Markup Language. The default button has a very small size which makes it difficult to navigate on a web page. So, we used the different approaches in CSS like the style tag and inline CSS approach. The most common property used to alter the size are the width and height property of a button. We discussed this concept and implemented this on the Notepad++. We also implemented the font size approach to increase the size of a button.