A watermark on any web page interface is the transparent logo or text that appears on the screen and stays at a fixed position. The watermark normally denotes the nature of the app or website or any opening system. For example, the Windows opening system has a watermark in the form of text at the right bottom of the screen represented as “Active Windows”.
This article will demonstrate the method to create a watermark using HTML and CSS.
How to Create a Watermark Using HTML and CSS?
A watermark in HTML is created using a set of CSS properties like “opacity”, “height”, “width”, “color”, “position”, etc. It can be better understood by adding an example to apply CSS properties on an HTML element to create a watermark from a simple text.
Example
Firstly, it is required to add the HTML element to define the text that is supposed to be represented in the watermark:
Hello user! <br><br>
This is the text inside the div container. <br><br>
The WaterMark symbol is a transparent symbol on the interface that stays on the fixed position.
</div>
<div id="watermark">
<b>WaterMark!</b>
</div>
In the code snippet added above:
- A “div” element is added with the “id” declared as “myid”.
- Inside it, some random sentences are written that denote the web page content.
- After that, another “div” element is added that contains the text that is supposed to be displayed on the Watermark.
CSS Part
{
position: fixed;
bottom: 9px;
right: 9px;
opacity: 0.4;
color: black;
background-color: rgba(131, 50, 185, 0.5);
height: 40px;
width: 100px;
display: flex;
align-items: center;
justify-content: center;
}
#myid
{
background-color: azure;
height: 125px;
}
In the above CSS code:
- The “id” selector to select the div associated with the “#watermark” id has been added.
- The “position” property inside the id selector is defined as “fixed”. This value places the watermark in a fixed position on the interface.
- The “bottom” property is defined as “9px”. It places the watermark on the interface in such a way that it is “9 pixels” high from the bottom of the screen.
- The “right” property is added with the value “9px” to set the watermark “9 pixels” from the right side of the screen.
- The “opacity” is defined as “4”. It is the CSS property that defines the transparency of the element.
- The “color” for the text displayed on the watermark is defined as “black”.
- Since the watermark is created with the help of a “div” element, we can also define the background color for the watermark using the “rgb” function.
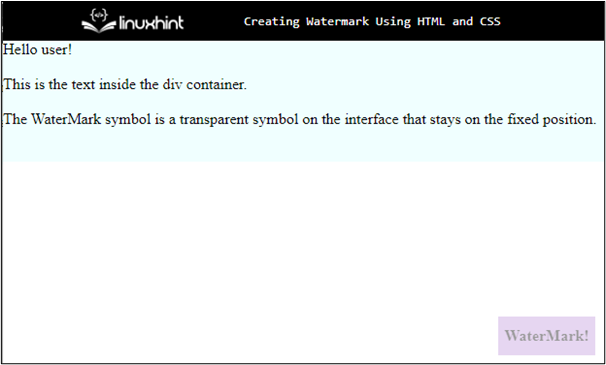
As a result, the watermark will be created and placed at the bottom right side of the web page:
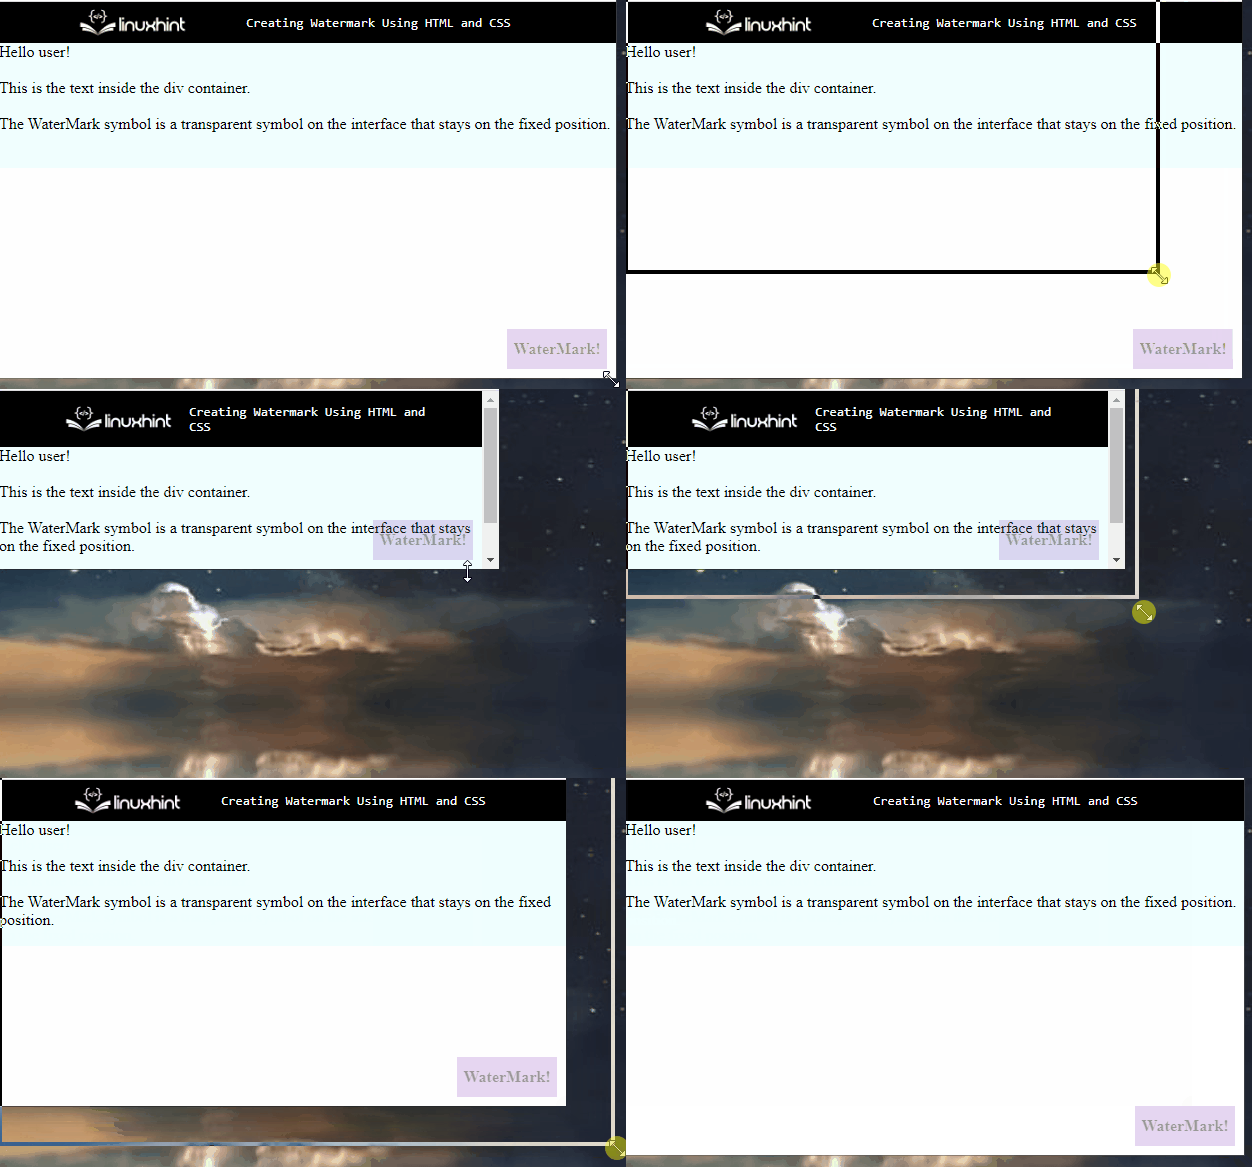
The watermark will not move anywhere else on the screen and will stay at the fixed position:
This sums up the method to create a watermark using the HTML and CSS libraries.
Conclusion
A watermark is created in HTML and CSS by adding the watermark text or logo through an HTML element. Then, apply some CSS properties like “opacity”, “height”, “width”, “color”, “background-color”, and “position” properties to it to make it a watermark and set it in such a way that it does not move from there. This blog has demonstrated how to create a watermark using HTML and CSS.


