What is RBAC’s Role in Kubernetes?
Role-based access control is referred to as RBAC in Kubernetes. In Kubernetes, the role-based access control (RBAC) method creates access control rules that specify which users can access which resources in a cluster. RBAC is implemented by roles and role bindings. In Kubernetes, the built-in RBAC roles are ClusterRole, Role, and ServiceAccount. The cluster role can be distributed throughout the cluster. The role known as the role may be given a namespace. Every service account in a namespace has an internal role automatically defined for it.
Pre-requisites
The latest version of Ubuntu is installed in your system and installed in the virtual box in the system then runs an Ubuntu supportive version on the virtual box parallel to the windows operating system. The user system is a 64-bit operating system that runs both operating systems efficiently. After operating system installation, the user must have an idea of Kubernetes, the kubectl command line, and yaml files or pods and the user must have an idea of clusters in Kubernetes.
Let us explain the process step by step here.
Step 1: Start Kubernetes Cluster
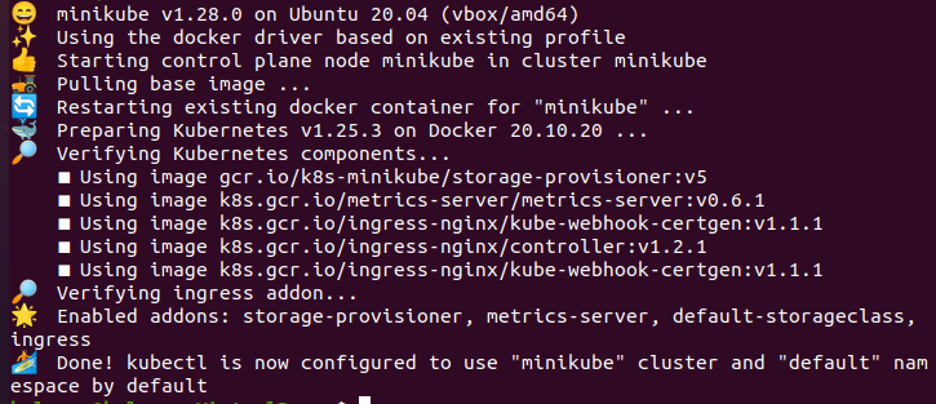
In this step, we will start the Kubernetes by running a minikube. Minikube is Cluster in a Kubernetes that runs on the local machine. We run the command to start minikube:
Press enter and the minikube is started after the command is executed successfully. As shown in the given screenshot here:
Start 2: Create a Namespace in Kubernetes
In this step, we will create a namespace in Kubernetes using the kubectl command line. We run the command:

After command execution, a namespace with the name k8boss is created successfully in our Kubernetes application. We can use a namespace to separate the resources within the cluster and manage access to those resources using RBAC.
Step 3: Create an RBAC Custom Role in Kubernetes
In this step, we will create a custom role in Kubernetes easily with the help of command. We run the command:

The role is created successfully after command execution. In this case, a new role with a particular name and authority was created in the k8boss namespace.
Step 4: Describe Verbs and Resources in the Role
In this step, we will learn how we describe verbs and resources in roles as defined in the step above.
![]()
When we execute the command, it displays output that role is created with verbs and resources. In our case, we create the role. So, an error message is displayed.
Step 5: Create a Service Account Role in Kubernetes
In this step, we will discuss the service account role in Kubernetes. We will run the command to create a service account:
![]()
The service acccount name as ‘custom-sa’ is created successfully in Kubernetes after command execution. The Kubernetes cluster’s internal processes can be granted authorization by authenticating them with the help of the Service account, which also serves as a means of doing so.
Step 6: Fetch Detail of the Service Account Role
In this step, we want to get the list of service account roles in RBAC Kubernetes and the name of the service account is ‘custom-sa’ in the namespace ‘k8boss’. We run the command here:
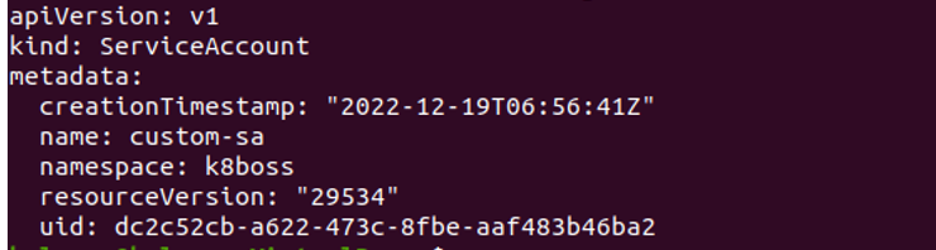
After execution, this command returns us a pod in which information about the service account is stored like kind, metadata, name, namespace, resources, etc.
Step 7: Check the List of Service Account Role
In this step, we will check whether the service account has the list verb on the pod. If the service account has the necessary permissions, the command returns a value of ‘yes’; otherwise it returns a value of ‘no’. We run the command to check the status:

When the command is executed, then it shows the output is ‘no’ as shown in the screenshot above, which means the service account does not have the necessary permission. Here, kubectl ’ can -I’ is used in order to check the permission granted to the service account.
Step 8: Create a Role-binding Role in RBAC Kubernetes
In this step, we will discuss role binding in Kubernetes. We run the command:

After running the command, role binding with the name ‘my-custom-role-binding’ is created successfully as seen in the above-attached screenshot that binds the role to the service account ‘k8boss’. The role binding will grant the permissions defined in the role to the service account, allowing it to perform certain actions within the cluster.
Step 9: Create a Role-binding Cluster in the Kubernetes Cluster
In this step, we create a role-binding cluster with the help of the kubectl command line. We run the command:

When the command is executed, then cluster role binding is created at a time. Using this command, a cluster role can be attached to a particular namespace’s service account.
Step 10- Check the Permission for Pods
In this, we check the permission for the service account in namespace k8boss. We run the command:

When the command is executed, it returns an output yes. It means this pod has permission to perform a specific action in Kubernetes.
Conclusion
We learned about the different roles of RBAC in Kubernetes. We have mentioned information about what is RBAC and how this concept is used in Kubernetes. All the information is presented in detail and relevant screenshots are as well. You can practice RBAC roles in your application with examples for better understanding.