You can use these local repos for package installation, management, and updates. Local repos are commonly available in Linux distros including Ubuntu-based, RHEL-based, and SUSE-based operating systems. Hence, you can easily create the local repo in any Linux system. Let’s pick the Rocky Linux 9 to explain how to create local repos in Linux.
How to Create a Local Repo for Rocky Linux 9
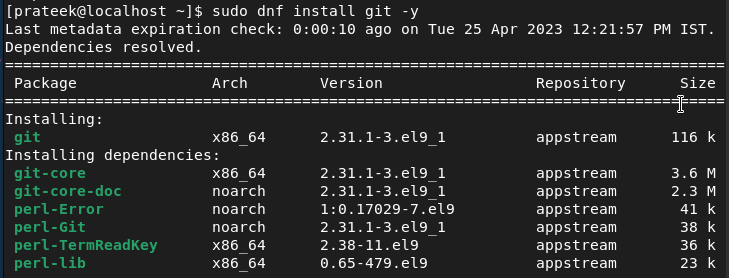
Before creating a local repo, you need to install the Git (CLI tool) through the following commands one by one:
sudo dnf install git -y
Moreover, you can check the version of the currently installed Git through the following command:

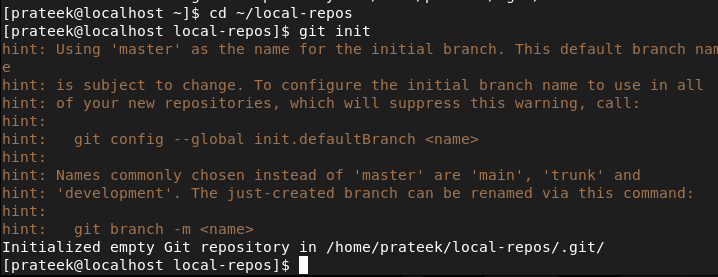
Now, you can create a local repository by including the files that were saved in the system. For example, run the following command to create a new directory for the local repository. Here, we create a local-repos directory:

After creating the directory, run the following command to initialize the new Git repos:
git init
You can now copy the targeted files in the local-repos directory. For example, the files are available in the “Documents” directory. Run the following command to copy the content:
cp -r ~/Documents/* ~/local-repos
![]()
In Git, staging stands for the process to prepare the changes in the repository for the commit approach. Once you are done, it is time to stage all the available files through the following command:
git add *

Now, you can create the first commit which is the approach to display the changes in the repository.
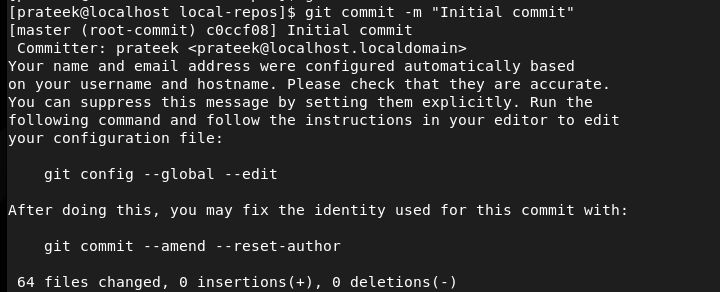
This turns the “local-repos” directory into a repository that you can upload or share. Similarly, you can use the Createrepo CLI tool but you need to install it first through the following command in the terminal:

Conclusion
This is how you can create the local repo for Rocky Linux 9 by following a few simple steps. Creating a repo can be easy only if you follow the steps carefully. Otherwise, you may face errors while following the process. If you want to know more about Rocky Linux 9, you can check out our website for helpful guides.