Sometimes, users want to execute Elasticsearch in an isolated environment. In such scenarios, they can use the Docker platform to containerize the Elasticsearch service and can also create their personal Elasticsearch image to use it according to their preferences.
This blog will illustrate how to create an Elasticsearch image in Docker.
Create an Elasticsearch Image Using Docker
The Elasticsearch community provides the official image on the Docker platform that contains everything that users need to deploy the Elasticsearch container. Just users need to pull and execute the elasticsearch official image from Docker’s official repository.
To pull the Elasticsearch image from the official Docker repository, follow the given command:

In order to create the Elasticsearch image from scratch, go through the listed steps.
Step 1: Setup and Start Docker on System
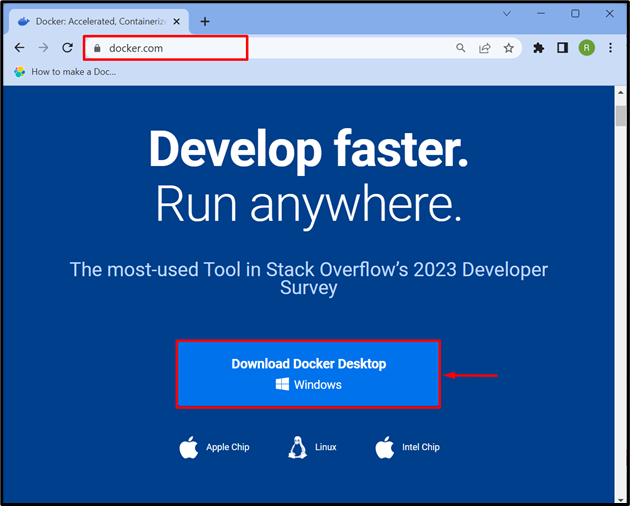
To get started with Docker, the user needs to download it from Docker’s official website. To install and start Docker on Windows, navigate to our provided post:
Step 2: Create Dockerfile
Next, create a new file and set its name as “Dockerfile”. After that, add the following snipped into the file:
COPY elasticsearch.yml /usr/share/elasticsearch/config
RUN groupadd -g 1000 elasticsearch && useradd elasticsearch -u 1000 -g 1000
RUN apt-get update && \
apt-get install -y --no-install-recommends \
apt-transport-https \
wget -y \
curl -y
RUN wget https://artifacts.elastic.co/downloads/elasticsearch/elasticsearch-8.8.1-amd64.deb --no-check-certificate
CMD ["elasticsearch"]
EXPOSE 9200 9300
In the above code block, the following configurations are configured in Dockerfile:
- “FROM” command is used to define the container’s base image. For instance, we have used “ubuntu” as the base image.
- “COPY” command will copy the “elasticsearch.yml” file to the container’s path.
- “RUN” executes the defined commands inside the container. We have used the “RUN” command to create the elasticsearch user group, install dependencies, and download the Elasticsearch setup.
- “CMD” command is used to describe the container’s executables.
- “EXPOSE” is specifying the container’s exposed ports.
Step 3: Create “elasticsearch.yml” File
In the next step, create another file named “elasticsearch.yml” file that contains the following instructions:
network.host: 0.0.0.0
Step 4: Build Elasticsearch Image
Now, build the Elasticsearch image with the help of the “docker build” command. Here, the “-t” flag is used to set the image name or to tag the image:
The above command will start reading instructions from Dockerfile and create the Elasticsearch Docker image:
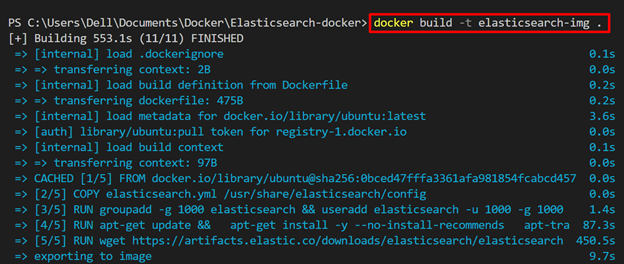

The above output shows that we have successfully created the Elasticsearch image in Docker.
Step 5: Execute the Elasticsearch Image
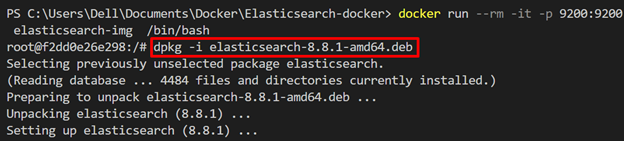
In order to execute the Elasticsearch image to install and run the Elasticsearch inside the container, utilize the given command:
In the above command:
- “–rm” option will automatically remove the container when users stop the execution.
- “-it” is used to execute the Elasticsearch container in interactive mode and assign a TTY-pseudo terminal.
- “-p” flag will allocate the exposing ports to the container.
- “/bin/bash” is used to interact with the container through the “bash” interface:

Step 6: Install Elasticsearch Inside the Container
Inside the container, execute the following command along with the elasticsearch setup version specified in Dockerfile to install Elasticsearch:
If the Elasticsearch image is generated correctly, then the user will get the Elastic search default username and one-time generated password that will be used to log in to Elasticsearch. This will also generate the token to configure Kibana with Elasticsearch:
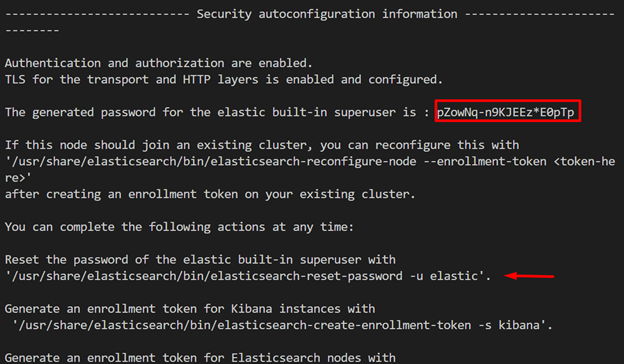
Save the above-given information for use in the future.
Step 7: View All Elasticsearch Commands
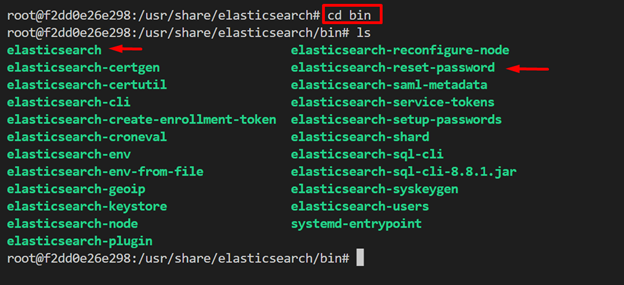
Elasticsearch provides different commands to operate the search engine such as to generate the “elastic” user password, token, run elasticsearch-sql, and many more. To view and execute the commands, navigate to the elasticsearch “bin” directory through the “cd” command:

Now, navigate to the “bin” directory and use the “ls” command to view all Elasticsearch images:
ls
That’s all about creating an Elasticsearch image in Docker.
Conclusion
To create the Elasticsearch image, first download and set up Docker on the system. After that, create a “Dockerfile” that specifies essential configurations to install and run Elasticsearch inside the container. After that, create the Elasticsearch image by utilizing the “docker build” command. This post has demonstrated the method to create and use the Elasticsearch image in Docker.