Hence, creating a bootable USB of the operating system is always good to make the OS installation effortless. If you also want to create the bootable USB of a Linux OS, this tutorial is for you. In this long tutorial, we will explain the brief approach to creating a bootable USB for Rocky Linux 9 (RHEL-based OS).
How to Create a Bootable USB for Rocky Linux 9
To begin the process, you need an ISO file of Rocky Linux 9 which is available on its official website.
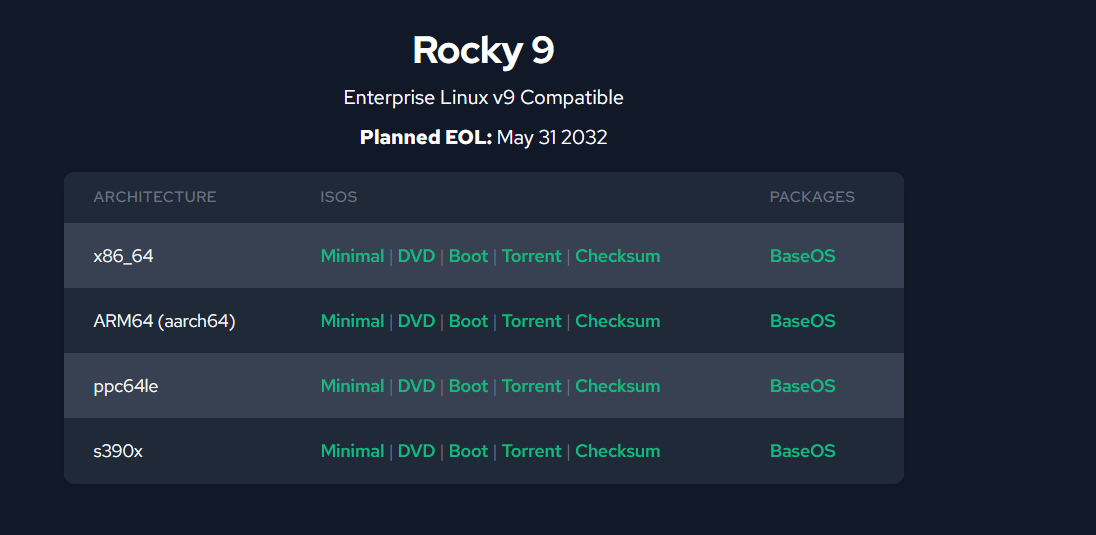
You will get various OS options here, but download the x86_64 mini because it is the most common type. We recommend the x86_64 as it is the most suitable computer system architecture for bootable USB. Click on the “DVD” to begin the download process.
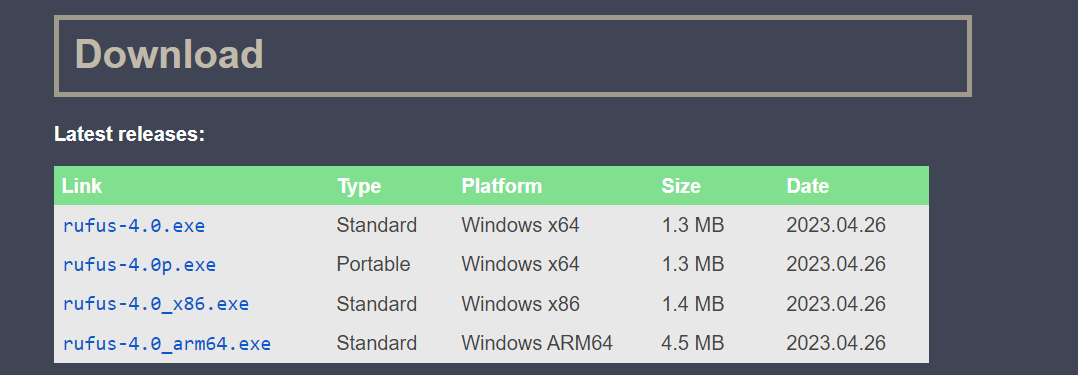
Once you download the OS, it is time to download and install Rufus to create a bootable USB. Rufus is an open-source utility that supports many options and is famous for its fast writing process. Therefore, download Rufus from its official website.
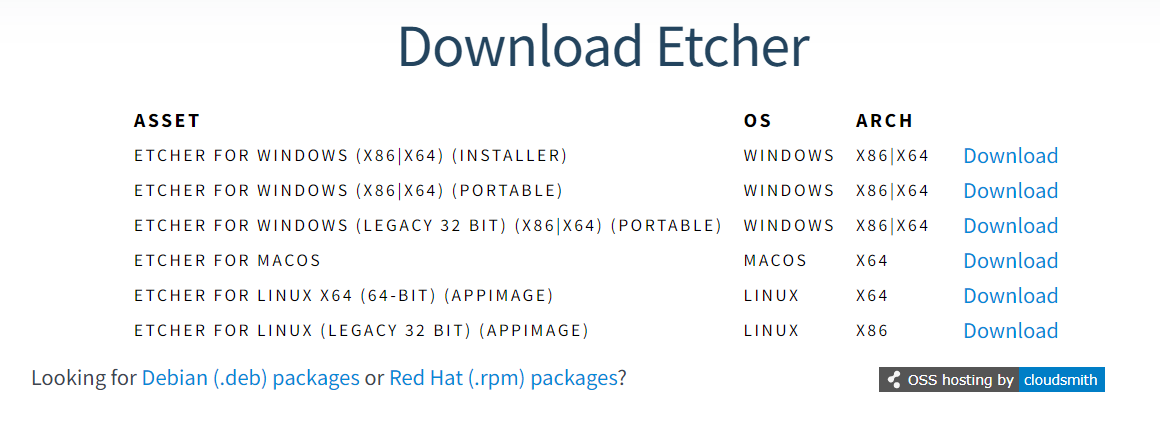
Remember that we are using Windows OS to create a bootable USB. However, if you use Linux and macOS, Etcher can be an excellent alternative to Rufus because Etcher contains cross-platform support for Windows, Linux, and macOS.
Create a Bootable USB in Windows
Let’s use Rufus to create a bootable USB for Rocky Linux 9 in Windows.
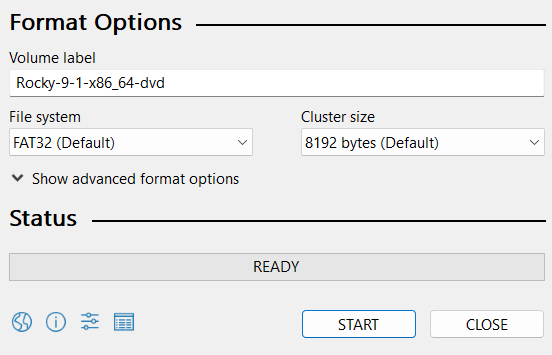
1. First, open Rufus and select the Rocky Linux 9 ISO file by clicking on the “select” button. Then, locate the ISO file.
2. After that, connect the USB drive to the system. Rufus automatically detects it.
3. Now, allocate 1 GB as the persistent partition size and MBR as the partition scheme.
4. Once you are done, click on the “Start” button to begin the boot process for Rocky Linux 9 OS.
5. You can now use this USB drive as the bootable USB for Rocky Linux 9.
Create a Bootable USB in Linux and MacOS
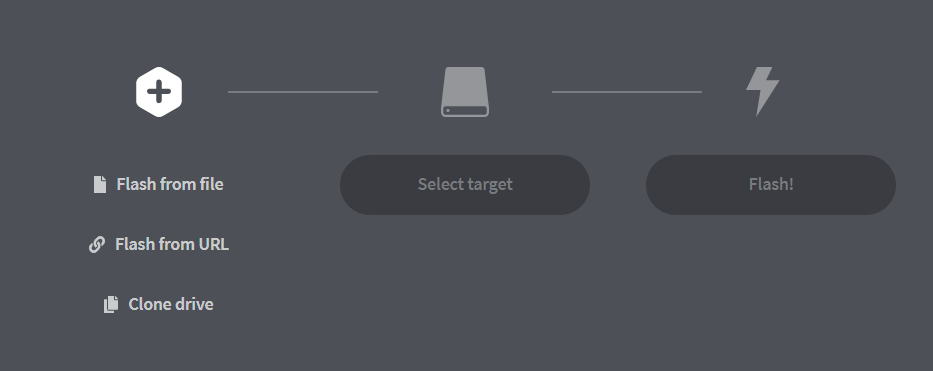
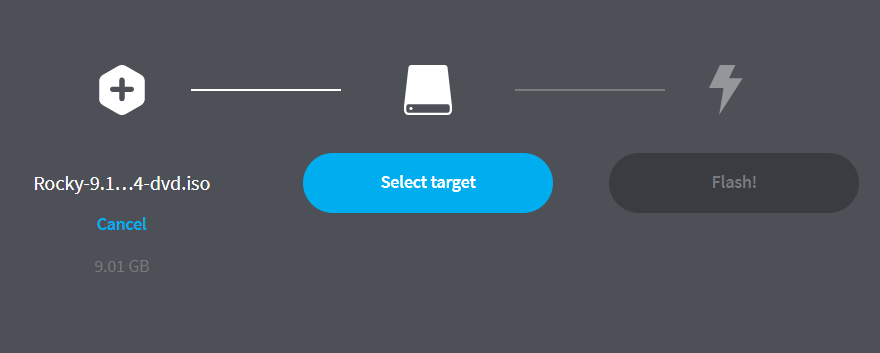
1. First, install and launch Etcher in the system. Here, you will get the UI as follows:
2. Now, click on “Flash” from the file. Then, select the ISO file of Rocky Linux 9.
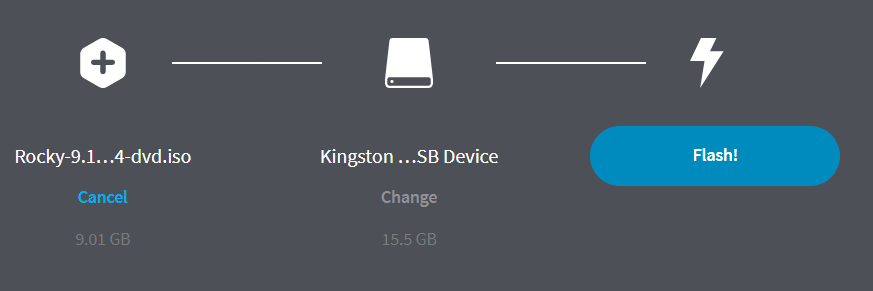
3. Next, click on the “Select Target” button. Then, select the connected USB flash drive:
4. Once you are done, click on the “Flash” button to start the writing process to create the bootable USB successfully.
After completing the writing process, you can now eject the USB.
Conclusion
This is all about the simple ways on how you can create the bootable USB for Rocky Linux 9. We used Rufus and Etcher which helps you create bootable USBs in Windows, macOS, and Linux. Although Rufus has cross= platform support, we also used Etcher as an alternative to creating bootable USBs in macOS and Linux.

