Today’s guide sheds light on the following content:
- How to Create a New Windows Forms App With C# in Visual Studio for Microsoft Windows?
- Customization in Windows Forms.
How to Create a New Windows Forms App With C# in Visual Studio for Microsoft Windows?
The “Visual Studio” is a powerful code editor renowned for its capabilities. One of the best gifts to programmers/coders was the “Windows Forms”. Following the below-stated steps, you can create a new Windows Forms app with C#”:
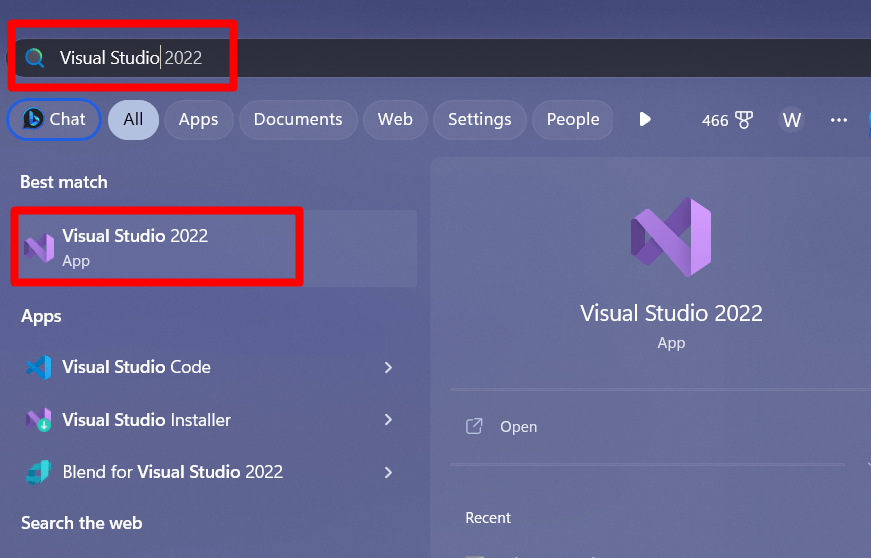
Step 1: Launch “Visual Studio”
The “Visual Studio” can be launched by pressing the “Windows” key and entering “Visual Studio”, or you can open it from the desktop shortcut (if you have created one):
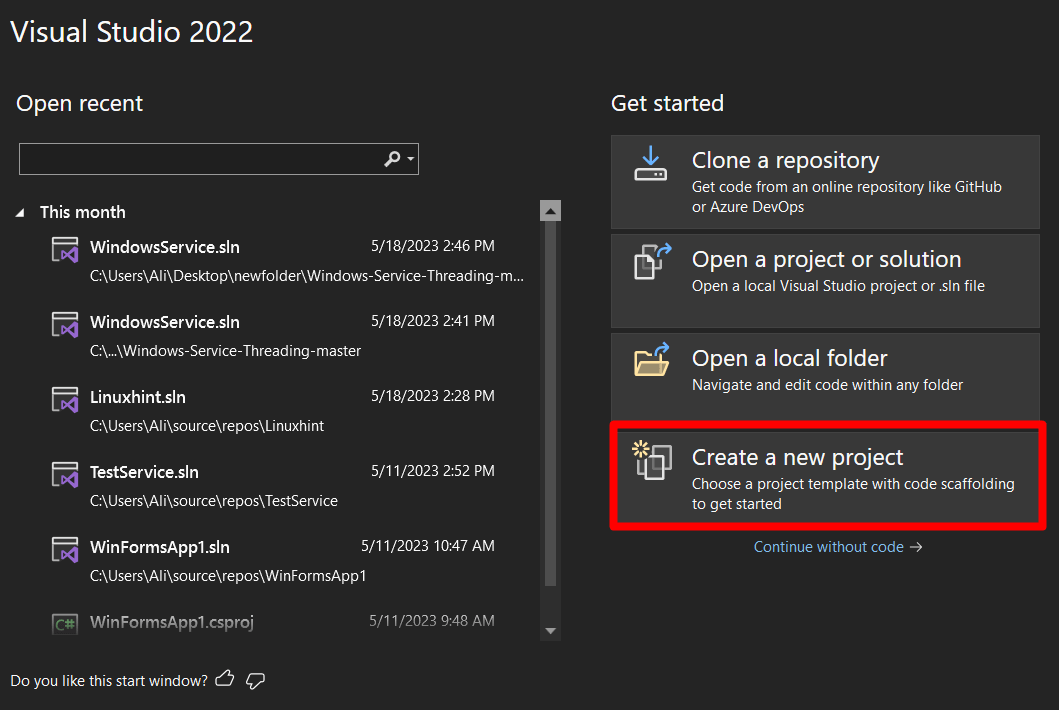
Step 2: Create a New Project
Right after the launch of “Visual Studio”, the following screen appears from here choose “Create a new project”:
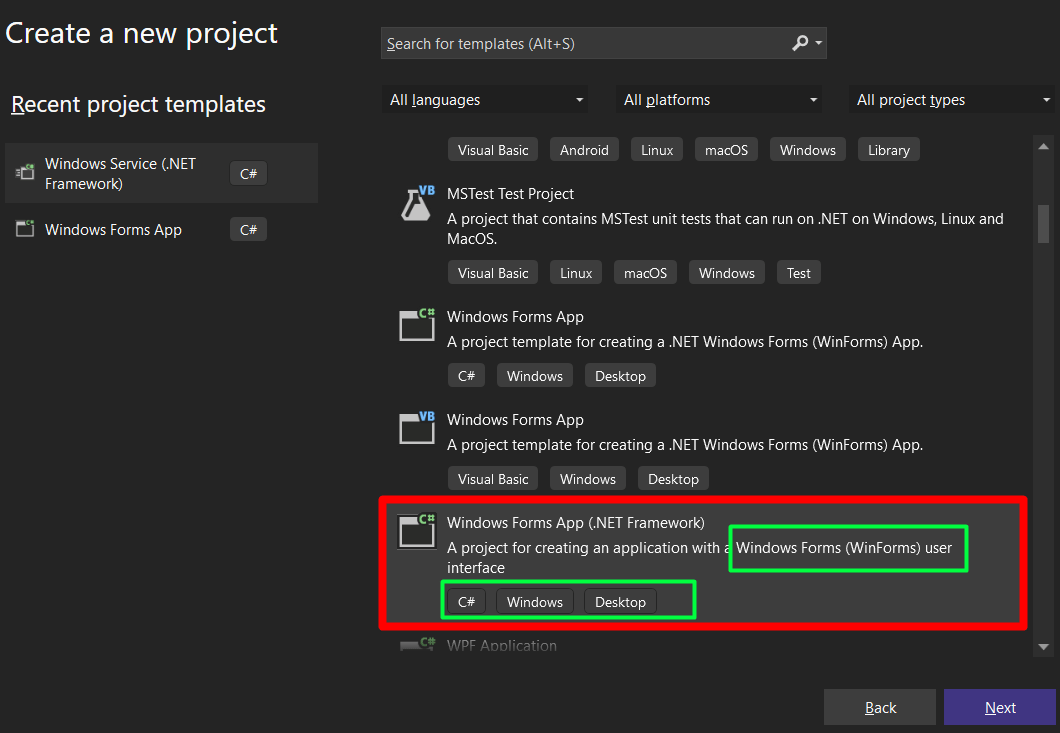
Now, select the “Project template” as the “Windows Forms App (.Net Framework)” while making sure to select the “C#” version and not the “Visual Basic” version and hit “Next”:
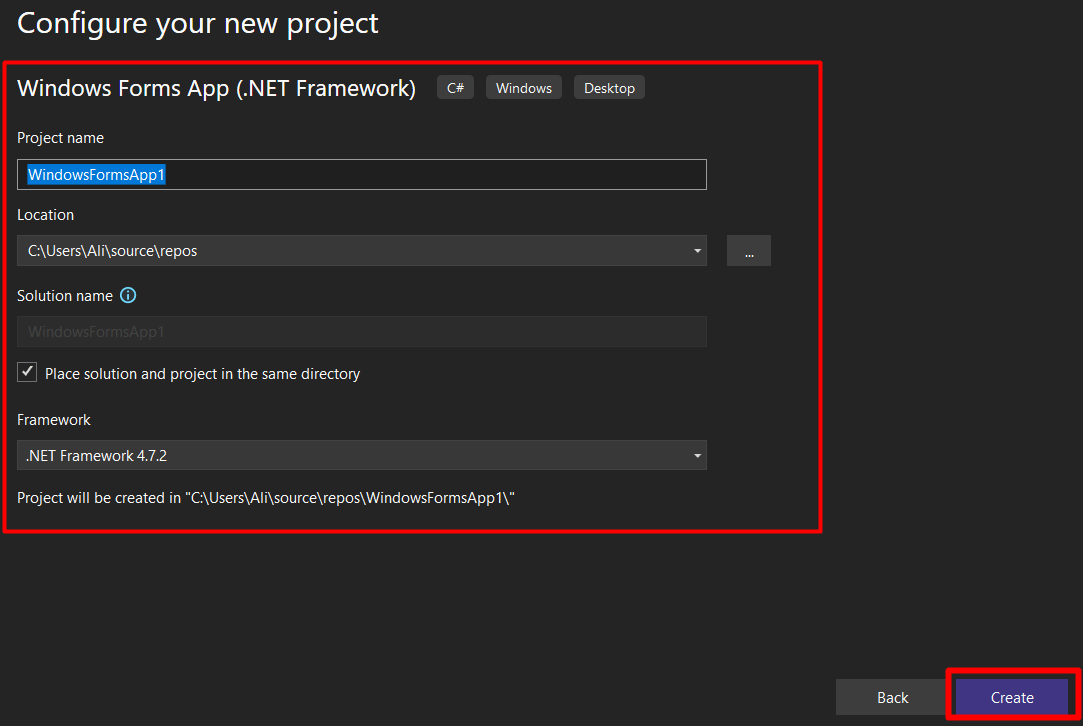
Now, the following screen appears from where you are required to name the project, set the location for the project, and select the “Framework” to use, respectively. Upon hitting the “Create” button, the project with the specified name, location, and framework will be created:
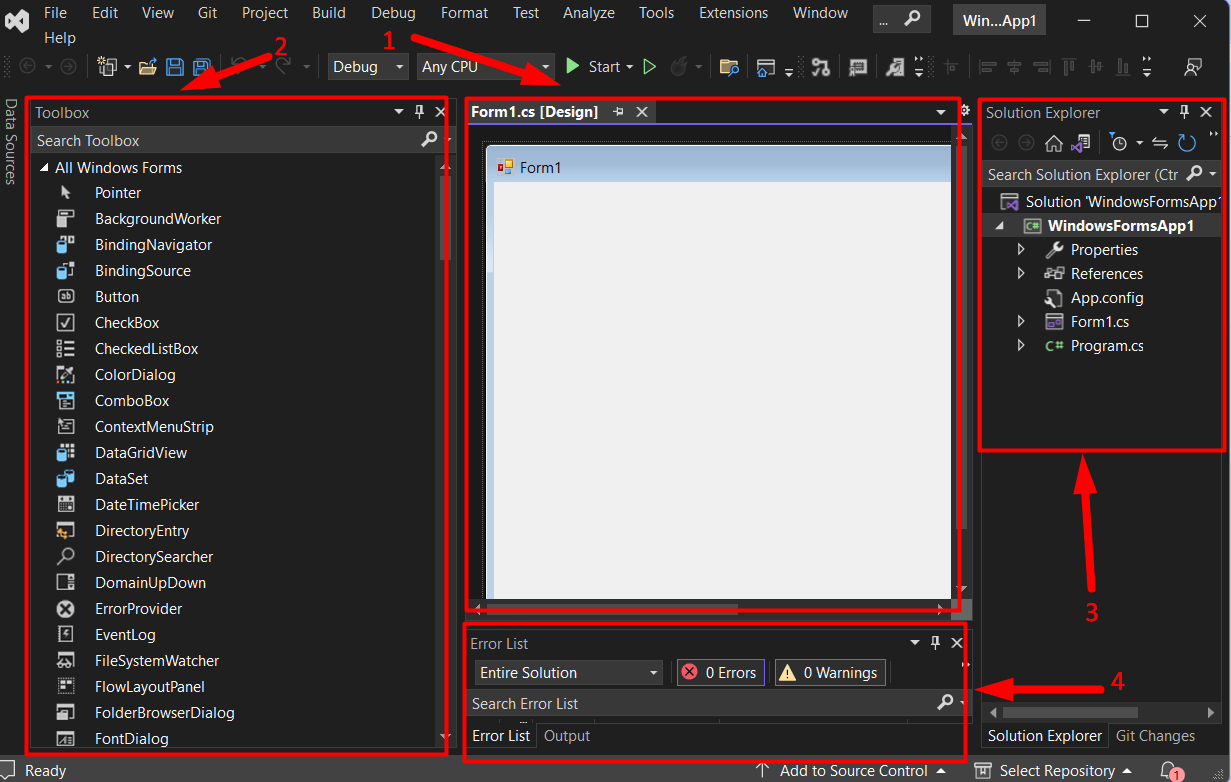
The project will take a few seconds to load, and the following window will be launched once it is done. From here, there are a few basics to learn:
- “(1)” arrow represents the main window where the design takes place.
- “(2)” is the “Toolbox” that has all the controls such as Buttons, Checkboxes, etc.
- “(3)” corresponds to the “Solution Explorer” showing all the files of the current project.
- “(4)” is the output of the compiled program, whether successful or with error; the results are displayed there:
The project of a “Windows Forms app with C# on Visual Studio in Windows” is created. Let’s take you to the overview of what you can do in it.
Customization in Windows Forms
The “Windows Forms” come with several customization features such as easy “drag-and-drop”, user-defined “event-creation”, and much more, as discussed below:
Drag and Drop
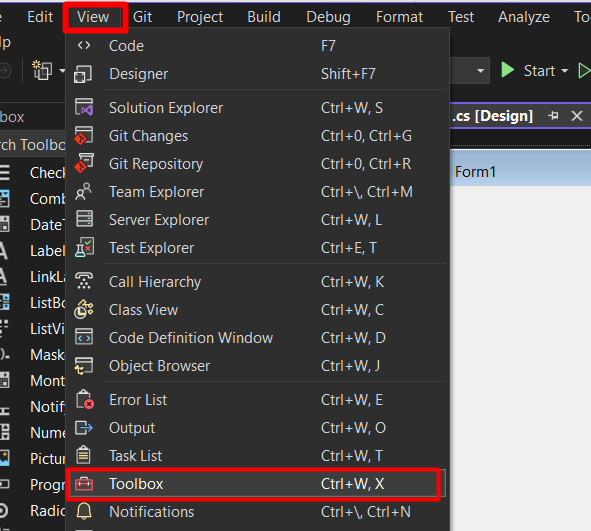
The “Toolbox” in “Windows Forms” provides “drag-and-drop” ease. It is usually visible on the left side of the “Visual Studio” screen, but if it isn’t, open the “View” tab and trigger “Toolbox”:
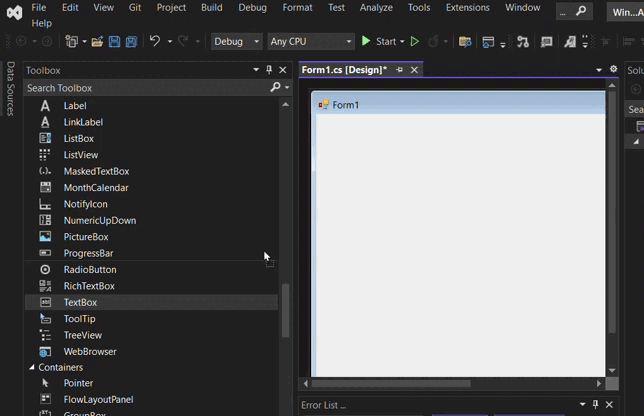
To perform the drag-and-drop functionality, have a look at the following gif:
See how easy it is? Let’s check the next stage – Customizing the controls.
If you right-click on any control and select “Properties”, you’d see a long list of the customization options for the selected control waiting for you to explore its depth:

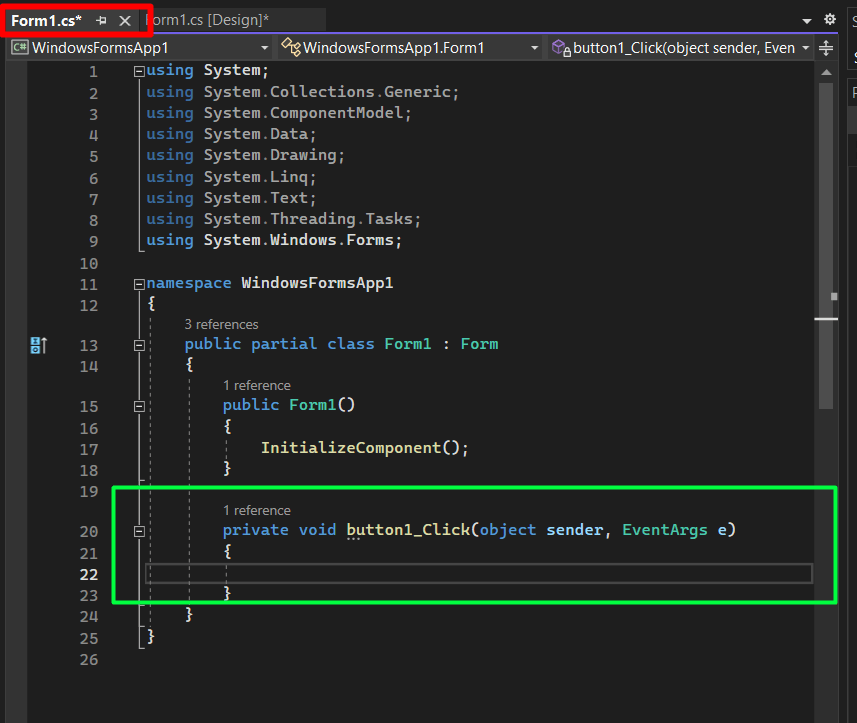
The customization options may vary from control to control. If you want to create a new “Event” – An “Event” means what would happen if I do this – It is usually created on the “Button” control. To create one, double-click on it, and a new file will be created where you can add the necessary coding:
Now, you will have a direction with where to go with “creating a Windows Forms app with C# in Visual Studio on Windows”.
Conclusion
For “creating a Windows Forms app with C# in Visual Studio on Windows”, users must choose the “Windows Forms App (.Net Framework)” as the project template when creating a new project. Also, they must choose the one with “C#” and not “Visual Basic”. Once created, they can work their way around with the user-friendly interface of “Microsoft Visual Studio”. This guide explained creating a “Windows Forms app” with “C#” in Visual Studio (Windows).