
VNC is based on the principle of a remote framebuffer (RFB). Since it operates at the framebuffer level, it could be used by any operating system, windowing system, or application.
VNC is an actual “thin-client” protocol, as it was developed with the idea of very few requirements for the viewer on the client-side. Thus, on the clients’ end, the software can run on a broad range of hardware, and setting up a client is very simple. E.g., we can simply design a VNC Viewer with reliable transport (like TCP/IP) and a method for displaying pixels.
What we will cover
In this guide, we will learn how to install and configure the tigervnc server on Fedora 32 xfce OS. We will also see how we can retrieve the server’s display on the client-side using a vnc viewer. Let us get started with the installation process of TigerVNC.
Prerequisites
- Fedora 32 xfce OS installed on server.
- Logged in as root user or an account with “sudo” privileges.
- Basic understanding of the concept of VNC protocol.
- VNC viewer installed on the client computer.
Terms to Know
- vncserver: It is a utility by which users can run different sessions simultaneously on a machine. These sessions can be accessed from any location and any number of clients.
- vncviewer: It is a software that displays the graphical user interfaces of vncserver and controls it.
Installing TigerVNC on Fedora 32 XFCE
Before you start installing TigerVNC server, check if your server is installed with GUI. If you are on a minimal install of Fedora, you will probably only have a command line interface. If this is the case, you will need to install the XFCE environment, which we will use in this guide. For installing the XFCE desktop, use the command:
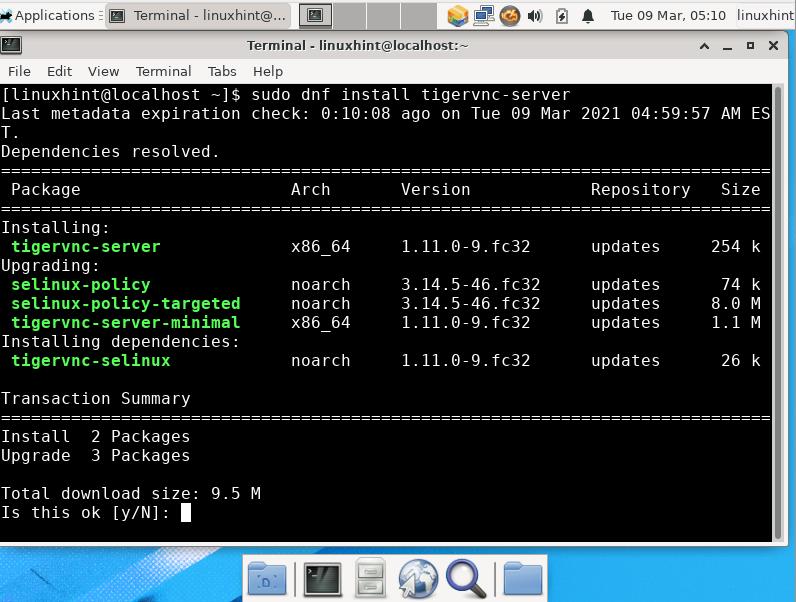
Step 1. TigerVNC or Tiger Virtual Network Computing is a platform-independent implementation of VNC protocol. It is available for different platforms like Linux(32/64 bit), Mac(binary format) and Windows(32/64 bit).
We can install TigerVNC from the official Fedora repository with the command:
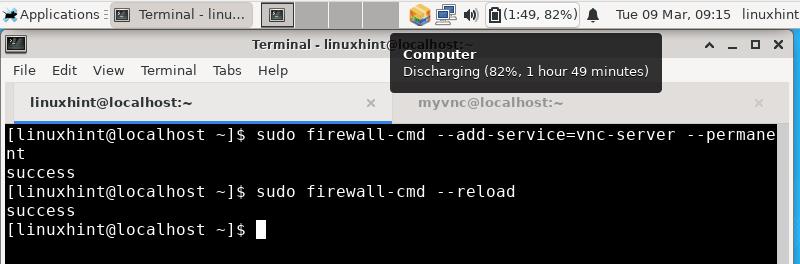
Step 2. Configure firewall to allow the VNC service to run:
sudo firewall-cmd --reload
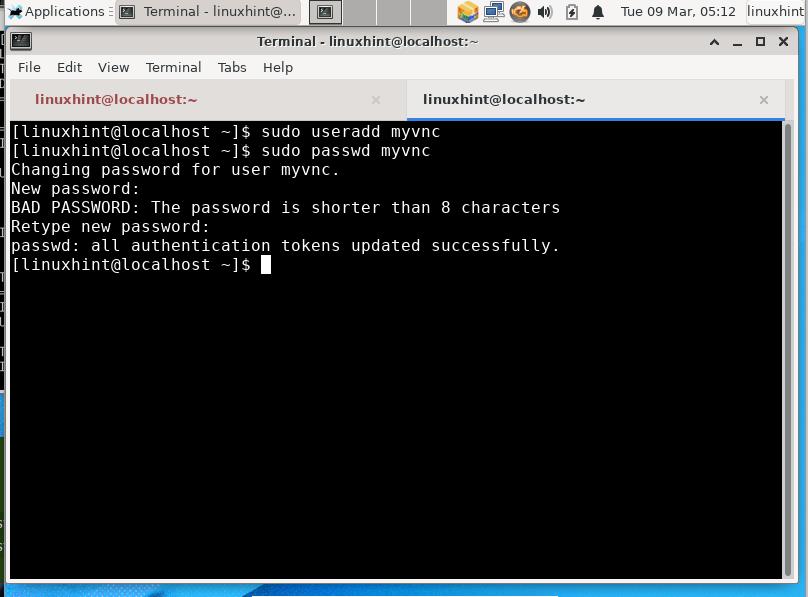
Step 3. Add a new user whose session will be shared with remote clients.
sudo passwd myvnc
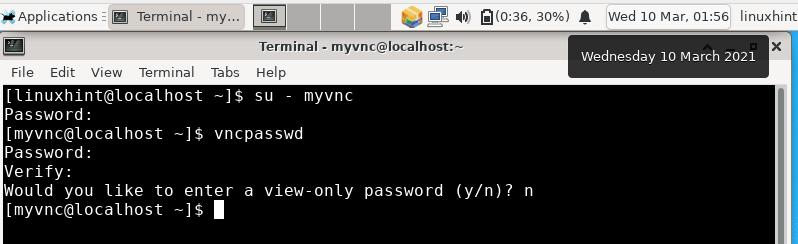
Step 4. Next, log in to the above created user and create a password for vnc session. This password will be used to authenticate any user trying to connect with your VNC server. To do this, follow the below steps:
$ vncpasswd
Password: [Enter your password here]
Verify: [Retype the password to confirm]
Would you like to enter a view-only password (y/n)? n [ Enter ‘n’ here]
NOTE: The vnc password of a user is not encrypted, it is a plain-text password.
Starting VNC Server
Step 1. We are all set to start the VNC server. Switch to the VNC user, myvnc in our case, and run the following command:
The geometry parameter describes the size of the remote desktop on the client side. The default value of VNC desktop size is 1024×768.

The above command will start the VNC server with a display number ‘1’. You can change this number by entering another valid number after the colon in the above command.
Step 2. To remotely view the desktop of our Fedora 32 OS, we need to install a VNC client. We are using the Remmina client from Xubuntu machine. Remmina can be installed from the software center on Xubuntu. Start Remmina from Application menu and enter the Fedora OS’s IP address and display number in the address bar..
Enter the IP and display number in the format: IP:x
Be sure to select the VNC protocol in the left drop down list.
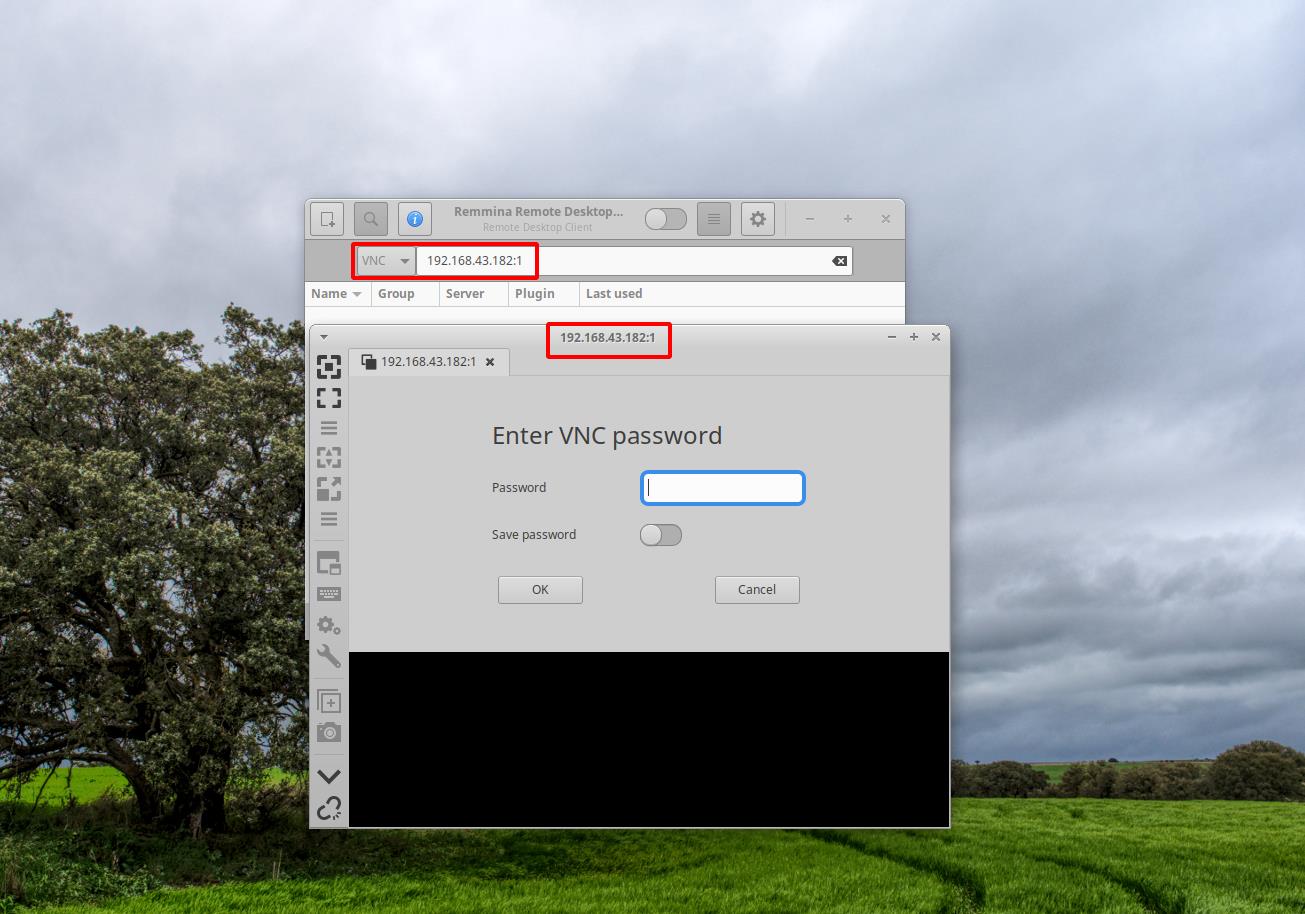
As you can see in the above picture, a new window will open-up after entering the IP address and the display number. Enter the VNC password you have set earlier using vncpasswd. If everything goes right, you will see the desktop of the “myvnc” user, as shown in the below picture:
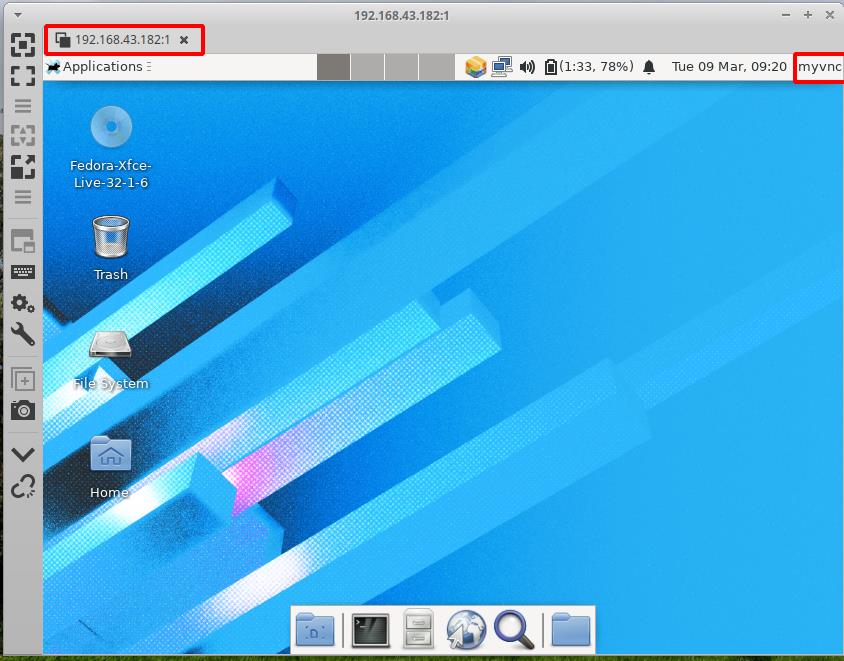
Note: You may get an error like: “xfce policykit agent …….. user of caller and user of subject differs”. We have just ignored it and found no issue in using the remote desktop.
Stopping a VNC Session
A vnc session can be easily stopped. Just run the below command from the VNC user (myvnc in our case):
$ vncserver -kill :x
Replace the x with the actual display number we used in the step 2 of section ‘Starting VNC Server’.
Conclusion:
Congratulations, we have successfully installed the TigerVNC server on Fedora 32 xfce system. Fedora’s official website has a guide regarding installing TigerVNC but it was outdated as they were written for an older Fedora version. We have tried those guides on the latest Fedora releases, but they do not seem to work anymore. Also, there was no more revision available for that guide. We have got many errors like 1) vnc service created from the systemd utility could not start the vncserver. 2) gnome desktop session was not properly working.
VNC protocol uses plain text and has no encryption. After configuring TigerVNC on Fedora, you can make it secure by encrypting the client-server communication. Try adding a SSH tunnel between the server and client to implement encryption.
This guide is applicable to other Red Hat based distributions like Centos and RHEL.