How to install TFTP server on Linux Mint
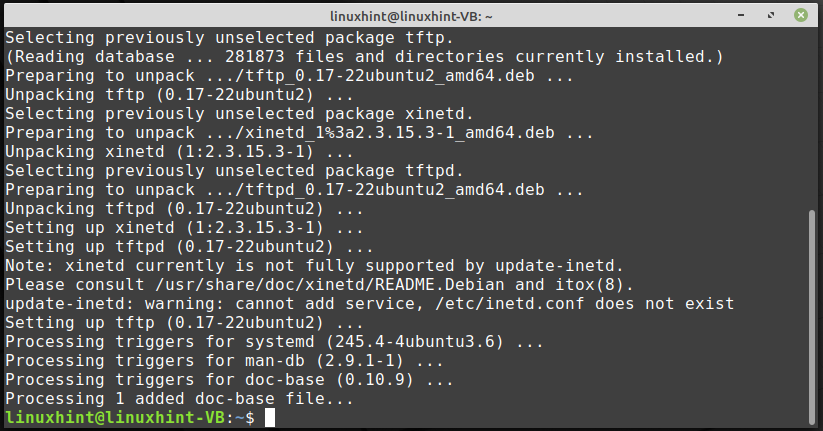
On your Linux Mint system, if you want to install TFTP and its related packages then, open up your terminal by pressing “CTRL+ALT+T” and execute the below-given command:

The error-free output signifies that TFTP has all of the required packages now installed on your system:
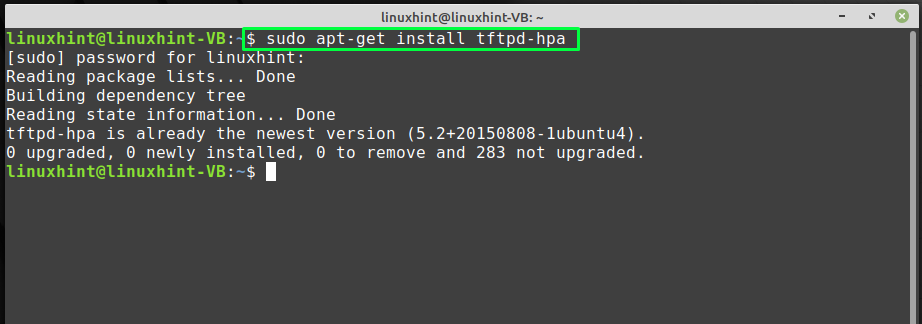
The BSD TFTP client and server have been upgraded with tftp-hpa as it has a lot of bug fixes and improvements. Install “tftpd-hpa” on your Linux Mint system by utilizing the following command:
Now, move towards the configuration of the TFTP server.
How to configure TFTP server on Linux Mint
To configure the TFTP server, the first thing you have to do is to create a TFTP configuration file in the “/etc/xinetd.d” directory:
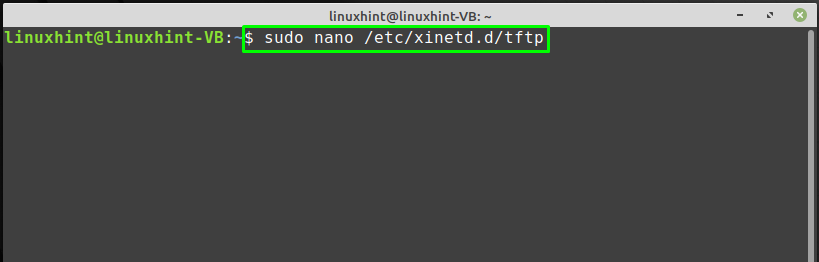
The “nano” editor will create and edit the file in it:

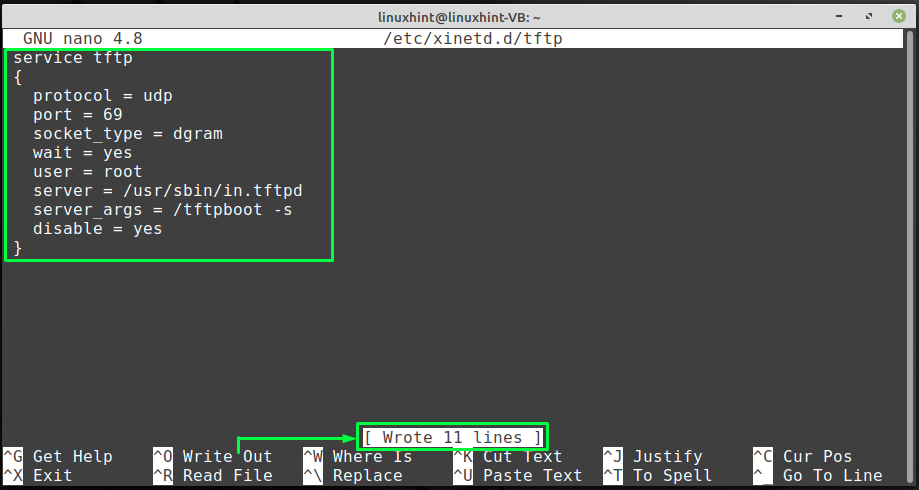
Now, add the following content in the opened “/etc/xinetd.d/tftp” file. Here, we are assigning values to different arguments which are linked with the TFTP configuration, such as the port number, protocol, socket type:
{
protocol = udp
port = 69
socket_type = dgram
wait = yes
user = root
server = /usr/sbin/in.tftpd
server_args = /tftpboot -s
disable = yes
}
After writing the above-given code in the TFTP configuration file, press “CTRL+O” to save the file content.
Note: Carefully specify the “user” and the “sys_args” arguments, as both of them will be utilized in the whole configuration procedure:
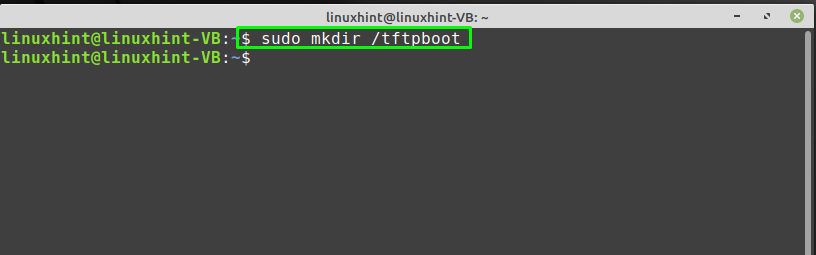
In the next step, we will create a directory “/tftpboot” as specified in the “server_args” of the TFTP configuration file by utilizing the below-given “mkdir” command:
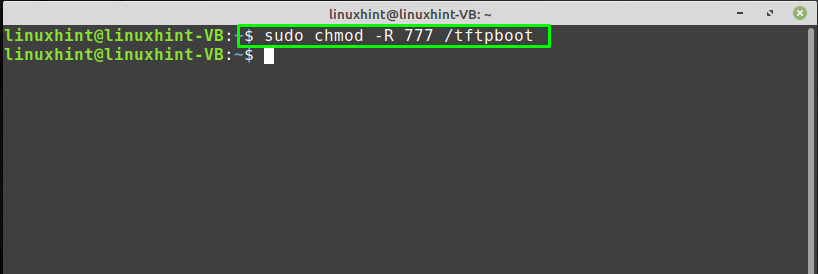
After creating the “/tftpboot” directory, change its permissions with the help of “chmod” command:
The execution of the above-given command will make the “/tftpboot” directory readable, writeable, and executable by all users:
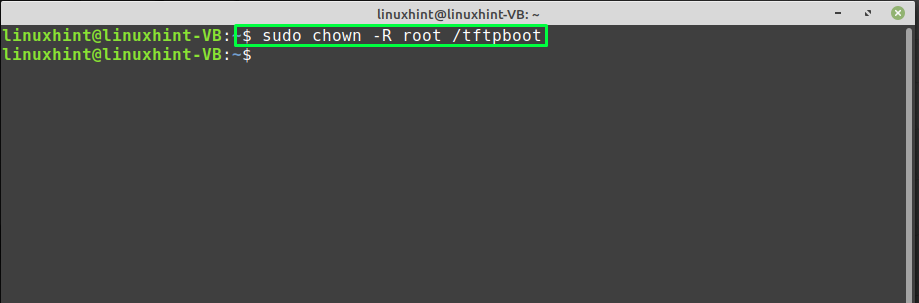
Next, change the owner of the “/tftpboot” directory to one which you have added in the TFTP configuration file “user” argument:
How to enable the TFTP on Linux Mint
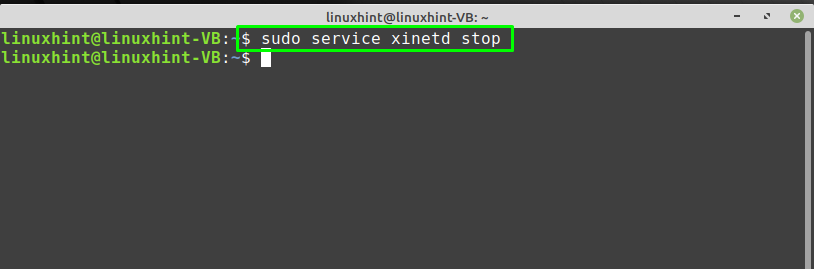
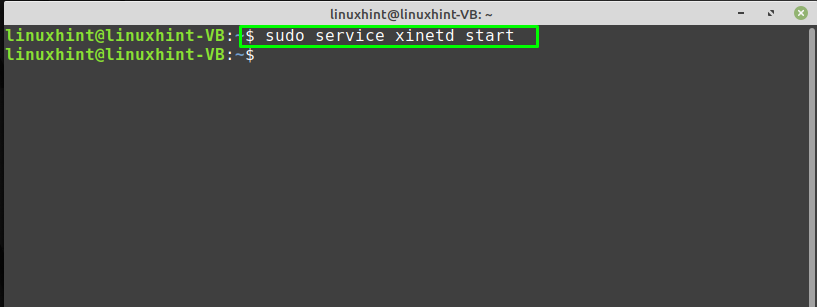
The “xinetd” is an acronym for “Extended Internet Services Daemon“. On Linux-based systems such as Linux Mint, xinetd daemon manages some popular network services, including TFTP. To enable the TFTP service on the Linux Mint, stop the “xinetd” daemon at first and then start it again by typing the following commands:
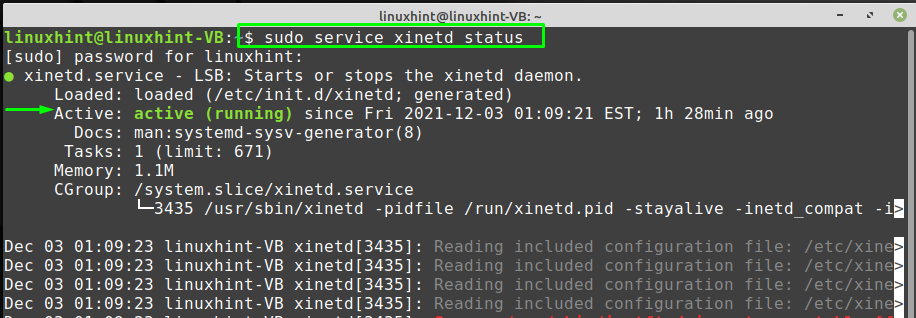
After doing so, check out the status of “xinetd” daemon to verify if it is active or not:
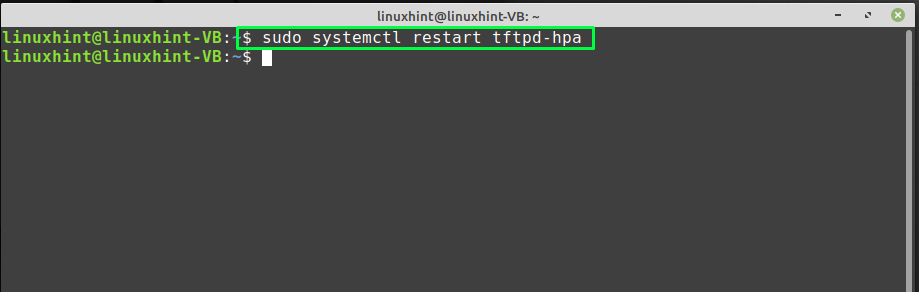
Lastly, enable the “tftpd-hpa” service by executing the following command:
Until now, we have installed and successfully configured the TFTP server on our Linux Mint system. Now, we will test the working of the TFTP server in the next section.
How to download a file from TFTP server on Linux Mint
Downloading a file from the TFTP server is a good option for testing the TFTP server. Want to try it out? Firstly, create a new file under the directory you have added in the “sys_args” of the TFTP configuration file. In our case, we will create a sample “myFile.txt” file under the “/tftpboot” directory by writing out the following “touch” command:

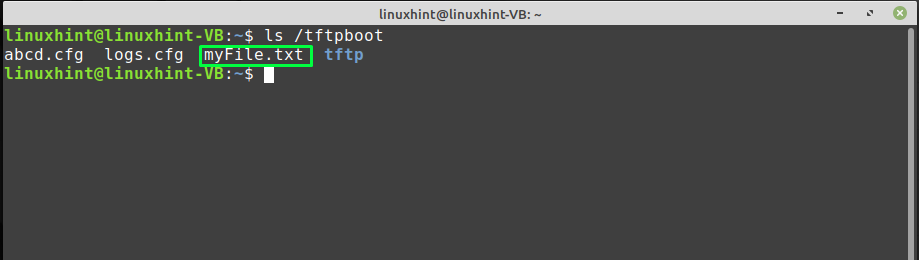
Next, confirm the presence of the created “myFile.txt” file:
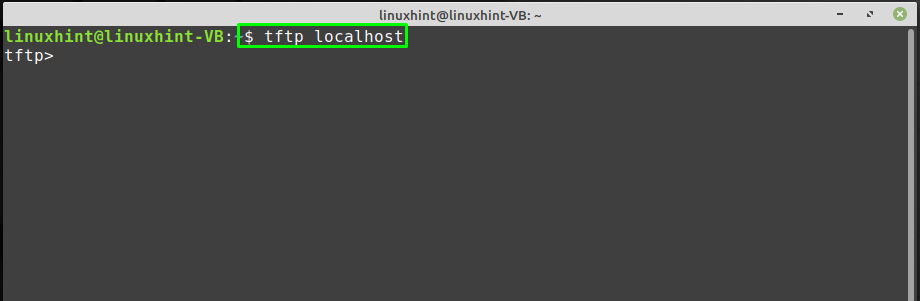
Now, we will try to download the created “myFile.txt” from the TFTP server to our home directory by logging in to our TFTP server:
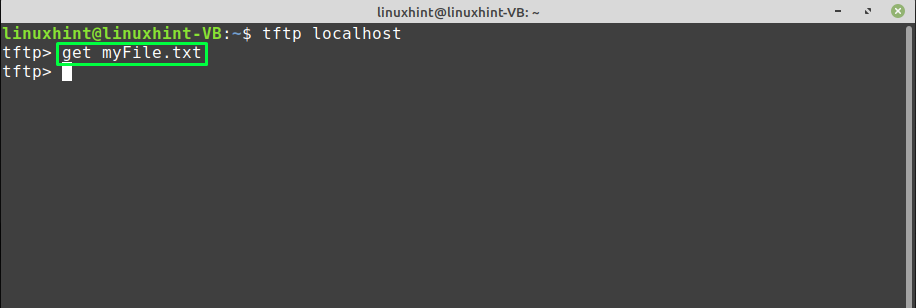
After that, utilize the “get” command with the name of the file, which you want to download from the TFTP server:
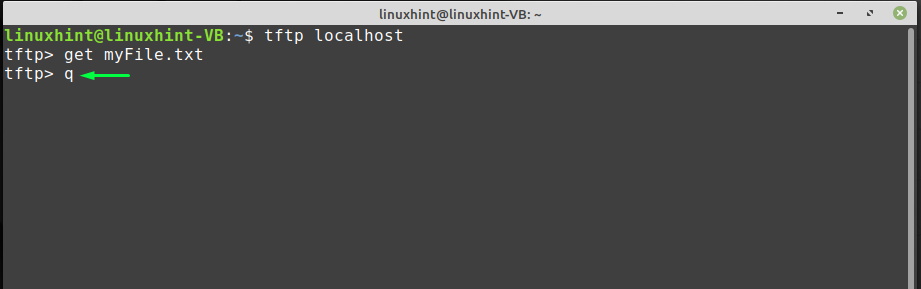
Press “q” to quit and check out the downloaded file in your home directory:
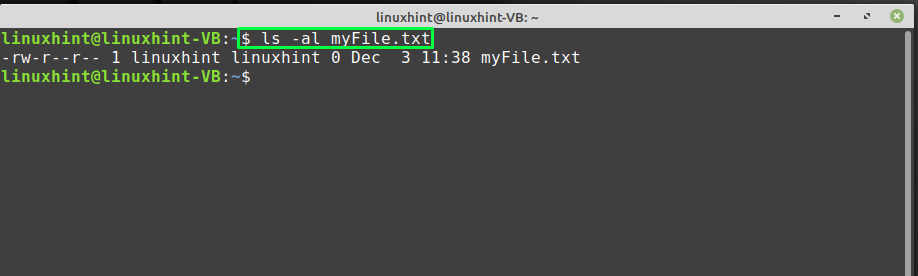
From the output, you can see that the “myFile.txt” file is successfully downloaded from the TFTP server:
Conclusion
IT professionals and network engineers are highly familiar with the TFTP. TFTP provides the backup option, upgrade, and configuration files to its users. It is beneficial to utilize by the users who are continuously monitoring the routers and Cisco switches. On Linux Mint, the configuration of TFTP is not as difficult as it seems. This write-up guided you in installing and configuring the TFTP server on Linux Mint. Moreover, the procedure of downloading a file from a TFTP server is also provided.