Follow the instructions in this guide to set up and use the sudo command on FreeBSD 9.x/10.x/11.x/12.x system.
Tutorial Overview- Install sudo on FreeBSD
Here’s an overview on how to go about installing sudo on a FreeBSD system:
- First, you’d open the terminal and log into the remote server
- Then use the following ssh commands to update your package database:

Then we’d install sudo with the following command:

Lastly, you’ll see how to make configurations to sudo access to match the FreeBSD architecture and your operational requirements.
Part 1: Installing sudo on FreeBSD
The following are detailed explanations on step 3 to install sudo on FreeBSD. We’ll present two different methods you may choose from to your liking.
With FreeBSD port system`
We can use the FreeBSD port system to install sudo. Run the command below to install the port:
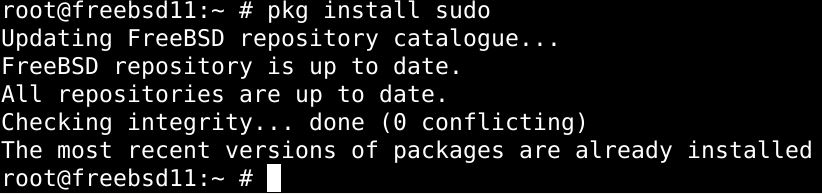
Using pkg command
Get the latest FreeBSD updated version of sudo (like FreeBSD 12.x+) by typing in:
Part 2: Configuring Sudo on FreeBSD
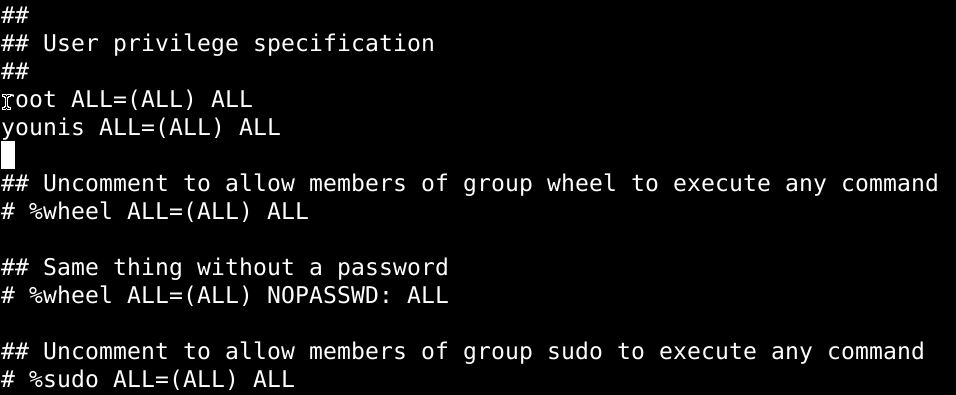
To configure sudo, we’ll need to edit the default configuration file. Head over to /usr/local/etc/sudoers to access the file. This file should not be tempered without the visudo command, as not using the visudo command can lead to denial of access as well as critical syntax errors under which sudo refuses to perform.
So make sure to use the command below before you edit anything within the file:
$ visudo
To grant admin privileges to a user, you’d use the command syntax below:
Similarly, you can delegate the commands to a group of users with:
Remember to save the changes before you exit the file.
Part 3: Using Sudo on FreeBSD
Let’s have an overview of some of the basic things you can do with sudo:
Creating a root user
The command below lets you run the shell as a target user.

Type the following to run the login shell
Finally, the id command lets you authenticate user credentials:

Execute commands as root
Type in the command below, replacing the indicators with relevant variables:
$ sudo /path/to/command arg1
To demonstrate, we’ll reboot the ftpd service:

Check user’s privileges
The following command lists the commands you’re allowed to execute as a root user:

Wrapping up
This tutorial demonstrated the installation of Sudo on FreeBSD 9.x/10.x/11.x/12.x system. We listed the two ways to install Sudo: with the FreeBSD system port and by adding the binary package file to FreeBSD.
You’ve also learned how to edit the default config file to configure Sudo on FreeBSD. It is located /usr/local/etc/sudoers. You also saw how to create a new root user and how to run commands with sudo privileges.
Getting used to working with sudo is easy, although it takes some time. Hopefully, this tutorial was enough to have you get started with sudo.