
What is NTP?
The Network Time Protocol: as the name suggests that it is a protocol utilized for synchronizing internal clock timings on a system present in a network. This protocol covers both synchronizing machines on a local network and with an Internet server. It is usually embedded in a client-server setup but can also be used in peer-to-peer time synchronization. The operating system manages timezone, while NTP is used for syncing the Coordinated Universal Time (UTC). Check out the below-given diagram, which represents NTP working:

NTP daemons:
The ntpd daemon, which was used earlier for synchronizing date and time settings, has been declined and is no longer accessible for current Linux systems like Fedora 30, Ubuntu 20.04, and CentOS 8. “Chrony,” a RedHat developed NTP implementation, replaced this NTP daemon.
What is Chrony?
Chrony is a different form of NTP protocol implementation than ntpd. It is configured as NTP Server or an NTP Client. Chrony is made up of two parts:
- chronyd: which is a user-space daemon.
- chronyc: a command-line application for customizing chronyd.
Compared to chrony, ntpd takes a long time to change the clocks of the systems that are not permanently connected or powered up. The reason behind this fact is that several minor adjustments are performed based on observations of clock offset and drift. The stability of hardware clocks is also influenced by temperature fluctuations, which can be considerable while powering up a machine. In contrast, chrony can adjust to the change the system clock.
What are the things chronyd can do that ntpd cannot do?
- Chronyd helps you to calculate the gain or loss rate of the hardware or the real-time clock. This segment of chrony can utilize this information to set the system time by retrieving the value from the real-time clock.
- It also can support isolated networks where the manual entry is only the form of time correction. Chronyd can look at the faults or errors fixed in further updates to estimate how much the computer loses or gains time. After going through this checkpoint, chronyd use the estimate values for trimming the computer clock.
Which NTP daemon should be your choice?
- All systems that are often disconnected or suspended and then restored to a network should consider chrony. The examples which come under this section are virtual and mobile systems.
- For systems that are generally left on all the time, the NTP daemon ntpd should be considered. Also, systems that require broadcasting or multi-casting IP should choose to adopt ntpd.
Installing Chrony on CentOS:
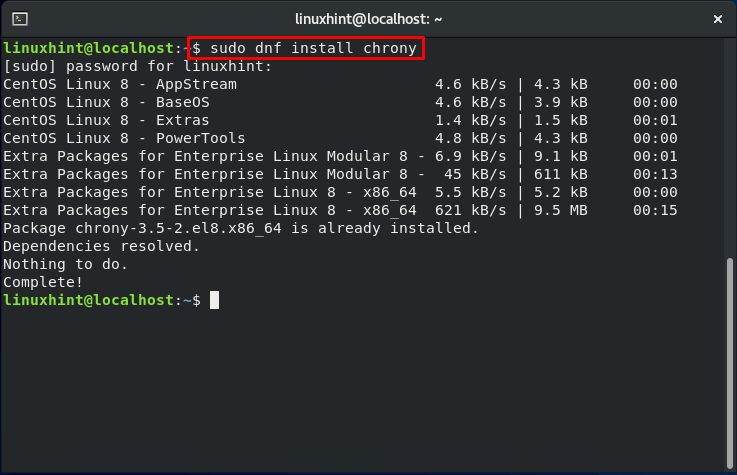
Before configuring chrony as an NTP server or Client, you must first ensure that chrony should be installed on your system. If you don’t have it already, write out the below-given command to install it on your CentOS system:
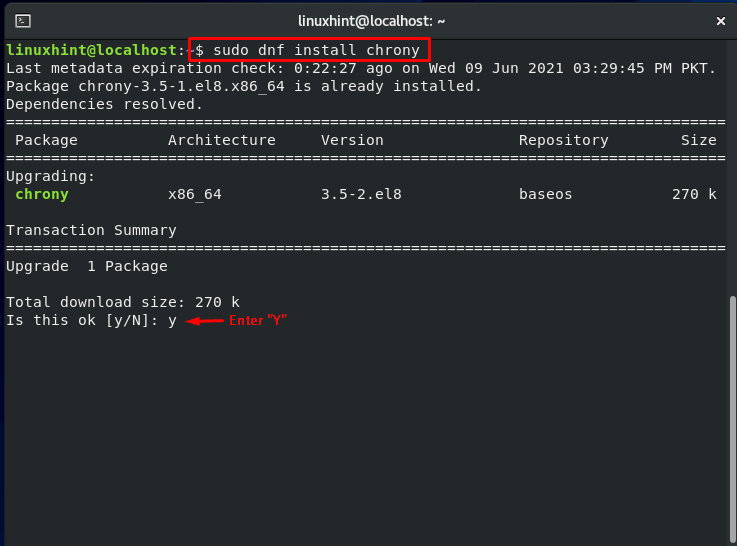
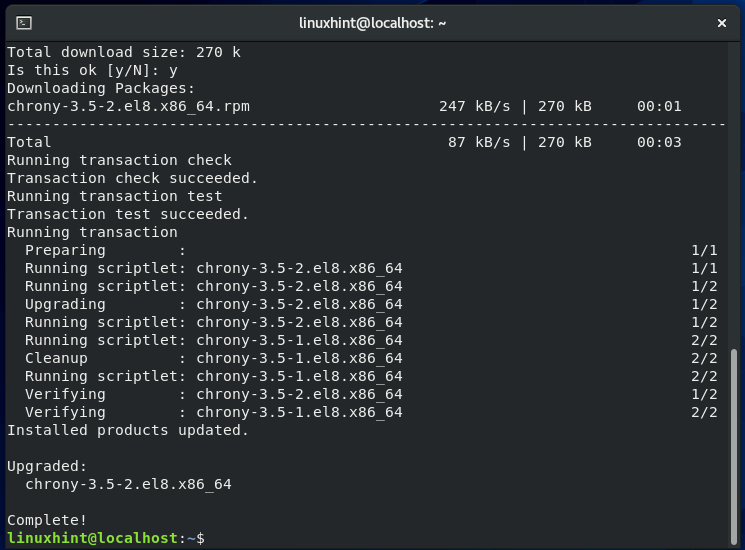
Enter “y” to allow the process to download chrony.
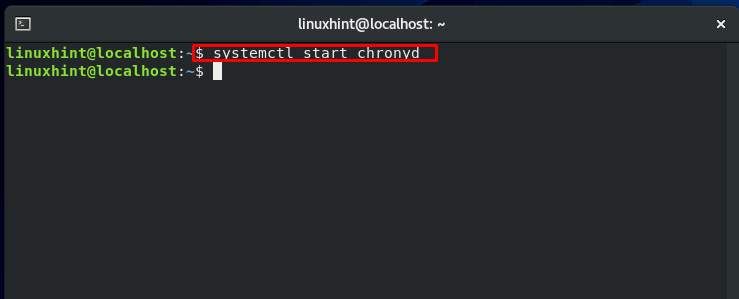
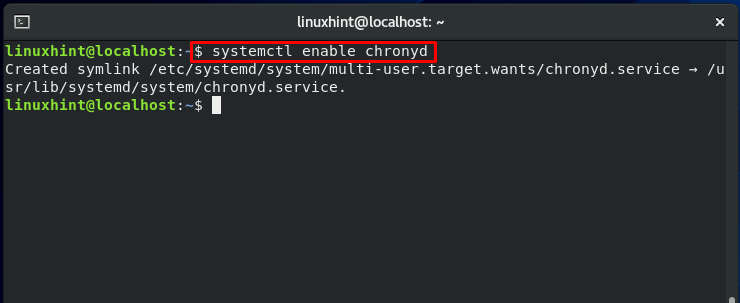
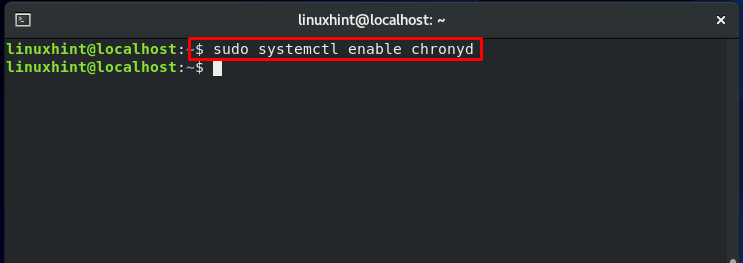
Once chrony is downloaded, start and then enable the chronyd service by utilizing these commands:
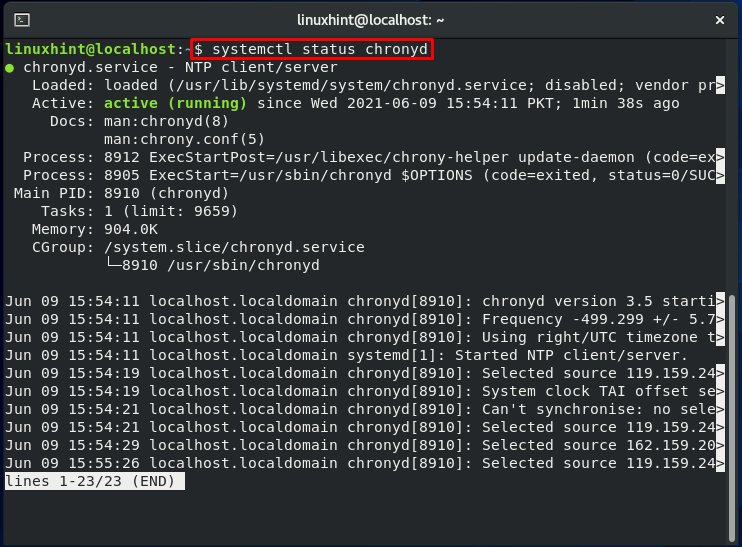
Now, check the status of the chronyd service and make sure the service is running.
Configuring Chrony as an NTP Server:
We are moving towards the procedure of chrony configuration. Now, we will show you the configuring method of chrony as an NTP Server.
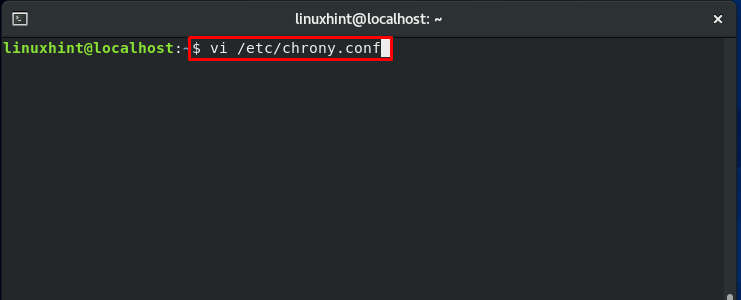
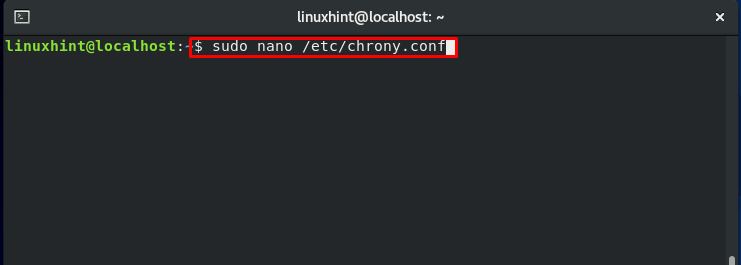
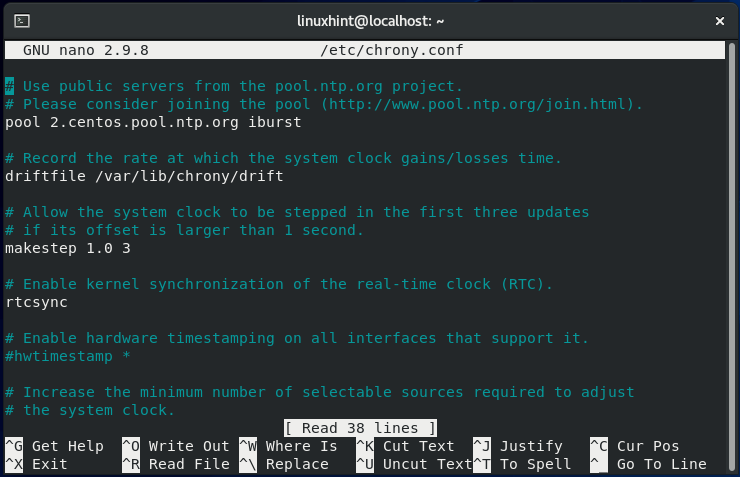
First of all, open up the chrony configuration files in the Vi editor:
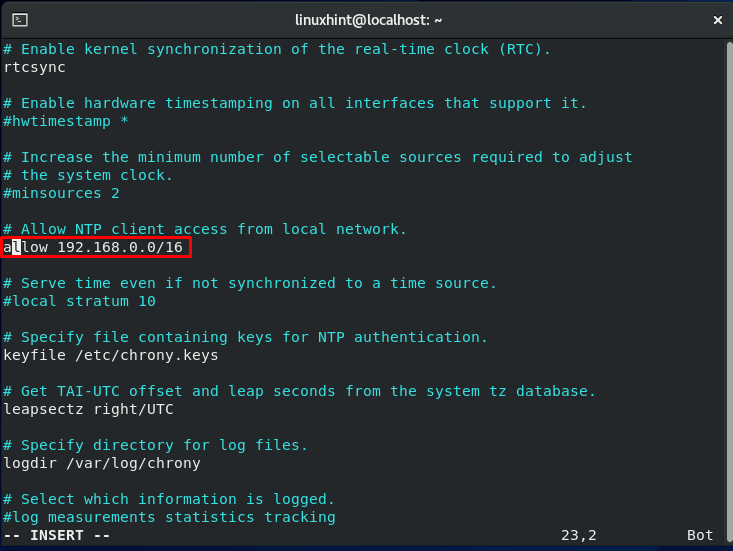
The configuration file will look like this:
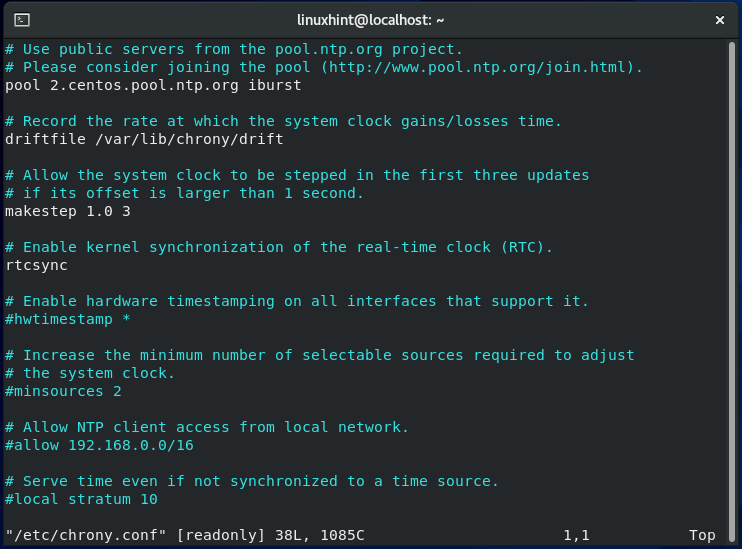
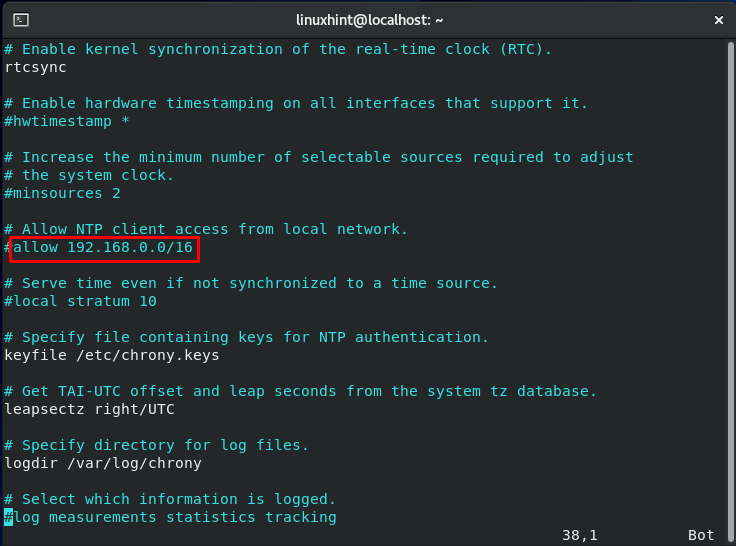
Now, explore this configuration file and uncomment the lines referring to allow the network addresses.
As the chrony file is opened in a Vi editor, to insert or remove the “#” from the line mentioned above, we have to switch to the Vi insert mode. For that, you have to press “Esc.”
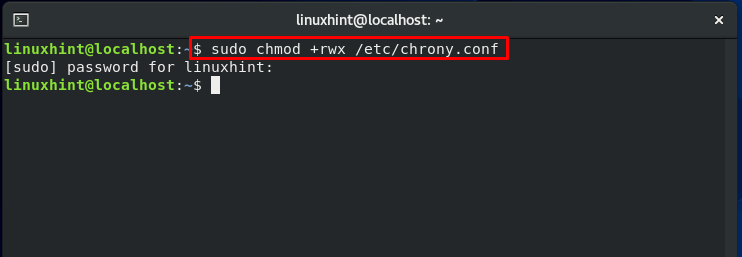
If you don’t have the permission to write or change something in the file, utilize the below-given command to change the file permission first.
To save the change and exit the Vi editor, type “:wq” and hit enter.

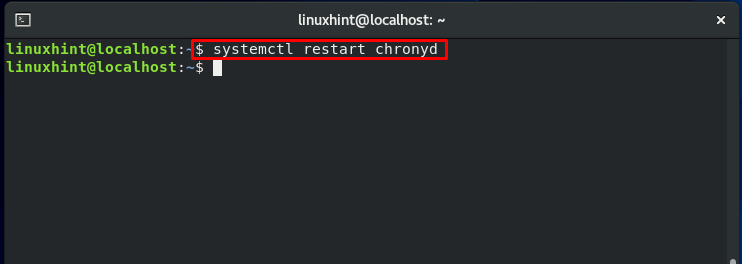
Now, restart the chronyd service:
Now, open the firewall port to permit the NTP incoming requests.
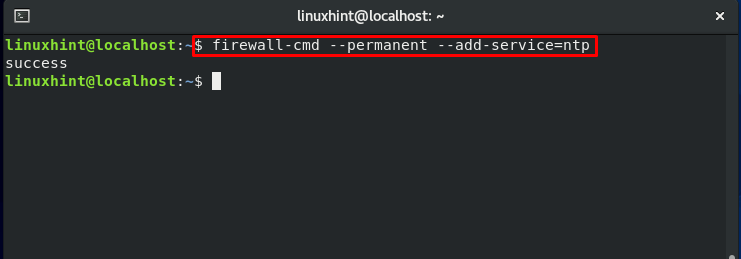
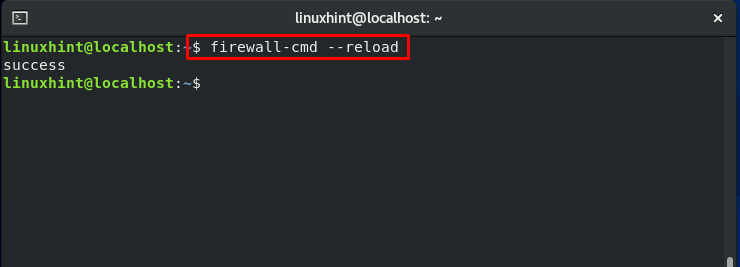
That’s how you configure an NTP Server in CentOS based on chrony.
Configuring Chrony as an NTP Client:
Do you want to configure chrony as an NTP client rather than an NTP Server? No worries! The upcoming part of the article will demonstrate the method for configuring chrony as an NTP Client.
First of all, install chrony on your CentOS system:
After that, enable the chronyd service by utilizing this command:
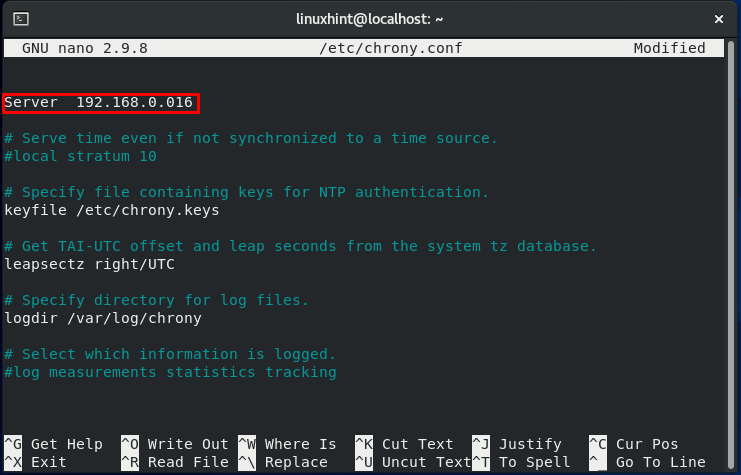
Now it’s time to make some changes in the chrony configuration file. These changes are essential for configuring Clients.
Add the below-given line in the chrony configuration file and save the changes.
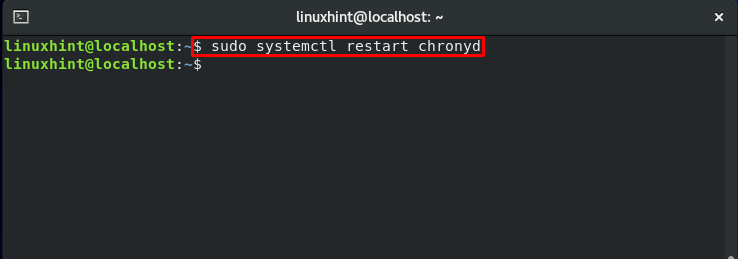
In the terminal, utilize this command to restart the chronyd service:
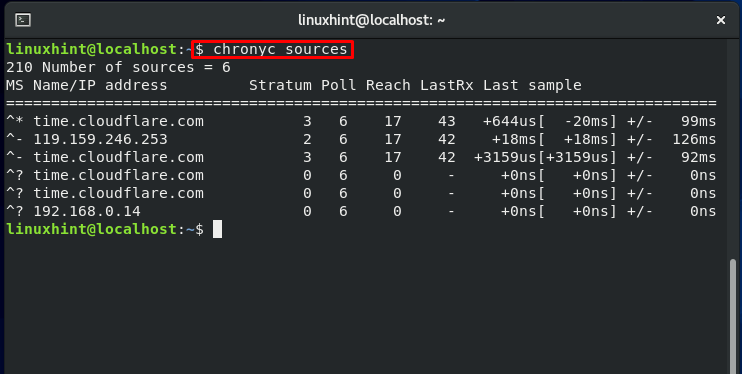
Now, check out your NTP sources. Your configured NTP Server should exist in the output list.
Conclusion:
NTP is a protocol utilized for synchronizing internal clock timings on a system present in a network. This protocol covers both synchronizing machines on a local network and with an Internet server. Earlier systems used ntpd daemon as NTP implementation, but this NTP daemon has been declined and is no longer accessible for the latest Linux systems, including CentOS 8. Chrony is deployed in the market as a replacement for the ntpd daemon. In this article, you learned some basic stuff about NTP, chrony, and its features. Furthermore, we have also shown you the methods for configuring chrony as an NTP server and Client on your CentOS system.