Outline:
Prerequisites for Discharging a Capacitor
How to Discharge a Capacitor
- Through Resistor (Capacitor Discharge Tool)
- Through Resistive Load
- Through Screwdriver
- Connecting a loop of wire
Prerequisites for Discharging a Capacitor
Before directly moving on to the methods of discharging the capacitor, there are a few things that should be done, which include:
Disconnecting the Capacitor from the Circuit
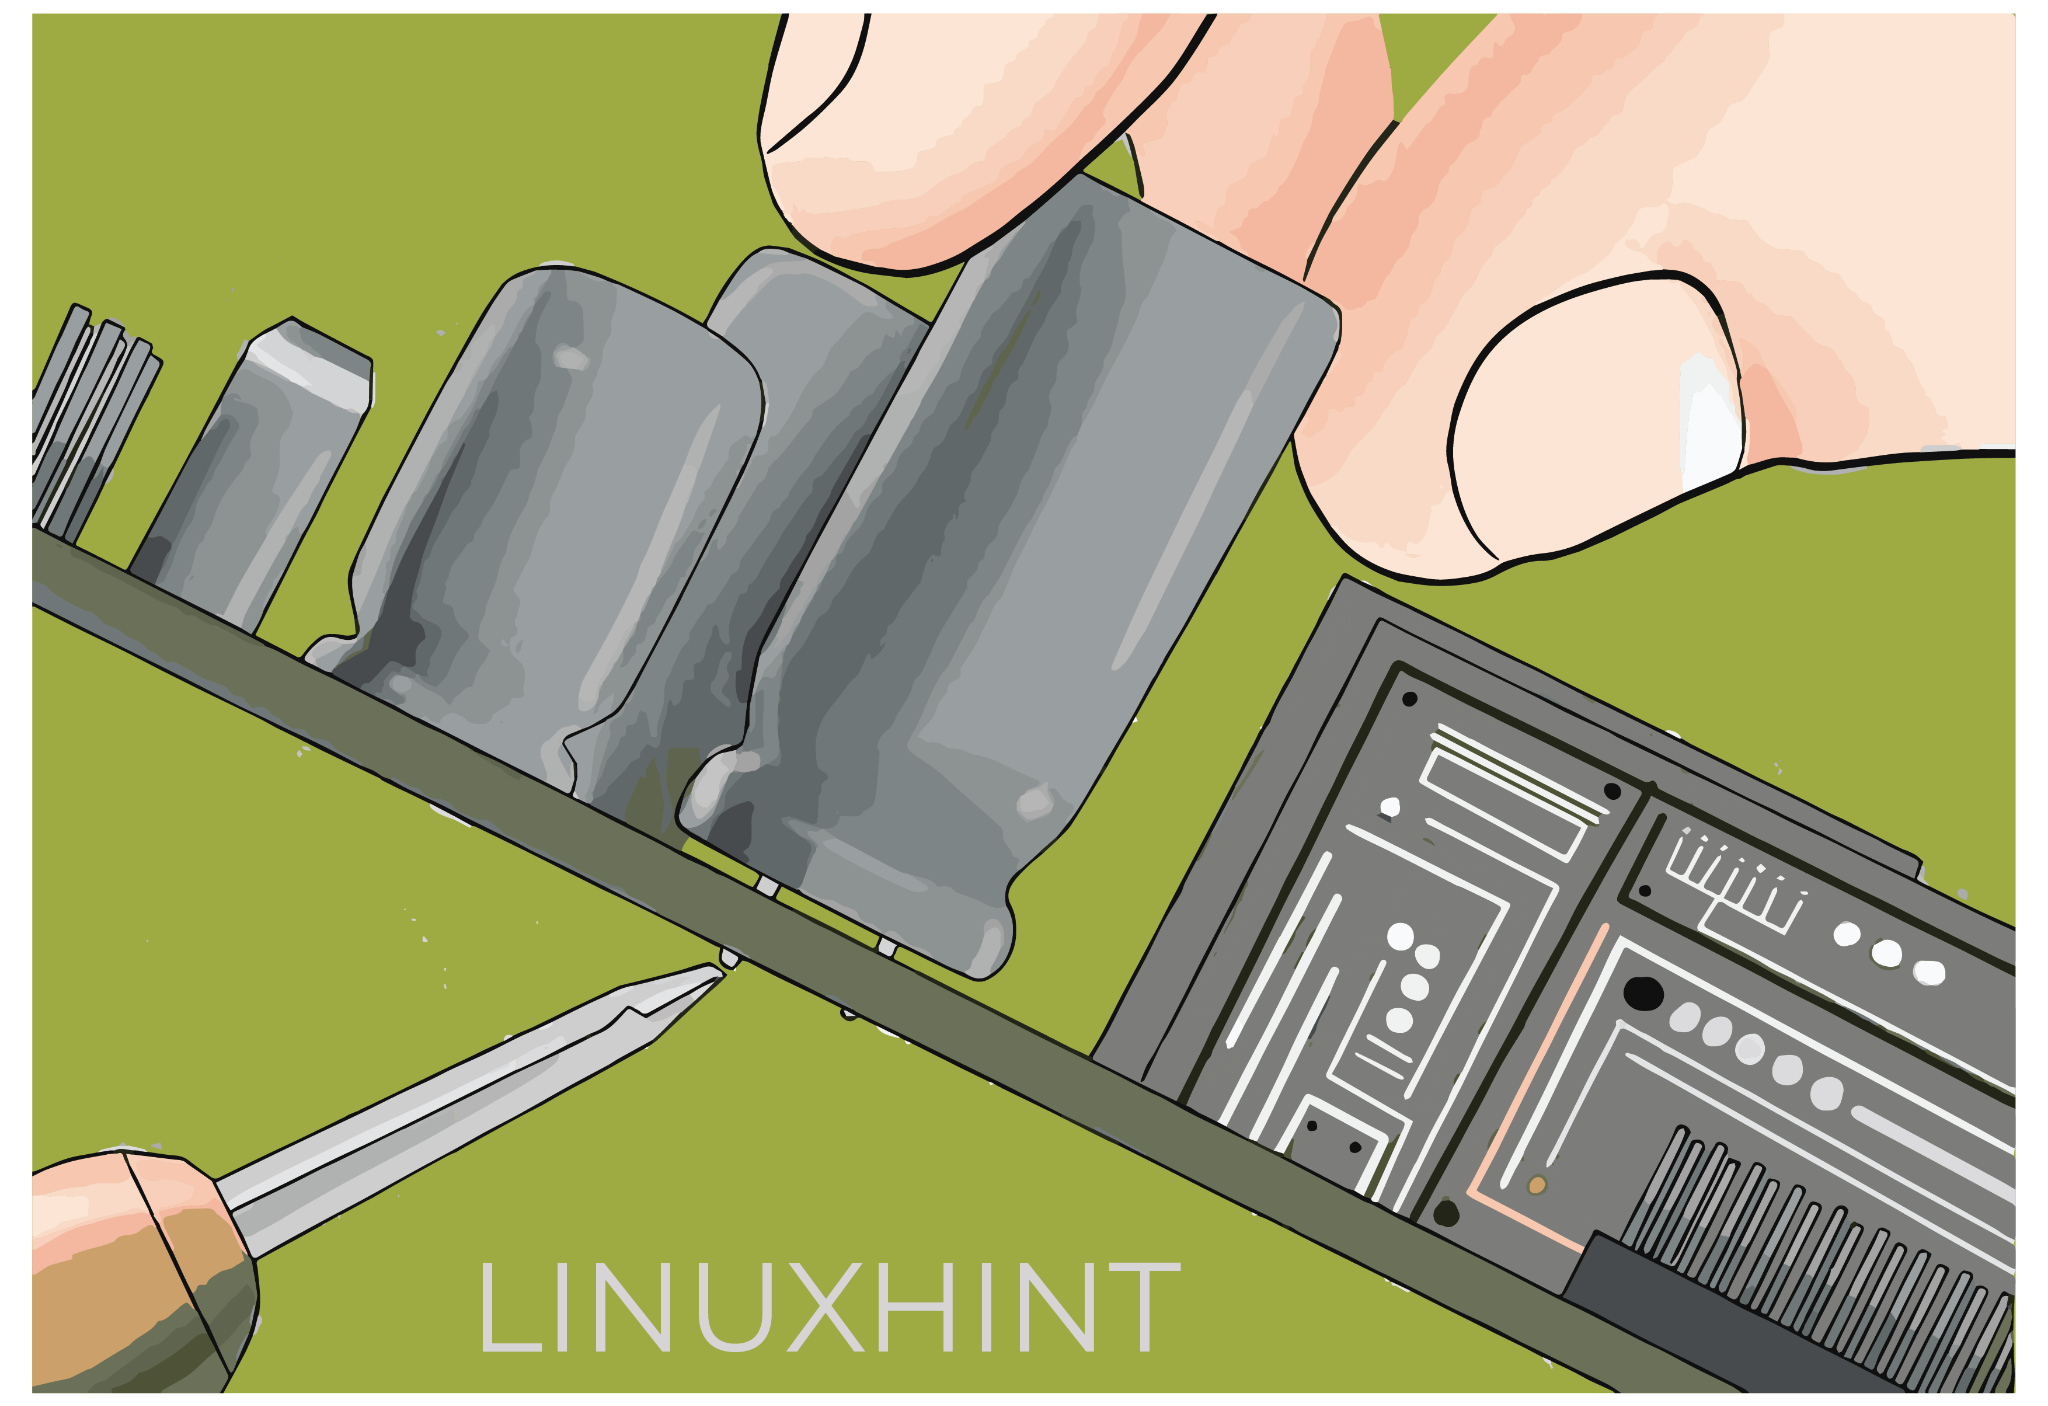
To discharge the capacitor, you have to disconnect it from the circuitry of the device safely and make sure that the device is not connected to the power supply. Also, consult the user manual of the respective device for removing the capacitor as the user manual contains all the practices and procedures in the device maintenance section.
Normally, the capacitors are soldered with the circuit board, so you will need a soldering iron for both connecting and disconnecting the capacitor.
Checking the Charge of the Capacitor
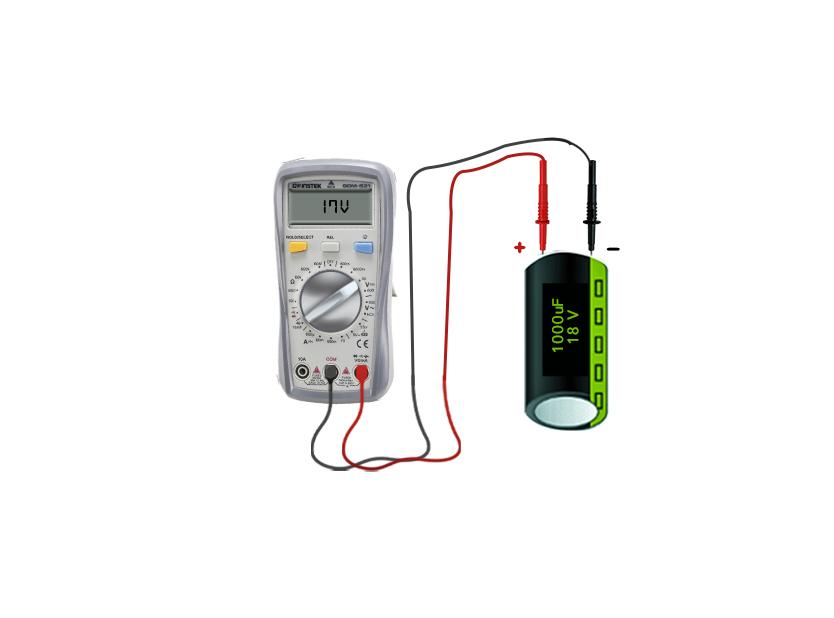
The next thing to do is to check the voltage of the capacitor and for that use the multimeter, just set the dial of the multimeter to volts and then connect the positive probe of the multimeter with the positive terminal of the capacitor and vice versa. If the voltage is higher than 12 volts, then better not touch the terminals of the capacitor.
How to Discharge a Capacitor
As mentioned above, the process of discharging the AC and DC capacitors is the same, but the only difference is that the DC capacitors usually go up to 100 volts whereas the AC capacitor usually starts from 120 Volts and goes up to 2000 Volts. Once you have disconnected the capacitor from the circuit, then discharge it completely by following any of the given methods:
- Through Resistor (Capacitor Discharge Tool)
- Through Resistive Load
- Through Screwdriver
- Through a loop of wire
Method 1: Through Resistor (Capacitor Discharge Tool)
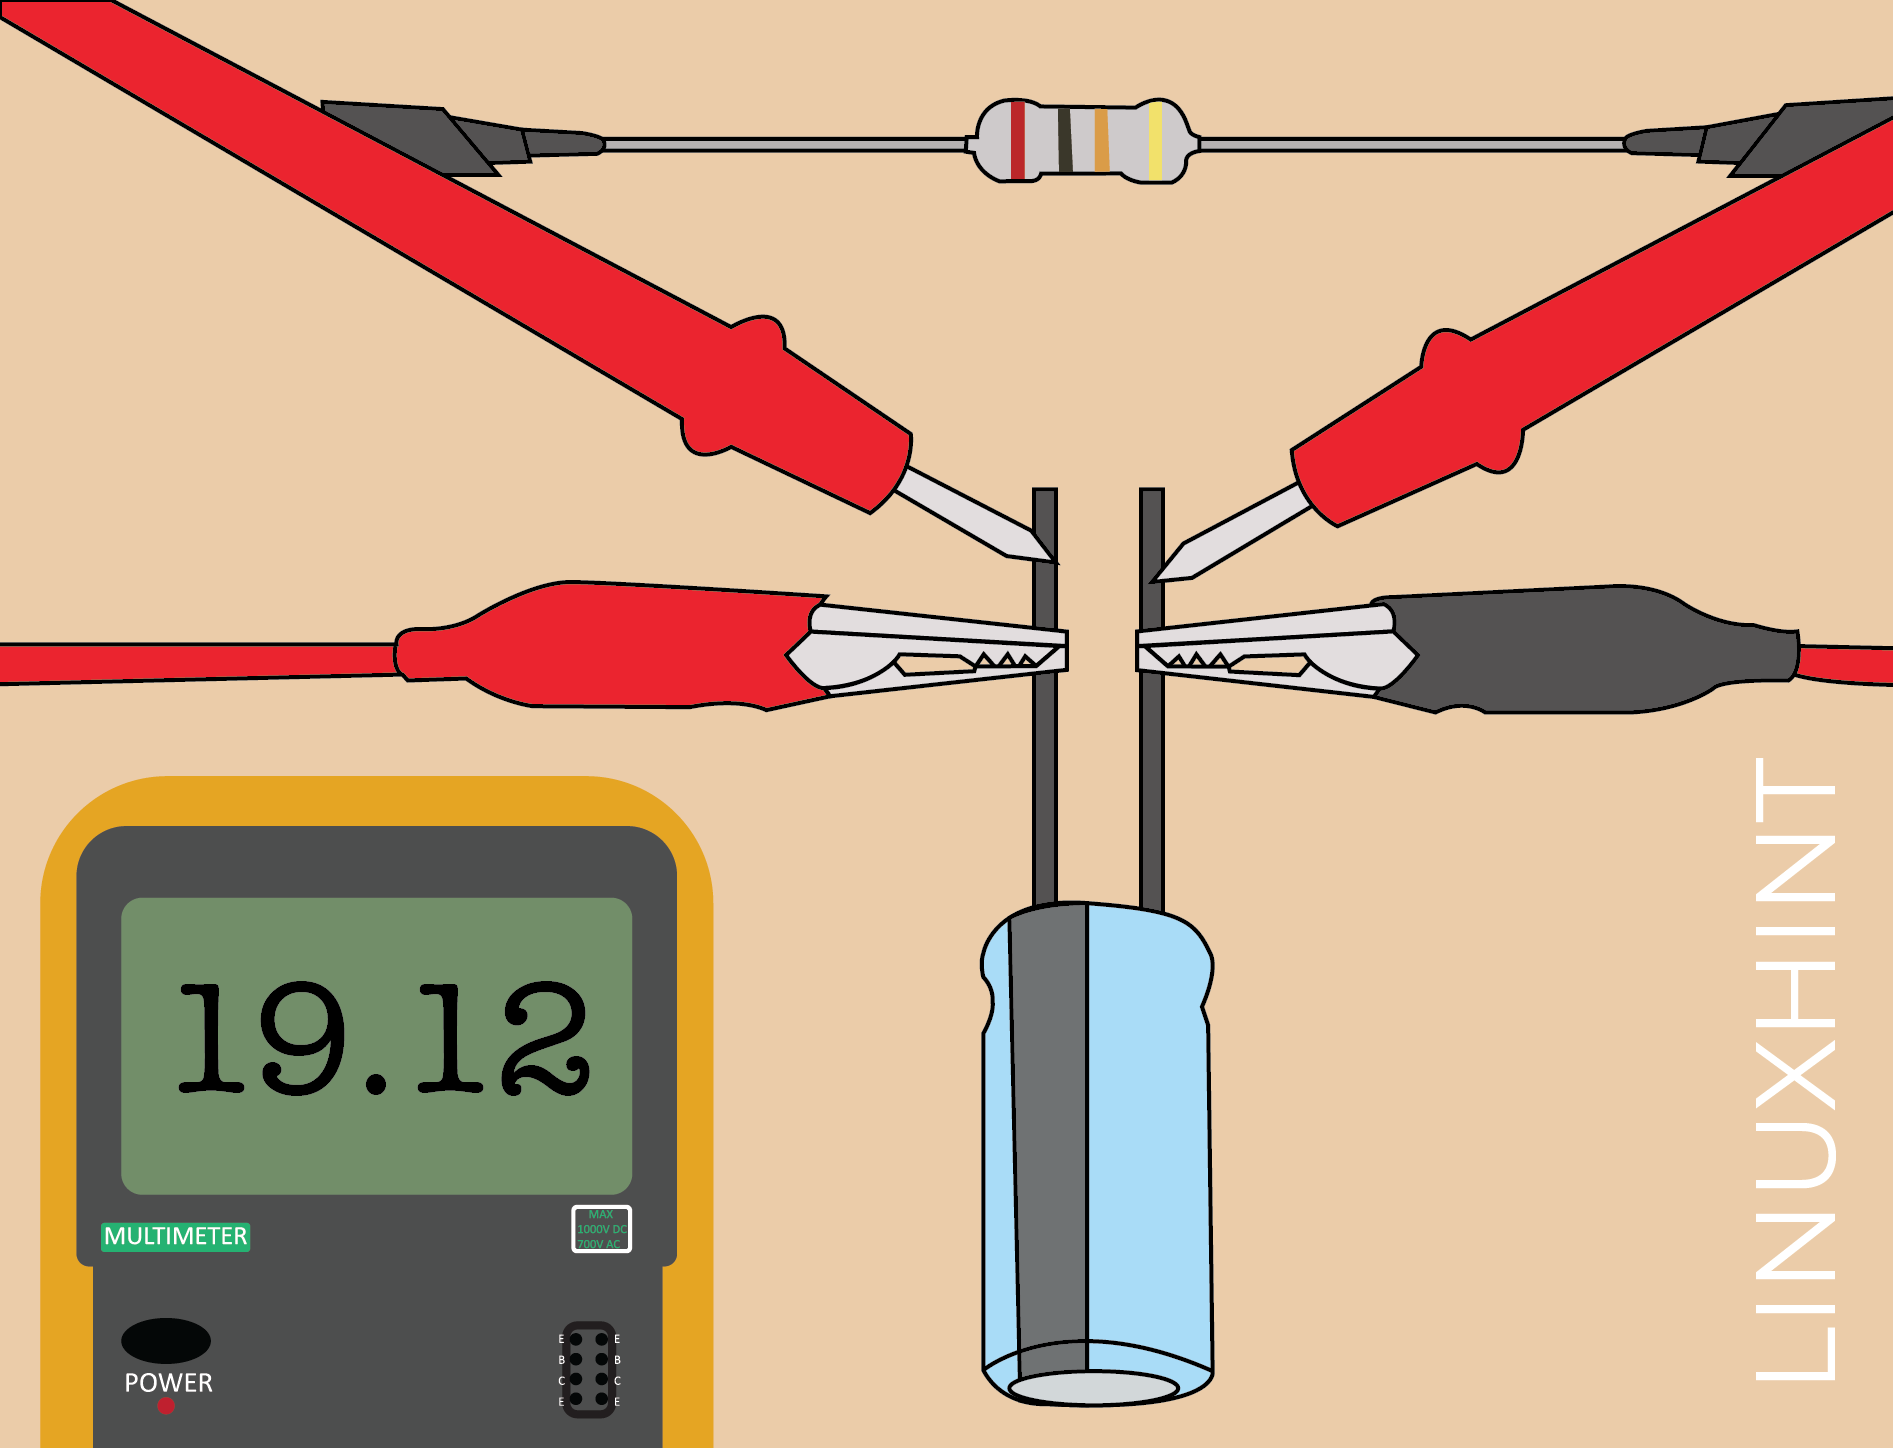
The best and easiest way to completely discharge a capacitor is by short-circuiting both terminals of the capacitor through a resistor. Resistors are devices that dissipate excess energy in the form of heat so when the resistor is connected in between the terminals of the capacitor all the charge of the capacitor passes through the resistor which is then accumulated leaving the capacitor fully discharged. So, to discharge a capacitor through the resistor here are some steps to be followed:
Step 1: Connect a Resistor with a Wire
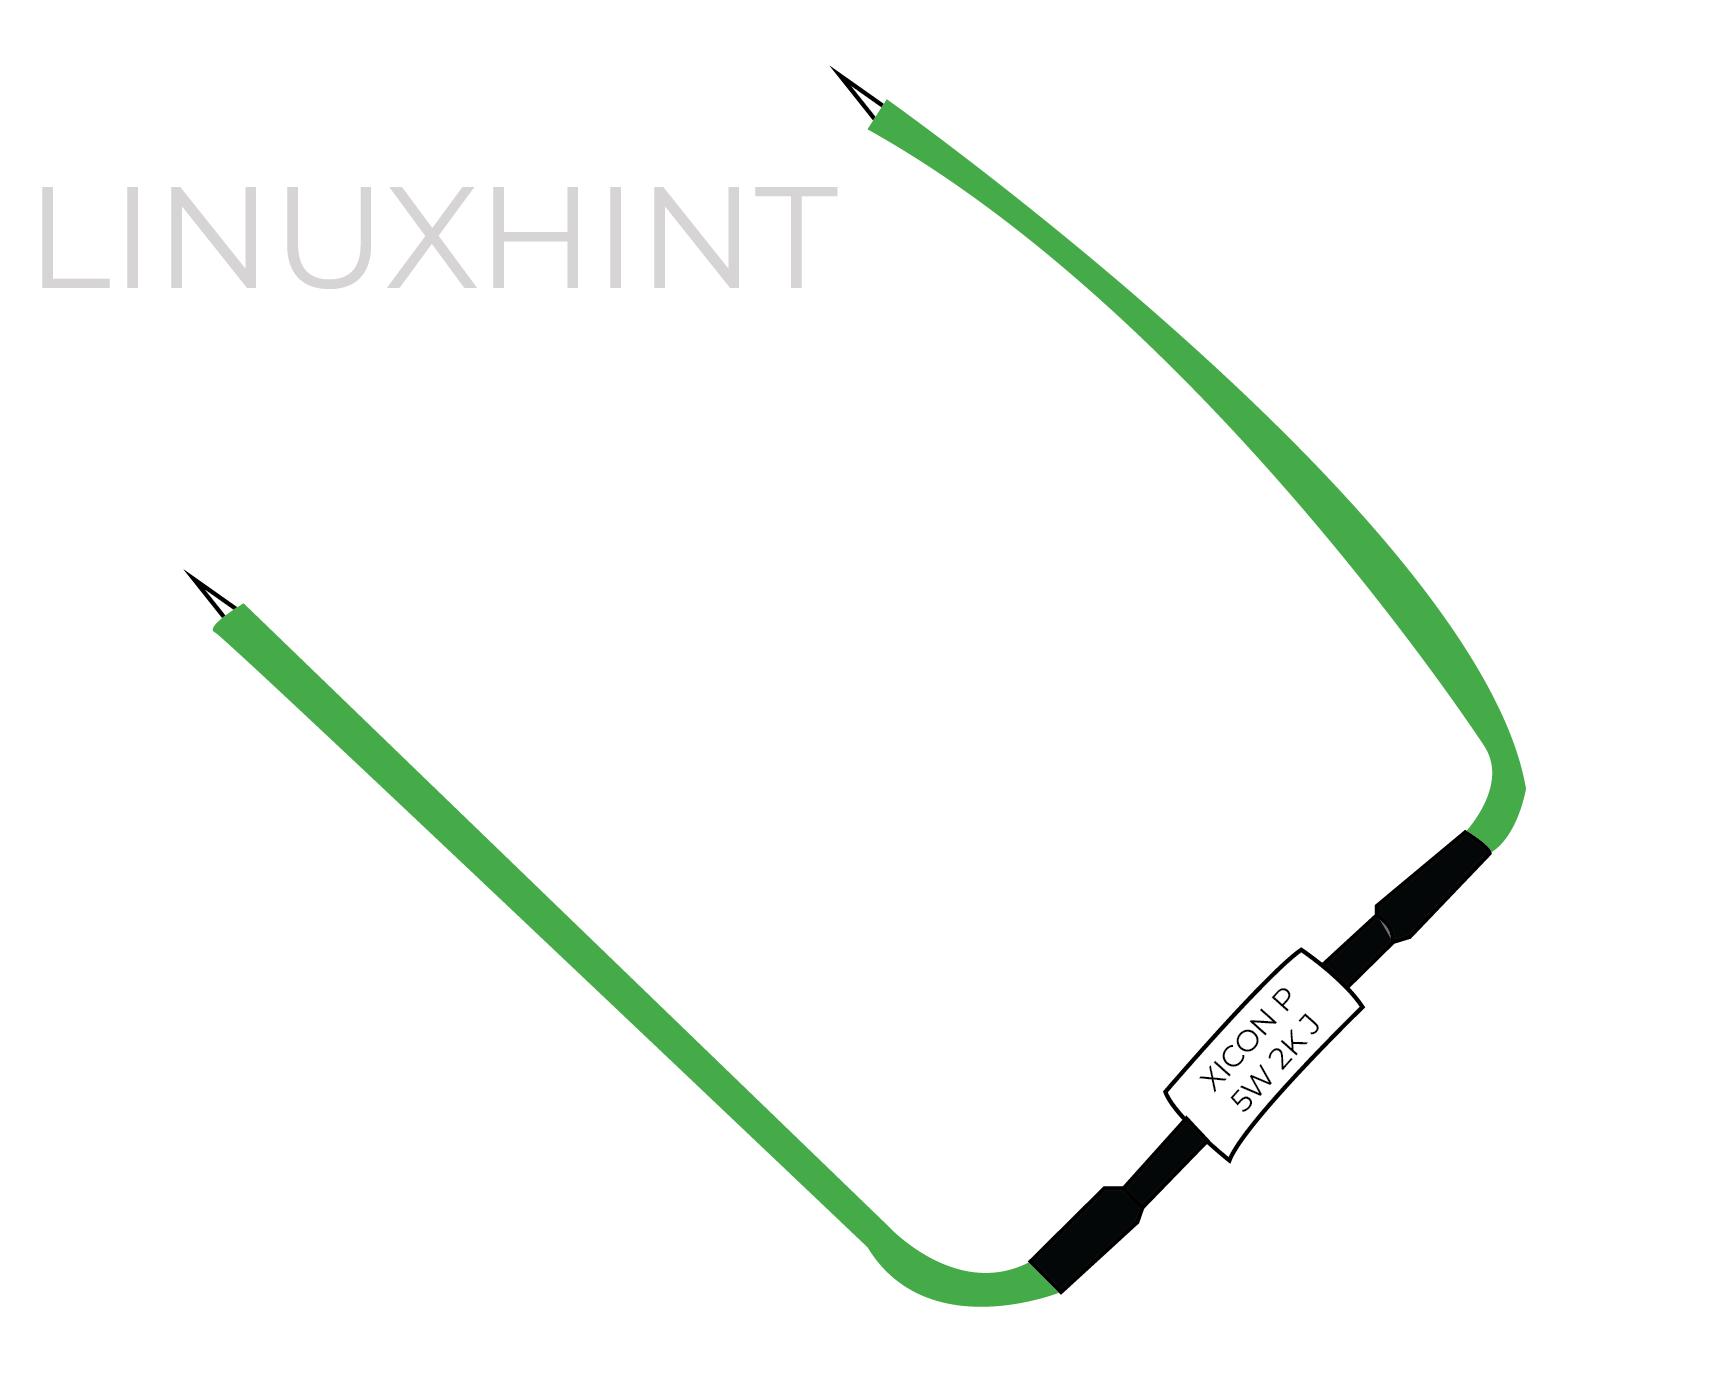
Instead of directly connecting a resistor with the terminal, first, take a wire of a small length and divide it in two halves. Next, connect one of the ends of both wires by either soldering the wire or just wrapping the ends together using a t joint. Afterward, cover the joints with some insulating material:
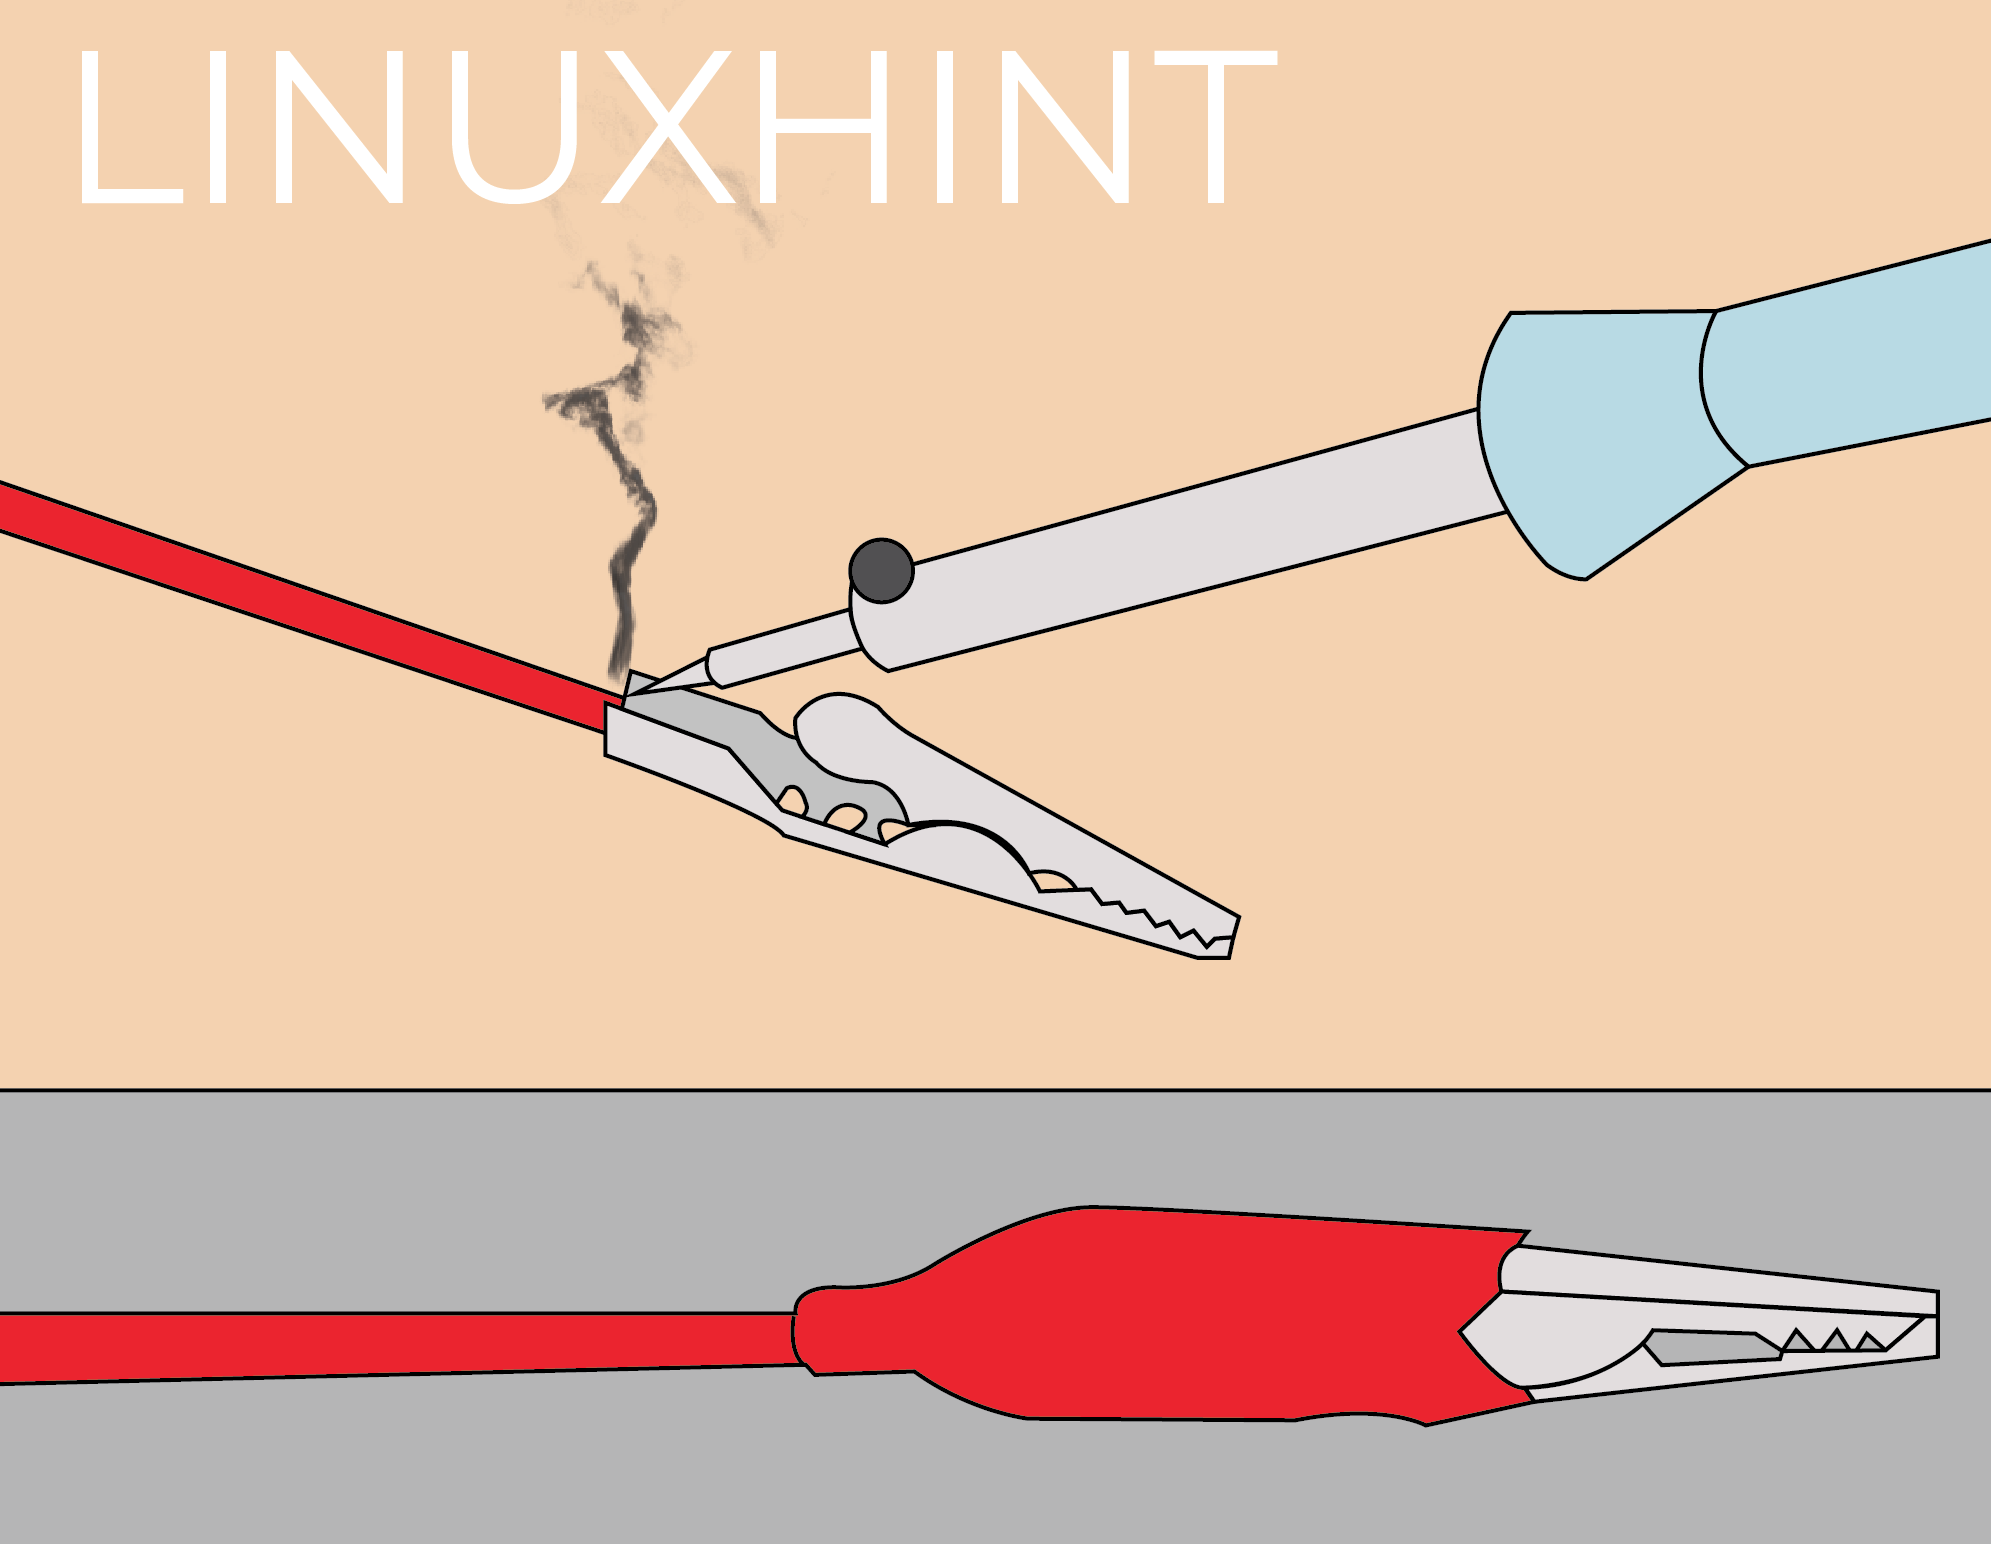
Now solder out the alligator clips with both ends of the wire and then cover the joints with any insulating material afterward check the continuity of the wire through a multimeter to make sure that the joints are perfectly connected:
Also, note that the resistance should have a considerably higher value so that the capacitor can effectively discharge in less time.
Step 2: Connect the Resistor to Capacitor
Now just connect both terminals of the capacitor with this discharge tool and then connect the multimeter with the capacitor by setting it to voltage:
Now wait a little bit, and you will observe that the voltage will start to decrease and will eventually come to zero, which means that the capacitor is fully discharged. This method can also work if you have to discharge an AC capacitor.
Method 2: Through Resistive Load
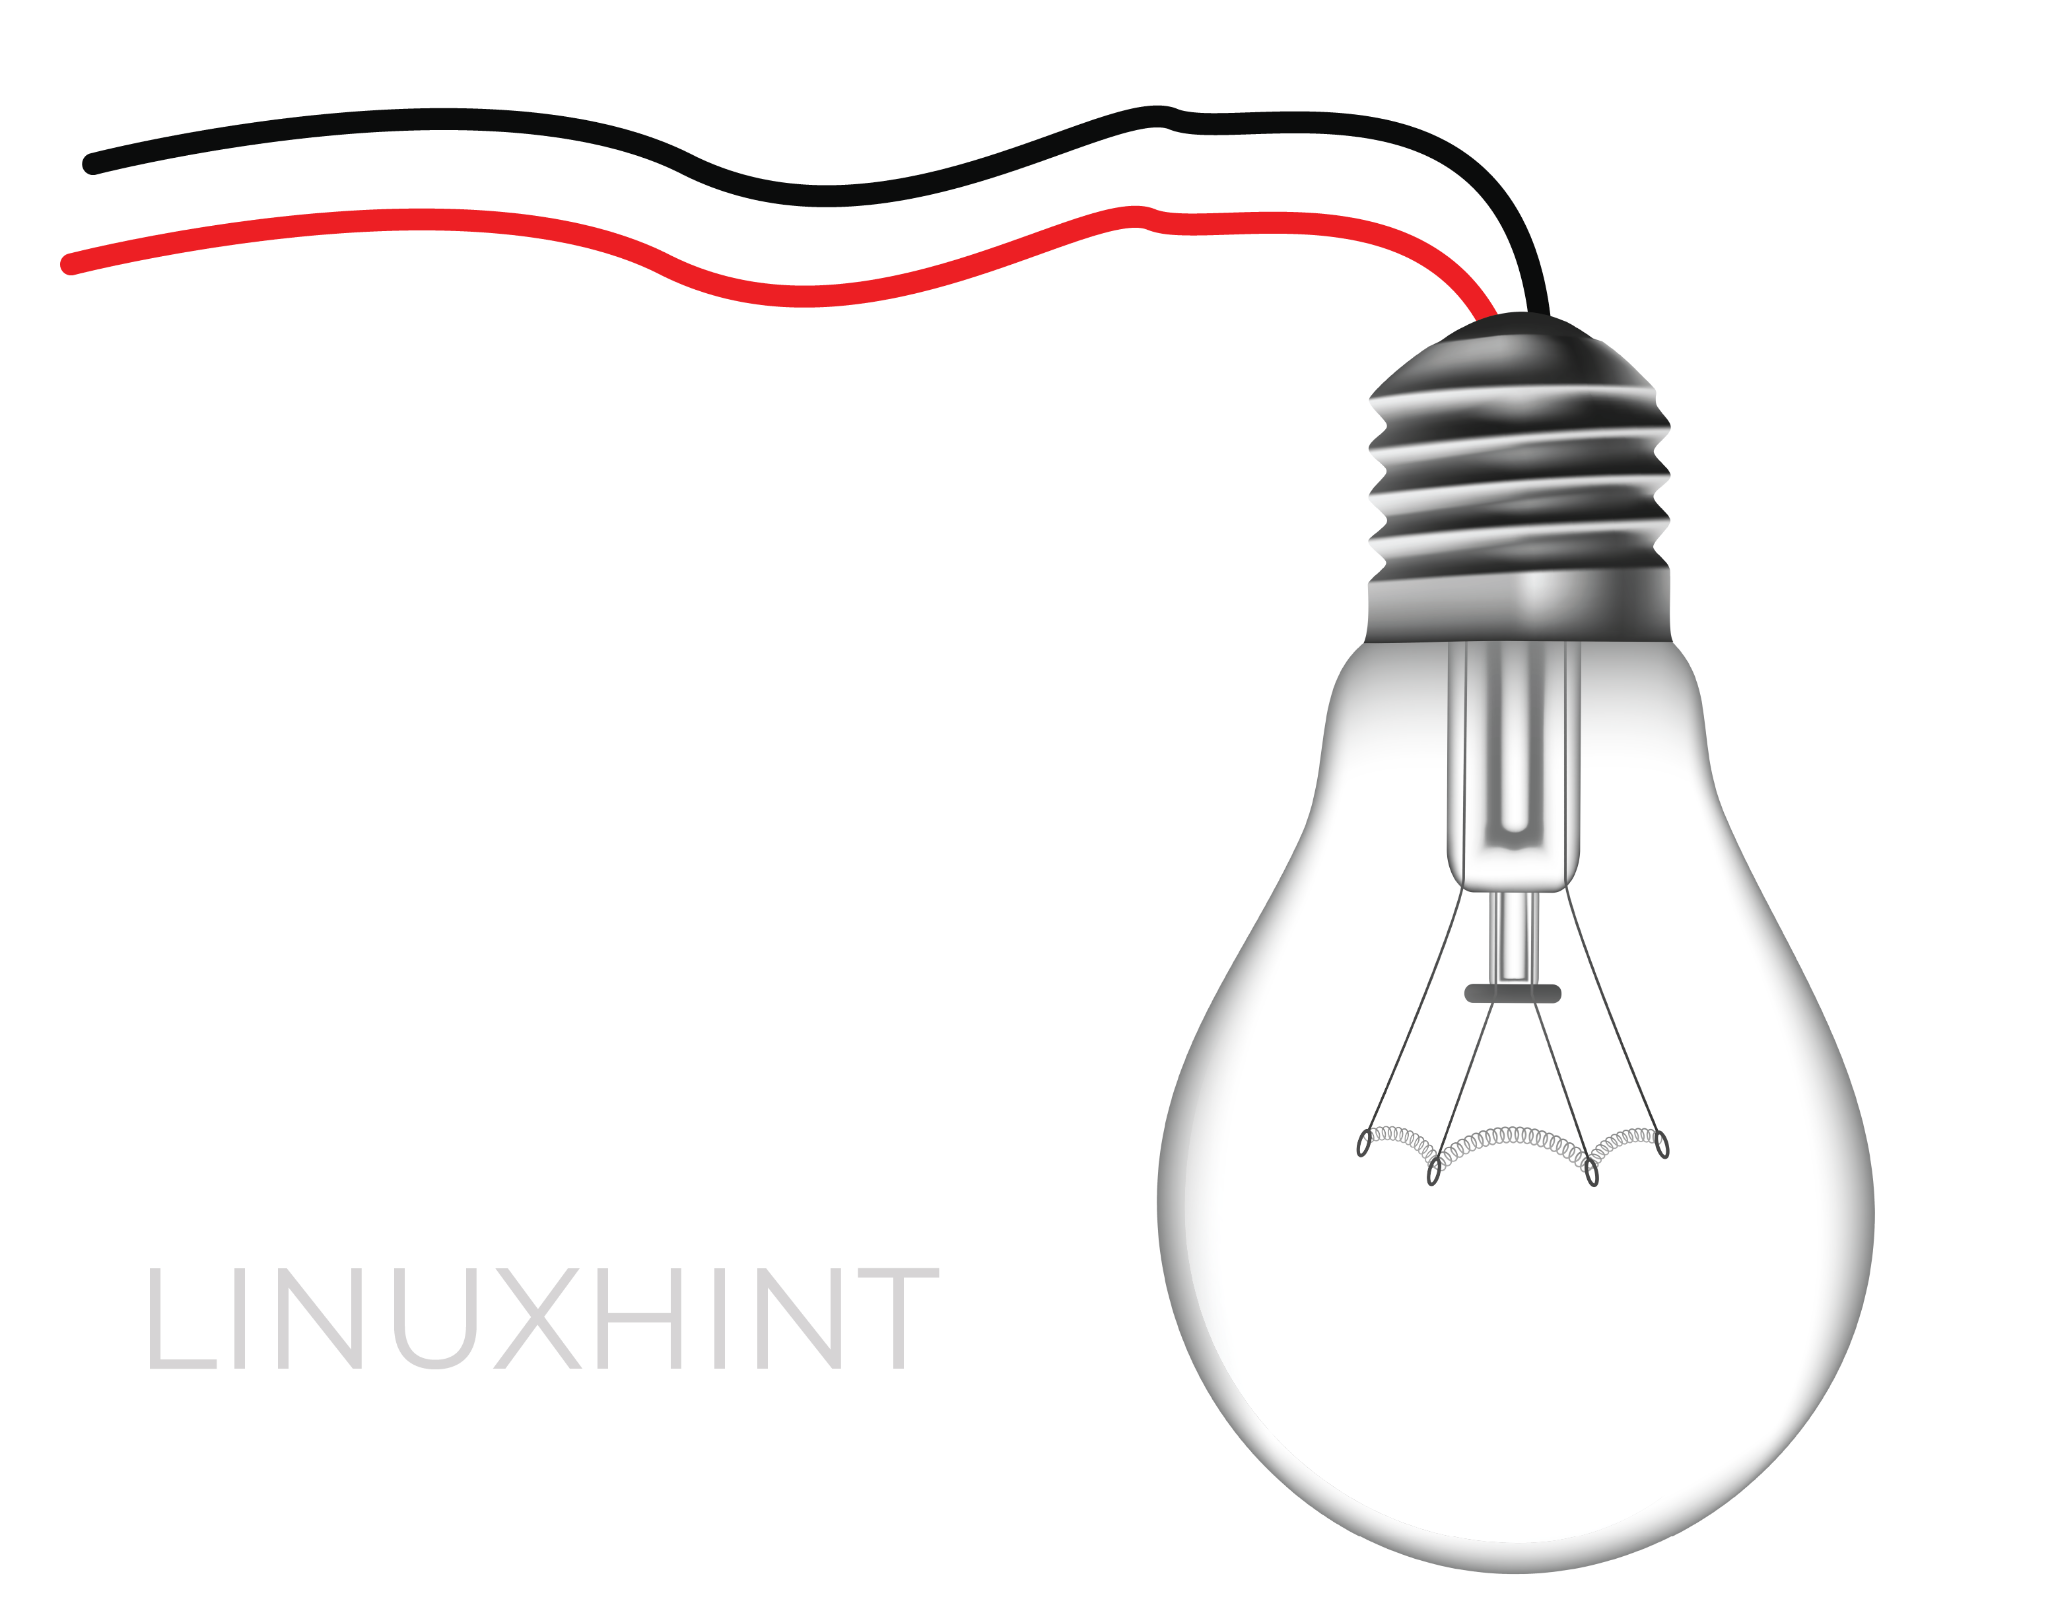
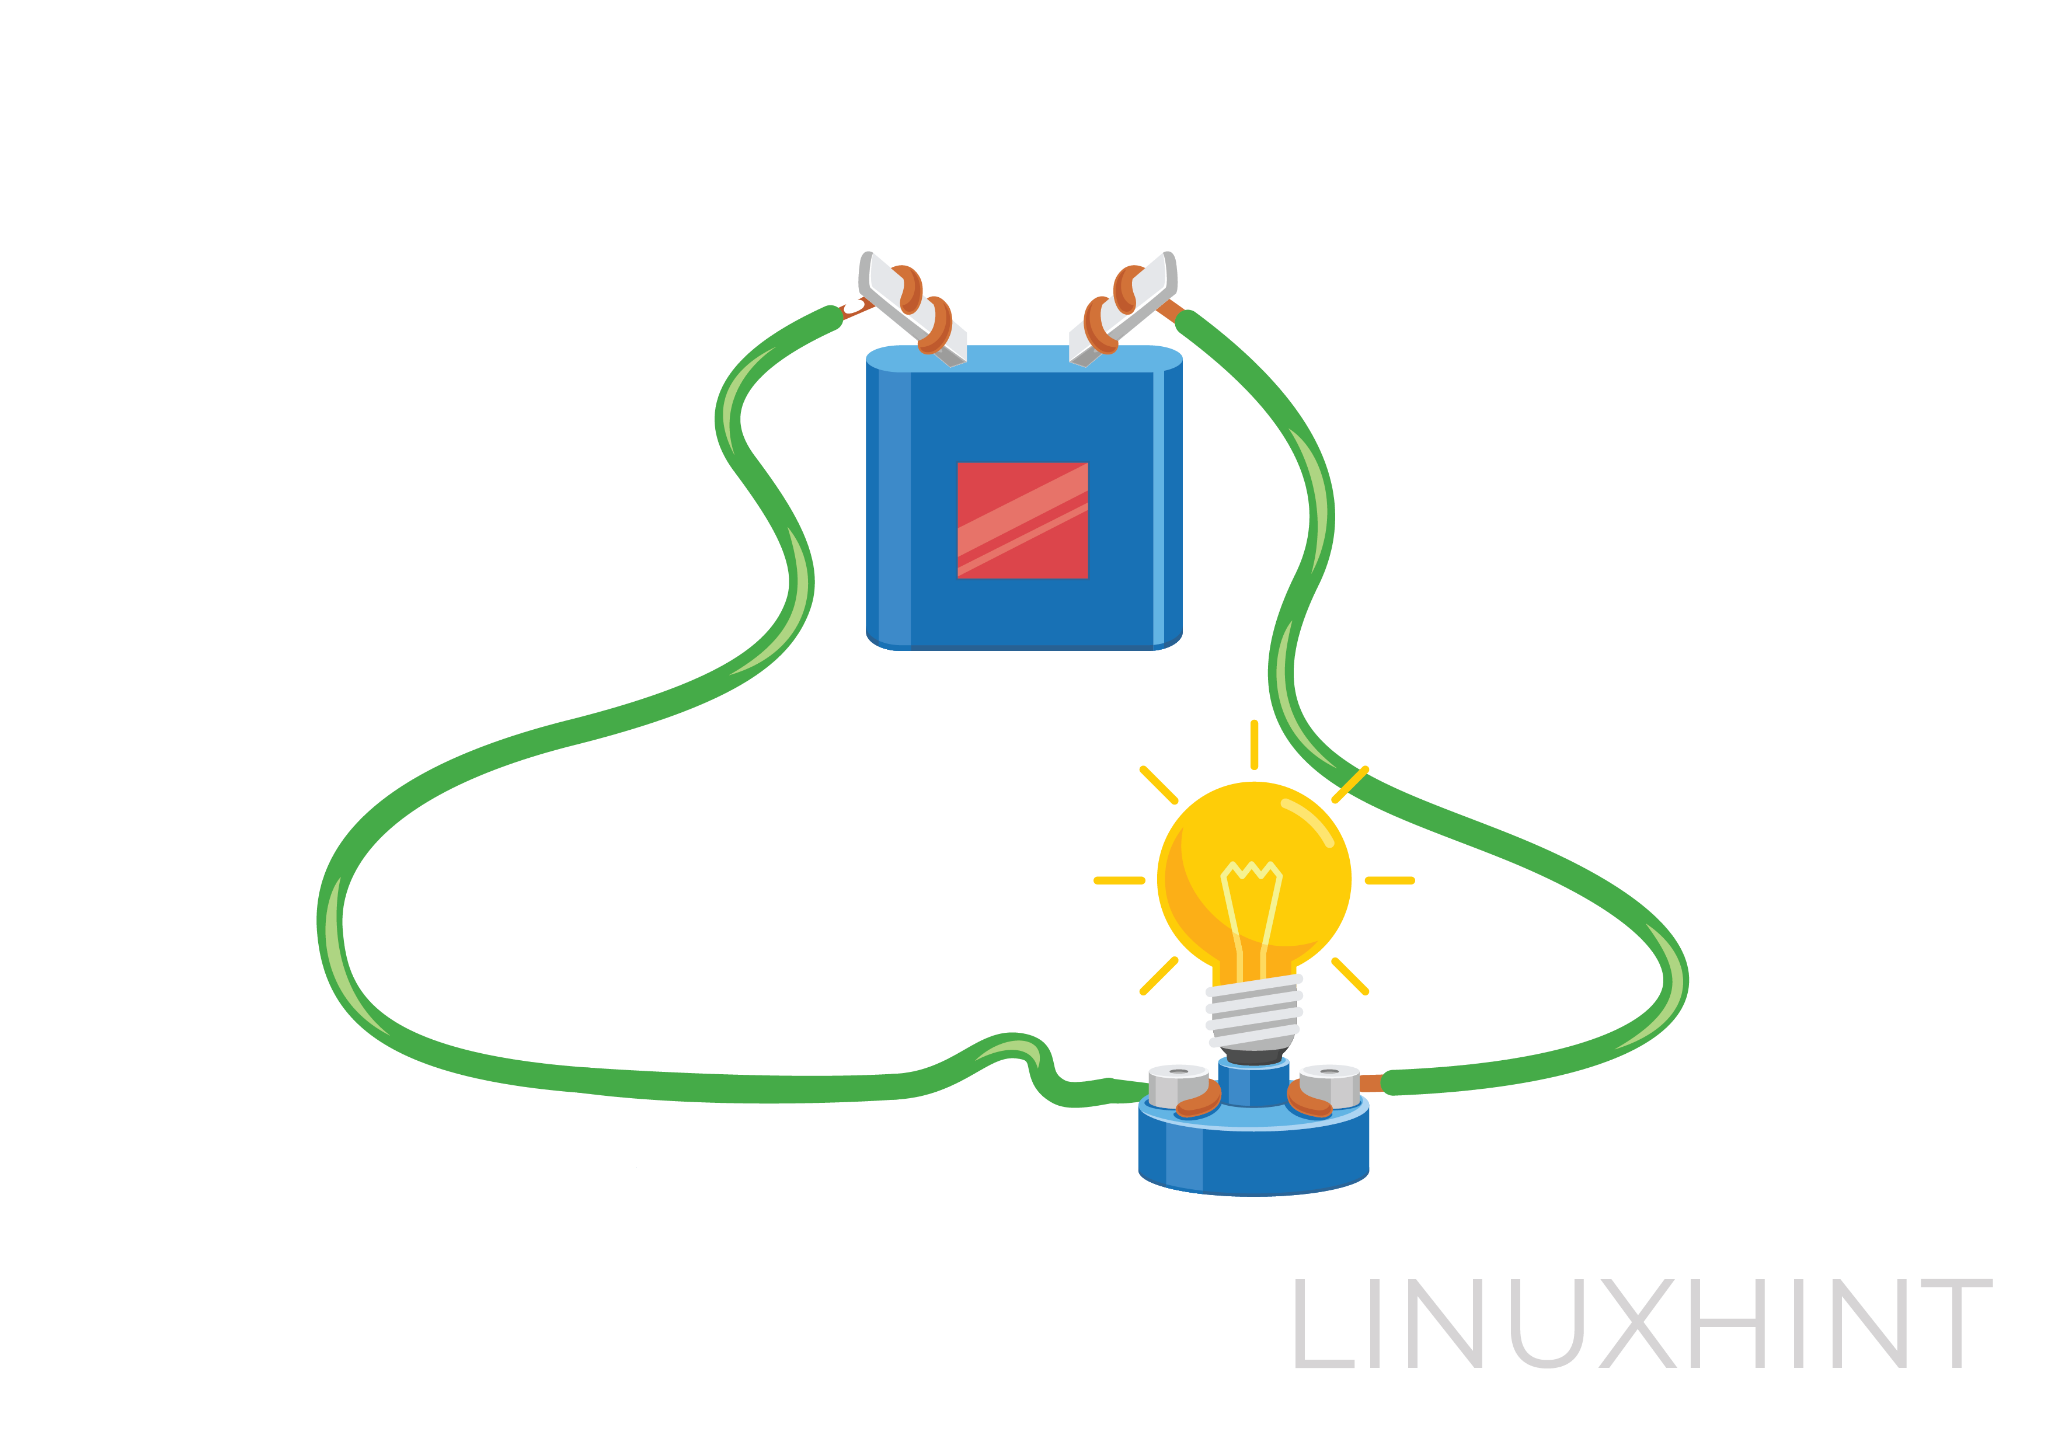
Another way to discharge a capacitor is by connecting any load like a bulb or any other device with the capacitor. So, for instance we can connect a tungsten bulb which will act as a bleeder resistor for the capacitor and will eventually discharge the capacitor. In that case here are some steps for discharging the capacitor using any type of resistive load:
Step 1: Connect the Bulb with a Wire
First, connect wires on both the terminals of the bulb holder and strip the ends of the wire now either use alligator clips on both ends of the wire or simply plug the wires in a breadboard.
Step 2: Connect the Capacitor to the Bulb
Here you can use the breadboard or can also connect the bulb wire directly to the capacitor, but it is not safe as you might experience a shock in case of higher voltage. Now, in this case you should have soldered alligator clips on both ends of the wire, simply connect the positive terminal of the capacitor with the positive of the bulb and vice versa.
Afterward, connect the multimeter to the capacitor, and you will observe that the glow of the bulb was the brightest at the start which will start to decrease gradually, and eventually, the bulb will turn off. This means that the capacitor is fully discharged.
Now in the case of an AC capacitor an AC bulb can be used, and the whole process will be the same for discharging the AC capacitor but the voltage for the AC capacitor will be quite high. So, in that case, great care is to be needed while connecting the bulb with the capacitor, try using protective gloves.
Method 3: Through Screwdriver
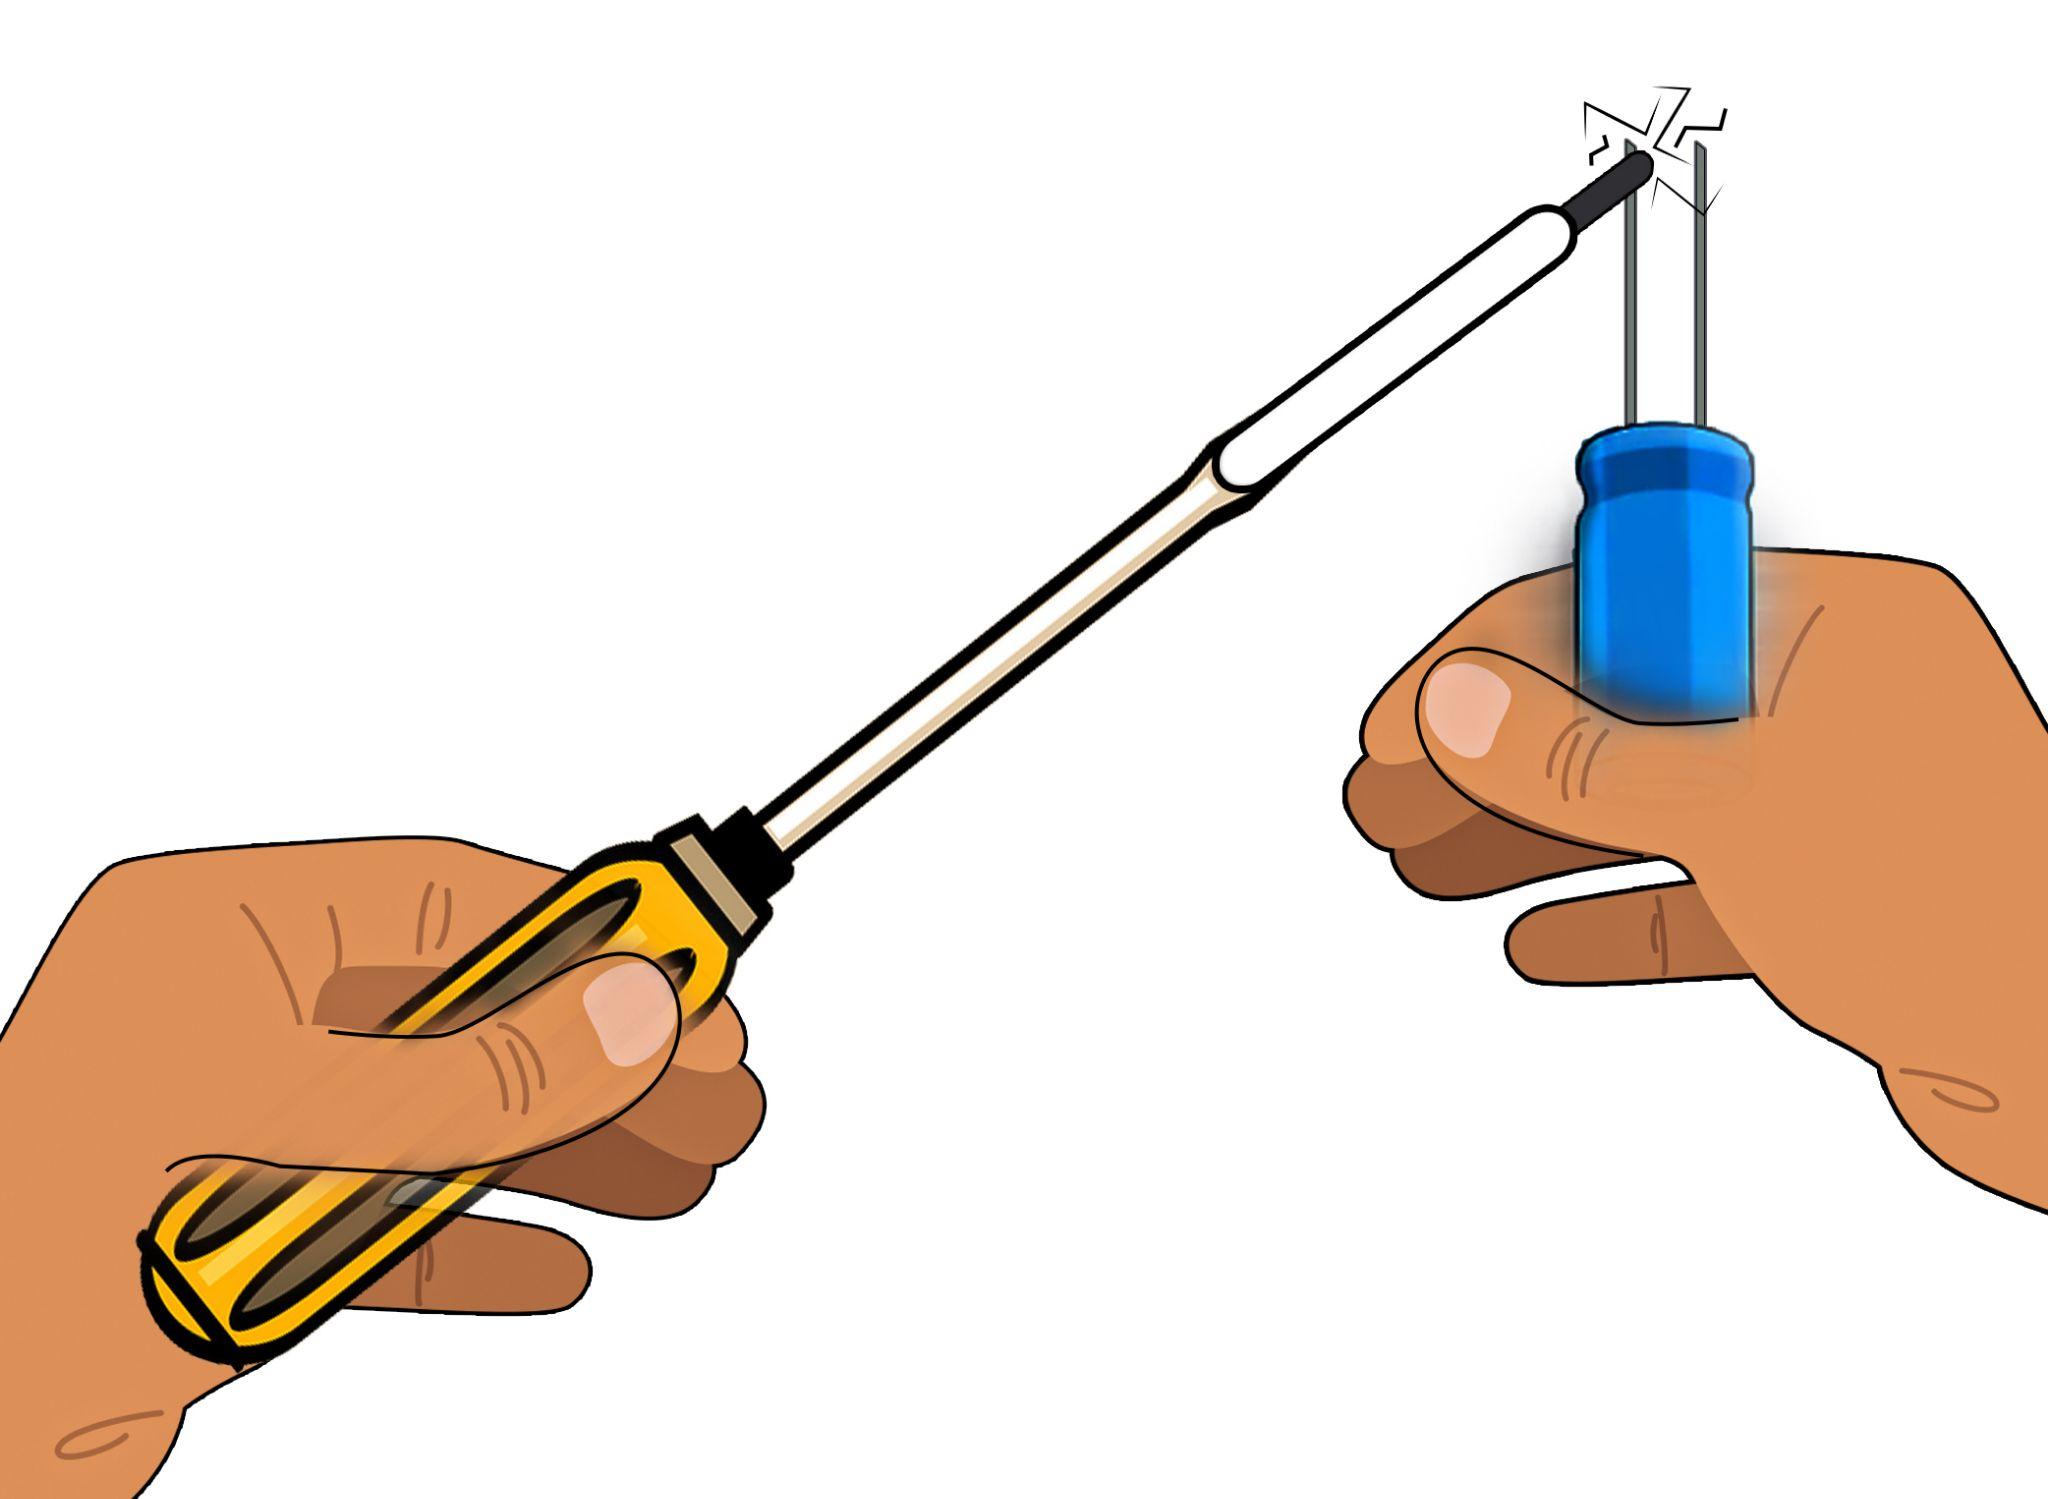
This method is rather safe for only low-voltage capacitors and is not recommended for capacitors that operate on higher voltages. Since short-circuiting both terminals of the capacitors can lure away the charge stored in the capacitor, if we just do it by using the screwdriver, then a spark may be observed.
Hold the capacitor upside down with one hand, and then place the screwdriver in between the terminals of the capacitors in such a way that it is touching both terminals of the capacitor. Now wait for a while until the electric discharge disappears and when the discharge disappears it means the capacitor is discharged completely.
Method 4: Connecting a Loop of Wire
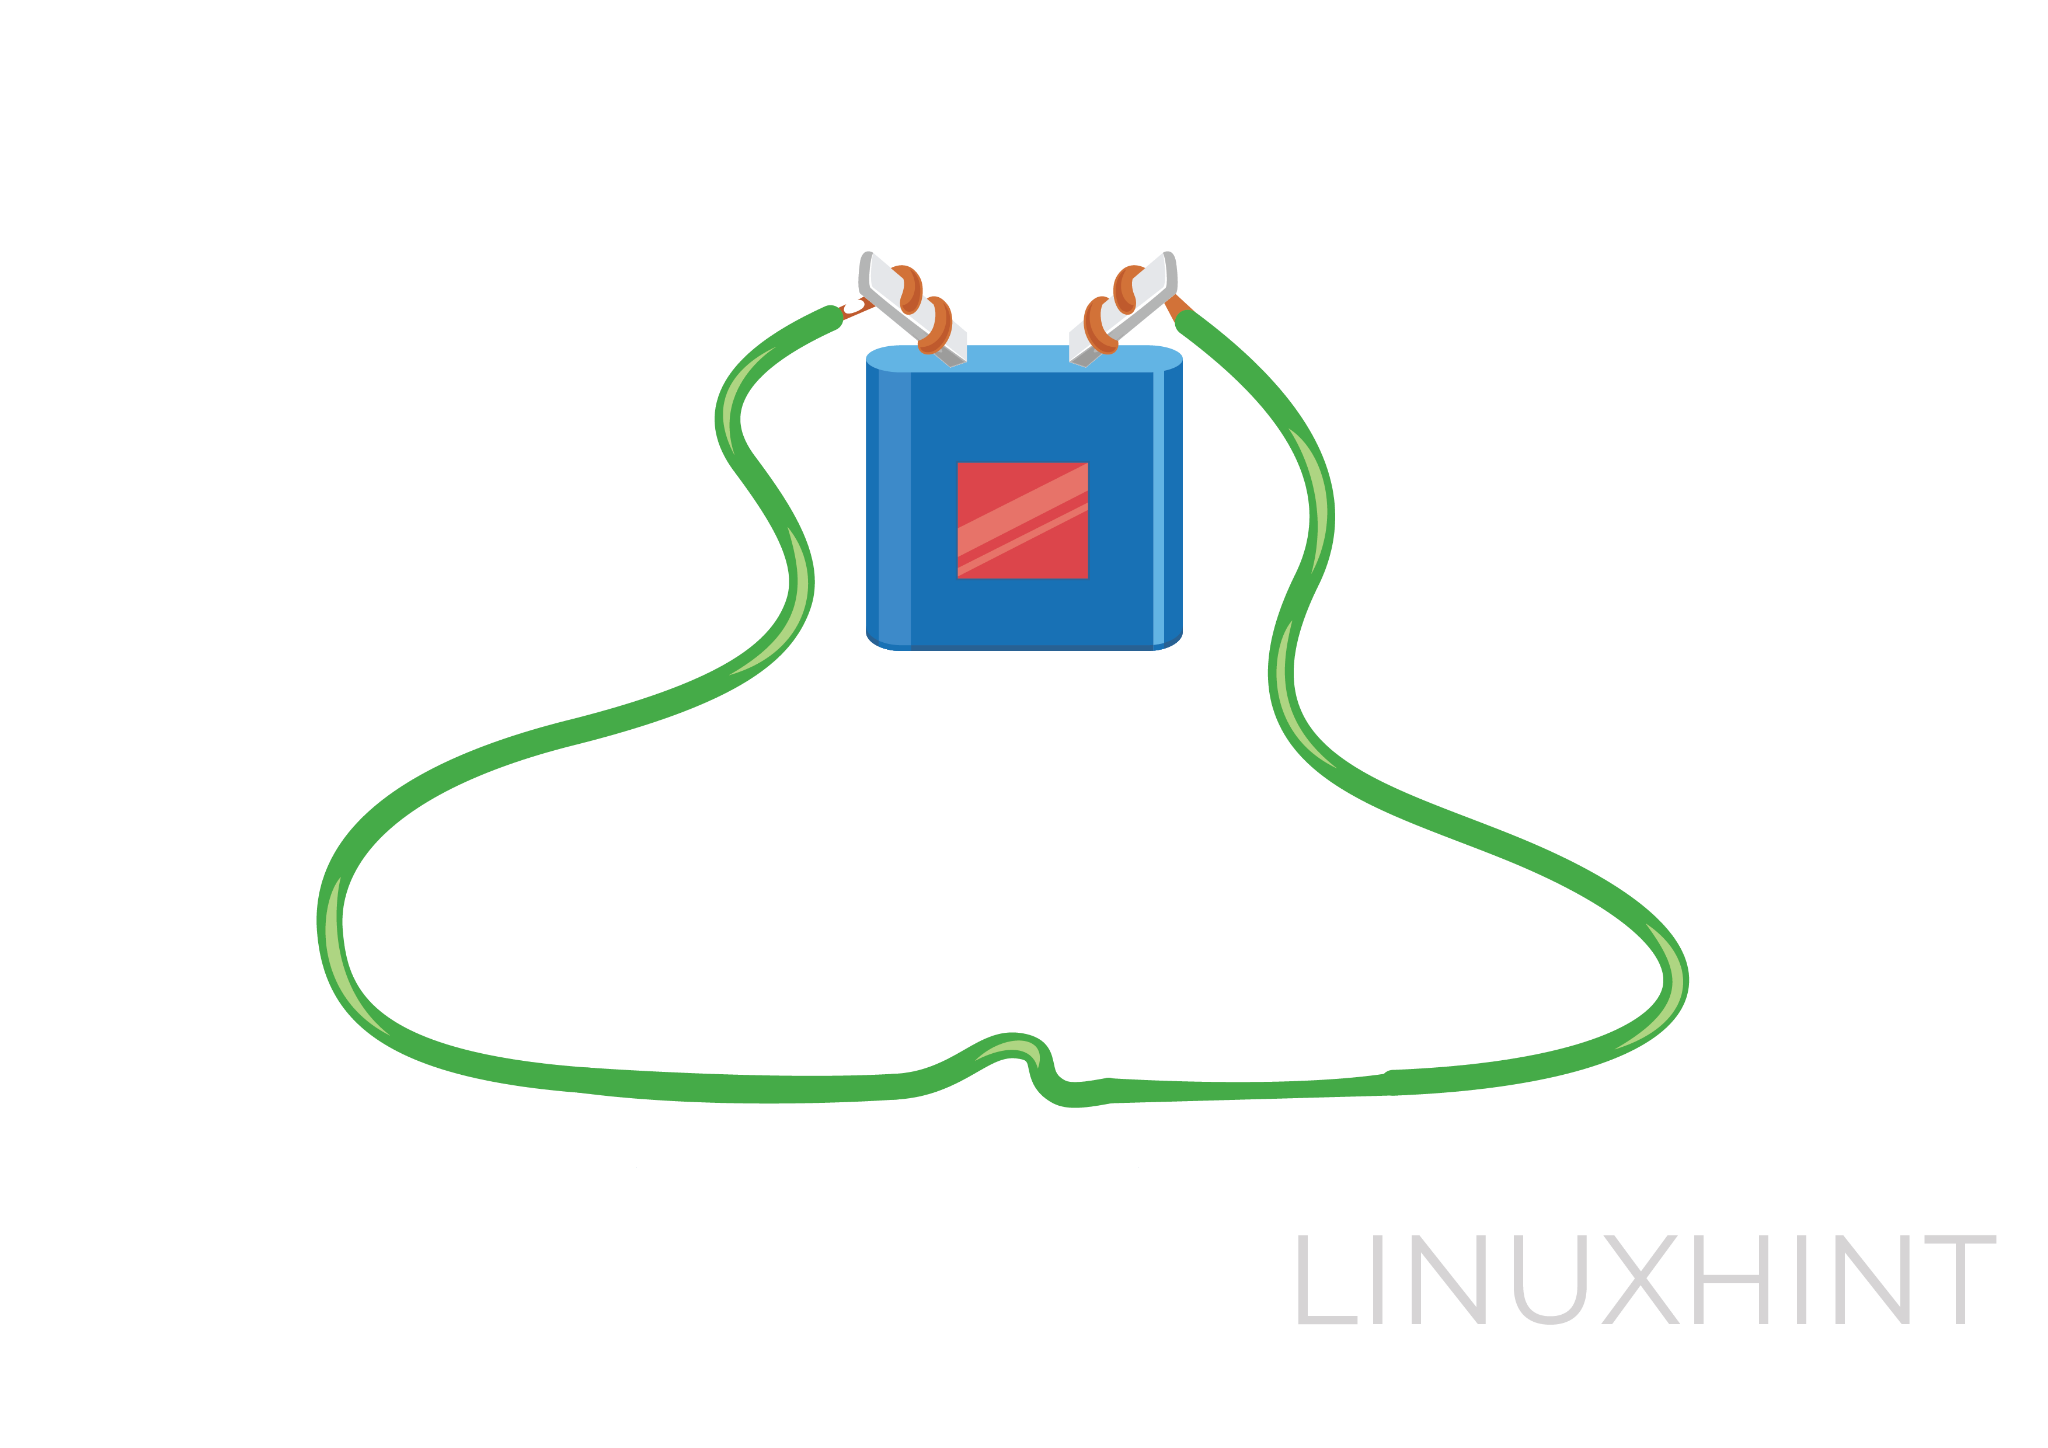
If you don’t have the necessary tools like a solder iron, multimeter, bulb, resistor, or screwdriver then you can still discharge an AC or DC capacitor by just connecting a simple loop of wire across the terminals of the capacitor.
However, to connect the wire around the terminals, create a hook shape of the stripped end of the wire and then attach it to the terminals of the capacitor. Avoid touching the terminals with bare hands on the case AC capacitor, as the full charge capacitor may have high voltage.
Once the wire is connected, just wait for almost 4 to 5 seconds and the capacitor will be discharged completely.
Conclusion
Various electrical devices have capacitors in their circuits and whenever a device has to go under repair or maintenance, the capacitor in the circuits needs to discharge to avoid any sparks or any further damage to the circuit. Capacitors are normally used in circuits to regulate the power supply to the device, filter out fluctuations, and more. Capacitors vary based on the type of circuit however, to discharge the capacitor whether it is AC or DC the methods are almost the same.
So, to discharge a capacitor four ways can be adopted which are: through connecting a resistor (discharging tool), through connecting a resistive load, through a screwdriver, and through connecting a loop of wire. Also, while discharging the capacitors proceed with caution as some capacitors might have high voltage levels which can give a shock if the terminals are contacted with bare hands.

