
Downloading and Installation of Wget
On most Linux distributions, the wget package is pre-installed, but if for some reason your system does not already have wget, do not worry; we will learn how to install Wget on CentOS 8.
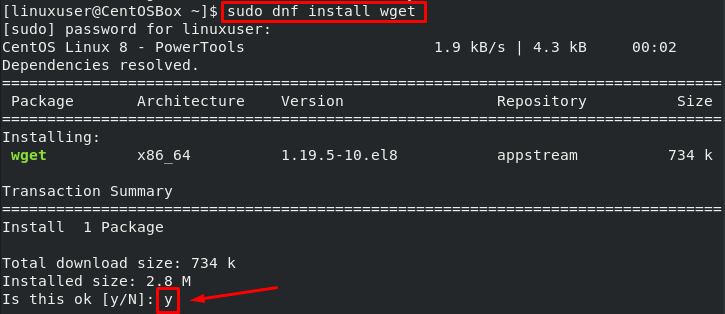
First of all, fire up the terminal and use the wget command to check whether your system has a pre-installed wget package.

As you can see in the screenshot above, my system does not have wget pre-installed.
If you do not have a wget, the terminal will give you the option to install it. Just input ‘y’ and press enter, and the installation will start automatically.
Otherwise, if the terminal does not give you the option to install the wget package automatically, you can execute the following commands to get wget on your system:
You may need to replace dnf with yum on older versions of CentOS. You can also use the same command on Ubuntu; just replace the “dnf” with “apt,” and you’re good to go.
Input “y” to start the installation.
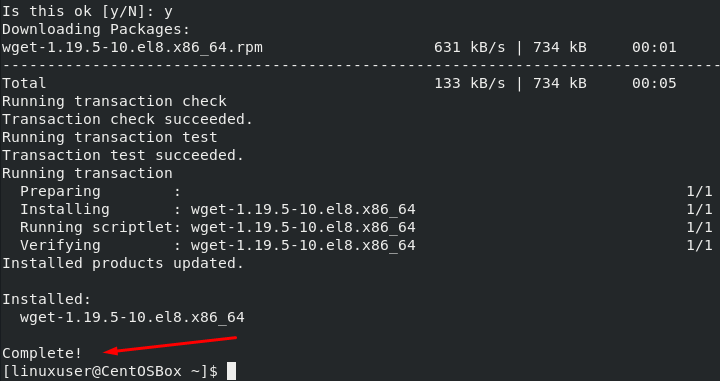
Wget has been successfully installed on my CentOS 8 system.
Syntax of using Wget Command
We must first discuss the syntax used by the wget command before we start talking about the different options the wget command gives us and how we can use them.
Downloading a file using wget
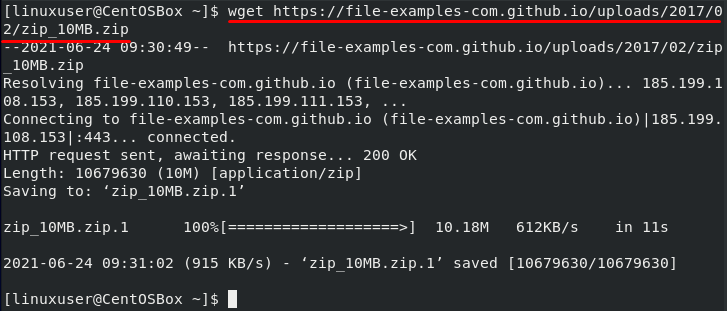
Now we will use wget to download different files. In the first example, we will use wget in its simplest form.
The following command will download the resource from the specified URL into the current directory:
Download a file under a custom name
Now we will use the -O option along with the wget command. We use this flag to save the downloaded file under a custom name:

The command given above will download the resource specified in the URL and save it under the name “example_file.zip.”
You can use the ls command to check the file’s name:

Download the file in a specific location
As mentioned above, if we use the simplest form of wget, it will download the resource file in the current directory. The wget utility also gives us the option to download the file in a specific location. We can use the -P flag along with the path to a directory to download the file in that specific directory:
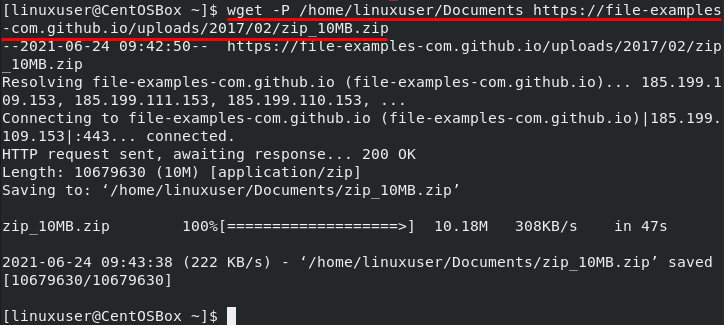
We can verify the download by using the ls command:

Limit the Download Speed in Wget
We also have the option to limit the download speed while using the wget utility. Use the –limit-rate option to limit the internet speed. You can use k for kilobytes, m for megabytes, and g for gigabytes:

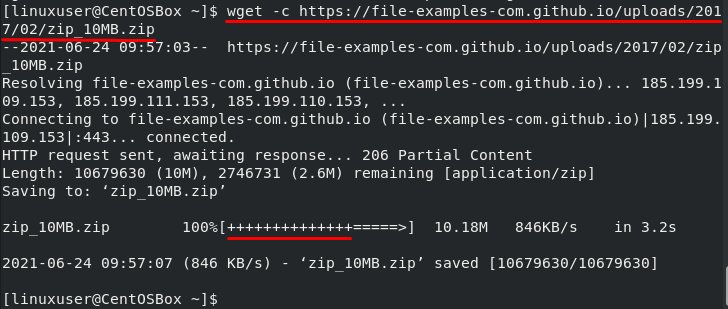
Resume Downloading in Wget
If you have a bad internet connection that continually keeps dropping, you can use the -c option every time to resume the same download. This especially comes in handy when you’re downloading a huge file. You can just resume the download once the internet starts working again instead of starting everything from scratch.
Background Downloading using Wget
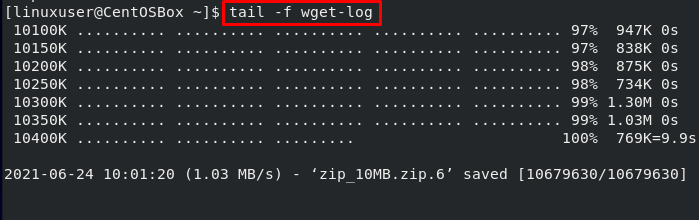
We also can use the wget command to start a download in the background while we perform other tasks. We can use the -b option to do that:

To check the progress, use the tail command:
You also need to append the log number in the command given above. You can find the log number from the original wget command, as highlighted in the screenshot above.
Multiple files Downloading using Wget
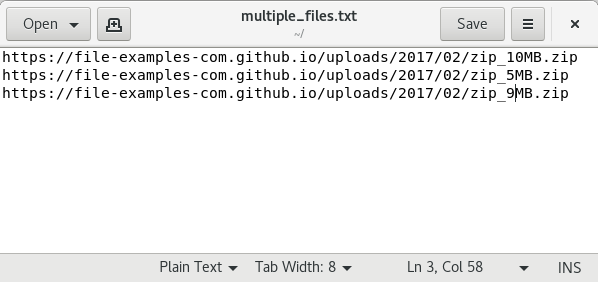
We can also use the “-i” option and the path to a local or external file containing the list of URLs. The wget command will download resources from all the URLs. Each URL should be written on a separate line in the file:

Conclusion
wget command is handy when it comes to downloading resources from a URL. It provides us with a variety of options that enable us to download in the background, download multiple files, limit downloads, and so on.
In this post, you have learned all about wget, how to install and use the wget command on CentOS 8 Operating system. We also discussed the most common options we can use along with the wget command through practical examples.