
This article would clarify how to add users and groups on CentOS 8 Linux distribution by using the command line.
Add users in CentOS8
In CentOS, by using the ‘useradd’ command, we can make a new user, followed by the username that we will like to use. This command is very versatile, allowing you to build users who can log in or even users who are unable to login. Without any directory, the user would be created and blocked from logging in. For example, if you want to add a new user profile along without the user’s home directory, you must execute the following command:
Or
You can replace the username with “david” or any of your desired name.
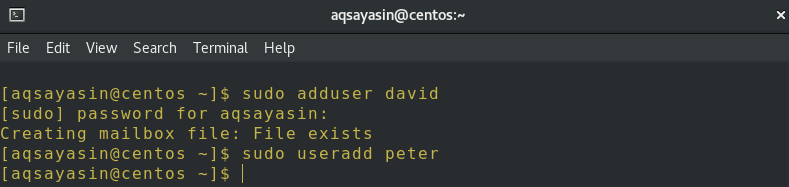
Upon success, the command produces no output but generates the home directory of the user. The user can write, modify, and remove files and folders inside the home directory if the account is activated.

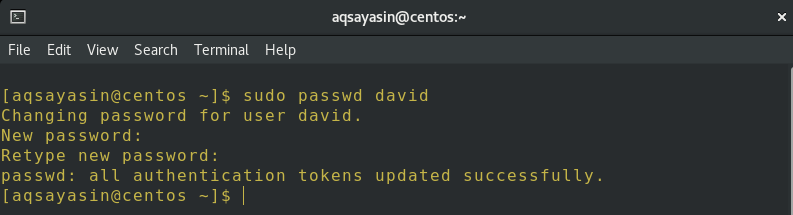
If you wish to set a password for a particular user, you can also do that. All you have to do is to execute a command followed by a username, and the system will then ask you to enter your password to validate it.
In Account Settings, you can see the users we had created recently.

However, you can set username and password in a single attempt, rather than executing different commands. You have to run the following command to set username and password simultaneously:
You can set username and password as per your choice.
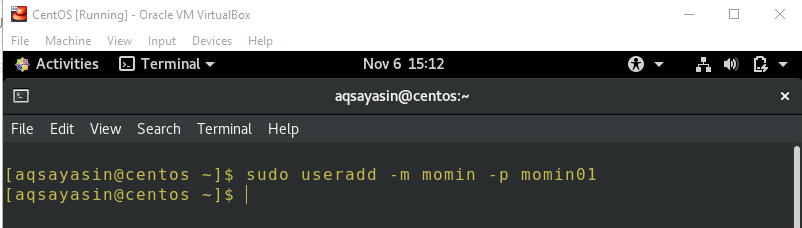
Here, “momi” is the username and “momin01” is the password for the said user.
Delete users in Centos 8
If you want to delete the already created users in CentOS 8, you can use the “userdel” command. This command is very easy to use, allowing you to delete users if you are administering the Linux operating system. For example, if you want to delete a user profile only, you must execute the following command appended below:

On the other hand, if you want to delete the user profile without the user’s home directory, you must execute the following command affixed below:
You can replace the username, as per your choice.

Add groups in Centos 8
A Group represents the users of the same properties. Every group in the Linux operating system were granted some particular rights. Every group can have more than one user in it. So if you wish to add a few new groups in CentOS 8, you have to write the following command to do this:
For example, we replace groupname with class and city to create two new groups in our CentOS 8.

Add users to a group
Now, you can do it in a couple of moments if you would like to assign a newly created user to some particular group. We will utilize the ”usermod” command for this task. This command is quite simple to use. So you can add users to a group by simply following the appended command below:
Groupname and username can be replaced, as per your choice.

While the user is being added to a new group, it is recommended to use –a flag. In case you are not using –a flag, the user will be detached from the group that is not written after –G flag. Here, “class” is the name of a group, and “david” is the name of the user that has been added.
This command may also be used differently but works the same, such as the example below:

Check users in a Group
How would you get to determine which users are already participants of some specific group? You can use the simple command written below:
The above instruction will show the group related information. For example, if we execute this command for group ”class” and ”city” separately, as shown in the figure, it will display the following information regarding both groups.
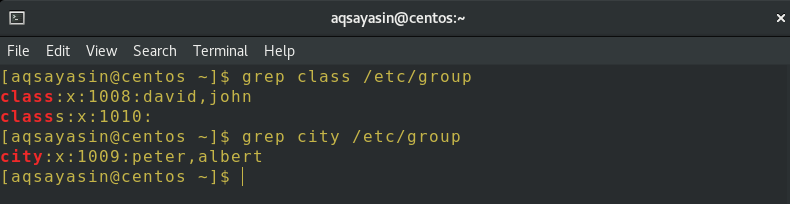
Here, the red-colored text represents the group name, x represents the group password, numerical value, e.g., 1008 represents the group,ID, and the names of users, such as “david”, who are currently members of the specific group.
There is another command available to check the list of users currently present in the group, along with their user IDs. When you type this command for execution, the system will ask you for your password because you are executing the command with sudo privileges mentioned below. The command below will check users who are present in a group, along with their user ID, as shown below:
Here, you can see two groups having different members present in them, along with their user IDs.

There is also another special way to figure out which users are present in the group. The command used for this specific purpose is as follows:
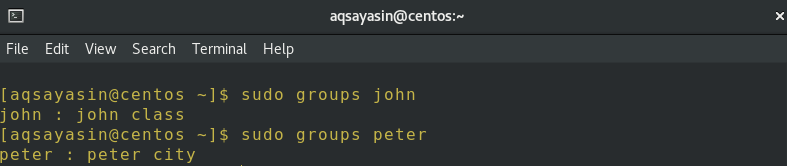
In the above figure, you can see that “john” is in the group called ”class”, and “peter” in a group called ”city” as expected.
Conclusion
It is incredibly easy to adopt all the methods exemplified in this tutorial. Now, you can add multiple users, groups, and users in a group by following the commands that are revealed here. You can also verify the specific users and their groups by walking through the methods that are used in this article.