
Today we will learn how to boot CentOS 8 into rescue and emergency mode.
How to Boot into rescue mode
Rescue mode requires the root password for authentication and allows you to restore your system when the normal booting process is not working. Rescue mode will attempt to set up all local file systems and initiate a few essential system services. Rescue mode does not start network interfaces and does not permit multiple users to be logged in.
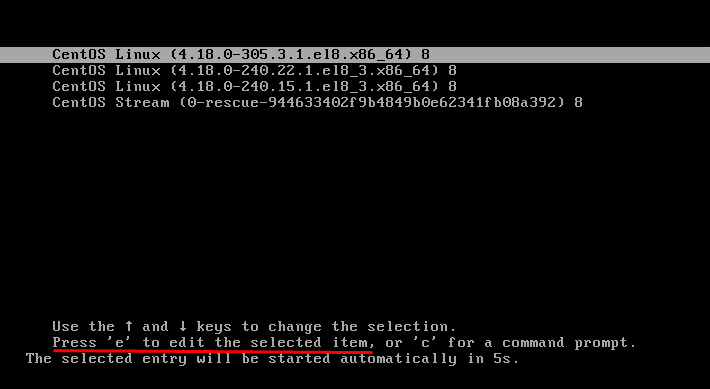
Boot up your computer and wait for the GRUB menu to show up.

Now press ‘e’ to open the editing menu:
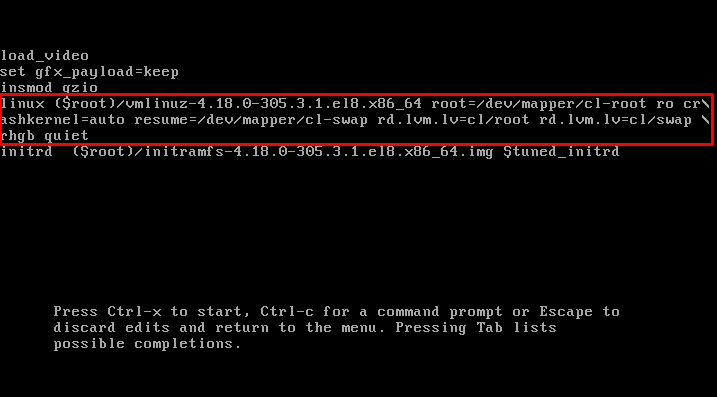
Now, locate the line that starts with the “Linux” keyword, shown in the screenshot below:

Go to the end of the line by using the end button on your keyboard and add the following parameter at the end of the line:

Press Ctrl+x to start the system, but this time with the new parameter will let you enter the rescue mode.

The operating system will ask for the root password. You will enter into the rescue mode once you provide the password.

Now, you can repair your system in rescue mode.
Once you are done with the rescue mode, you can exit from the rescue/emergency mode by running the “exit” command.
This is how you can boot into the Rescue Mode on CentOS 8 and repair your system. Now, let’s see how to boot into Emergency mode on CentOS 8.
Boot into emergency mode
The emergency mode gives the most minimal environment to restore your system when even the rescue mode is not working. Emergency mounts the root files as read-only and does not try to mount local file systems. The emergency mode also does not start up the network interfaces.
The process of booting up your system into emergency mode is identical to that of rescue mode.
First, boot up your computer and wait for the GRUB menu to show up:
Now press ‘e’ to open the editing menu:

Now locate the line that starts with the “Linux” keyword, shown in the screenshot below:

Go to the end of the line by using the end button on your keyboard and add the following parameter at the end of the line:

Press Ctrl+x to start the system, but this time with the new parameter will let you enter the Emergency mode.

You will enter into the emergency mode once you provide the password.

Now, you can repair your system in emergency mode when even the rescue mode is not working.
Once you are done with the emergency mode, you can exit from the rescue/emergency mode by running the “exit” command.
This is how you can boot into the Emergency Mode on CentOS 8 and repair your system even when the rescue mode is not working.
Conclusion
This article has a detailed explanation of how to enter the rescue and emergency boot mode to repair your system. These boot modes can come in handy in case the normal booting process is not working. The process of entering into the rescue or emergency boot menu is simply just a three-step process.