Ansible.builtin.user module is part of ansible-core and is available by default in most ansible installations.
In this guide, we will focus on how to manage user accounts using the ansible user module.
How The Ansible User Module Works
The Ansible user module works using a collection of parameters. Each parameter allows you to customize the action the module performs and how the module performs set actions on the remote host.
The following are some of the important parameters of the Ansible user module.
- name – The username to create, delete, or modify
- password – Sets a password for a specified user.
- uid – Sets the UID of a defined user.
- shell – Sets the default shell for a user.
- expires – Sets the expiry time expressed in epoch time.
- generate_ssh_key – A Boolean value that sets if an ssh-key pair should be generated for a specified user.
- create_home – Boolean value. If true, a home directory is created for a user during account creation.
- force – Force delete a user account
- group – Defines the primary group for a specified user.
- state – Determines whether an account should exist or not: absent or present
It is good to understand that there are other parameters not covered in this guide. Check the ansible user module docs to learn more.
The best way to illustrate how to use the Ansible user module is using practical examples.
Ansible User Module Practical Examples
In this guide, we assume you have an Ansible control node with the remote host inventory configured.
Before proceeding further, start by testing if the remote hosts are up:
If all hosts are up and all requirements met, you should see an output similar to the one shown below:

Example 1: How to create a user
To create a user on the remote hosts, we can use a simple playbook such as the one shown in the example below:
- hosts: all
become: true
tasks:
- name: create user on remote host
ansible.builtin.user:
name: ansible_test
shell: /bin/bash
group: wheel
In the example above, we call the user module using its full name. However, you can short name it to “user”
- name – Specifies the username of the target user to create
- shell – Sets the default shell for the user
- group – Defines the primary group for the user
Save the playbook and run with the command:
ansible-playbook createuser.yml
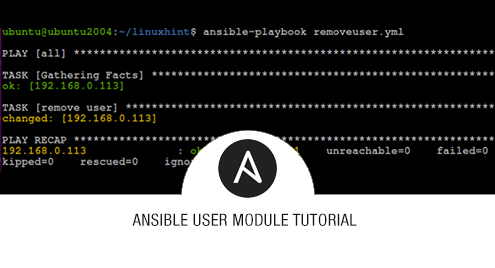
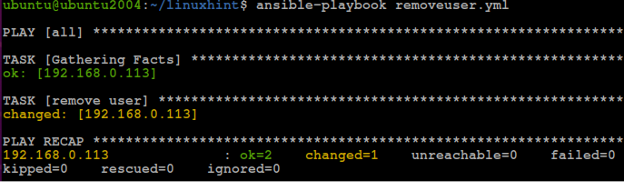
Example 2: How to remove a user
We can remove a remote user by setting the state as absent and remove to true. Below is an example playbook:
- hosts: all
become: true
tasks:
- name: remove user
ansible.builtin.user:
name: ansible_test
state: absent
remove: true
In this example, we set the state as absent. Setting the remove parameter to true will remove the user’s associated directories.
Run the playbook:
Example 3: How to set a password expiration date
Suppose we want to set an expiry date for a user’s password. We can do this by setting the expiry date as:
- hosts: all
become: true
tasks:
- name: set password expiration
ansible.builtin.user:
name: ansible_test
password_expire_min: 5
password_expire_max: 15
Example 4: How to create an SSH key for a user
To generate an SSH key pair for a remote user, we can use the generate_ssh_key parameters as shown in the playbook below:
- hosts: all
tasks:
- name: generate ssh key
user:
name: ansible_test
generate_ssh_key: true
ssh_key_file: ~/.ssh/id_rsa
ssh_key_type: rsa
ssh_key_bits: 4096
Example 5: How to update a user password
To update a user’s password, we will backup the shadow and generate a hash for the password as shown in the playbook below:
- hosts: all
become: true
tasks:
- name: backup shadow file
copy:
src: /etc/shadow
dest: /etc/shadow.bak
- name: update user password
user:
name: ansible_test
state: present
update_password: true
password: "{{ updatedpassword|password_hash('sha512') }}"
In the example above, we start by backing up the shadow file. Next, we specify the new password for the user.
Run the playbook as:
Conclusion
This guide taught you how to manage users and user attributes using the Ansible user module. I suggest checking the documentation for additional parameters.